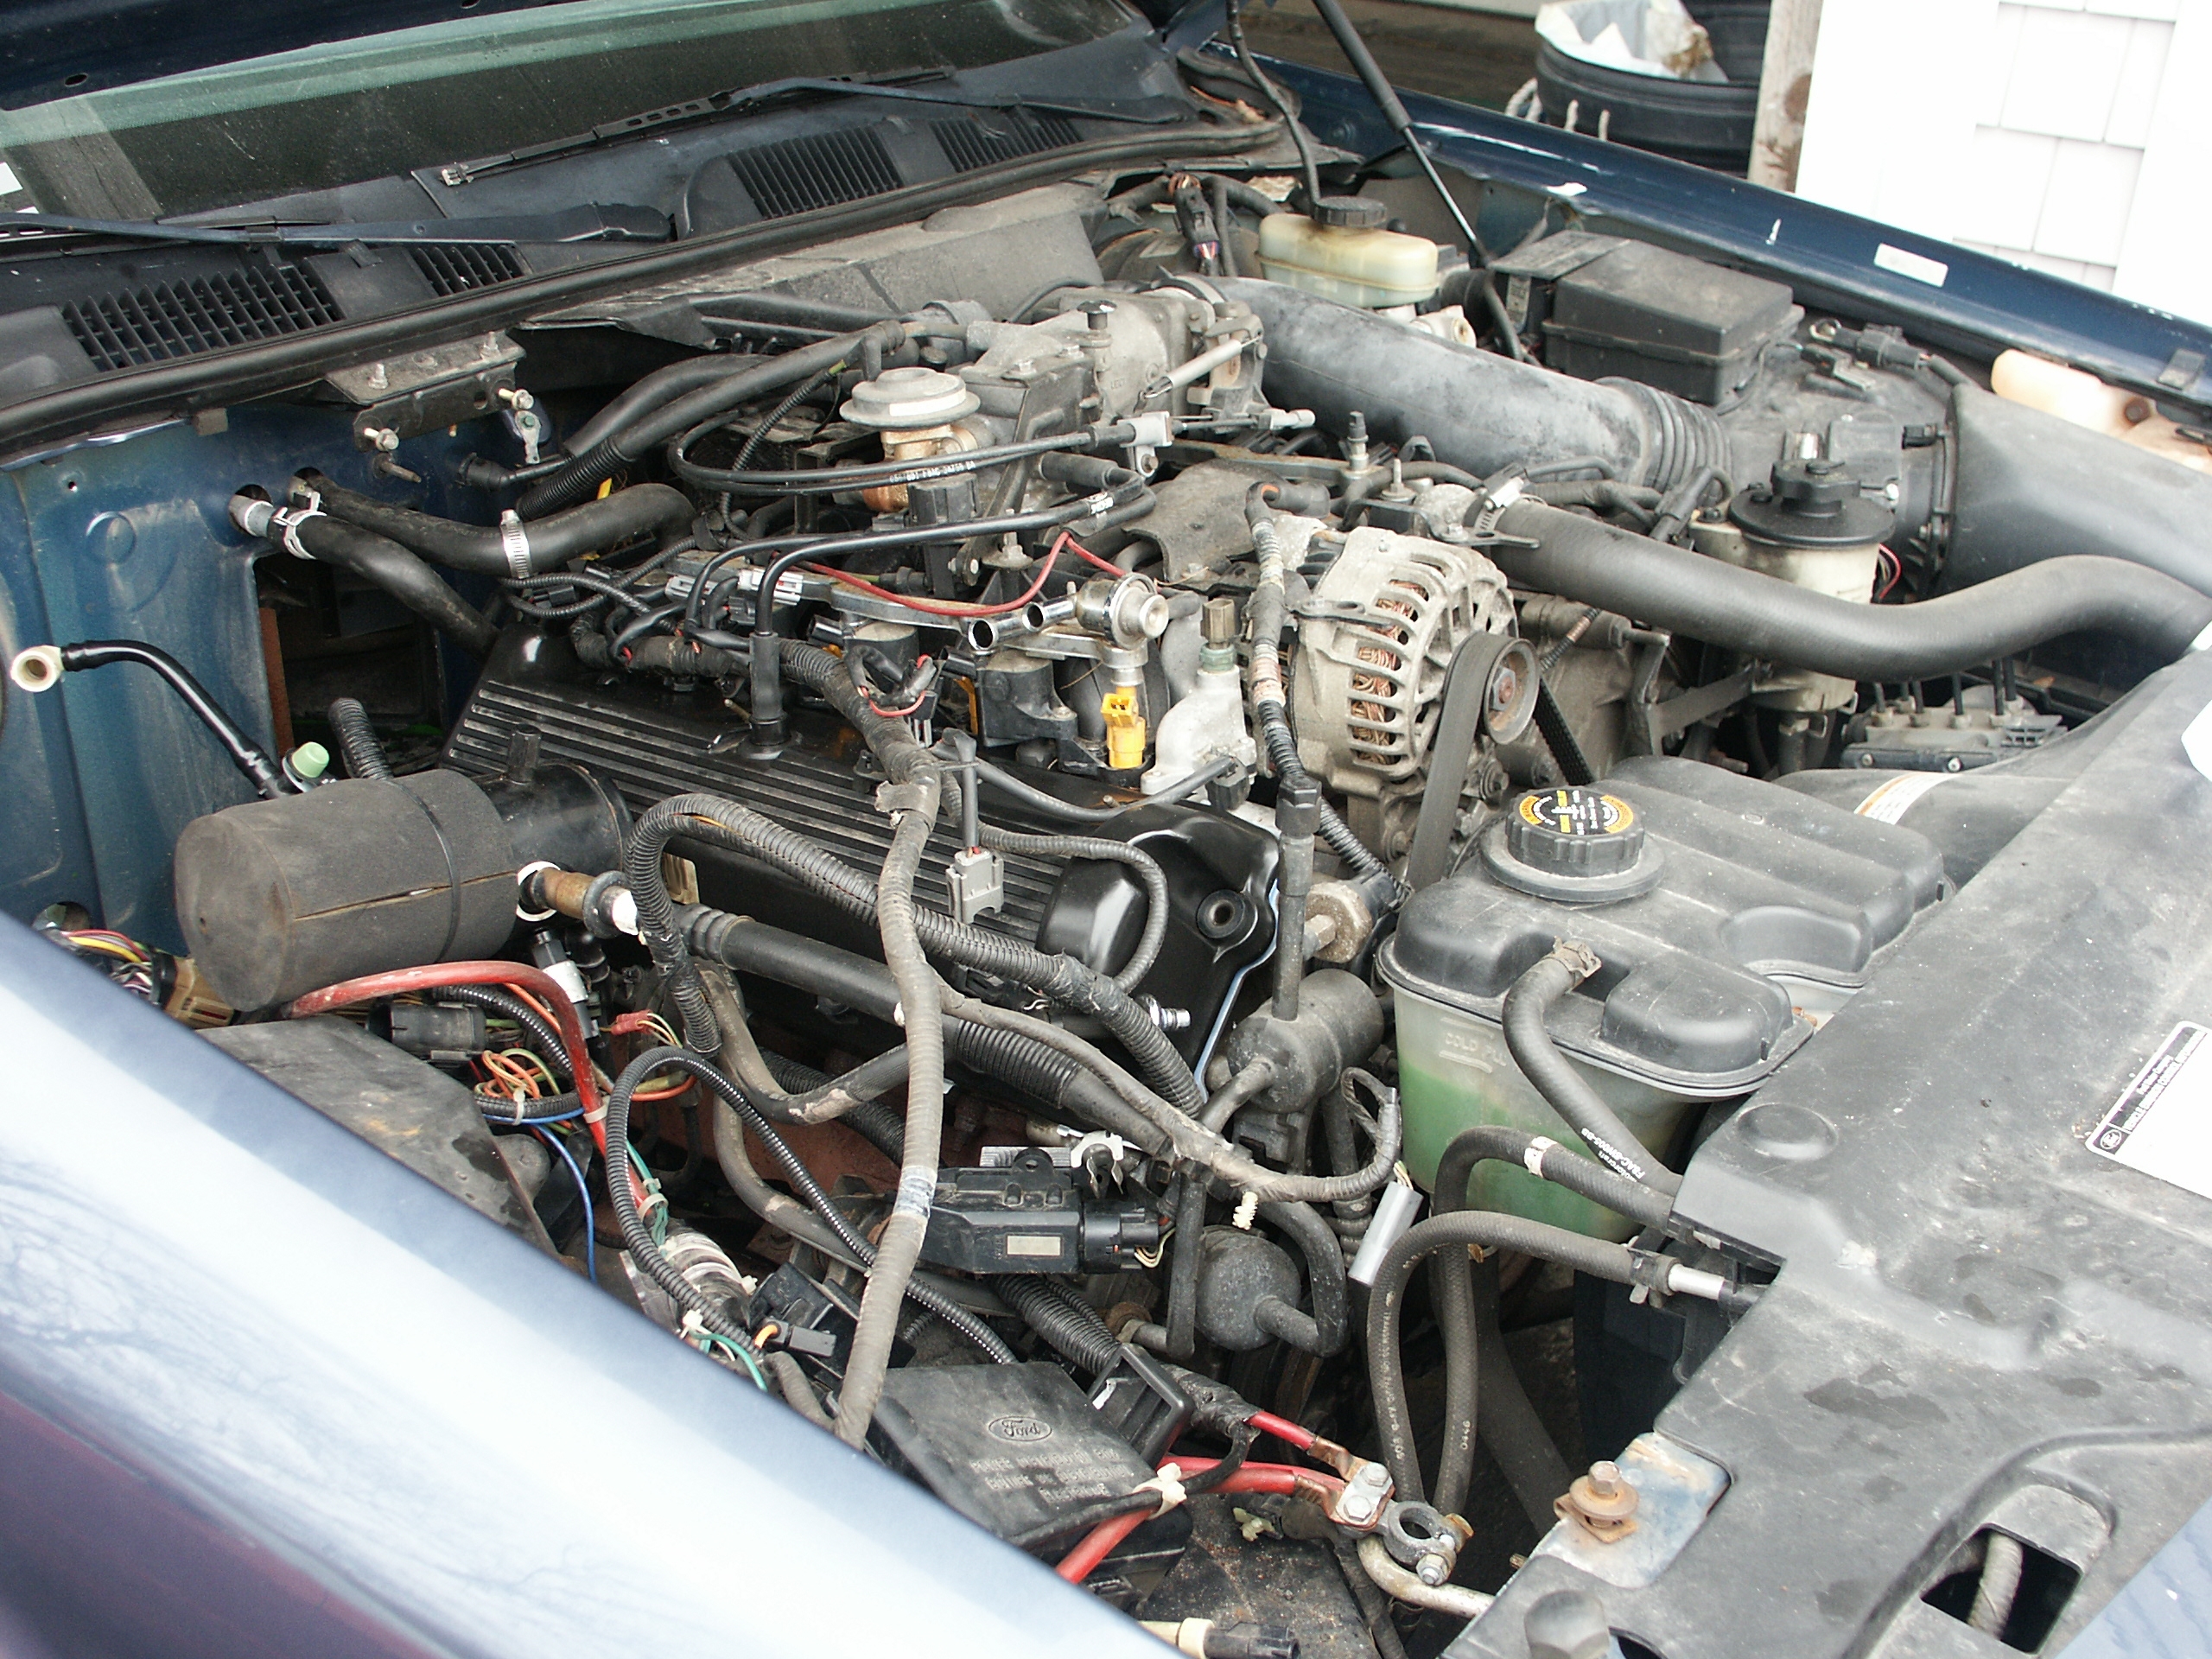
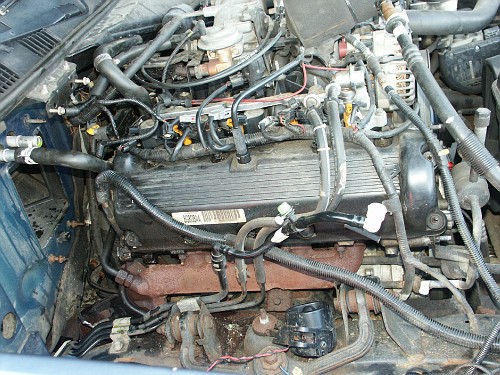
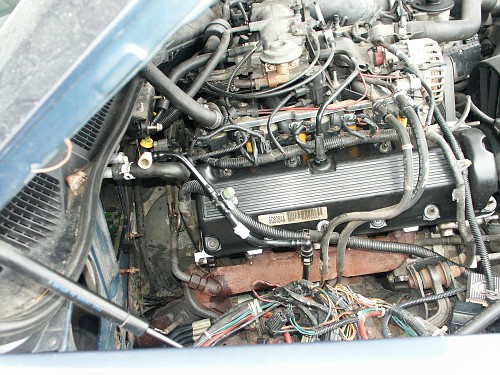
For today's project, we're going to be replacing the passenger side
valve cover gasket and grommets because they allow oil to leak onto the
hot exhaust components below.
Unfortunetly, the crown victoria has the passenger's side valve cover
placed very close to the air conditioning evaporator housing. There are
a few different methods to deal with this issue, including:
-Remove the drivers side motor mount, and allow the engine to roll away
from the evaporator housing
-Lift passengers side of engine using very long prybar (may result in
damage to motor mount or possibly engine freeze plugs)
-Loosen both motor mounts and the rear transmission mount then slide
the powertrain forward in relation to the body of the car
-Remove the body of the car from the frame
-Remove the engine assembly and change the valve cover gaskets with the
engine out of the car
-Remove the a/c evaporator housing with the powertrain still in the car
For this project, the method of first removing a/c evaporator housing
is going to be used. If you are interested in some information about
the other options, click
this link to view the motor mount picture page.
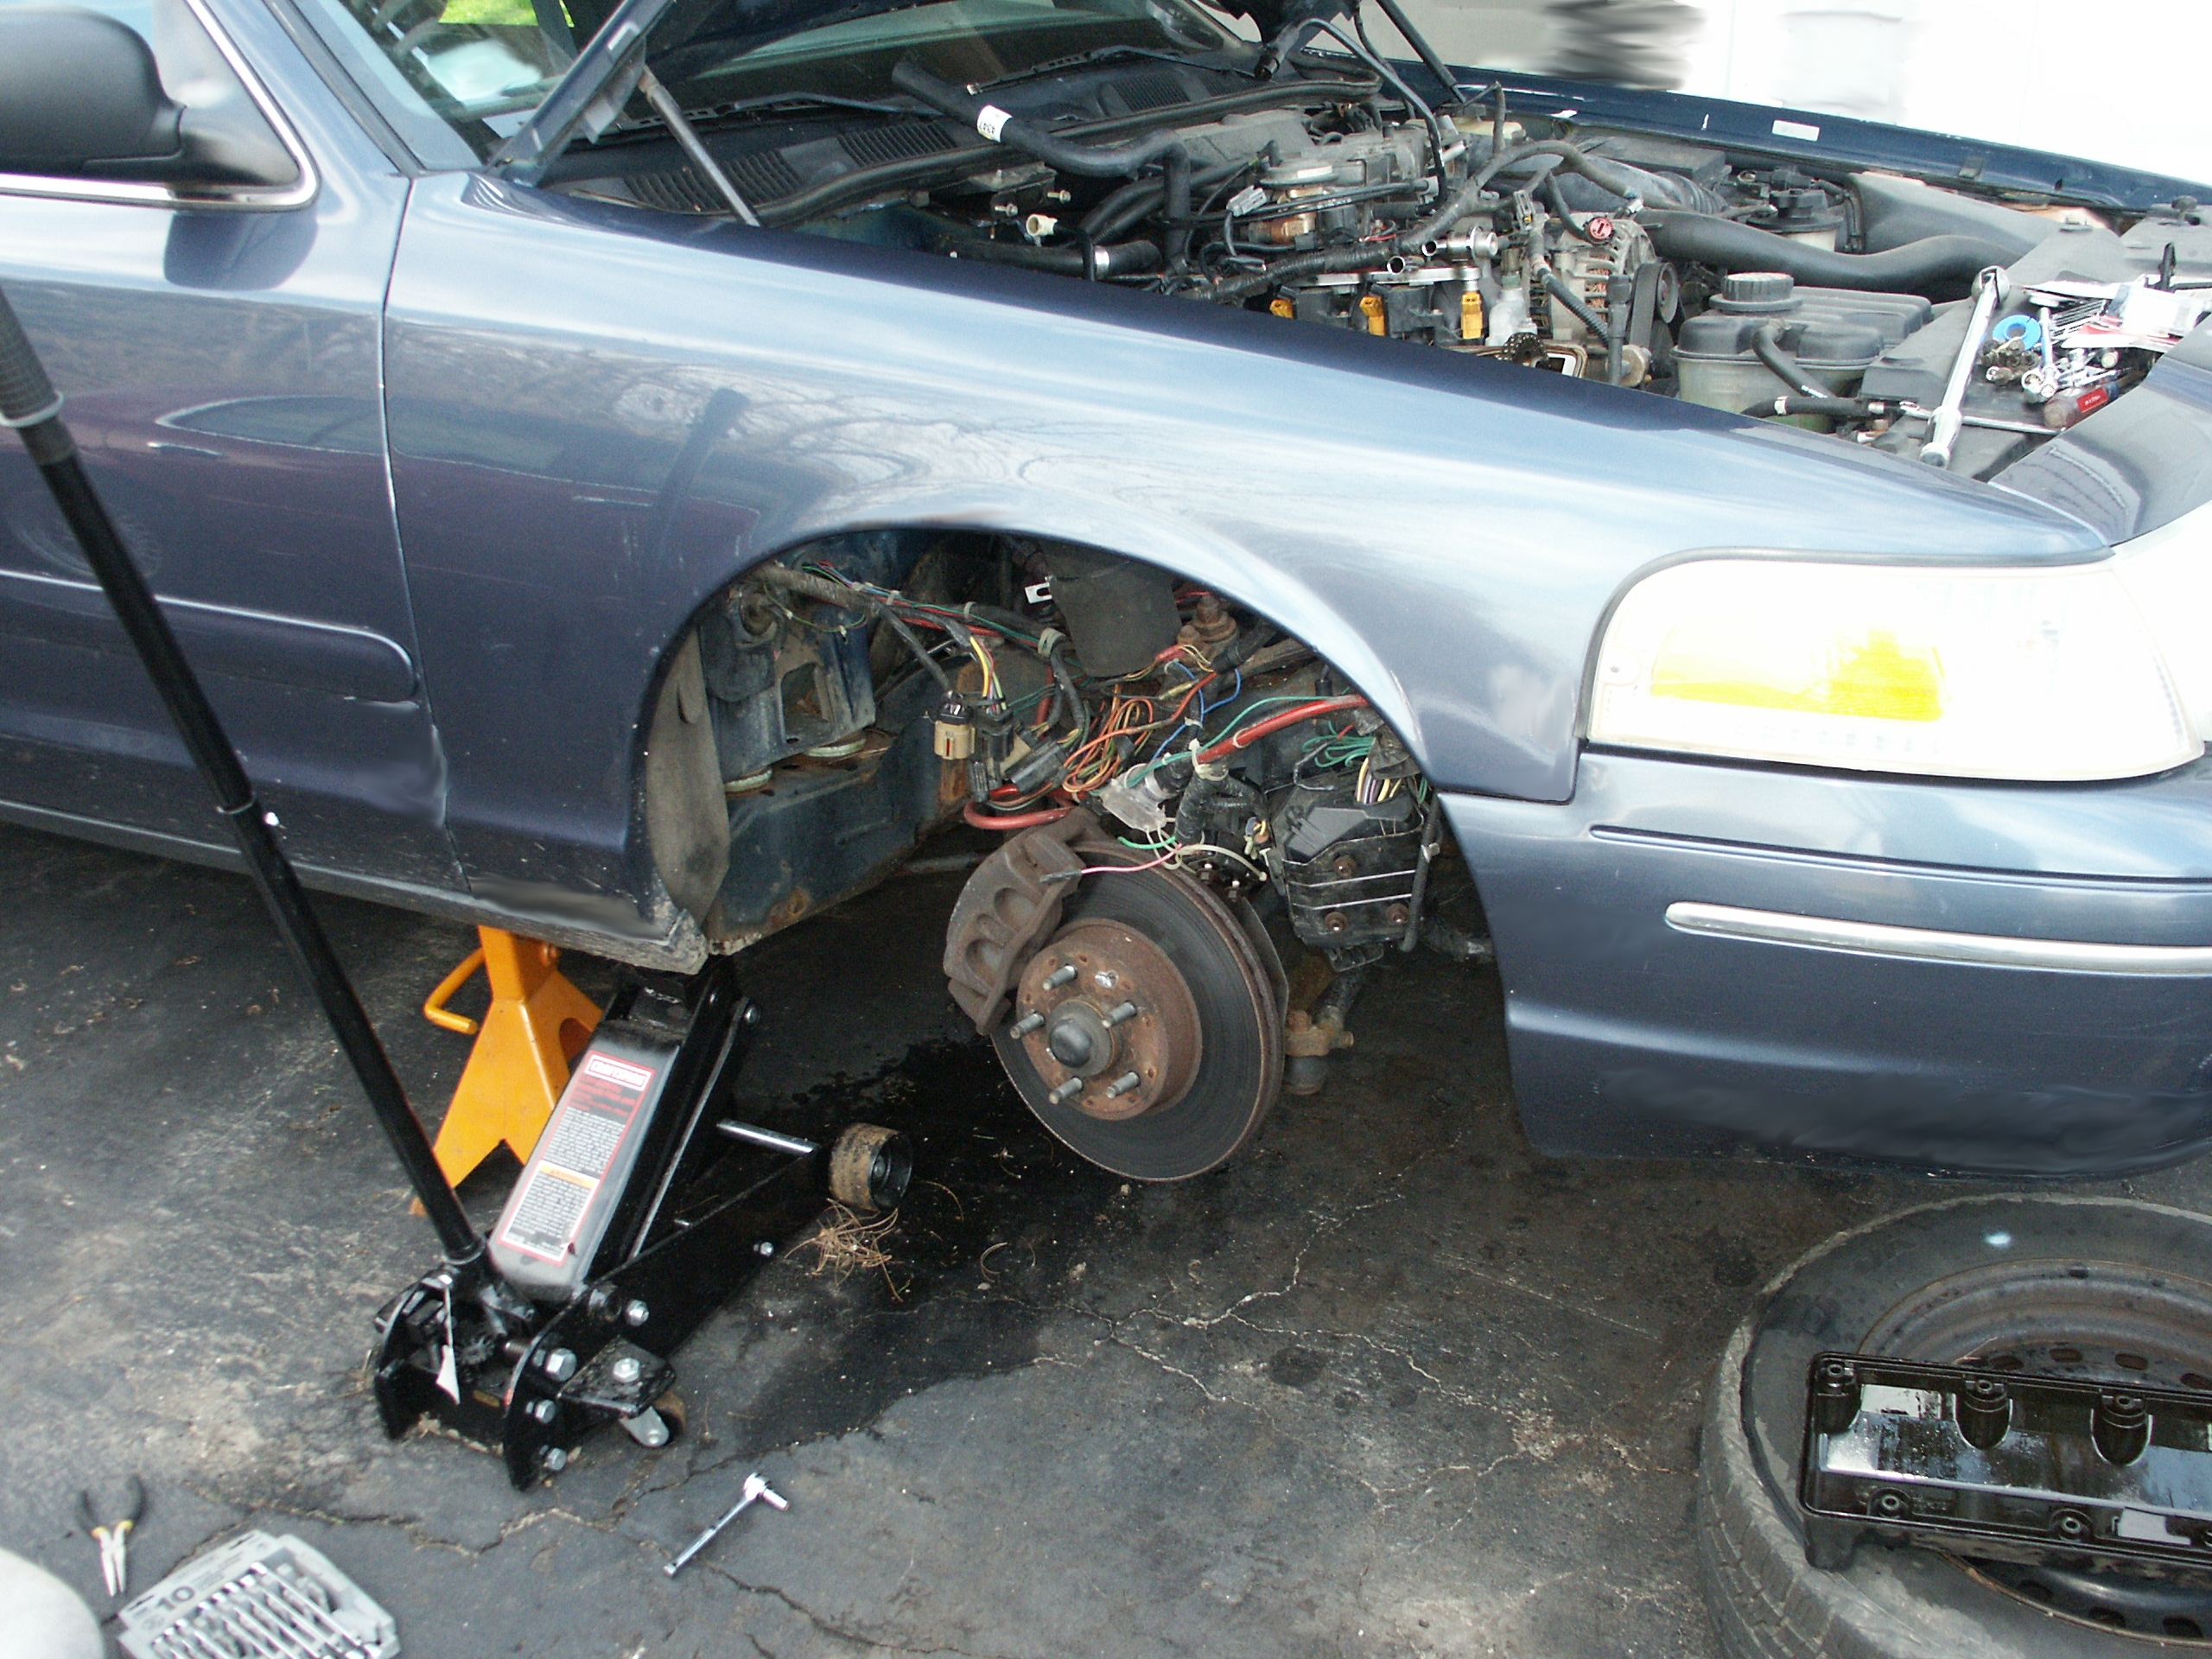
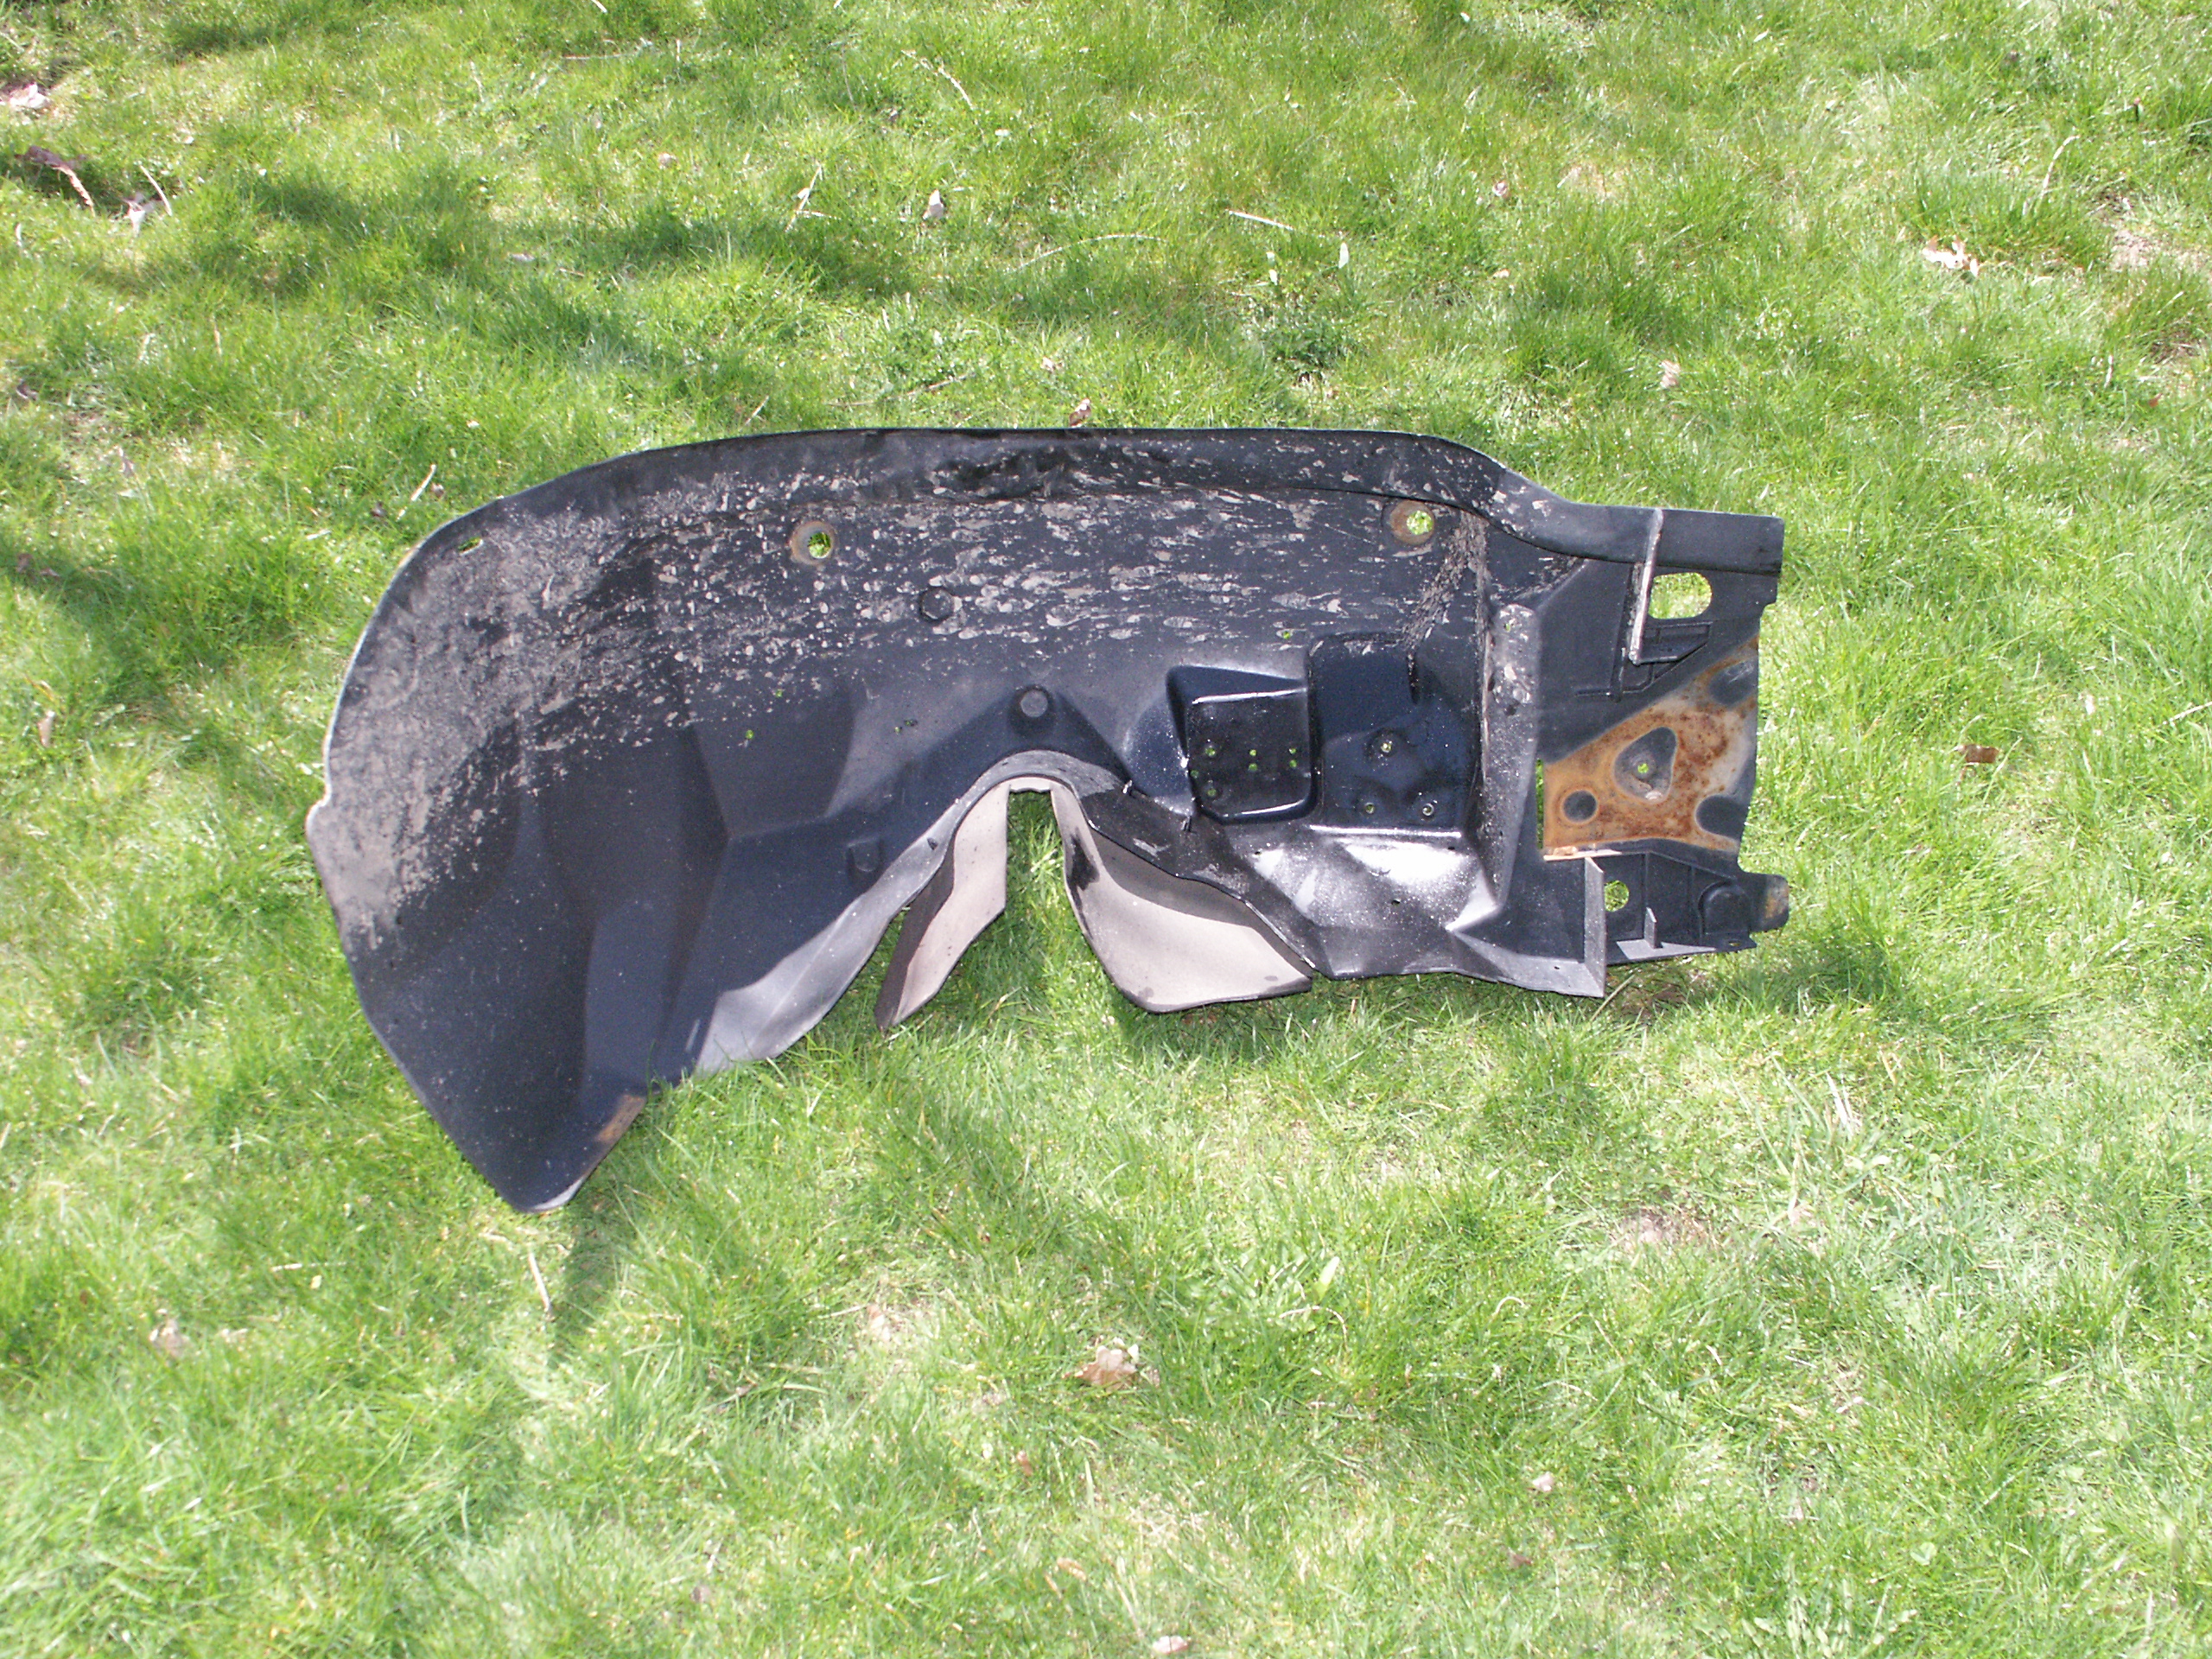
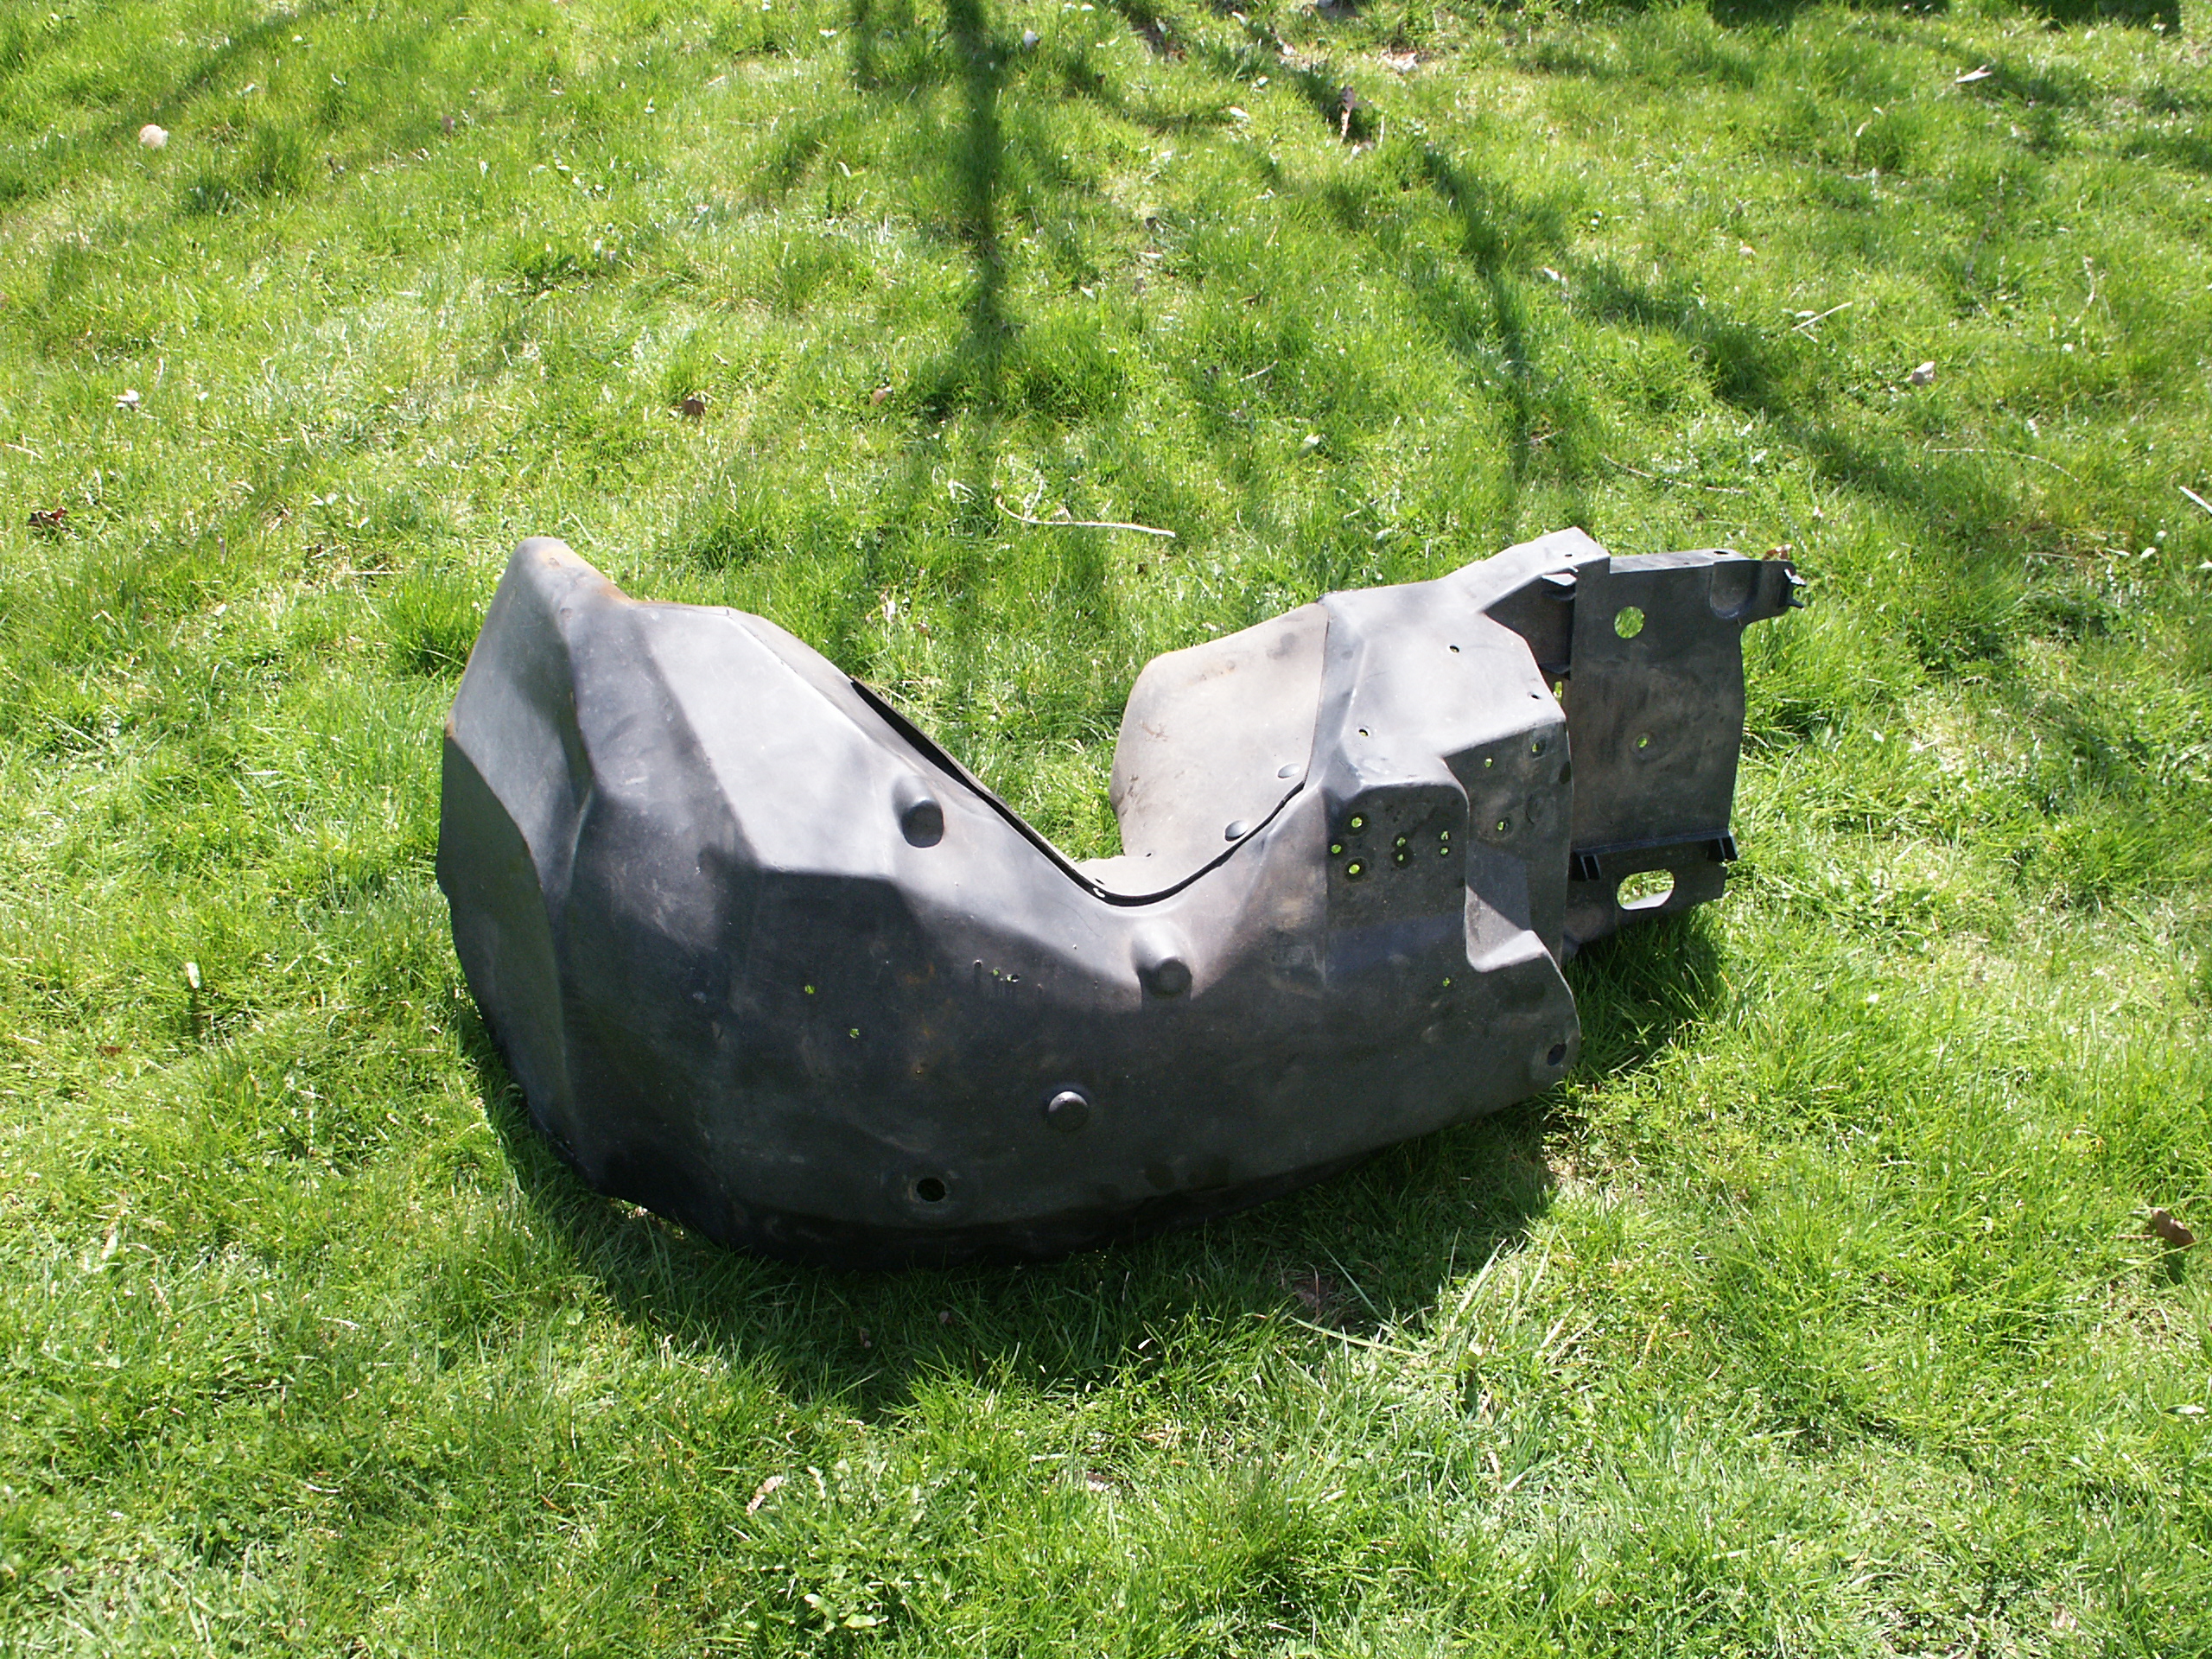
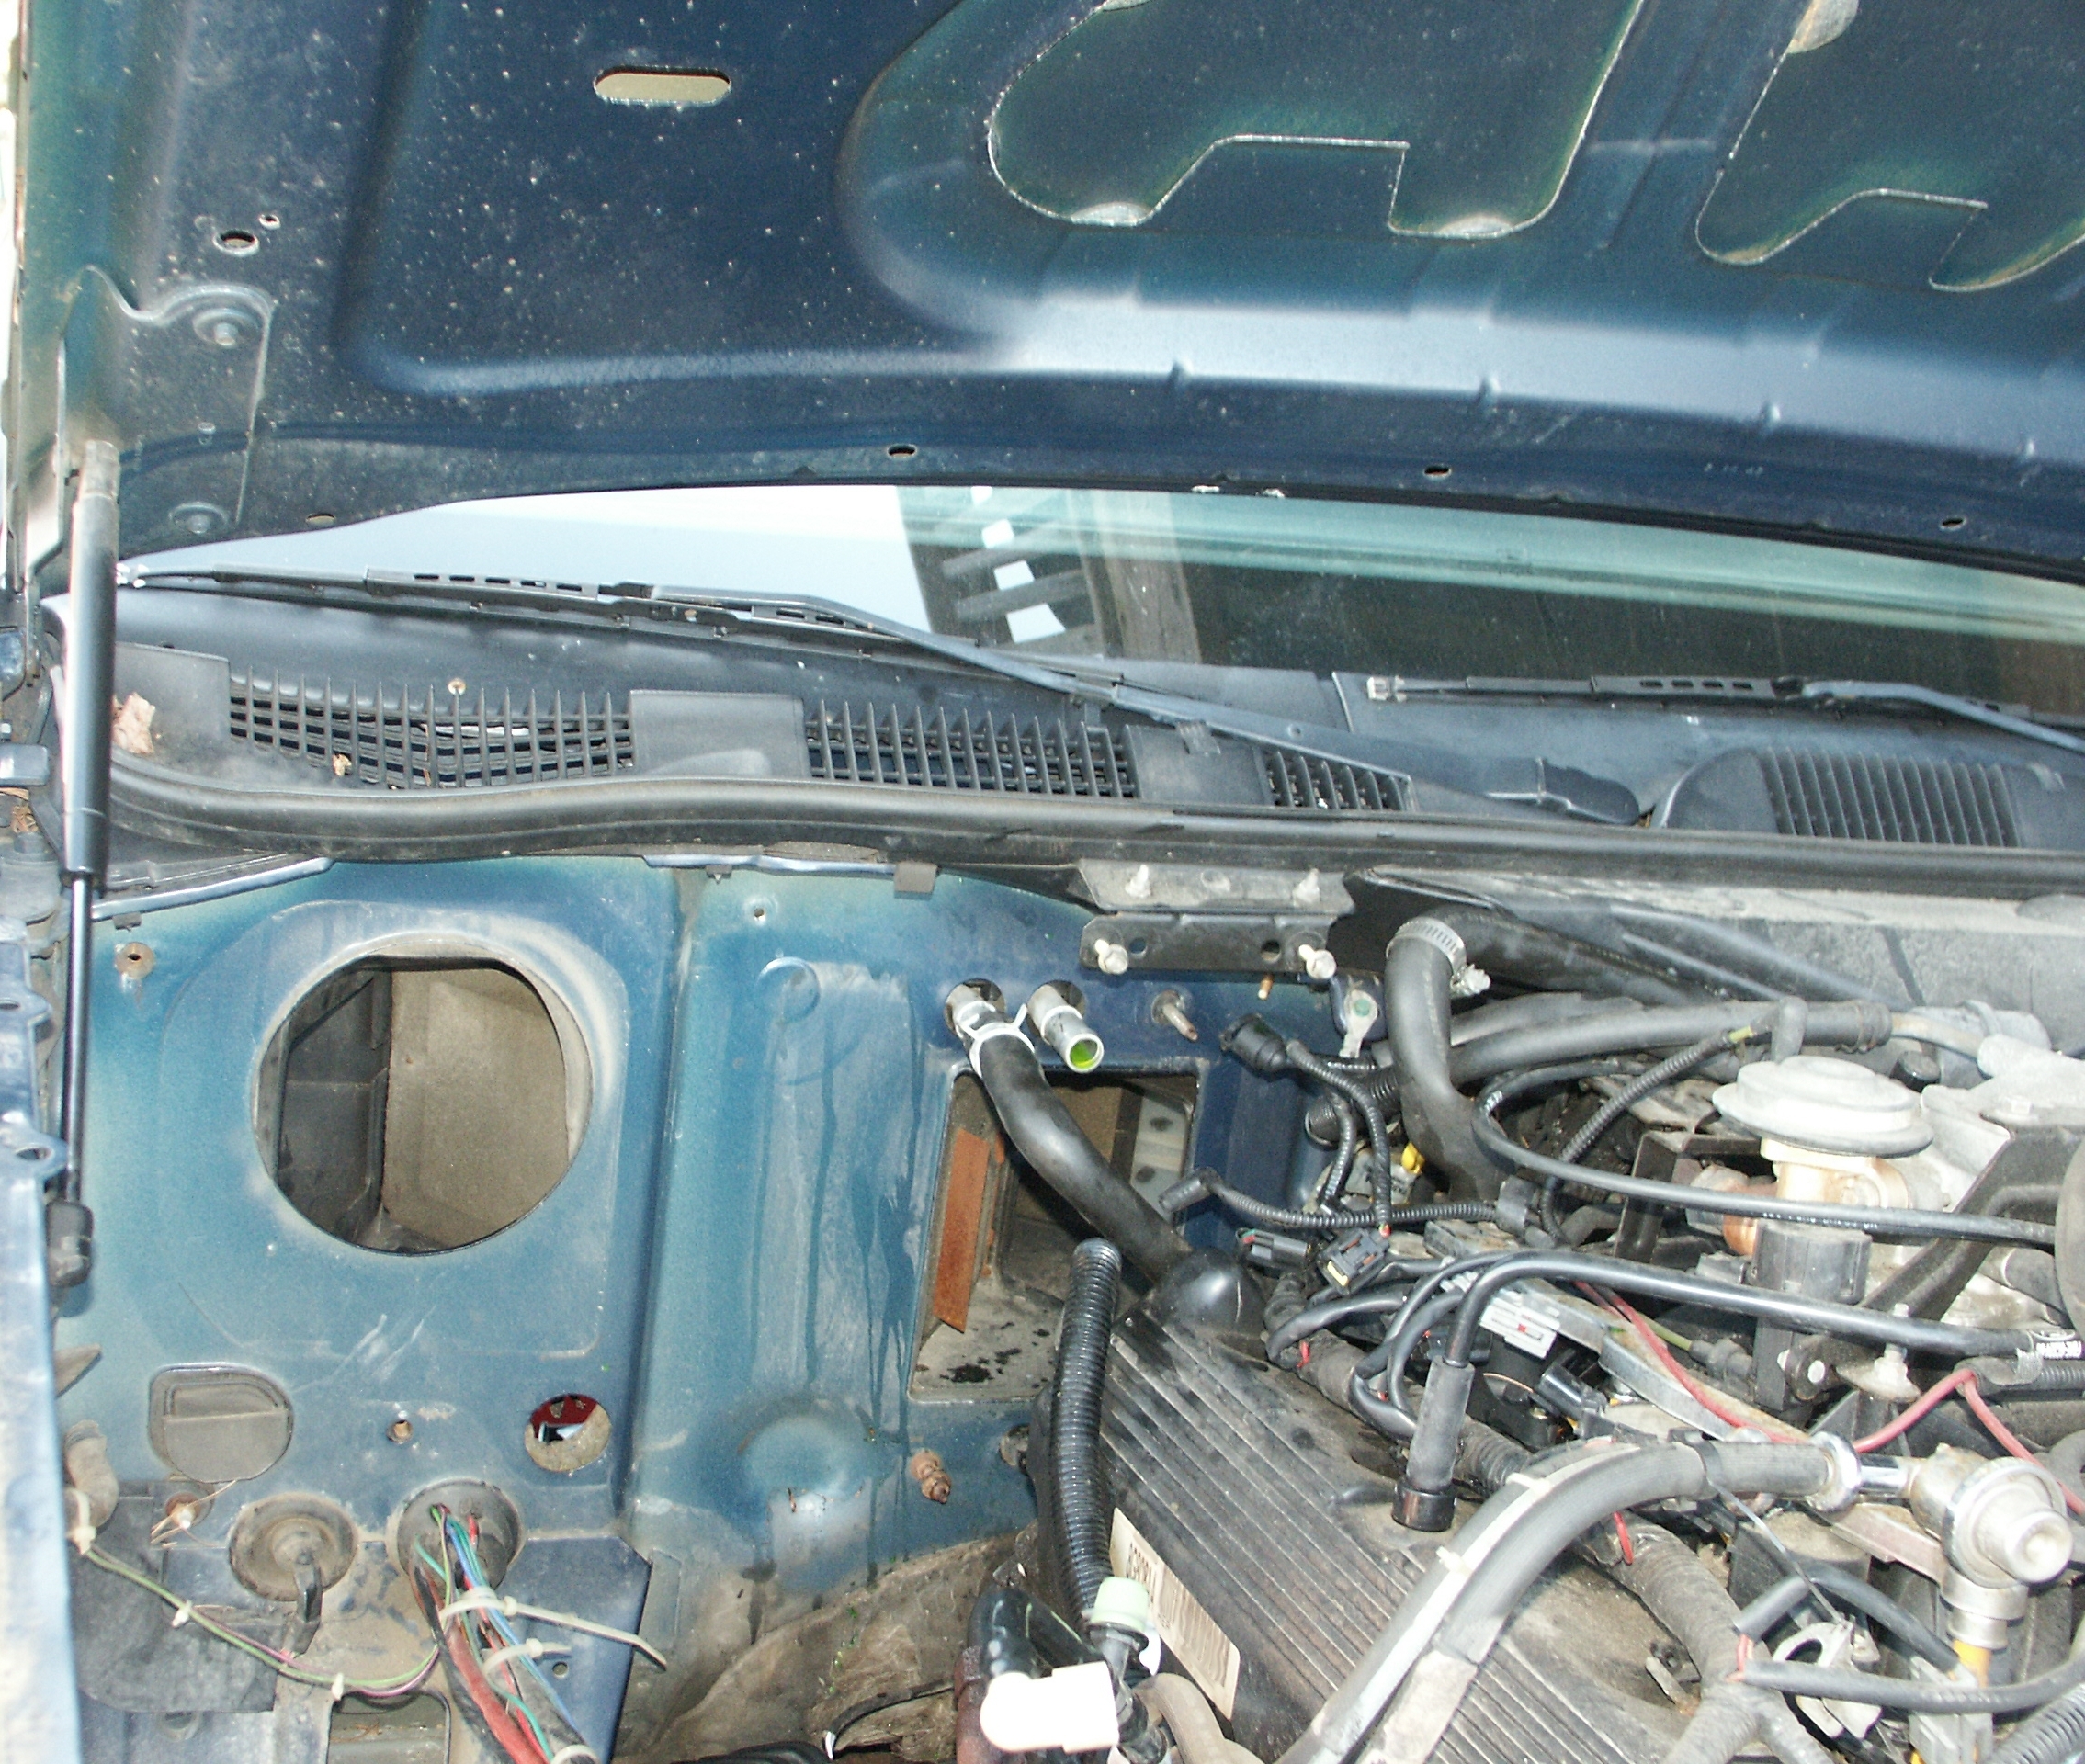
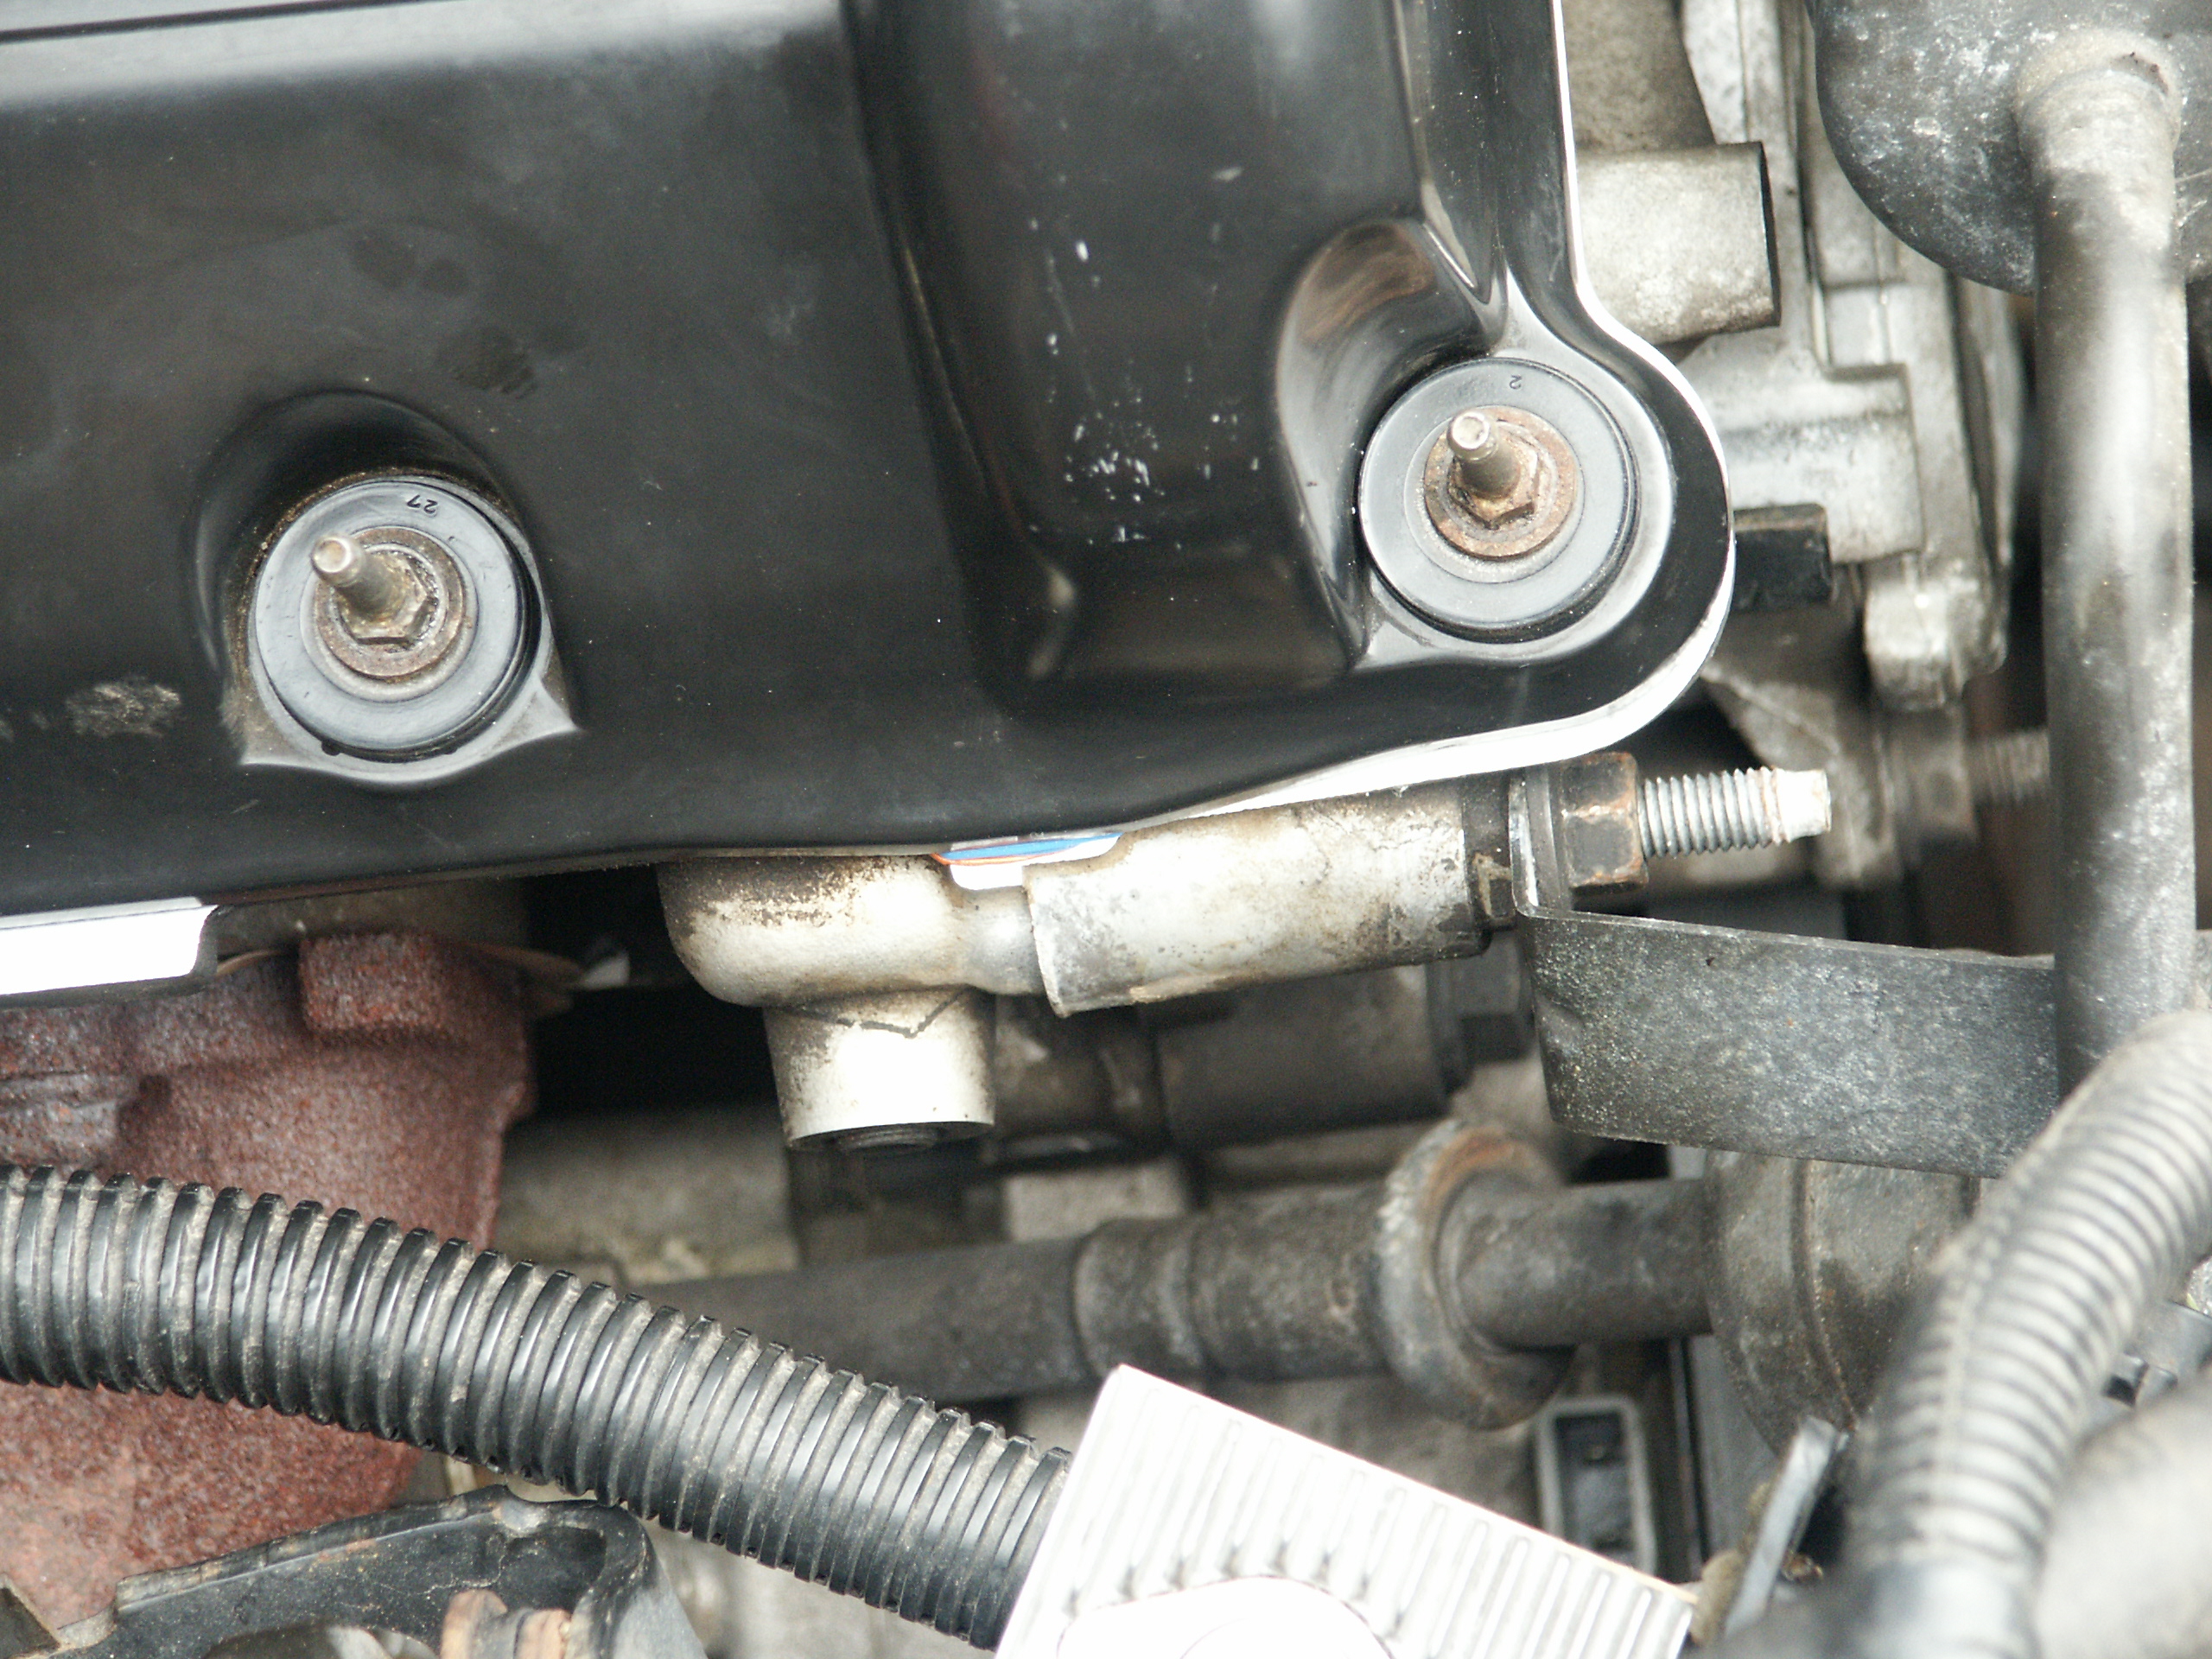
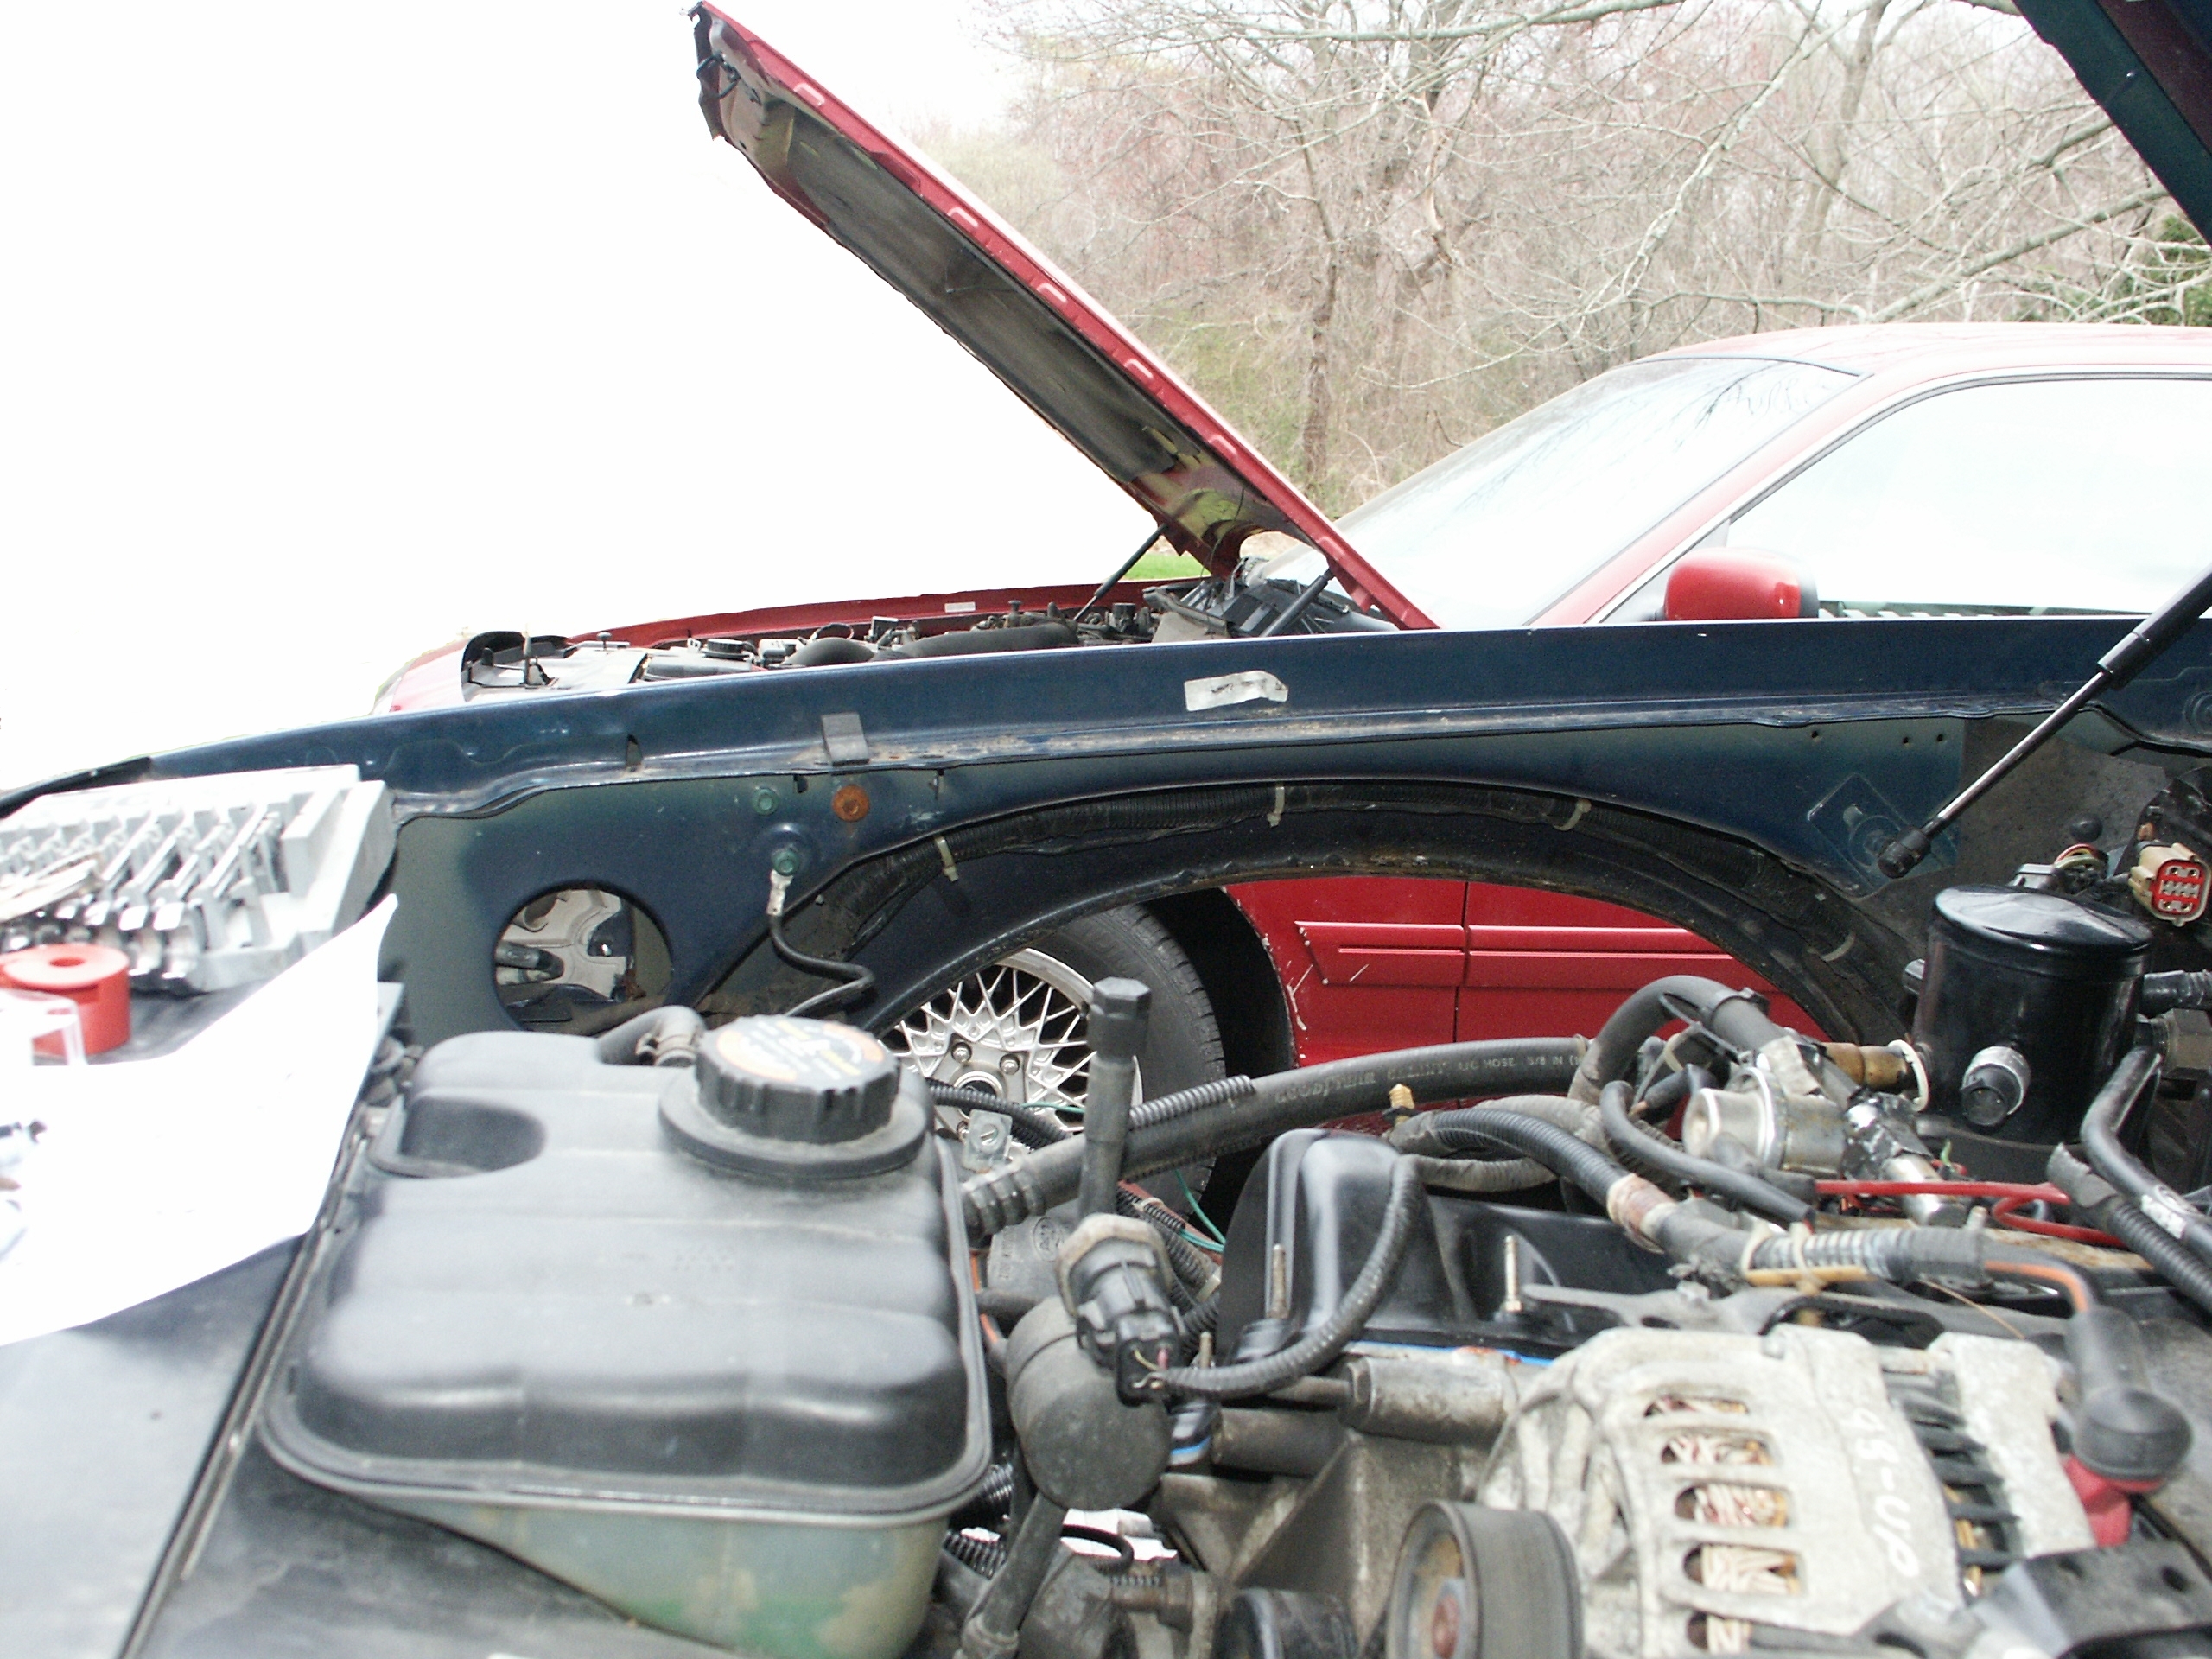
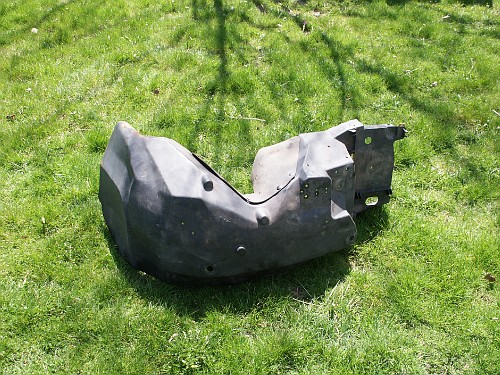
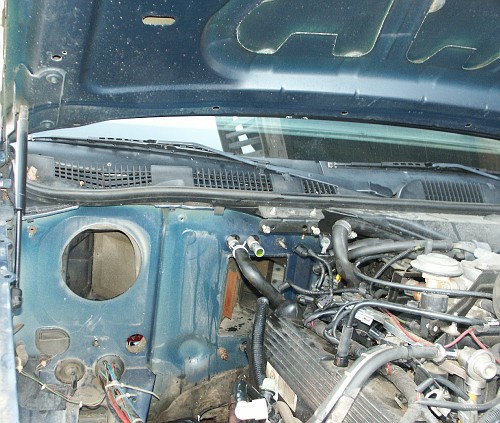
The first step is to remove the passenger's side fender liner
Note: Most of the images on
this page can be enlarged by clicking the left mouse button on the
appropriate picture in your web browser. If a red X appears instead of
an image, clicking the right mouse button in your web browser will
reveal a menu with the option to "show picture" which will attempt to
reload the selected picture from this server.
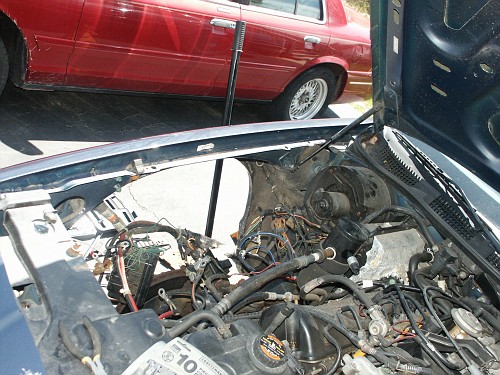


Now remove the blower motor resistor to obtain some additional
clearance between the valve cover and evaporator housing.
And also remove the blower motor, evaporative emissions valve, and
heater core hoses too.
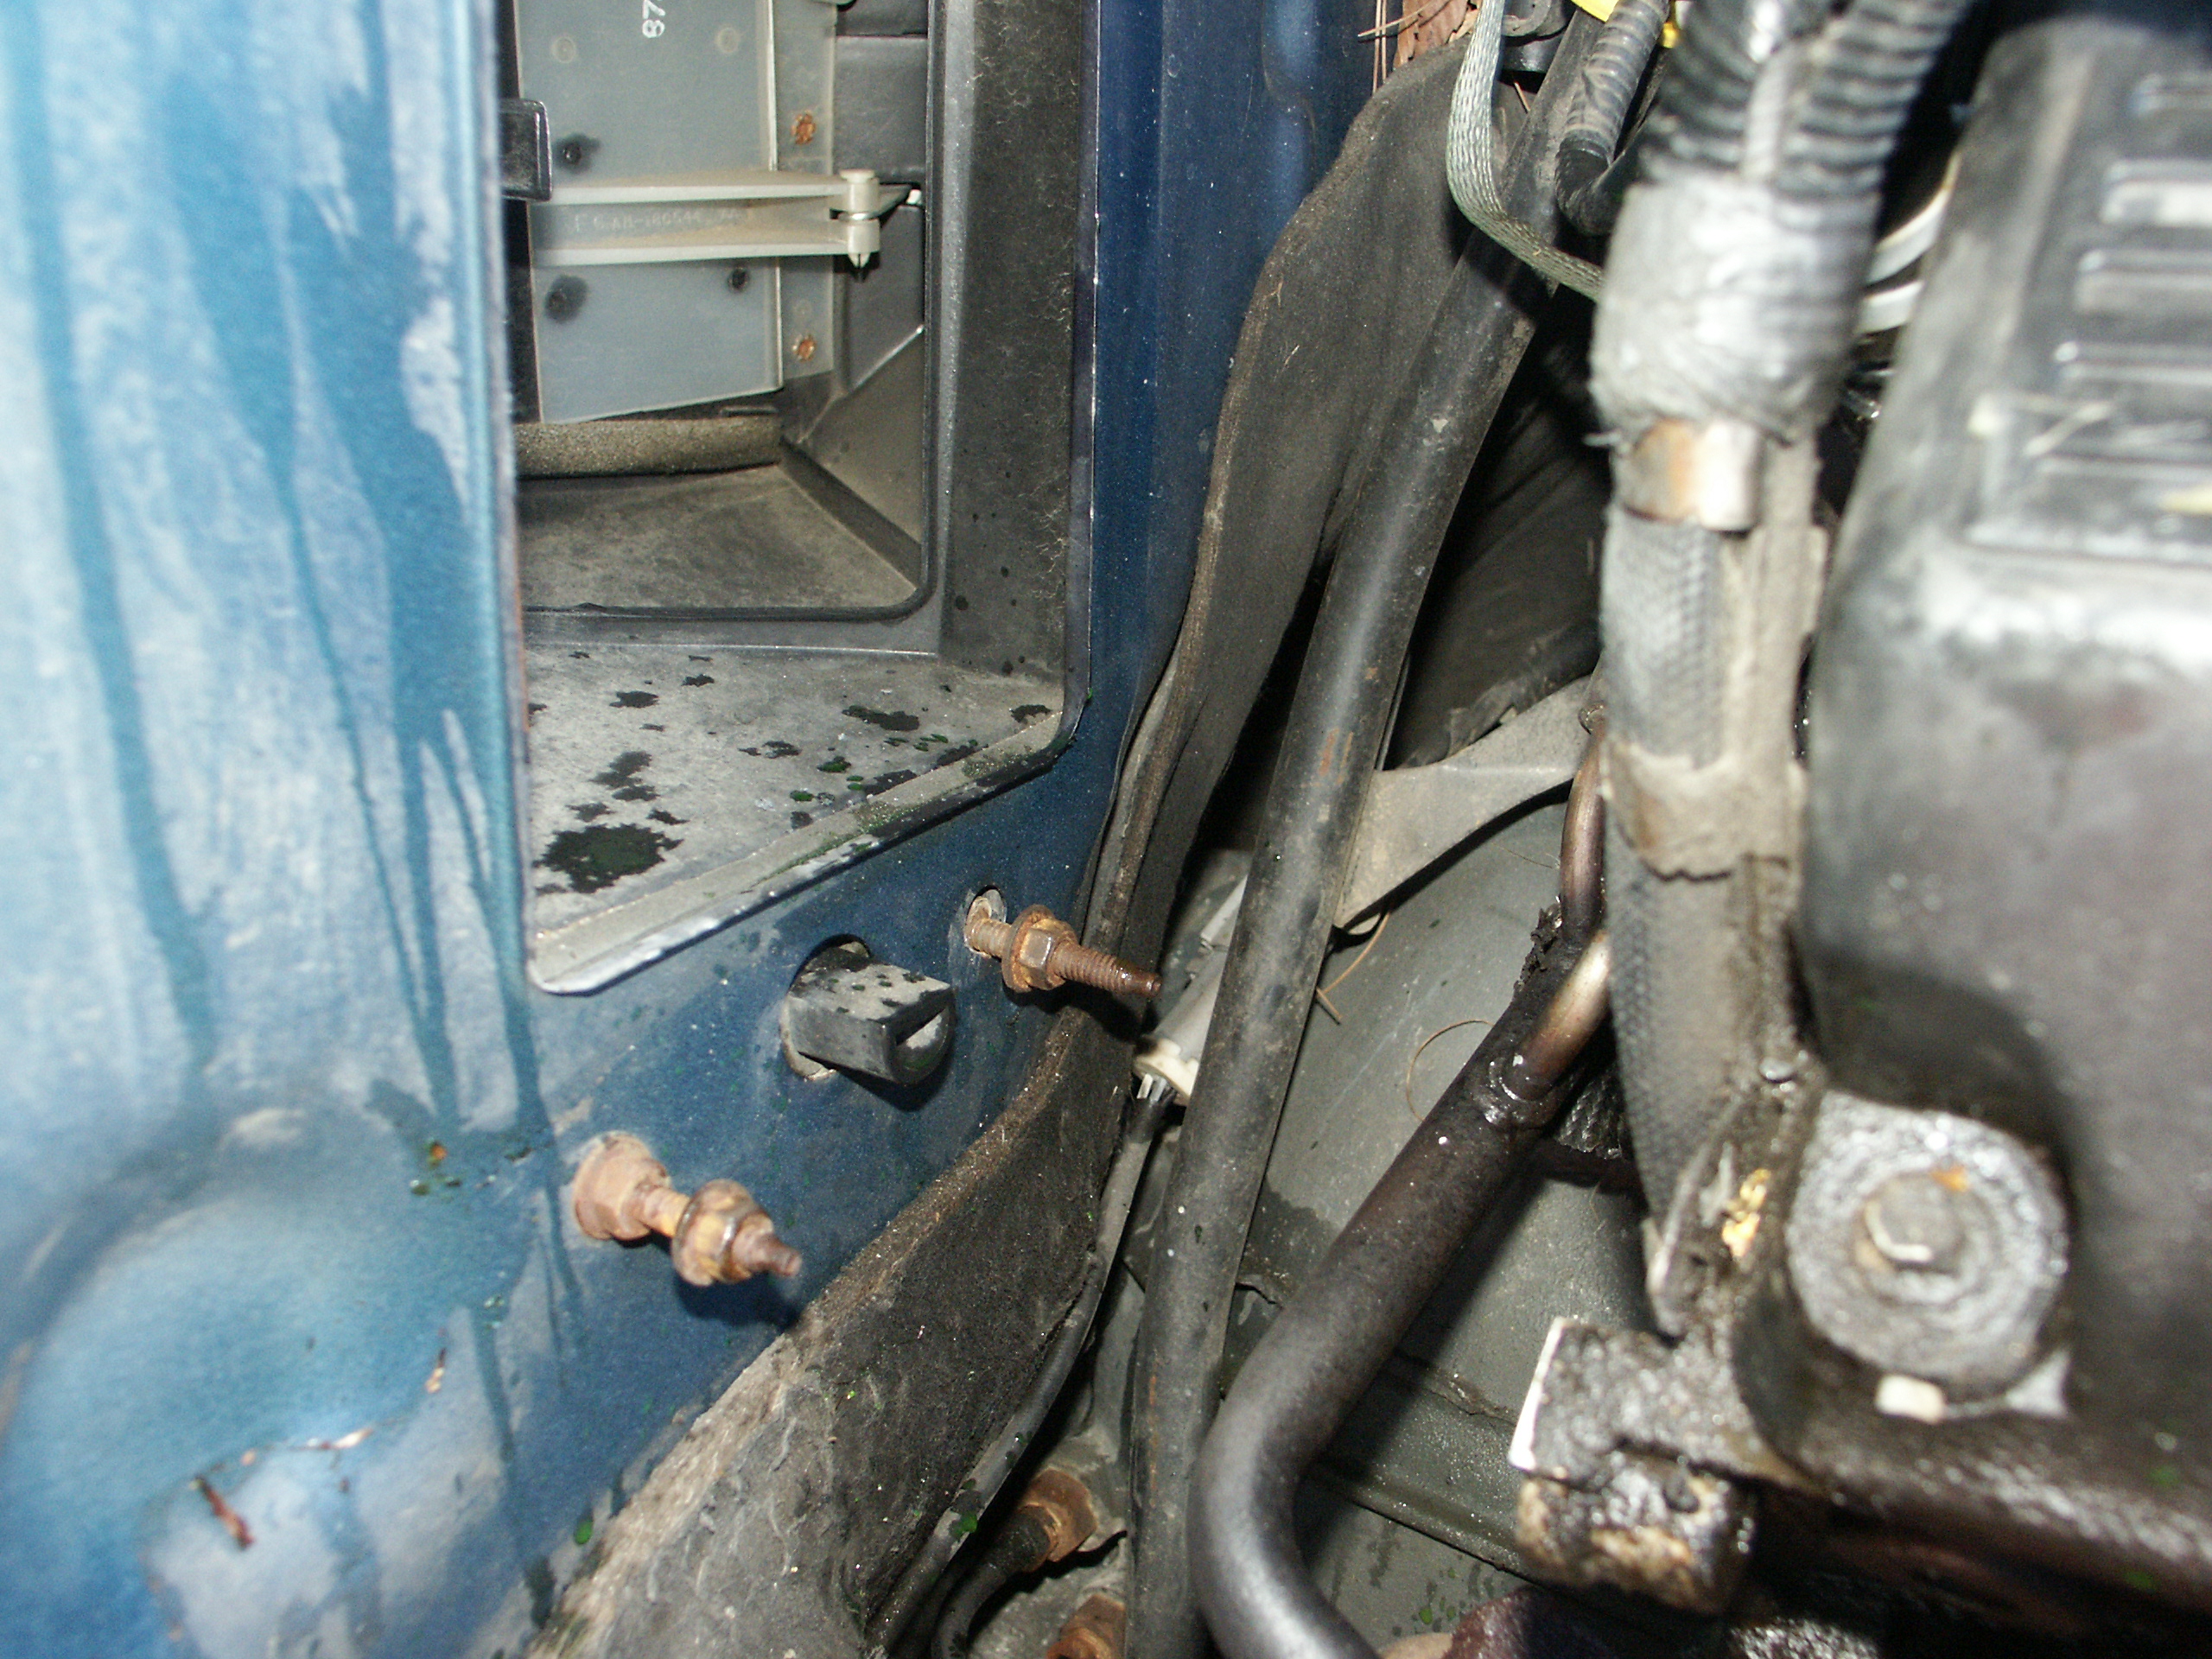
And after the fasteners which retain the evaporator housing to the
firewall are removed, the evaporator housing can be pulled forward off
of the heater core tubes and lifted upwards out of the engine bay.
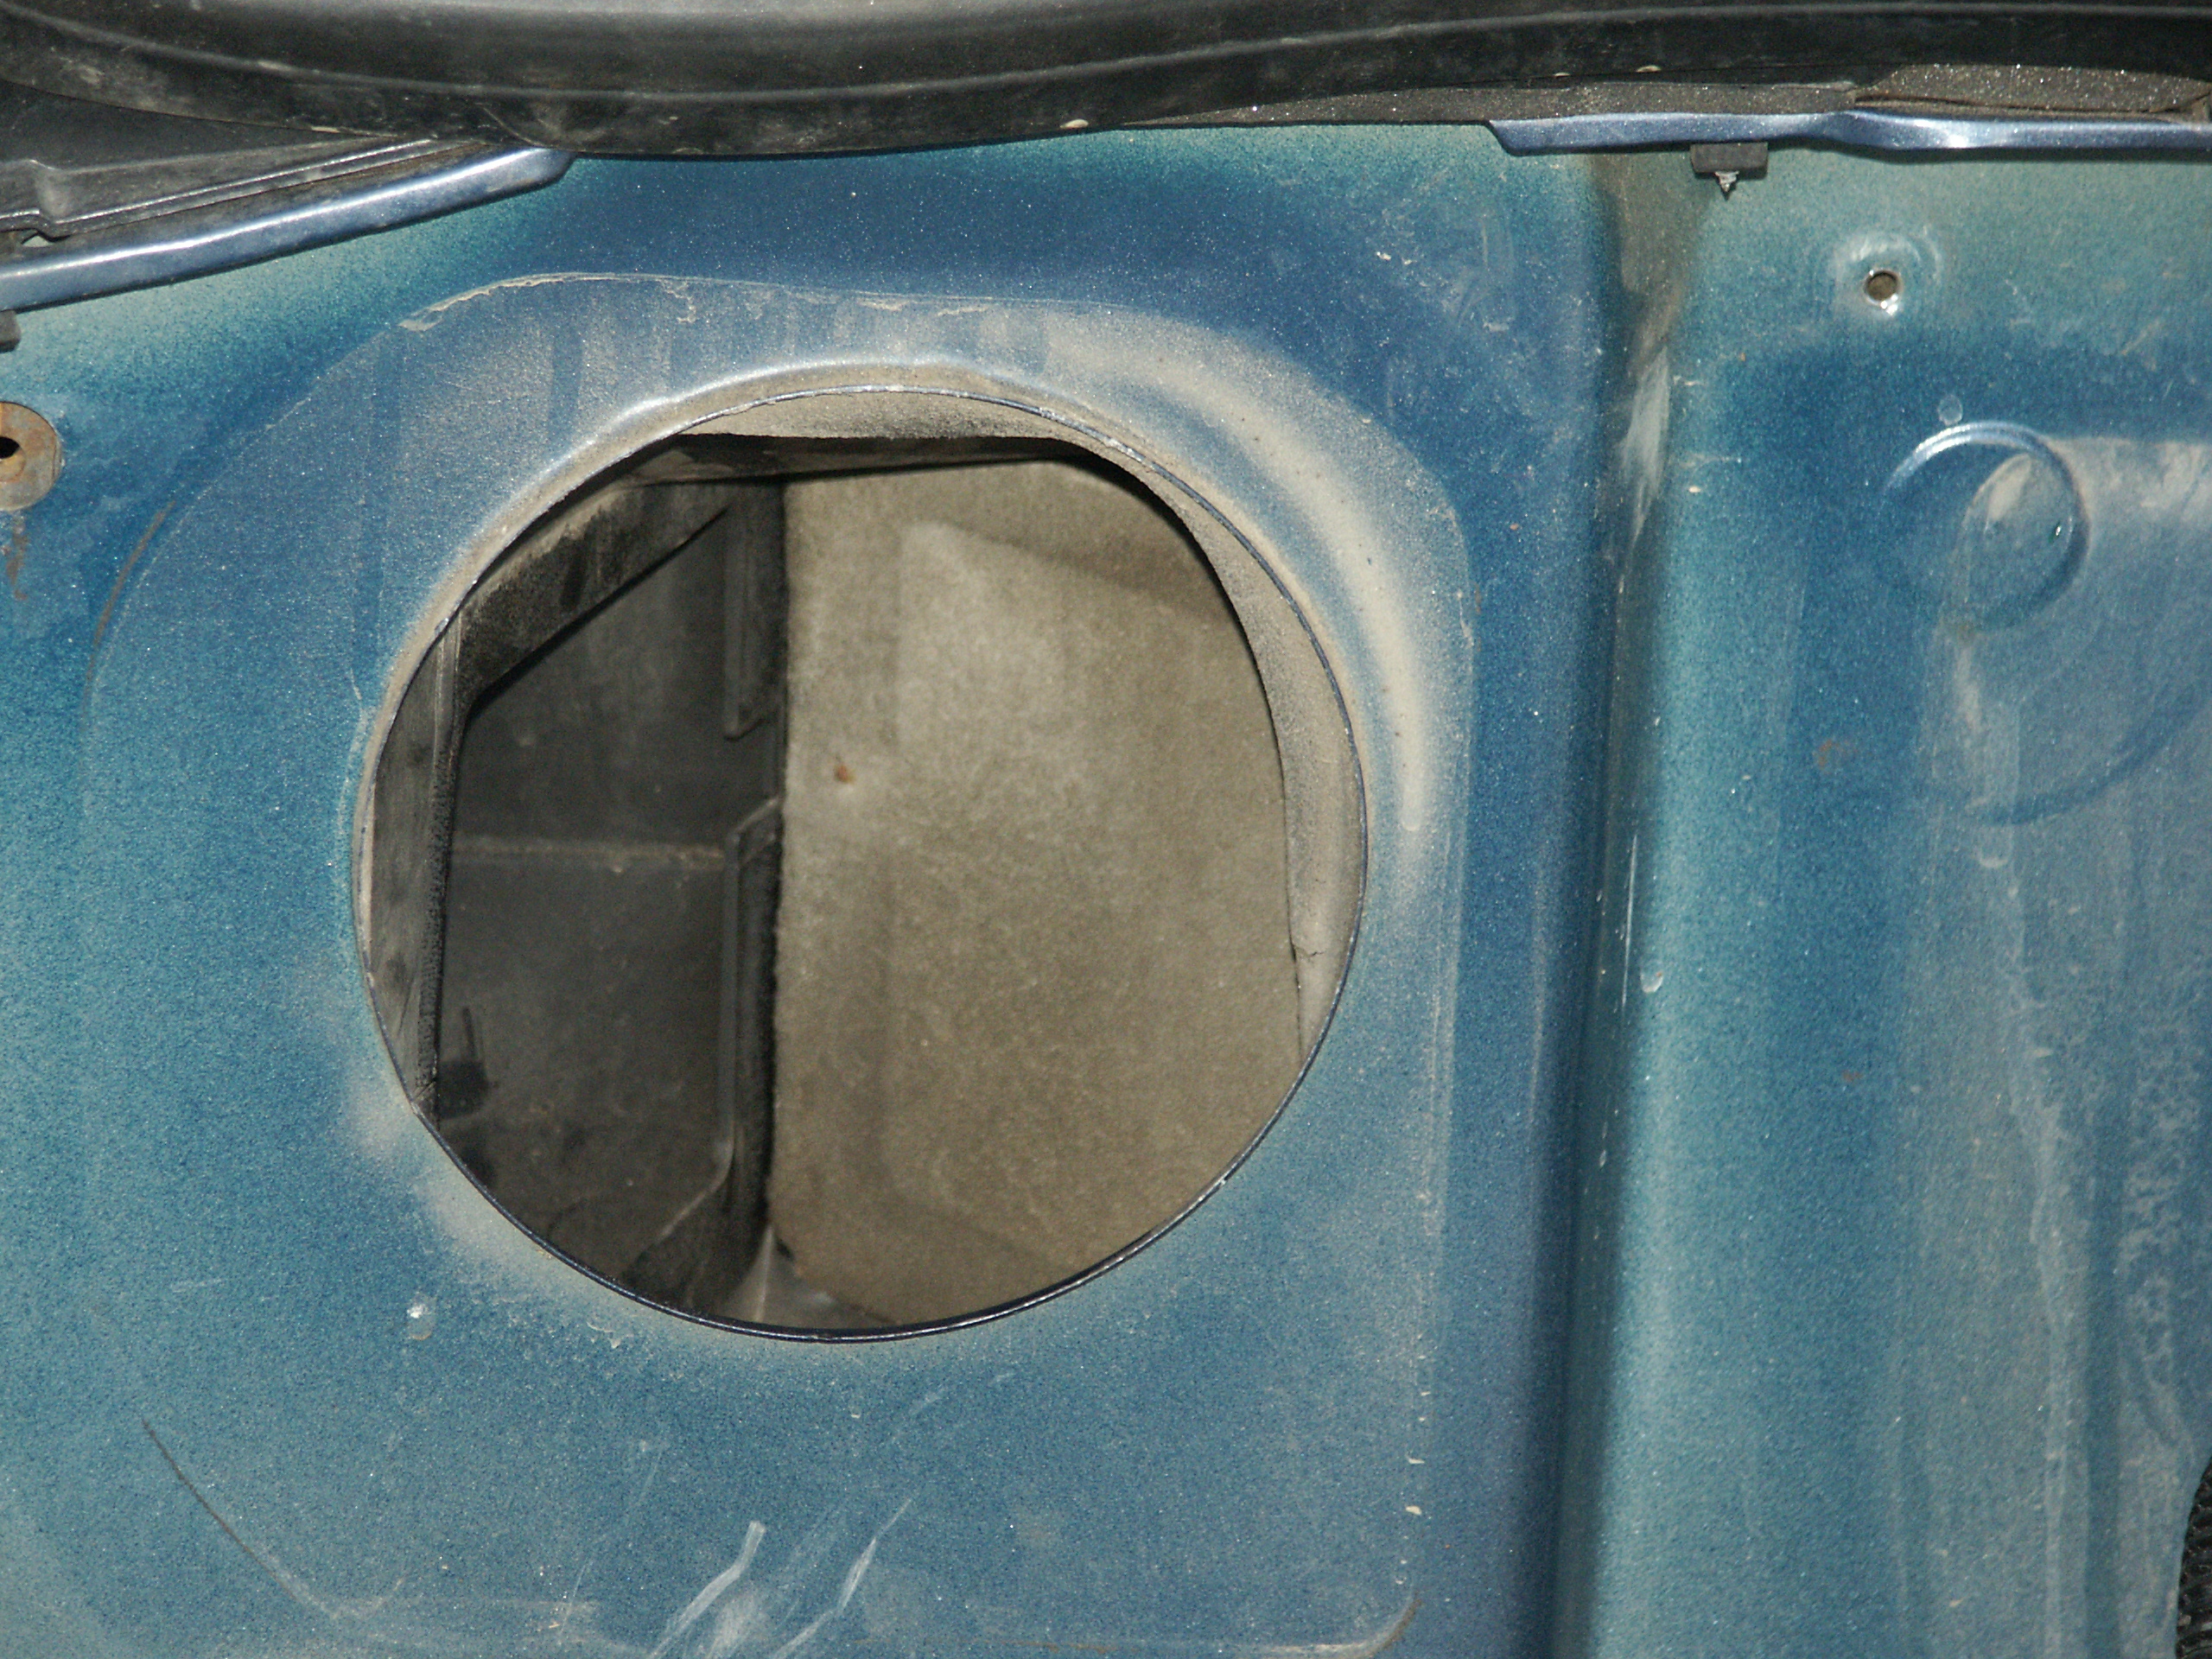
On the left is the hole in the firewall which the blower motor suctions
air through. The recirc door which controls whether air is pulled from
inside the passenger compartment or from outside the car is visible
here.
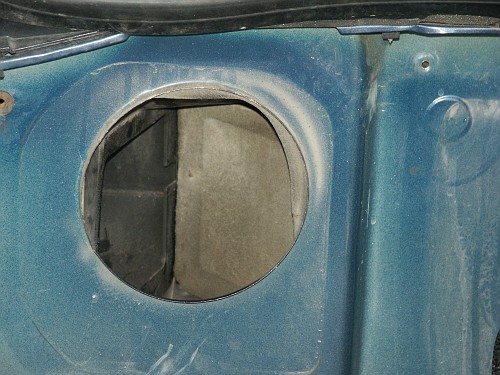
And on the right is the blend door which controls whether air is
directed through the heater core or not.

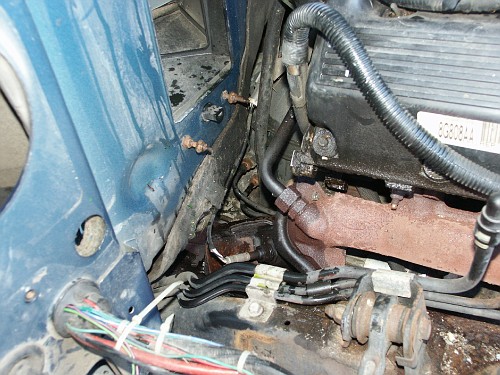
While the evaporator housing is out, spray the retaining studs with
penetrant oil and run the nuts on/off a few times so they turn easily
when the evaporator housing is being re-installed.

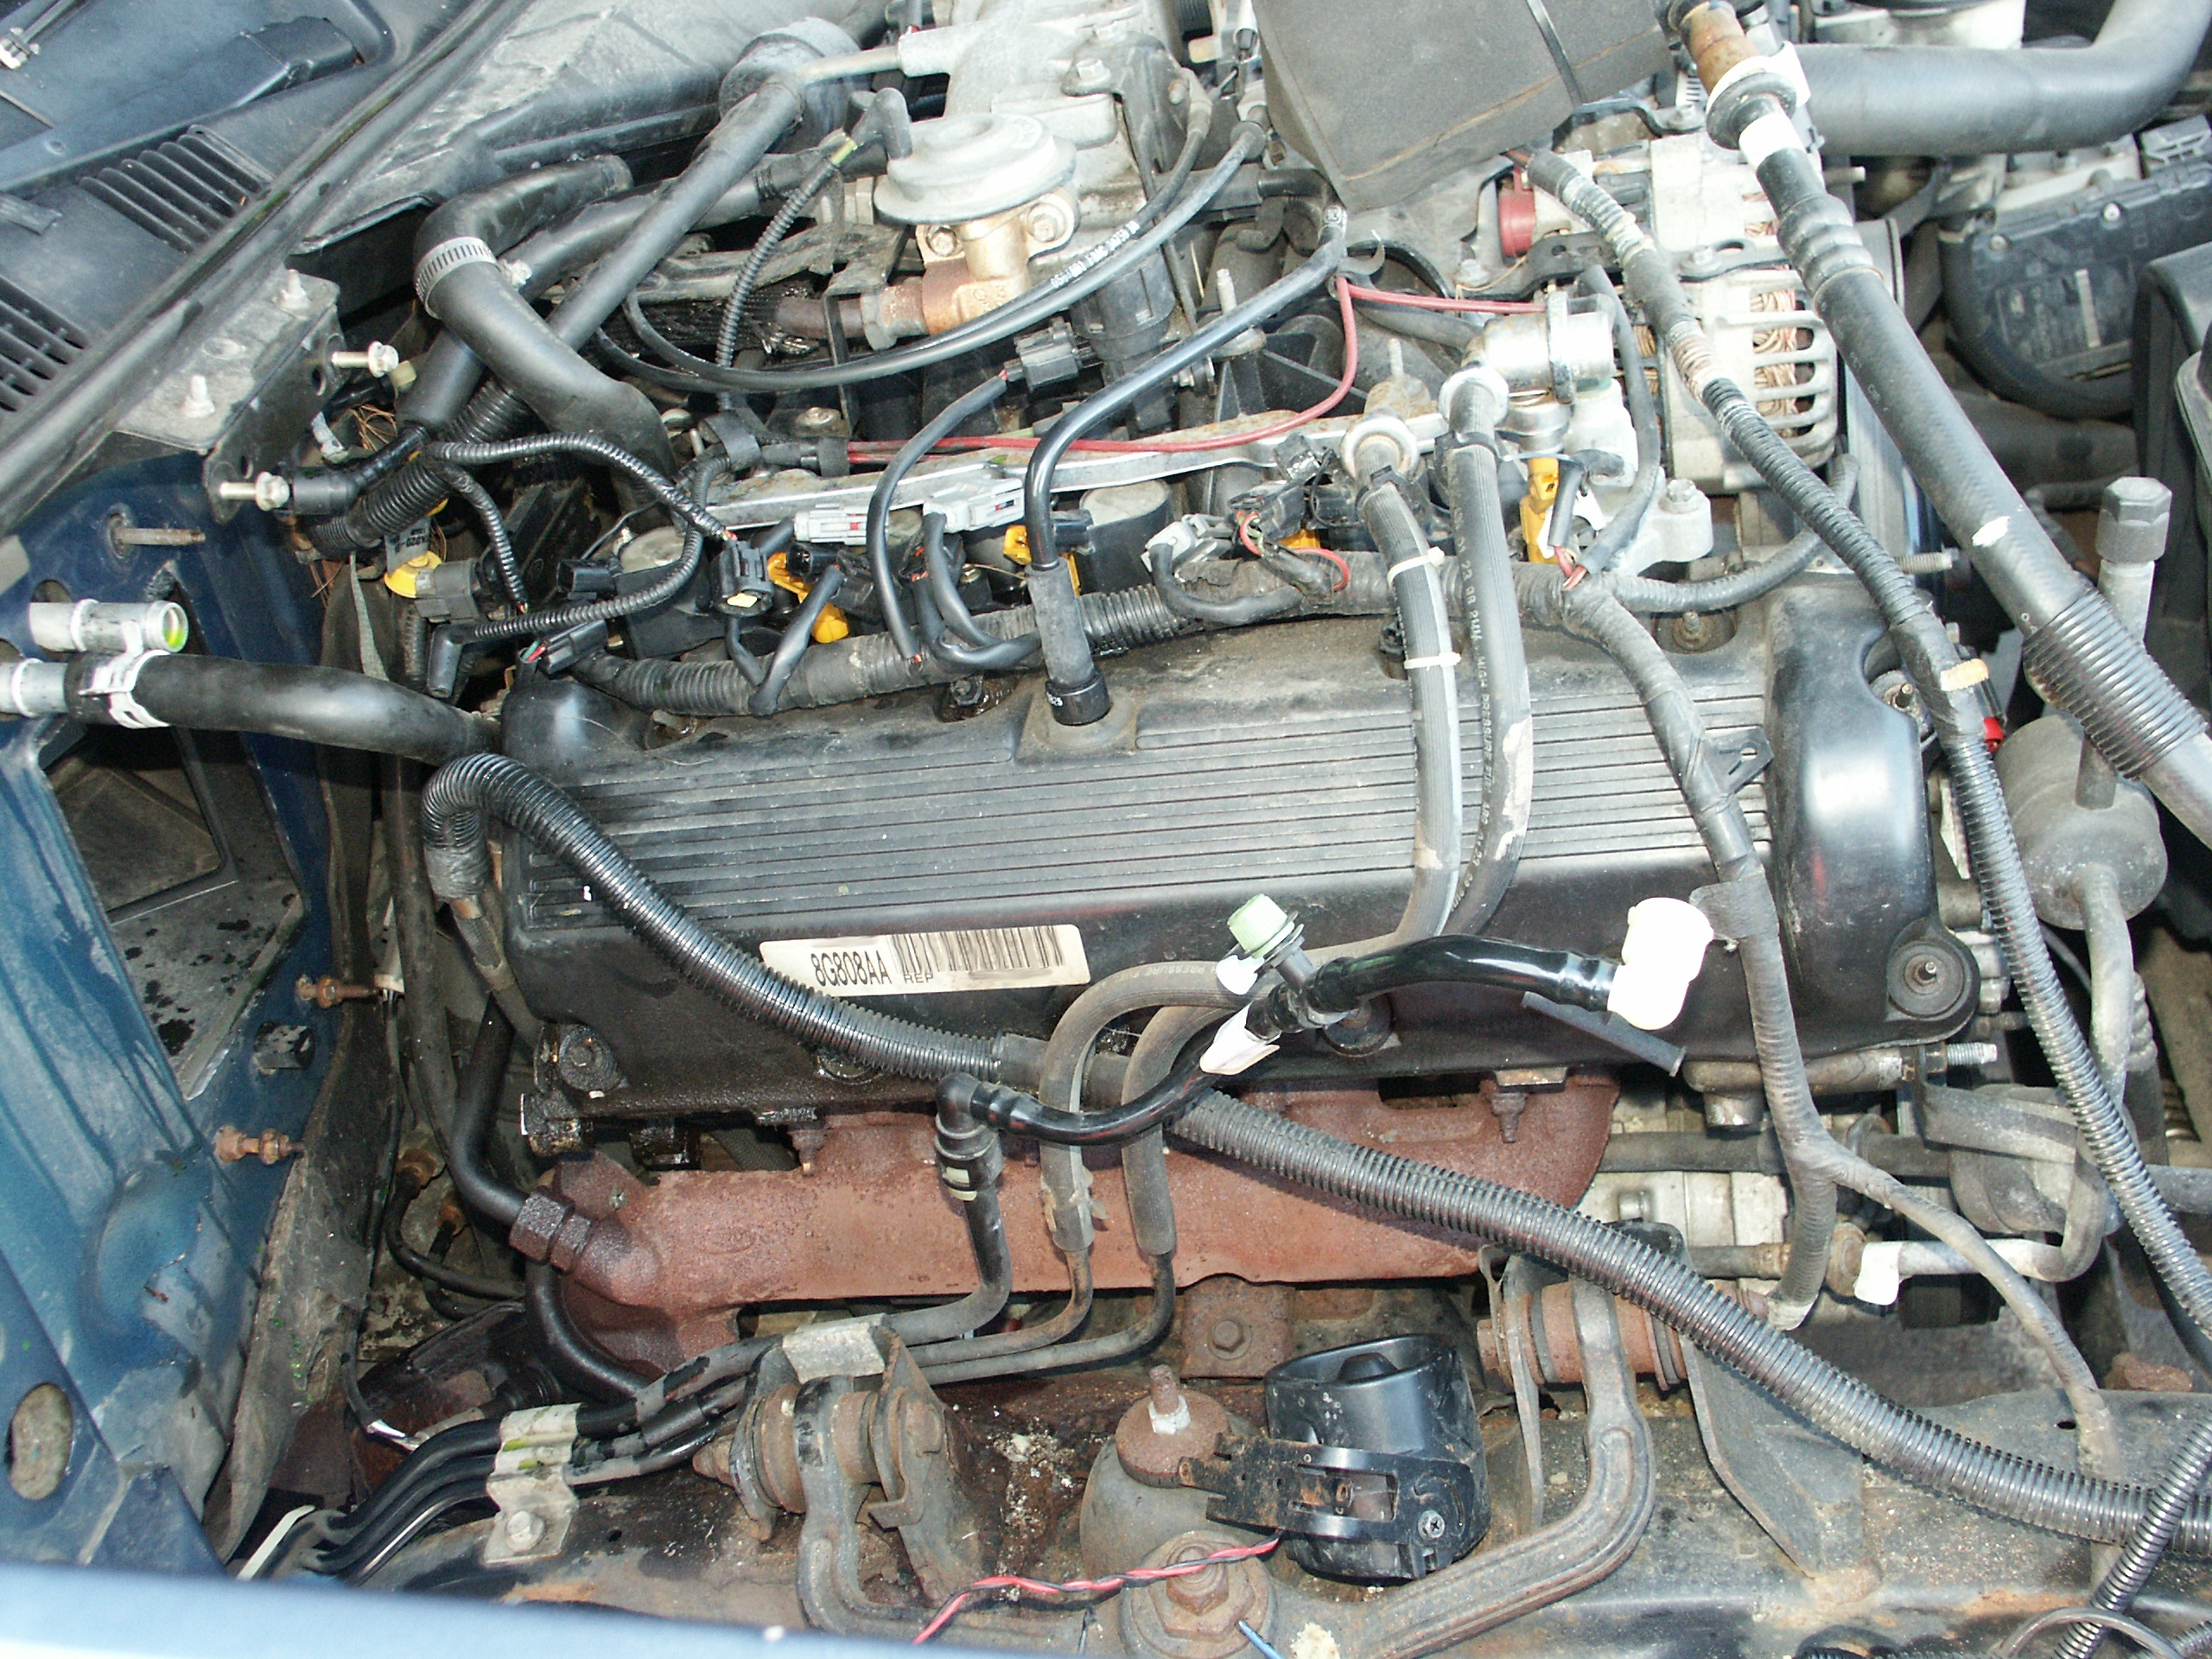
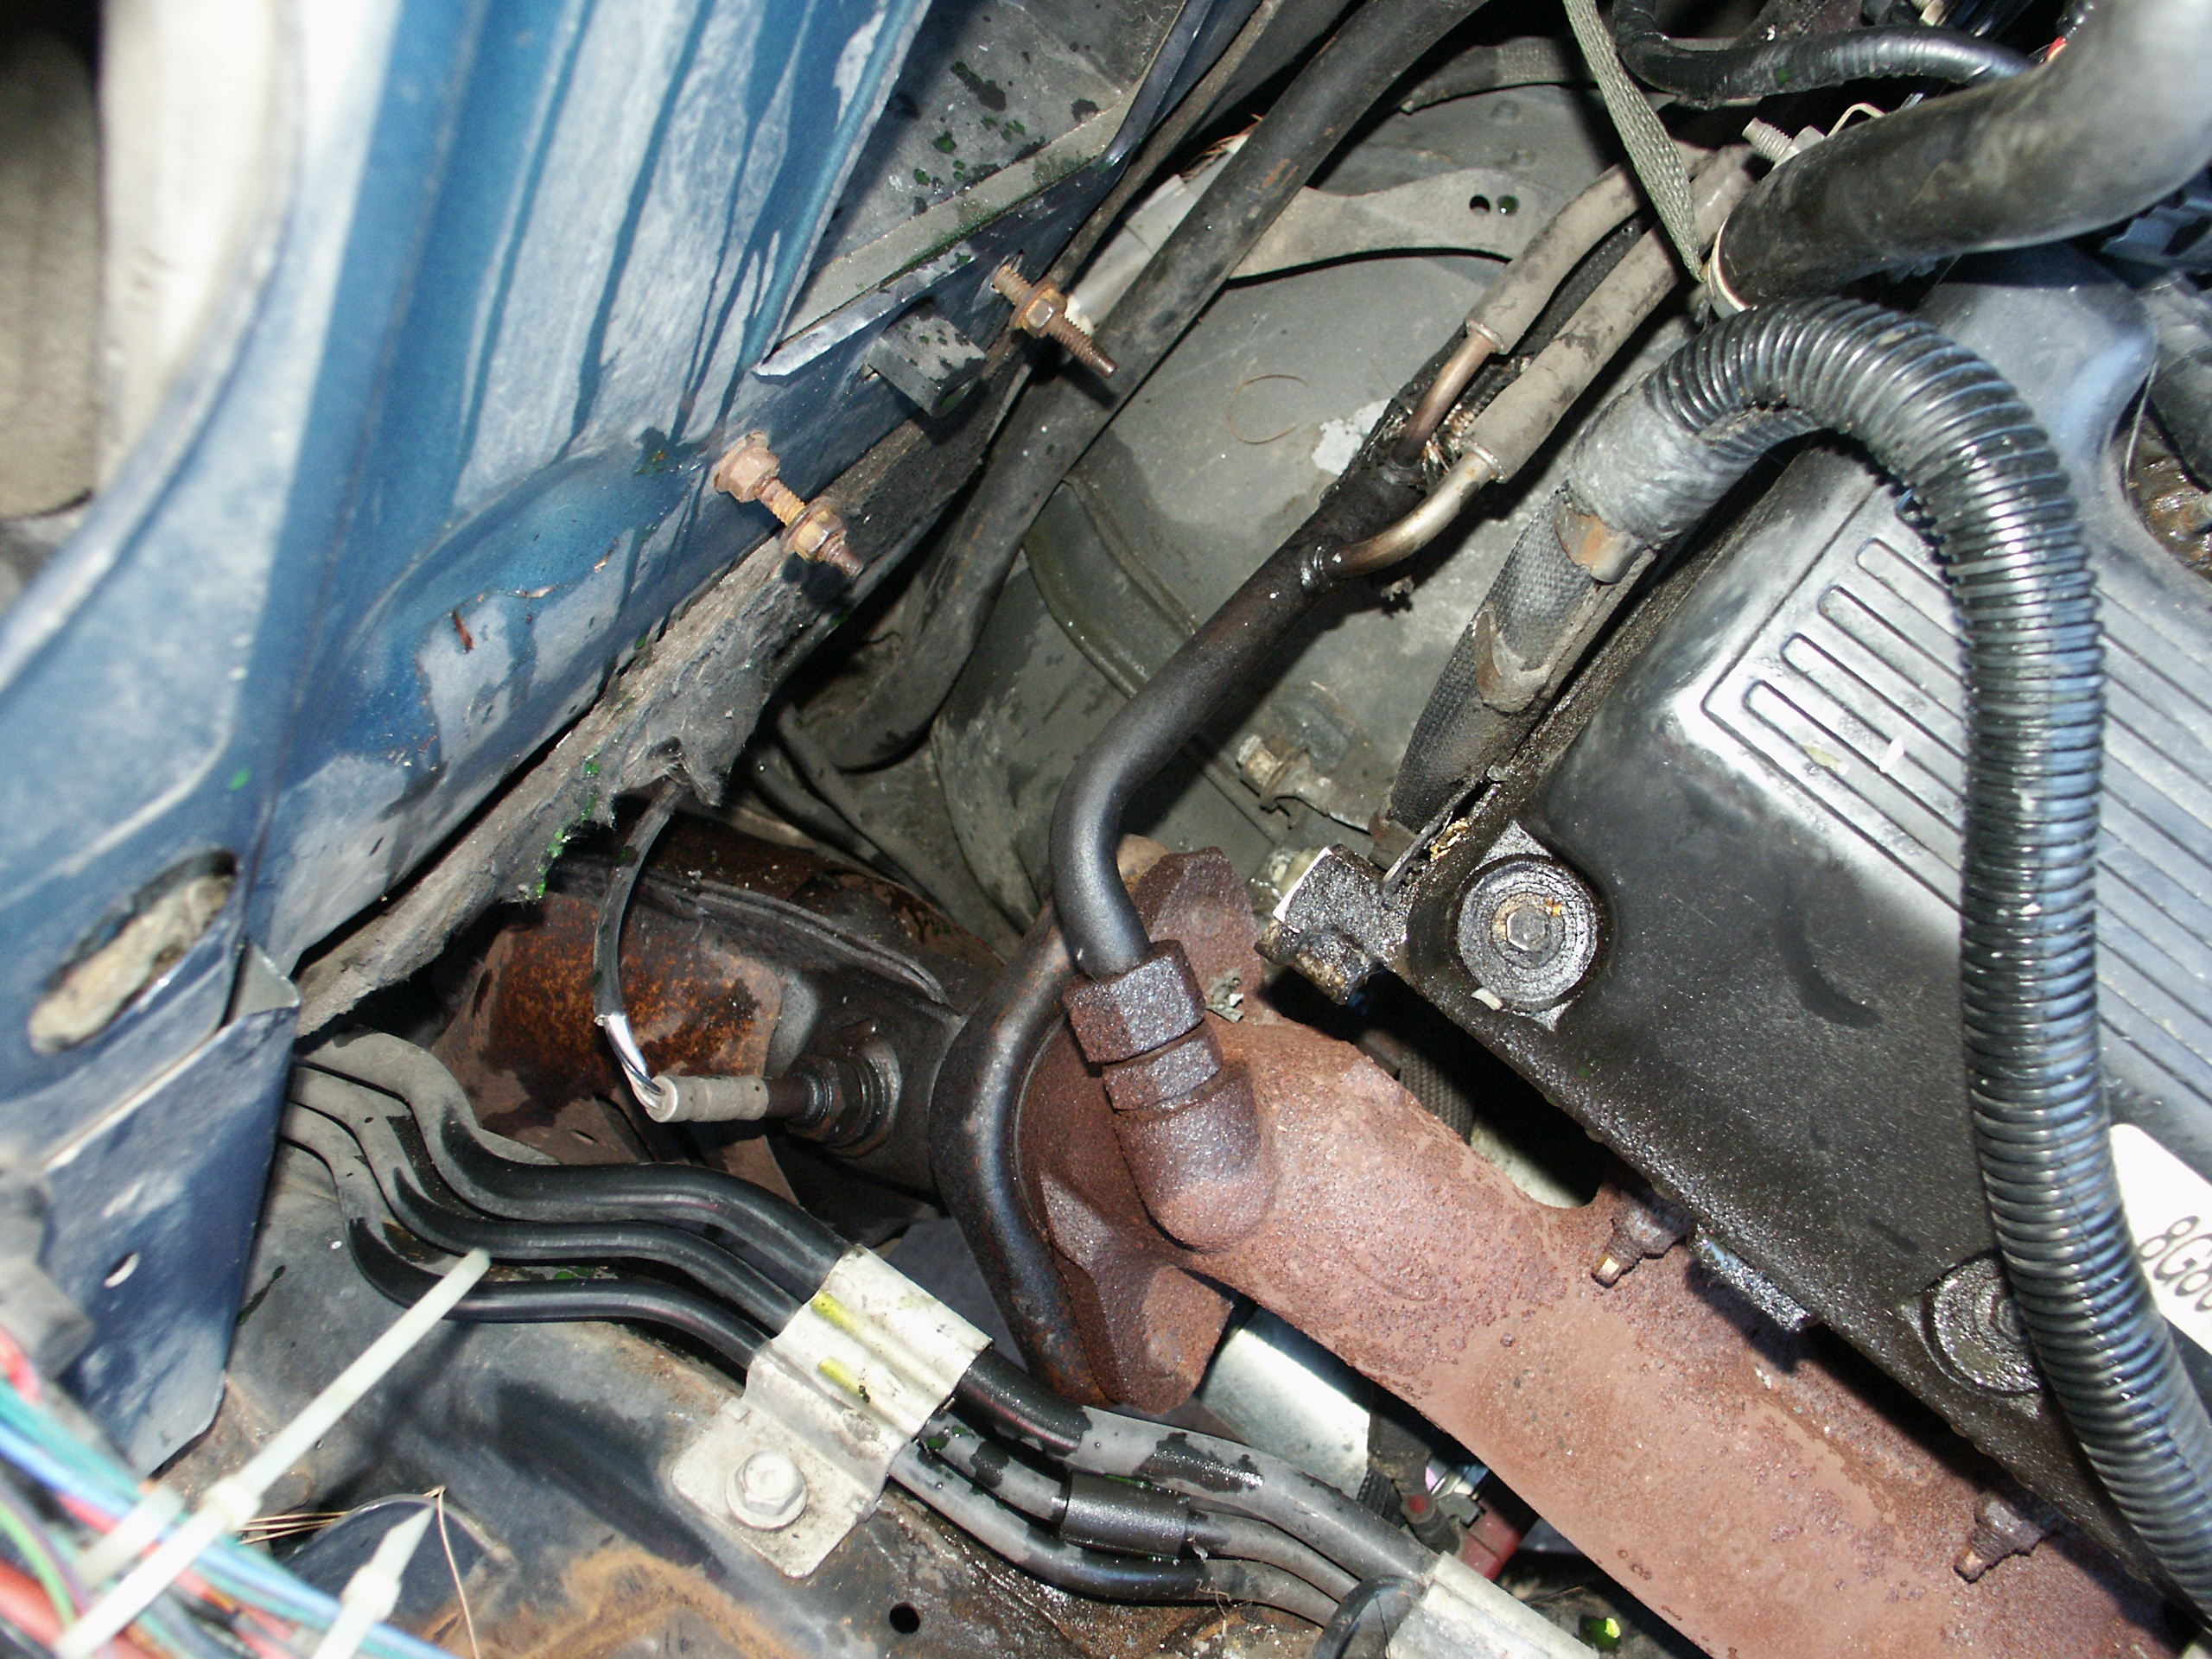
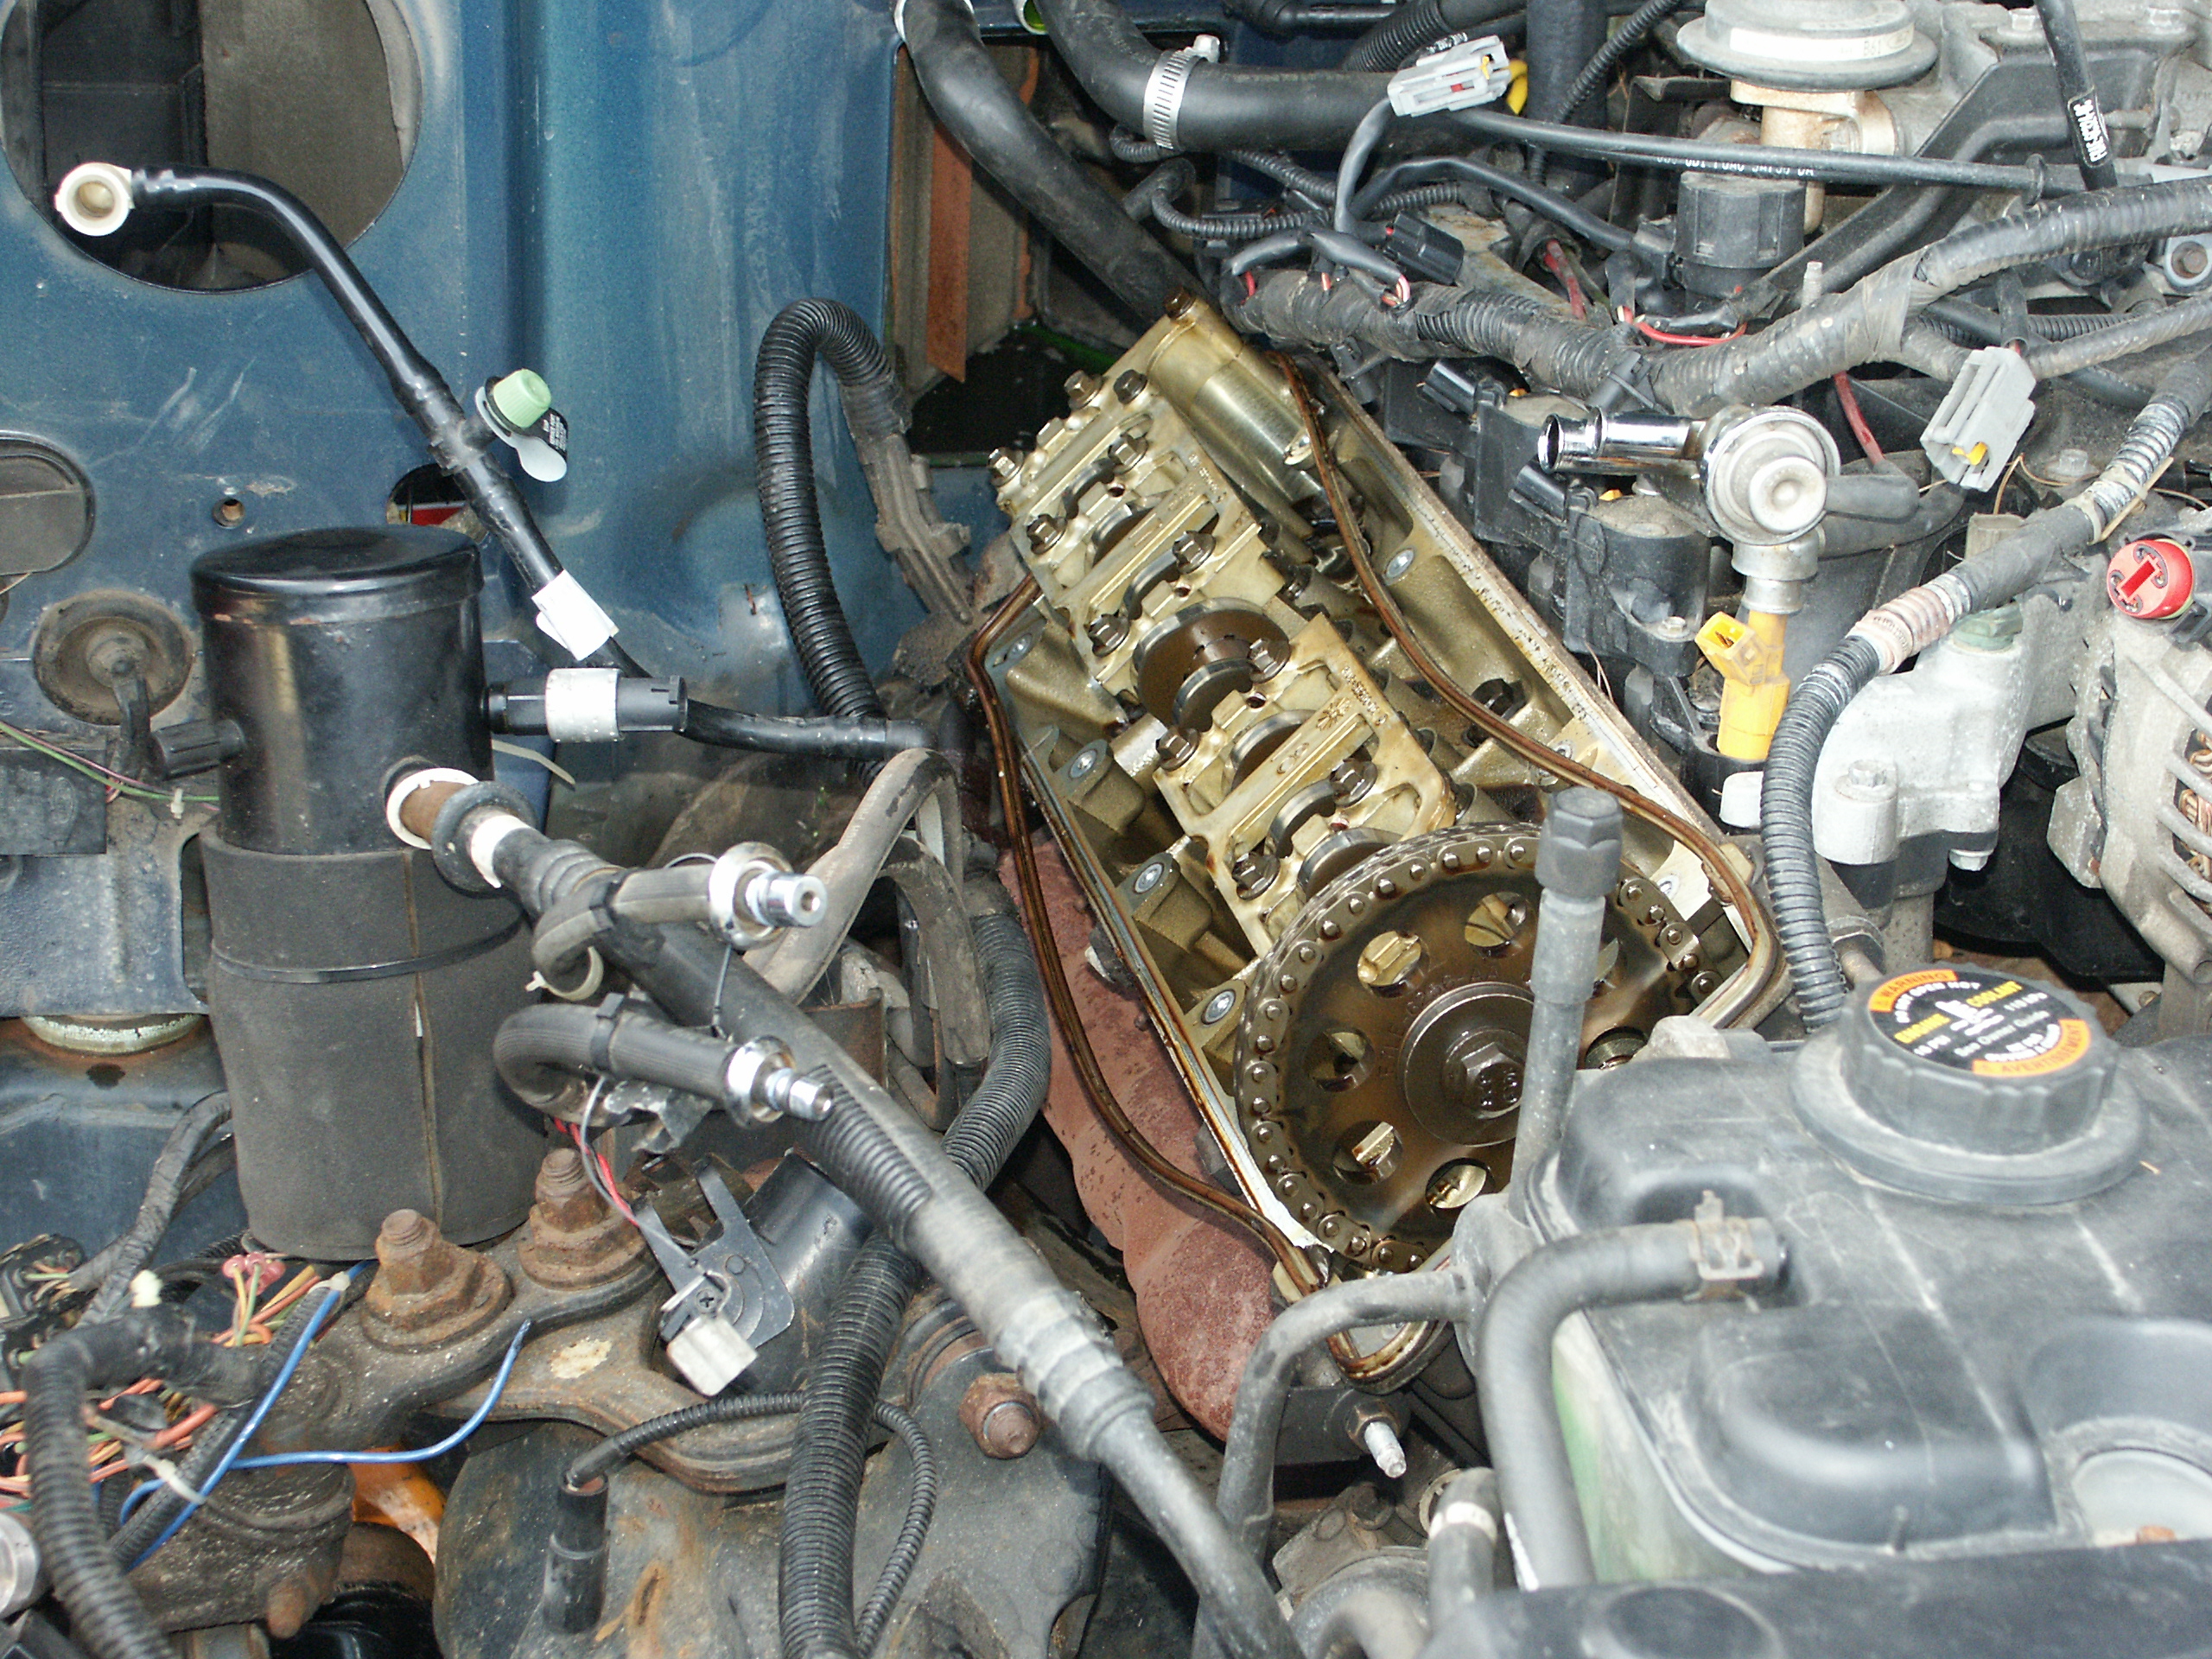
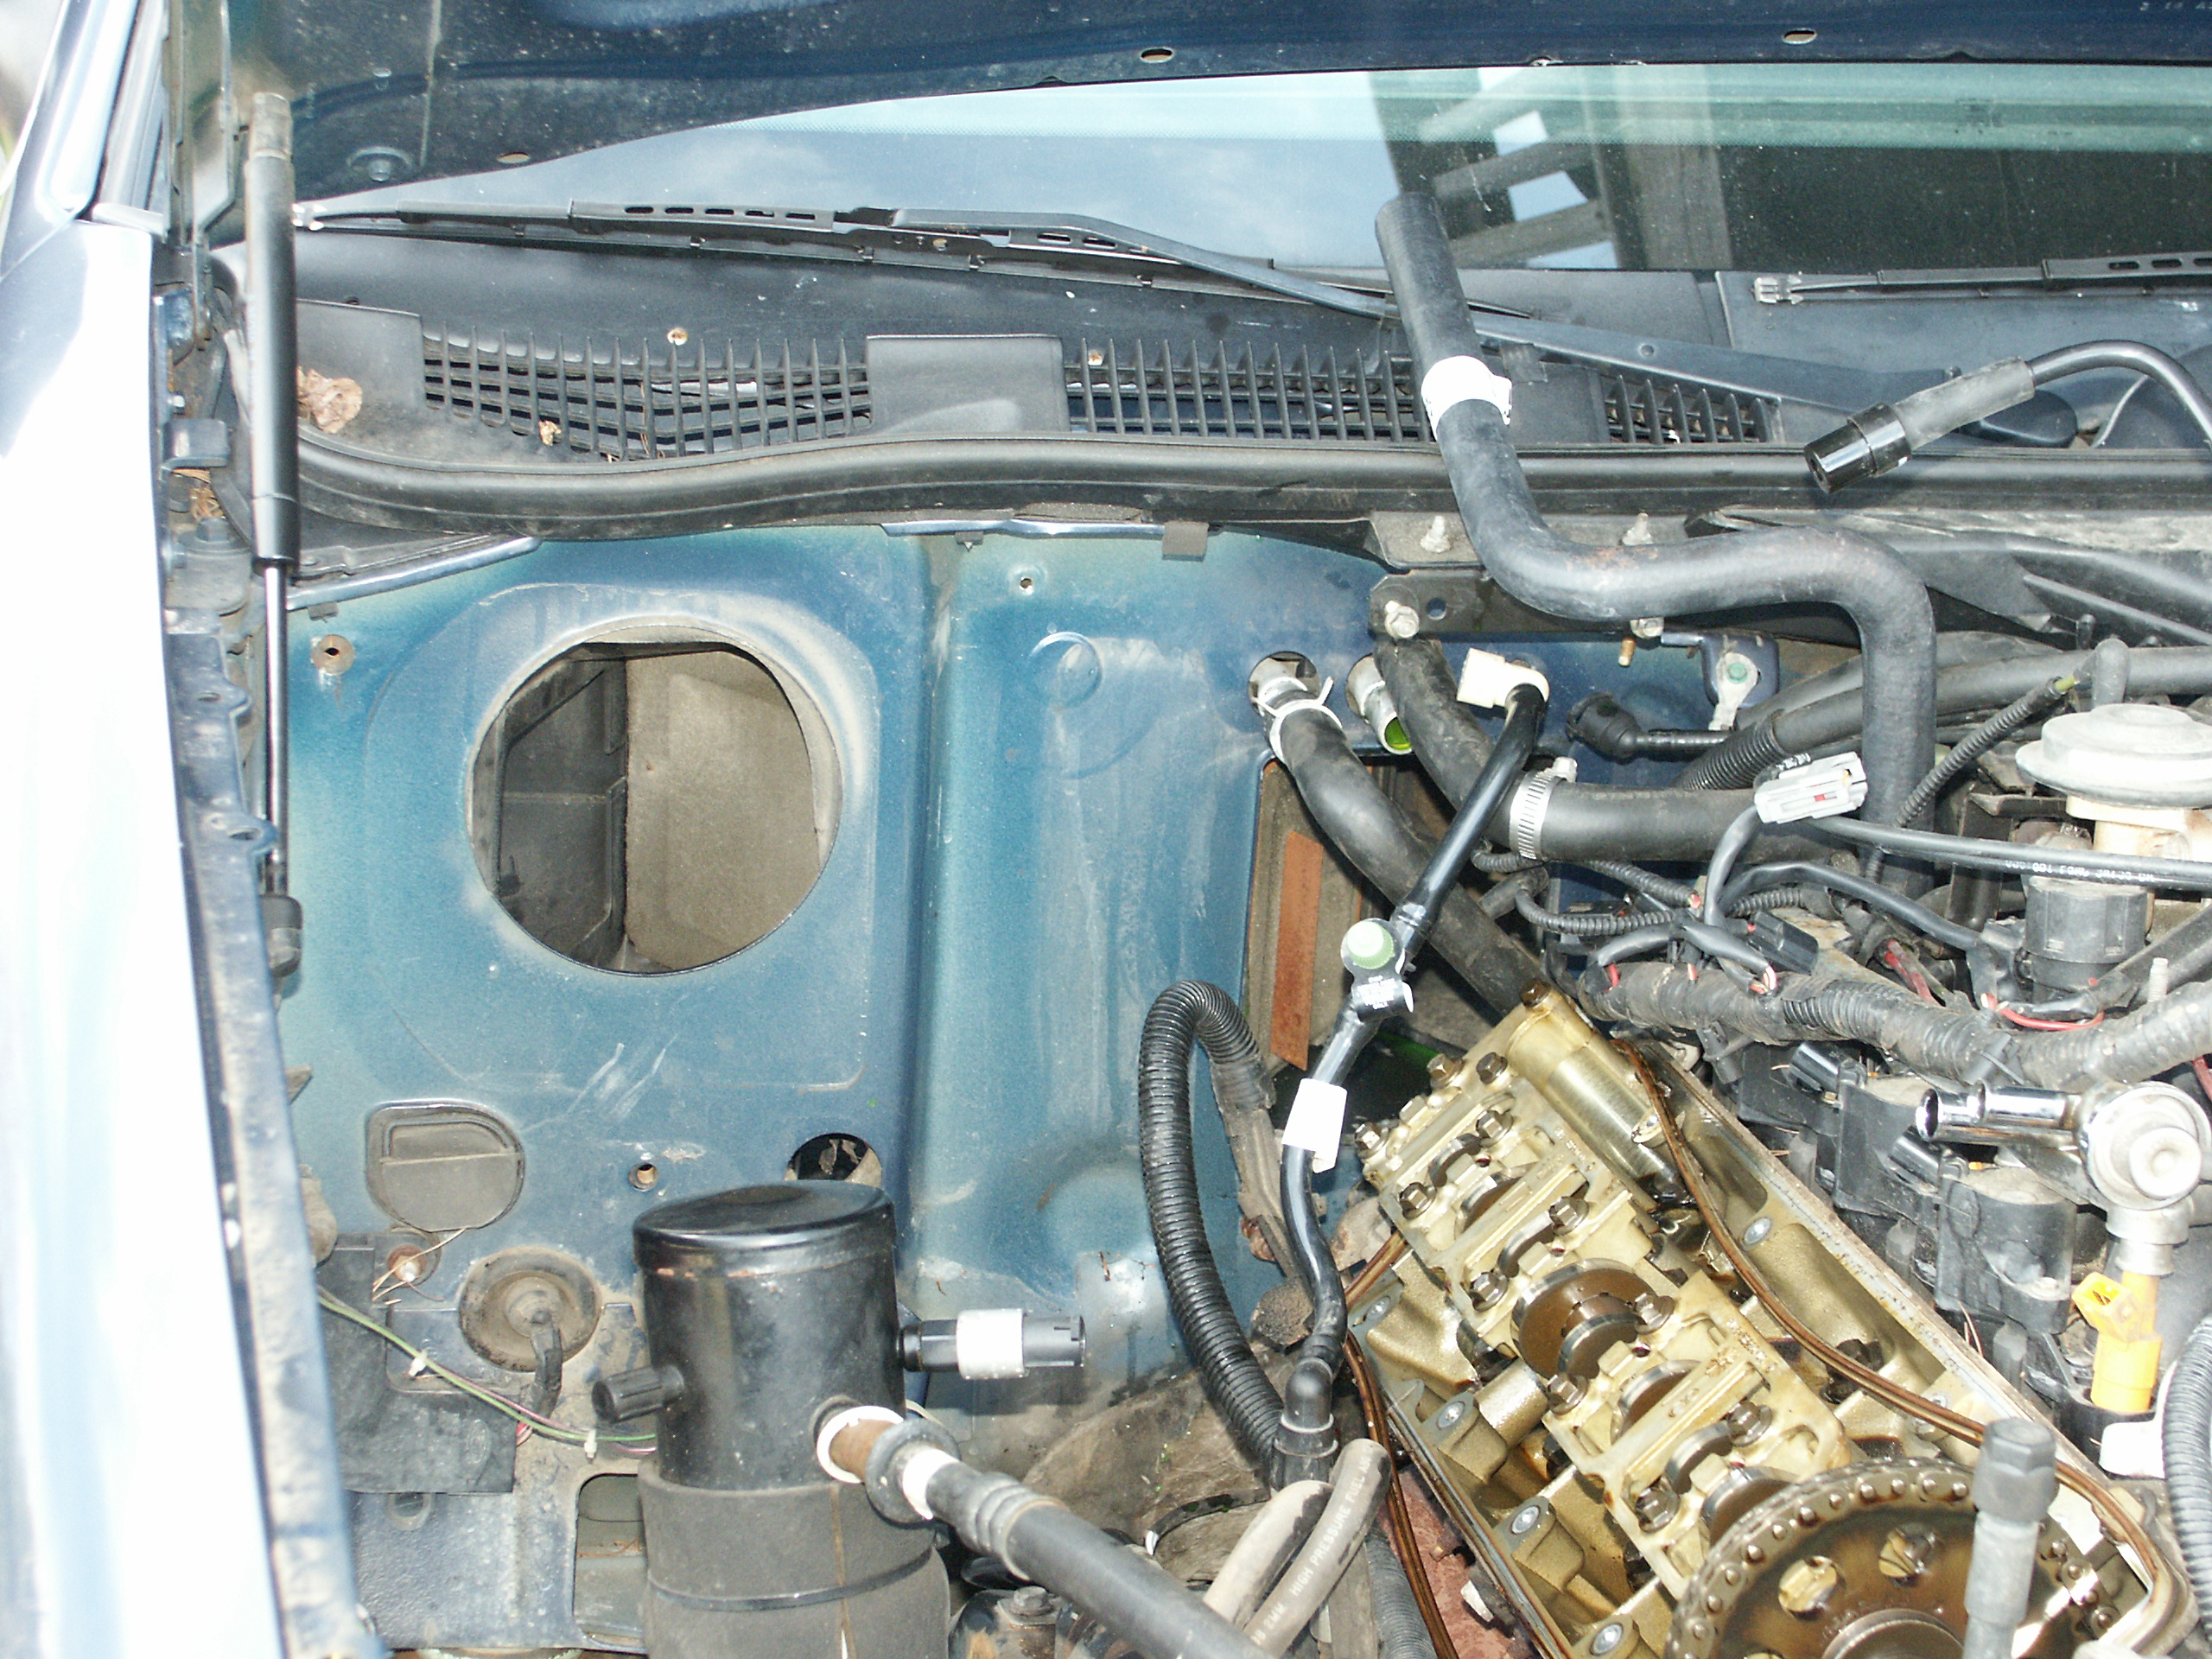
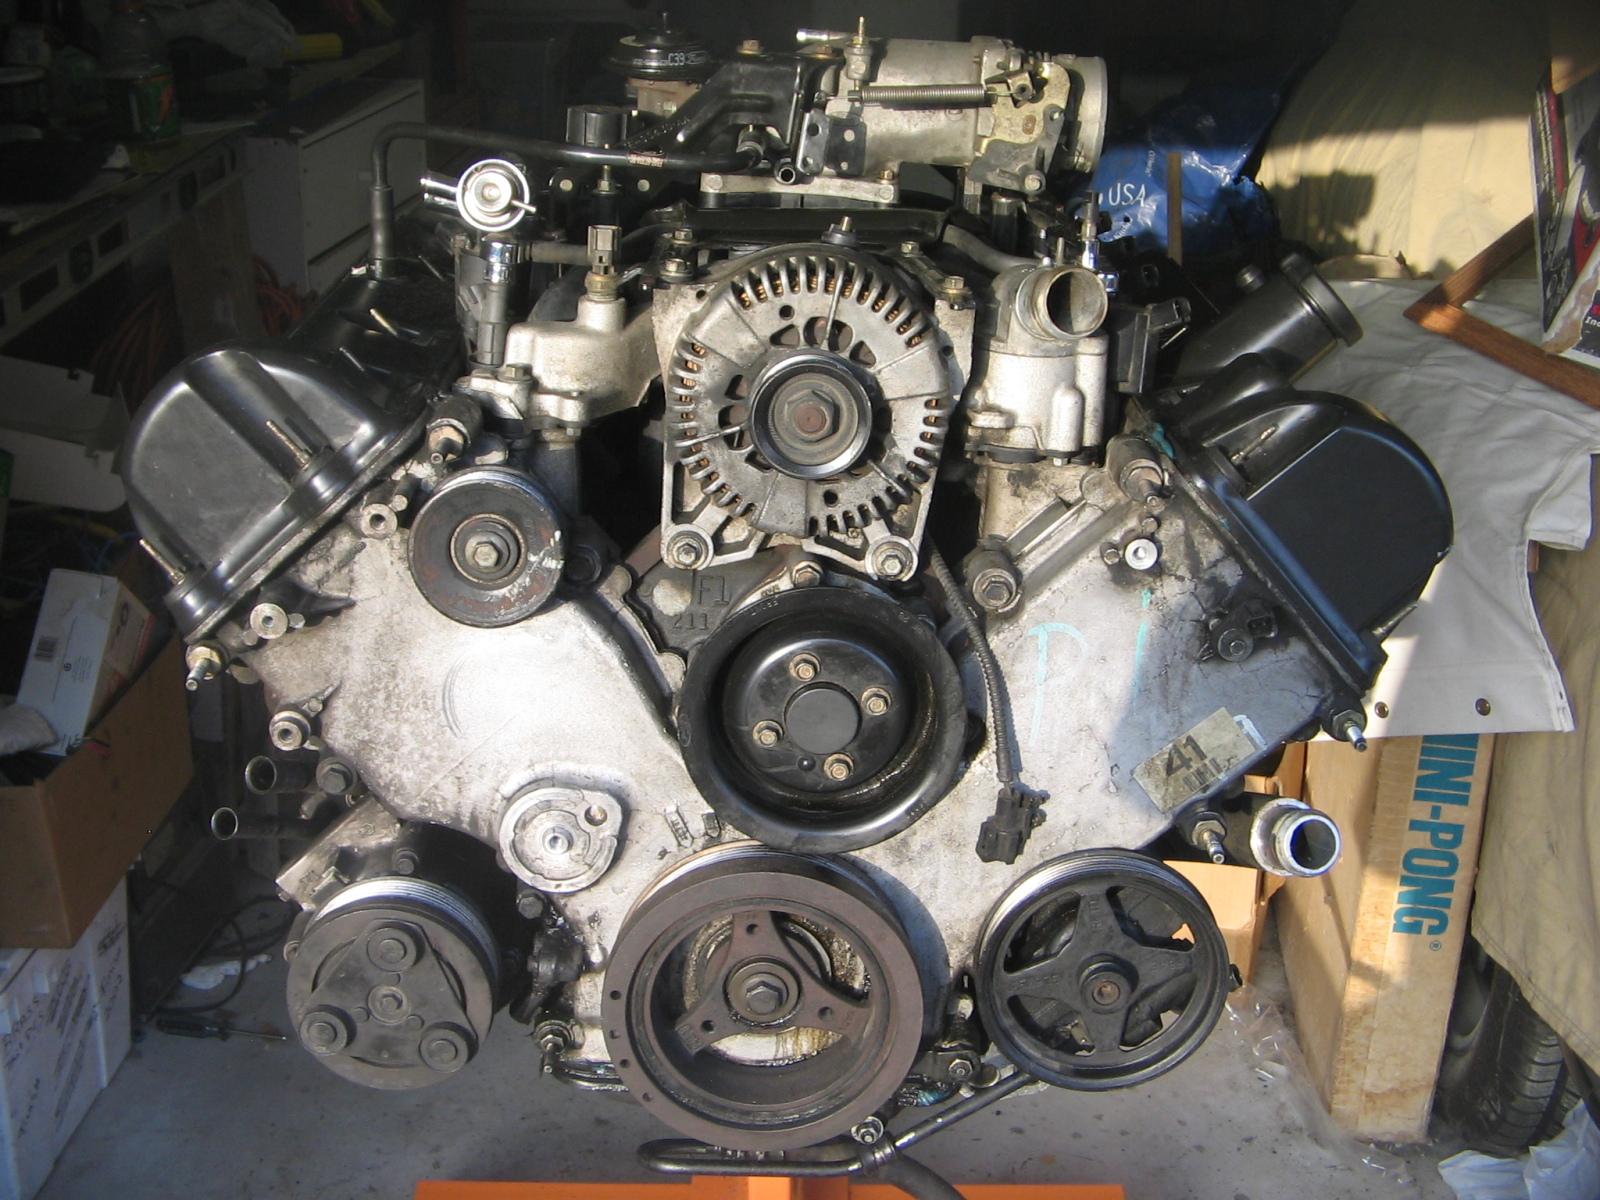
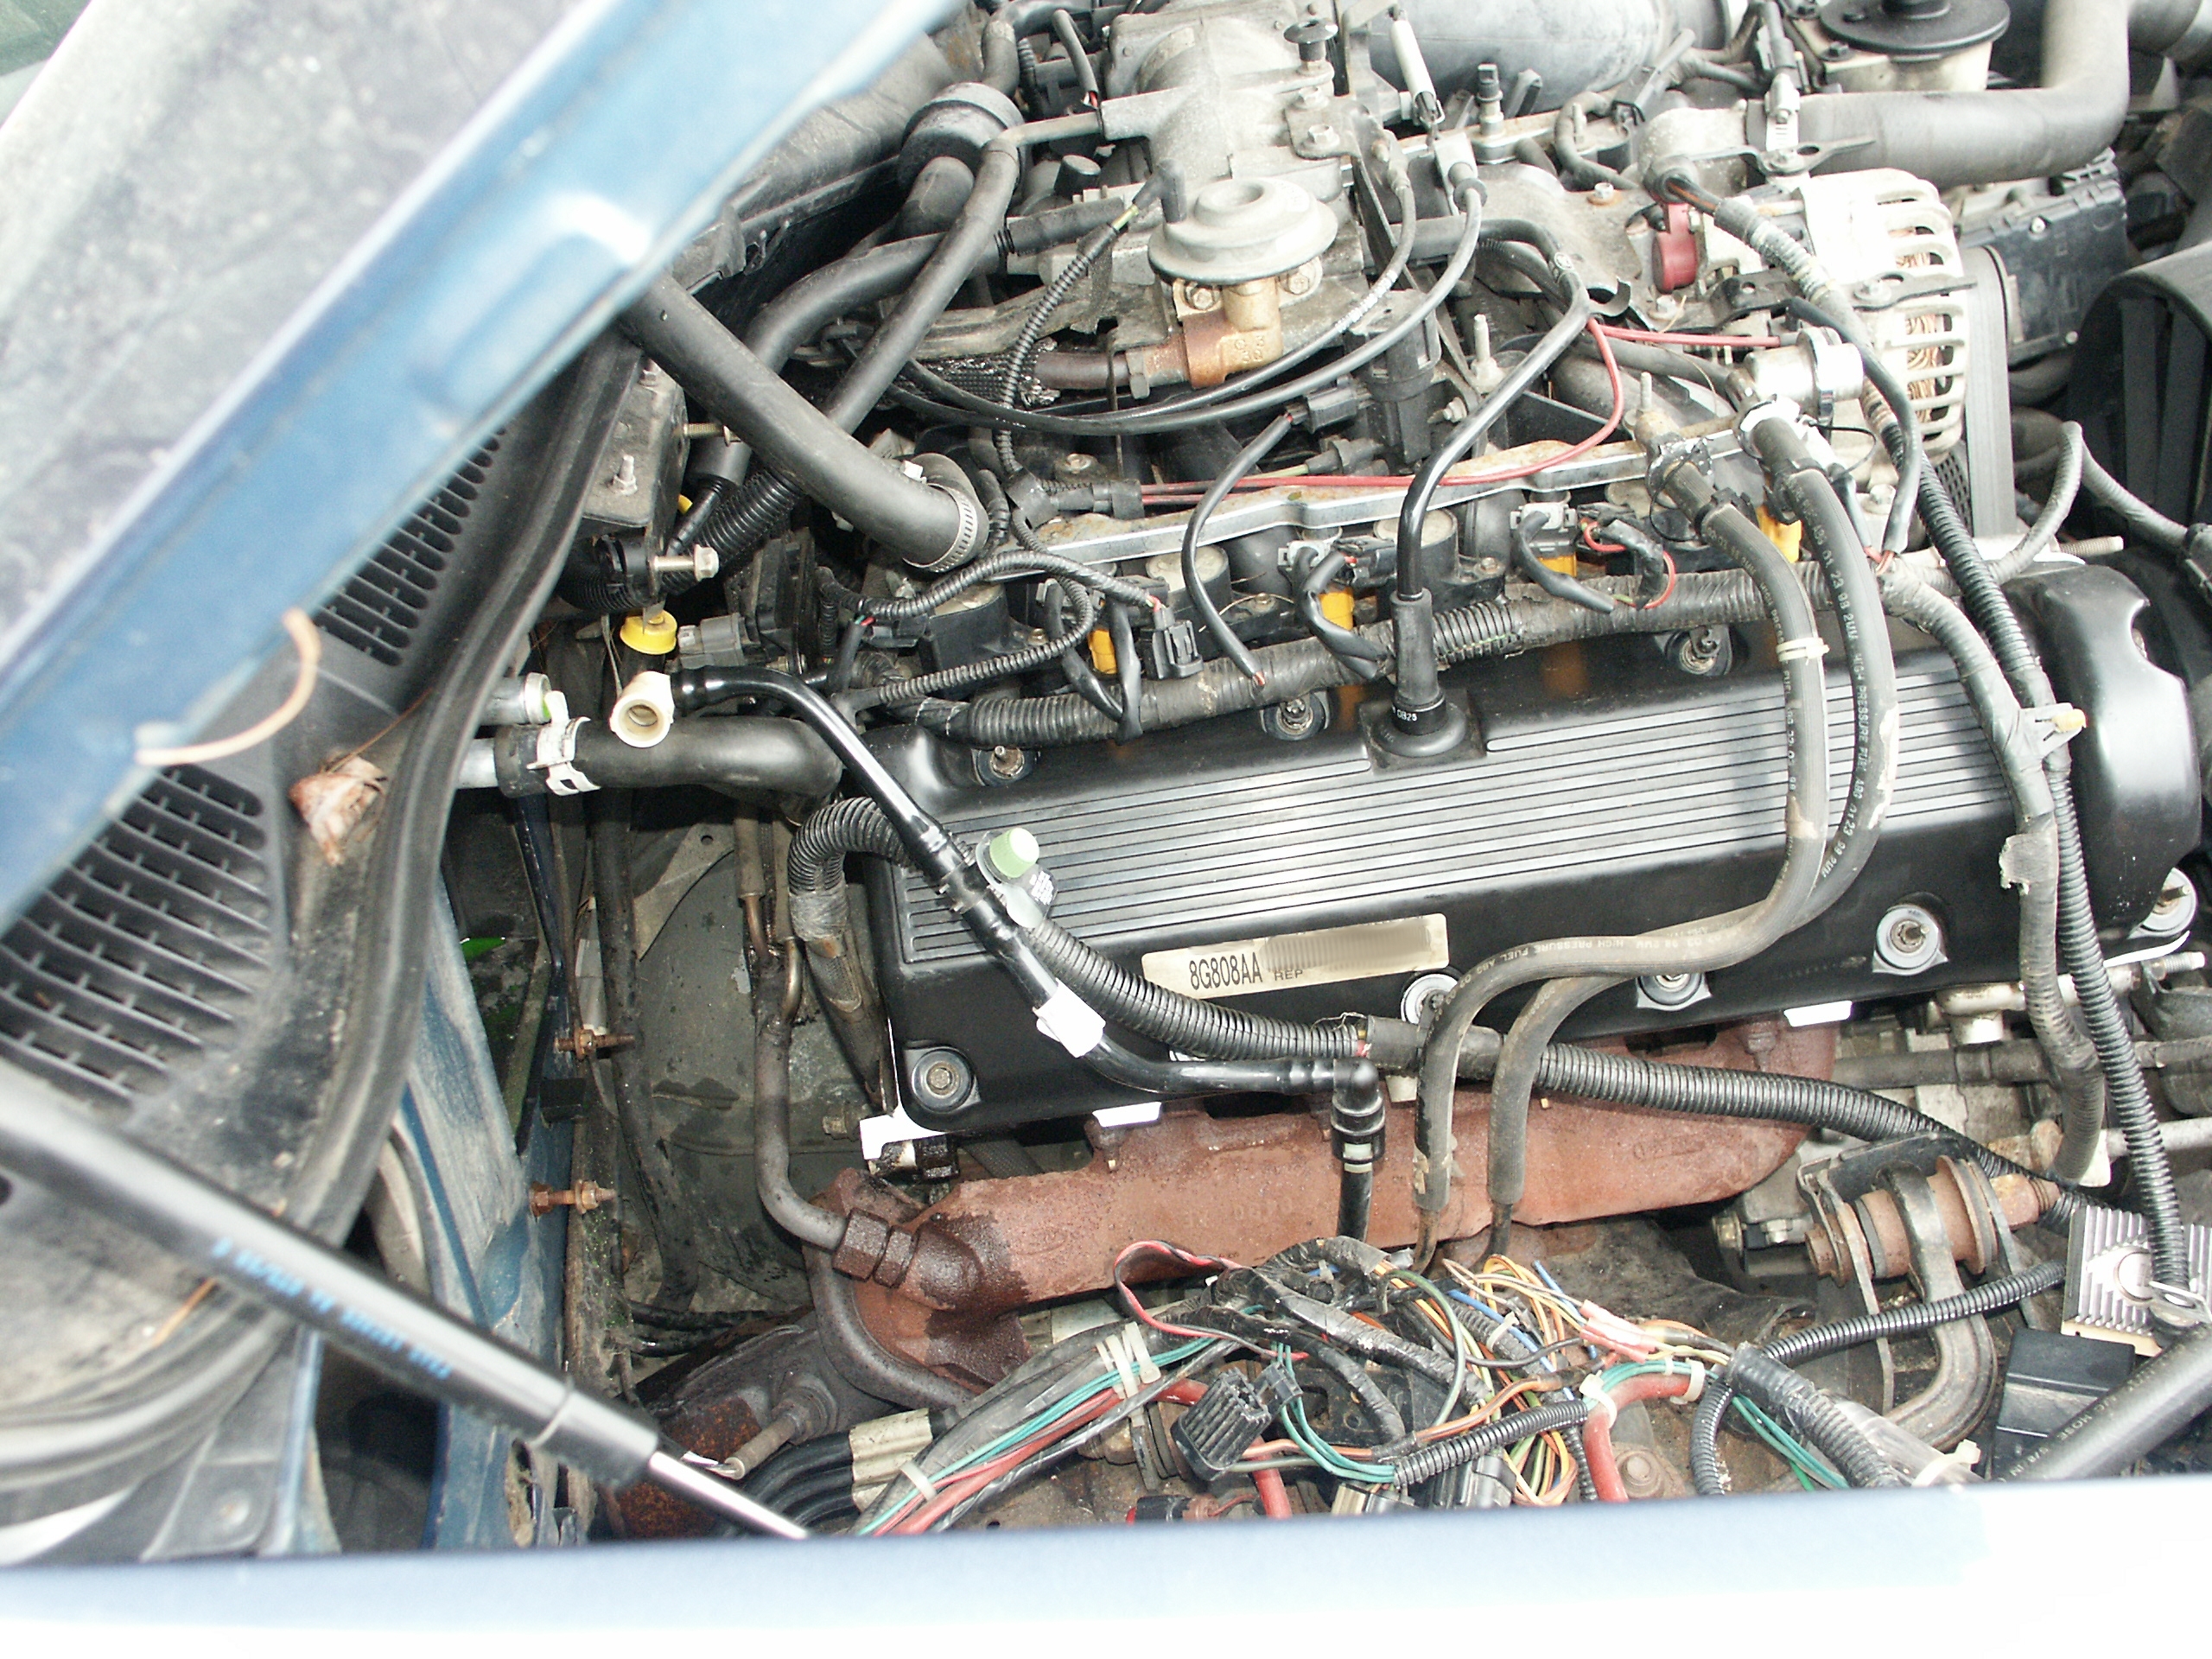
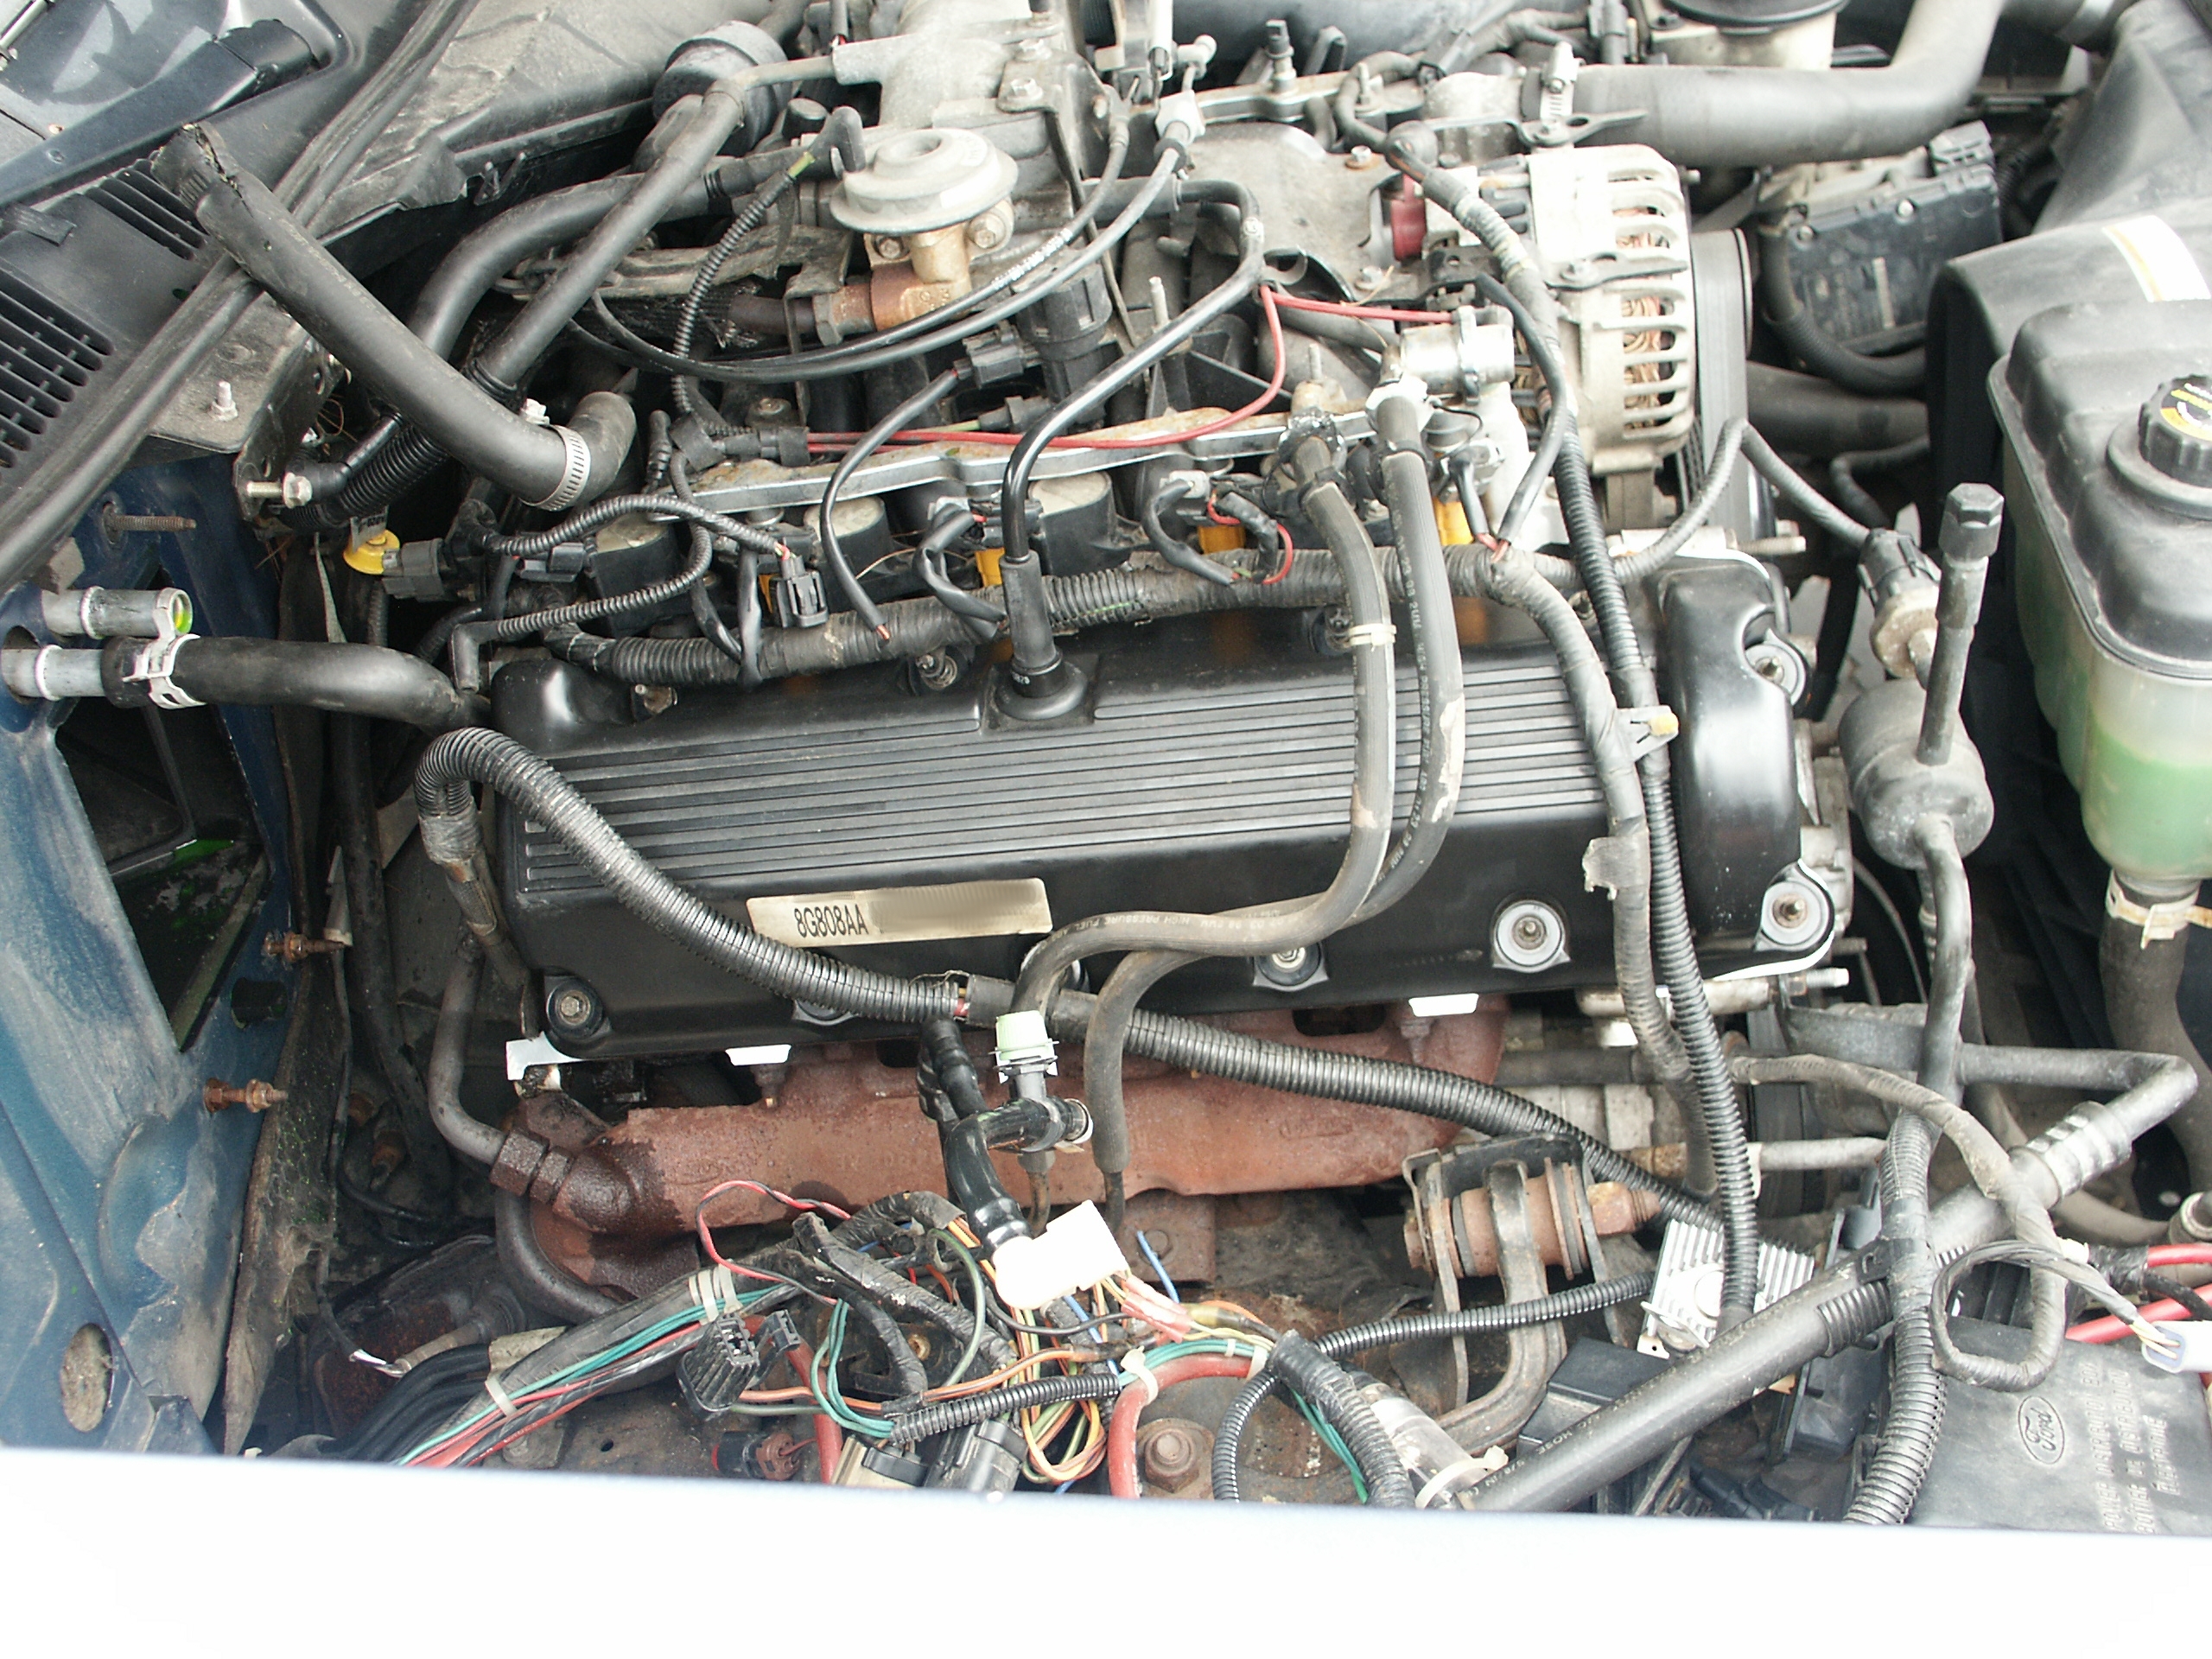
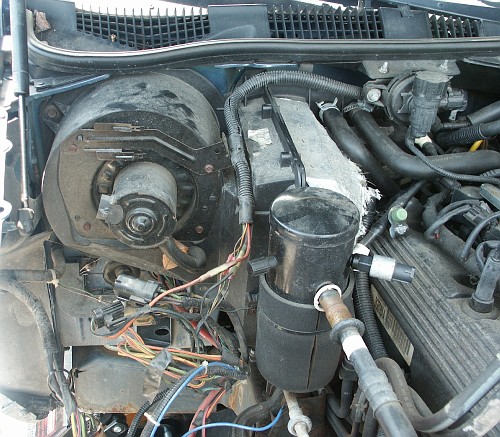
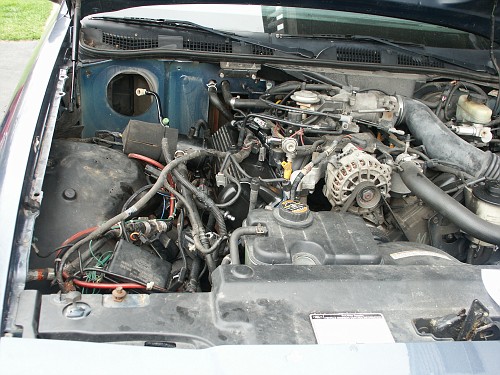
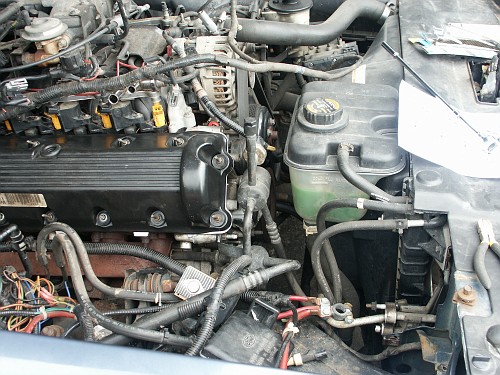
We can now access the fuel lines, exhaust manifold->catalytic
converter flange, a couple oxygen sensors, the tranny cooler lines, egr
tube, and starter motor wiring harness from the top of the car.
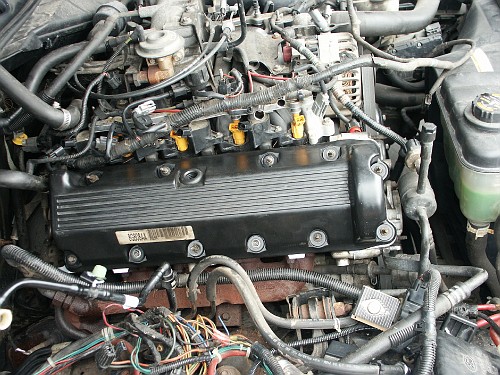
With the added clearance, there is now adequate clearance to remove the
passenger's side valve cover after the fuel lines and various wiring
harnesses are disconnected
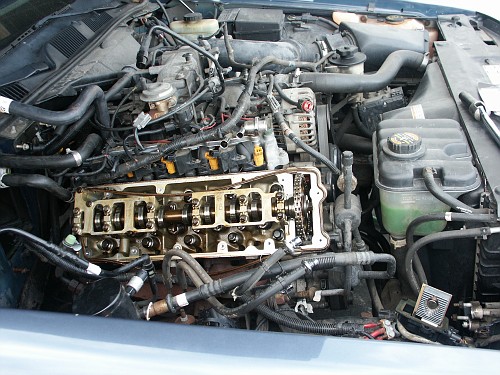
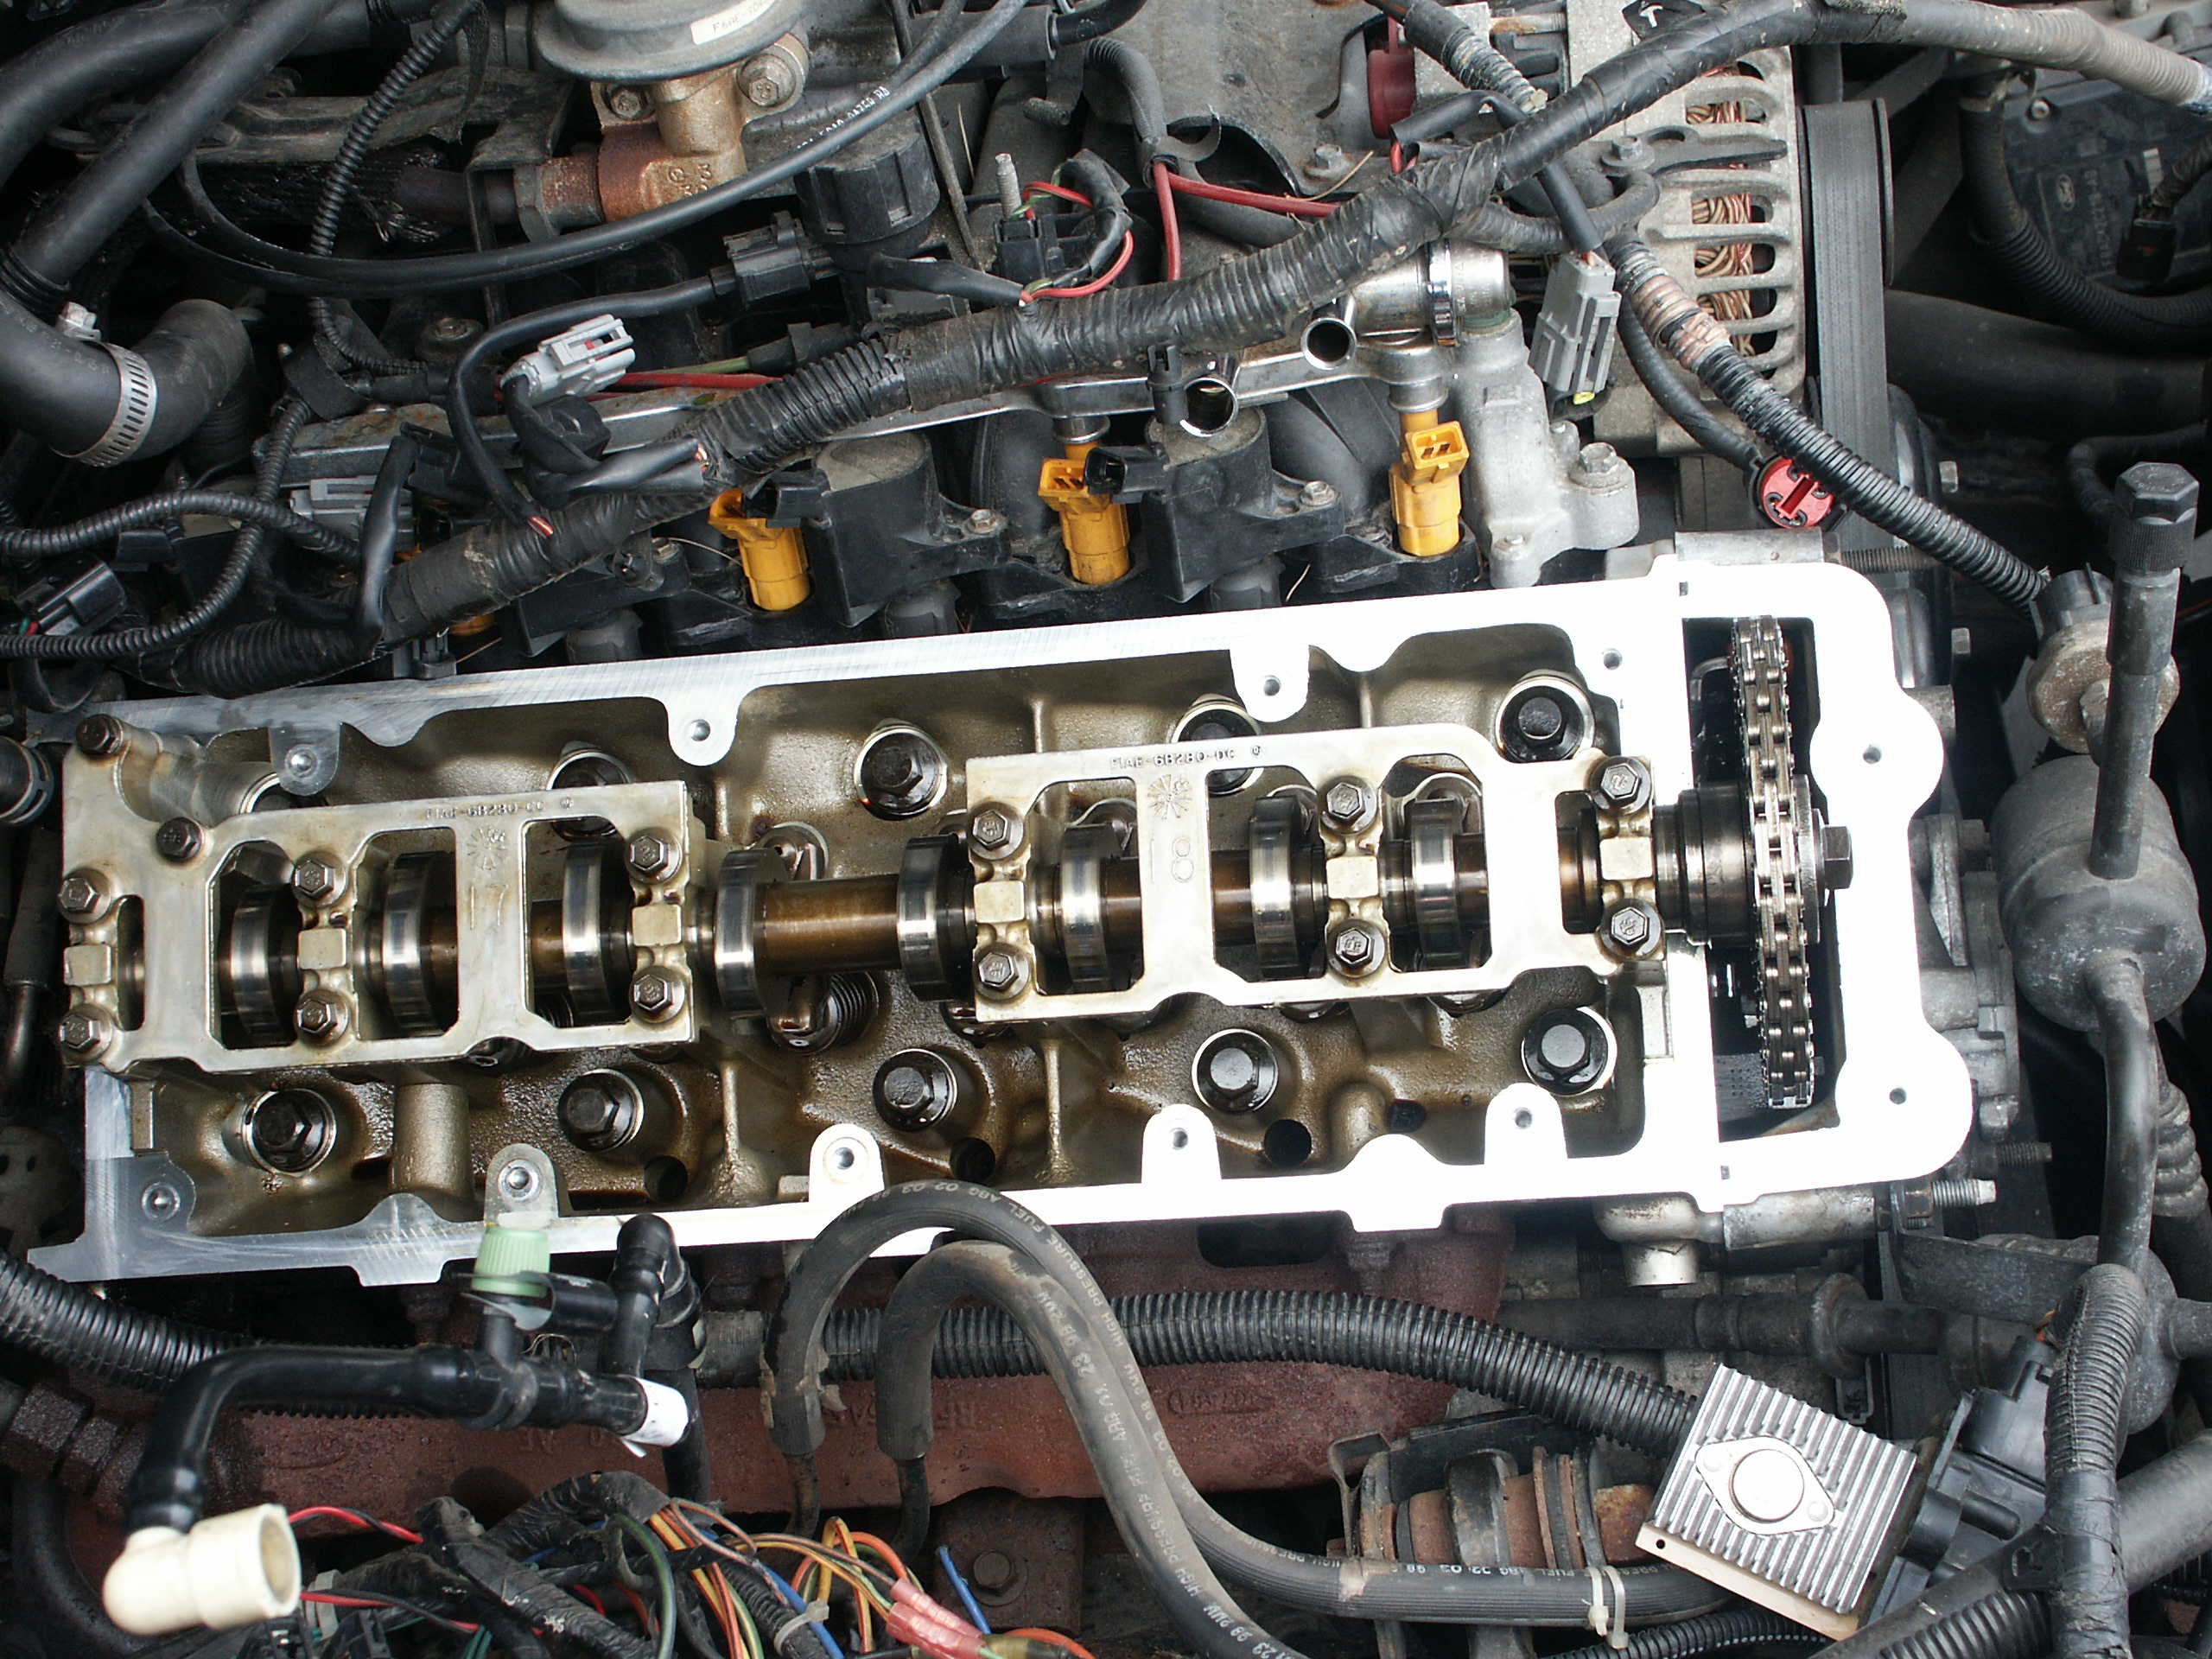
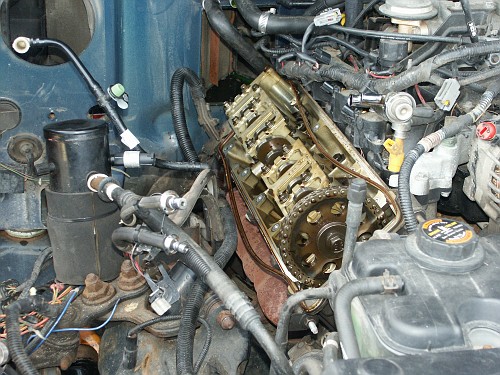
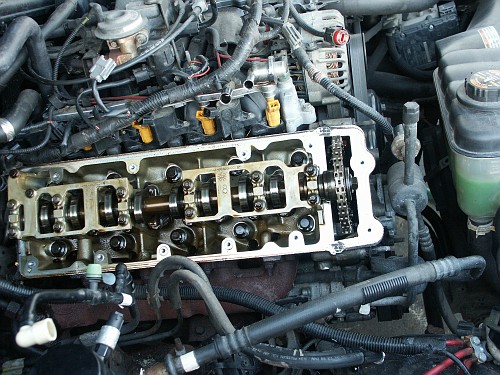
And here's a closeup of the passenger's side cylinder head.
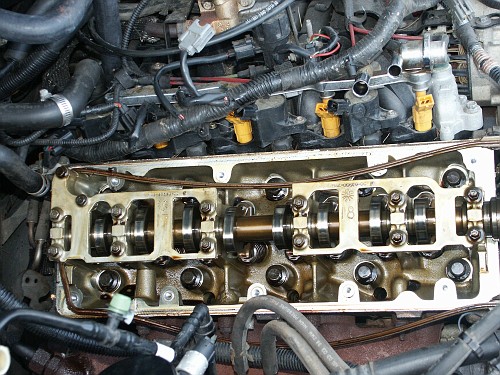
Make sure not to drop anything in the three oil drain holes located in
the cylinder head, these lead through the engine block back to the oil
pan below.
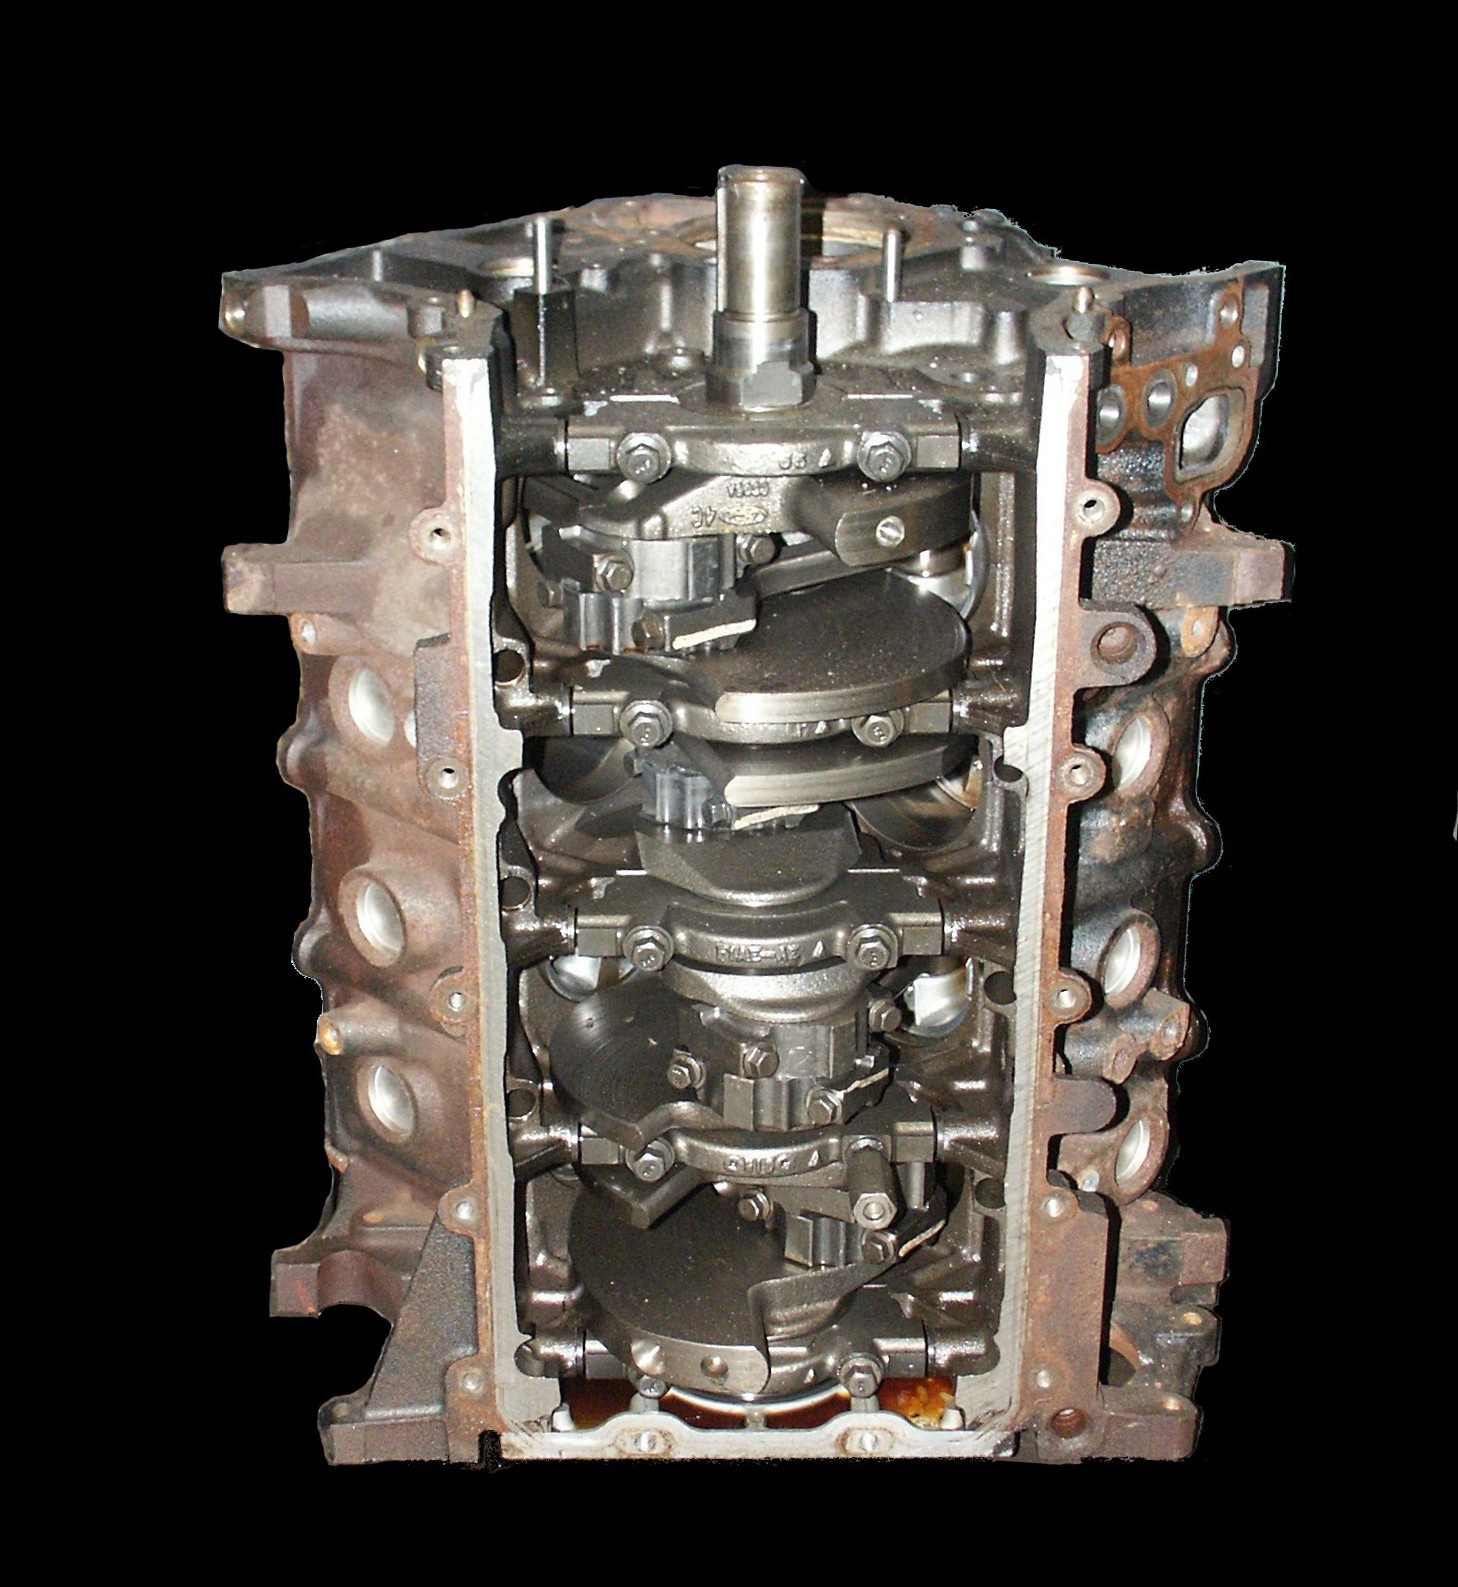
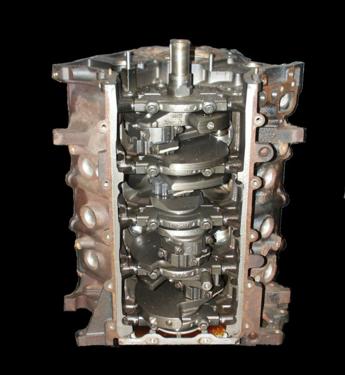
(Picture of bottom of engine block
with oil pan, oil pump, and timing components removed)
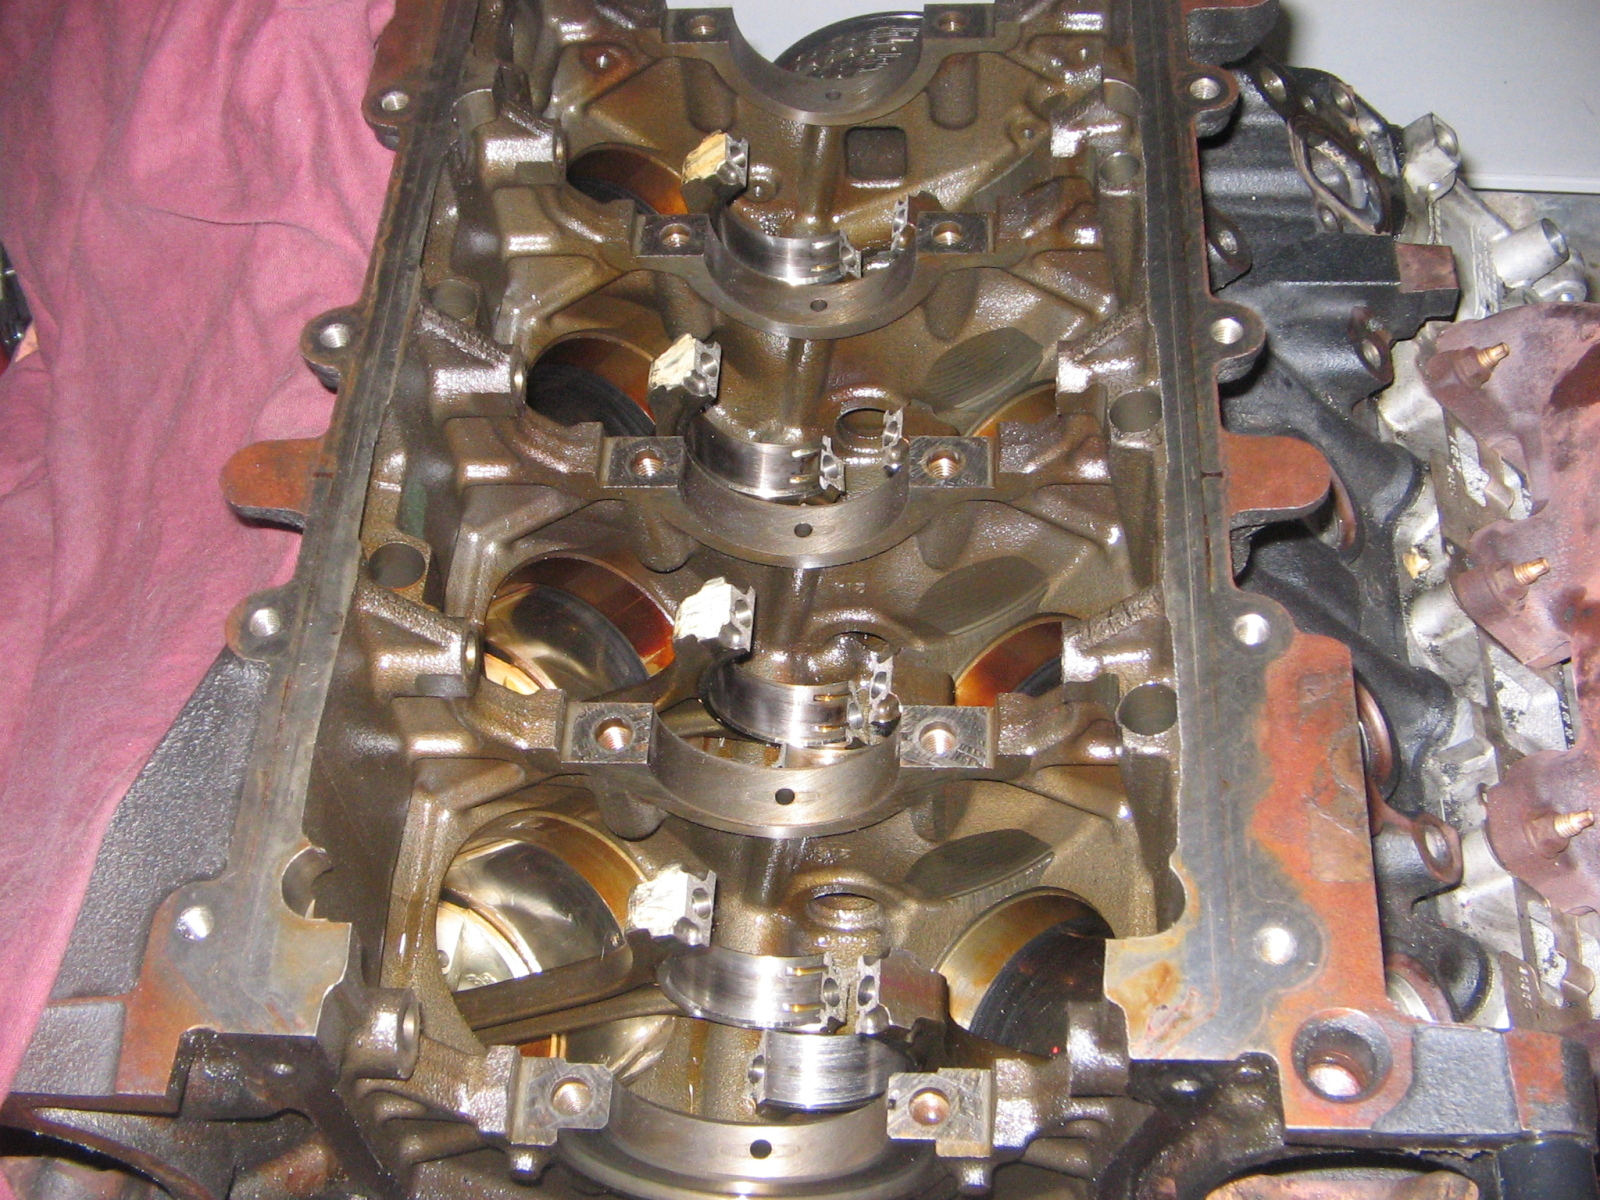
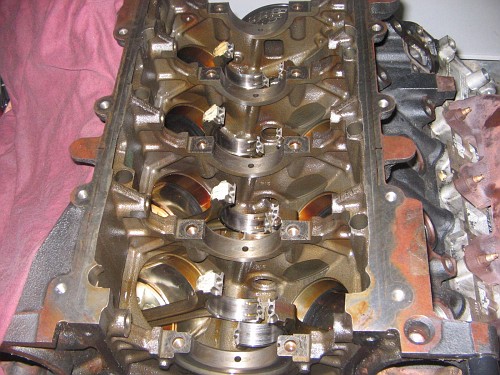
(Picture of bottom of engine block
with oil pan and crankshaft removed courtesy of Ruski on
www.crownvic.net)
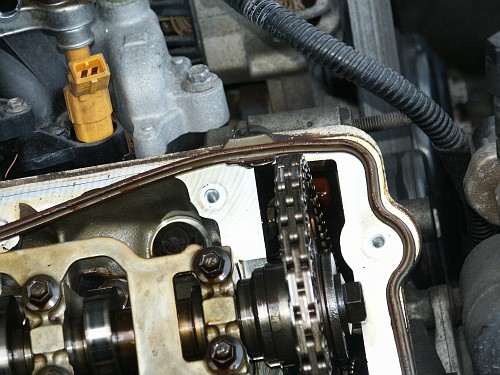
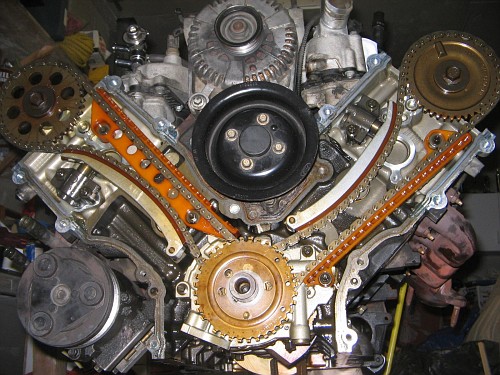
And from the front of the car
The timing chain gear
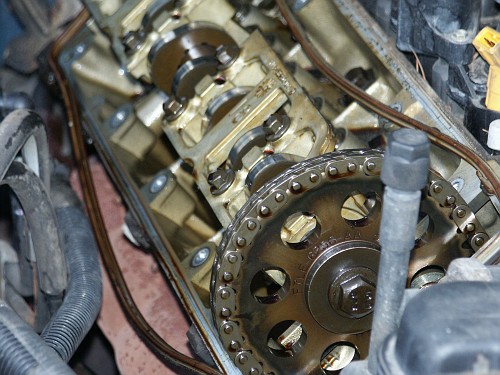
The front camshaft girdle
The rear camshaft girdle
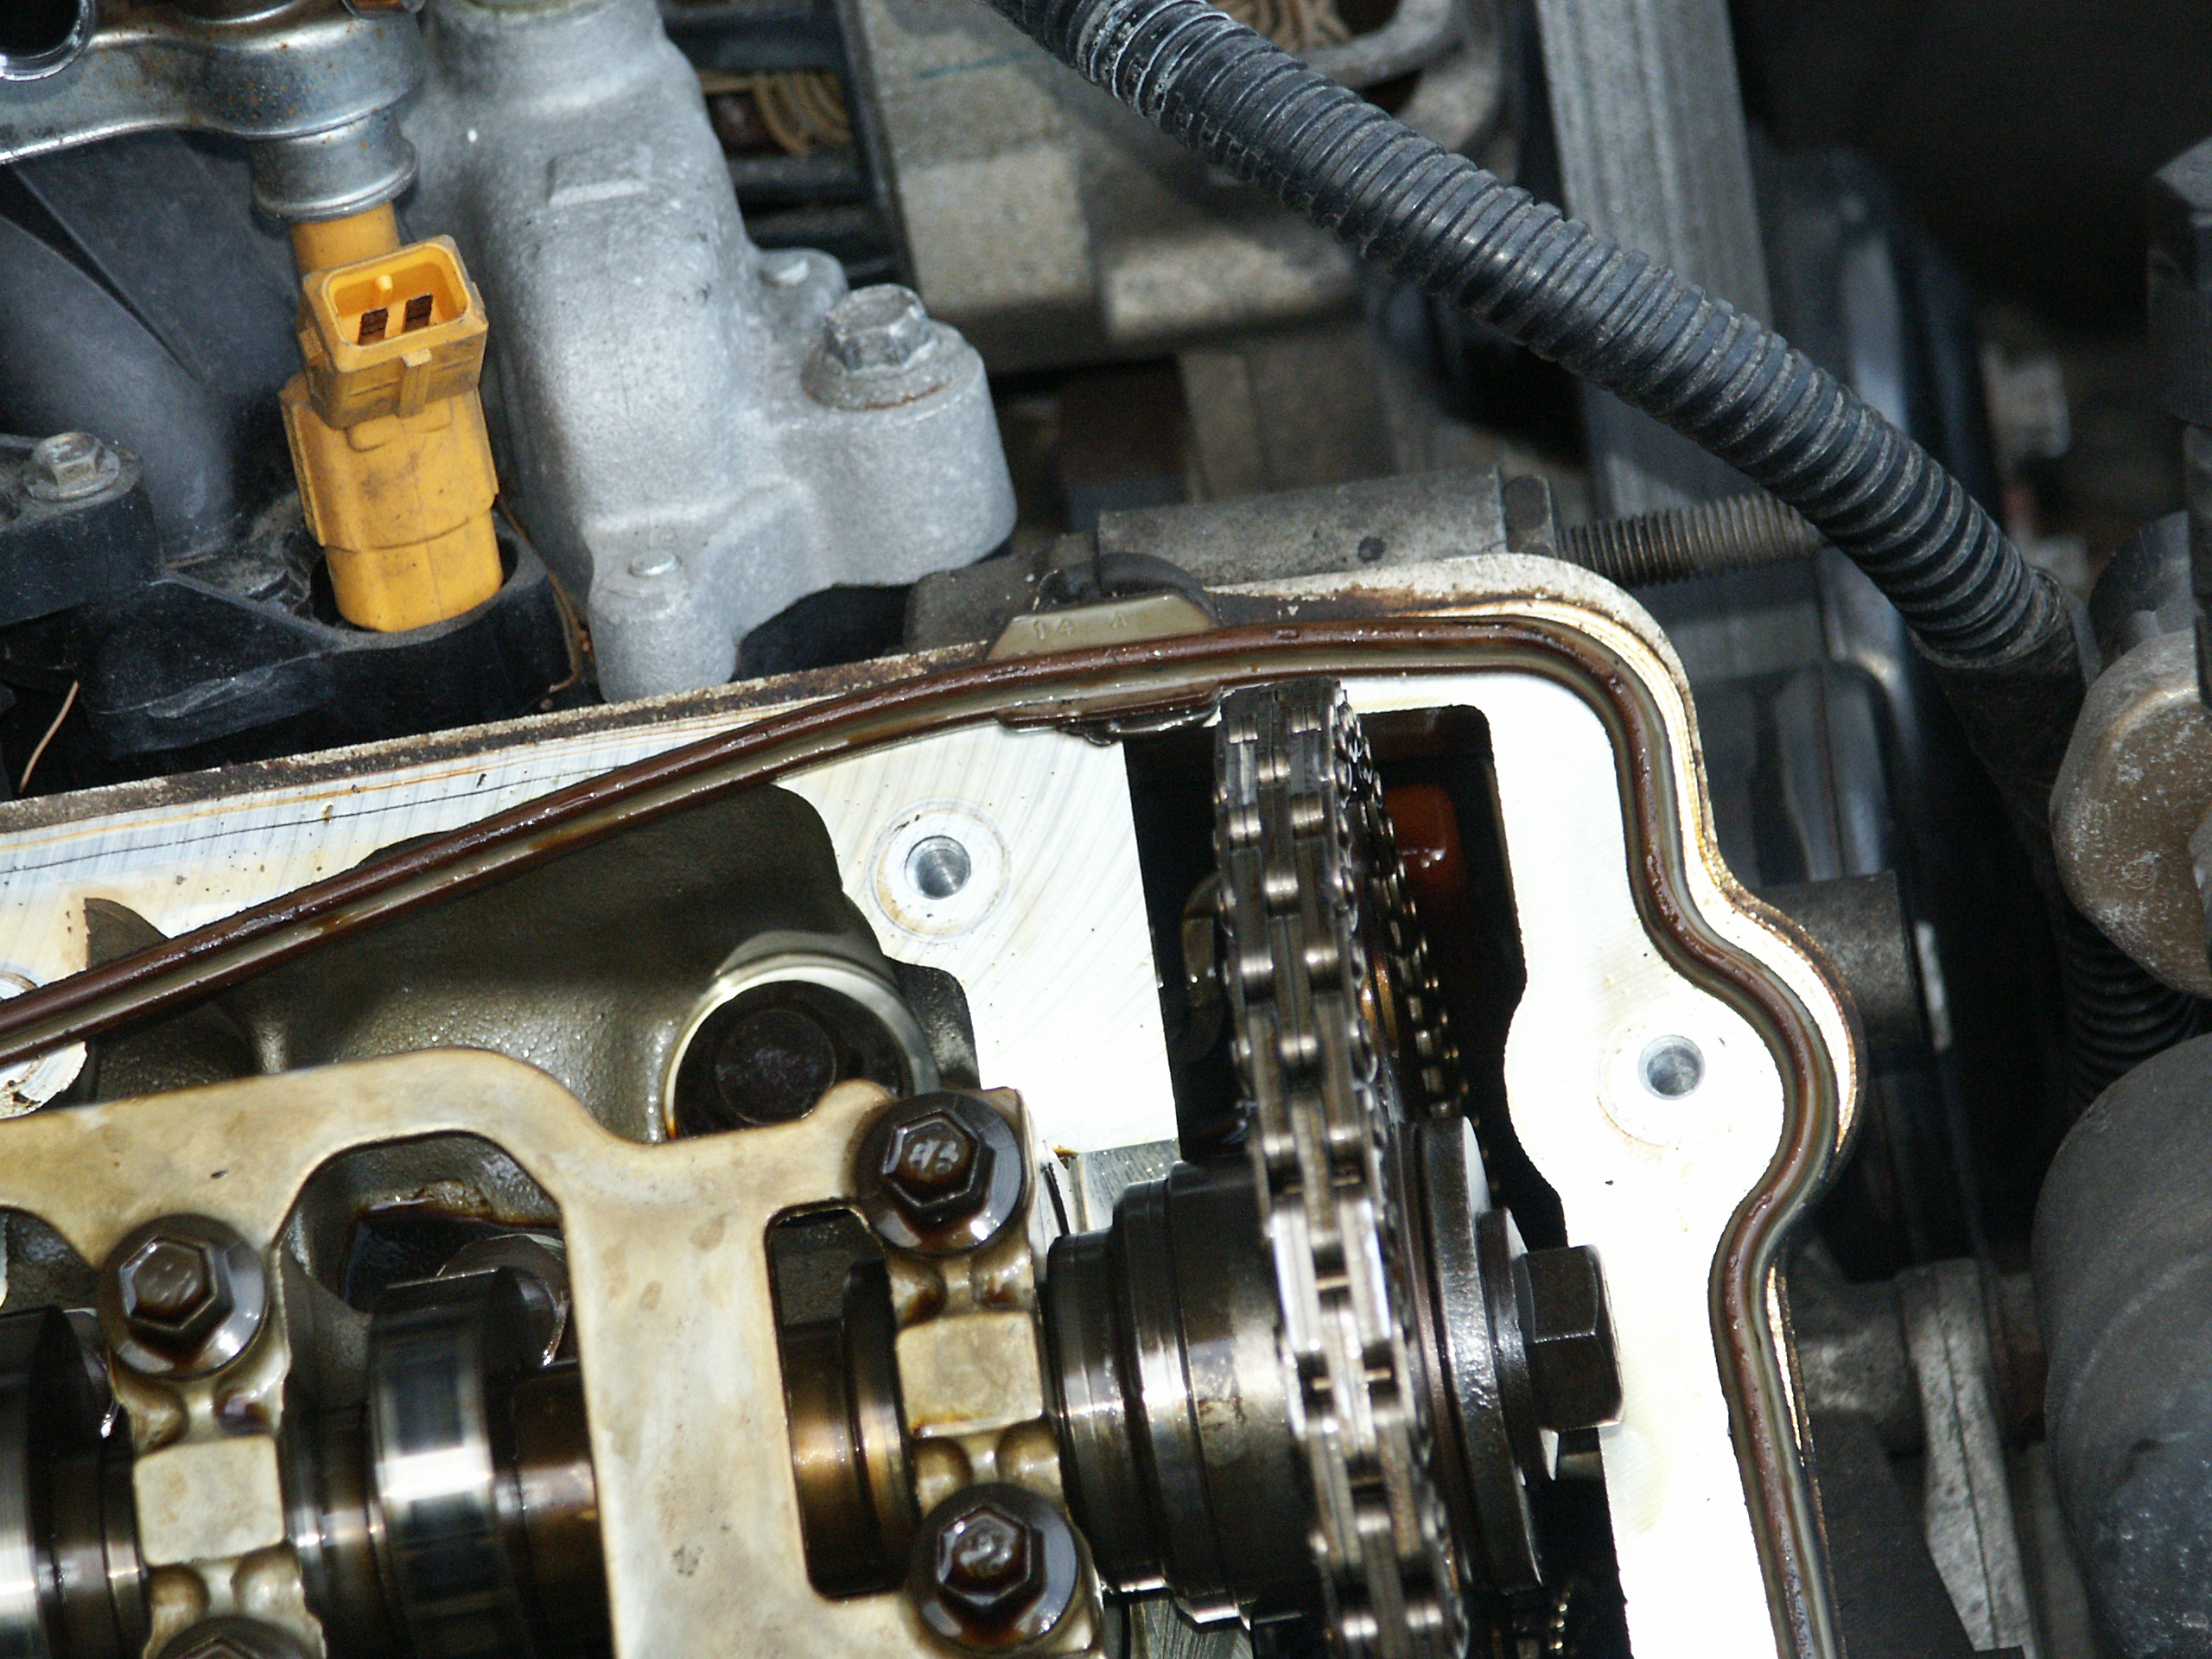
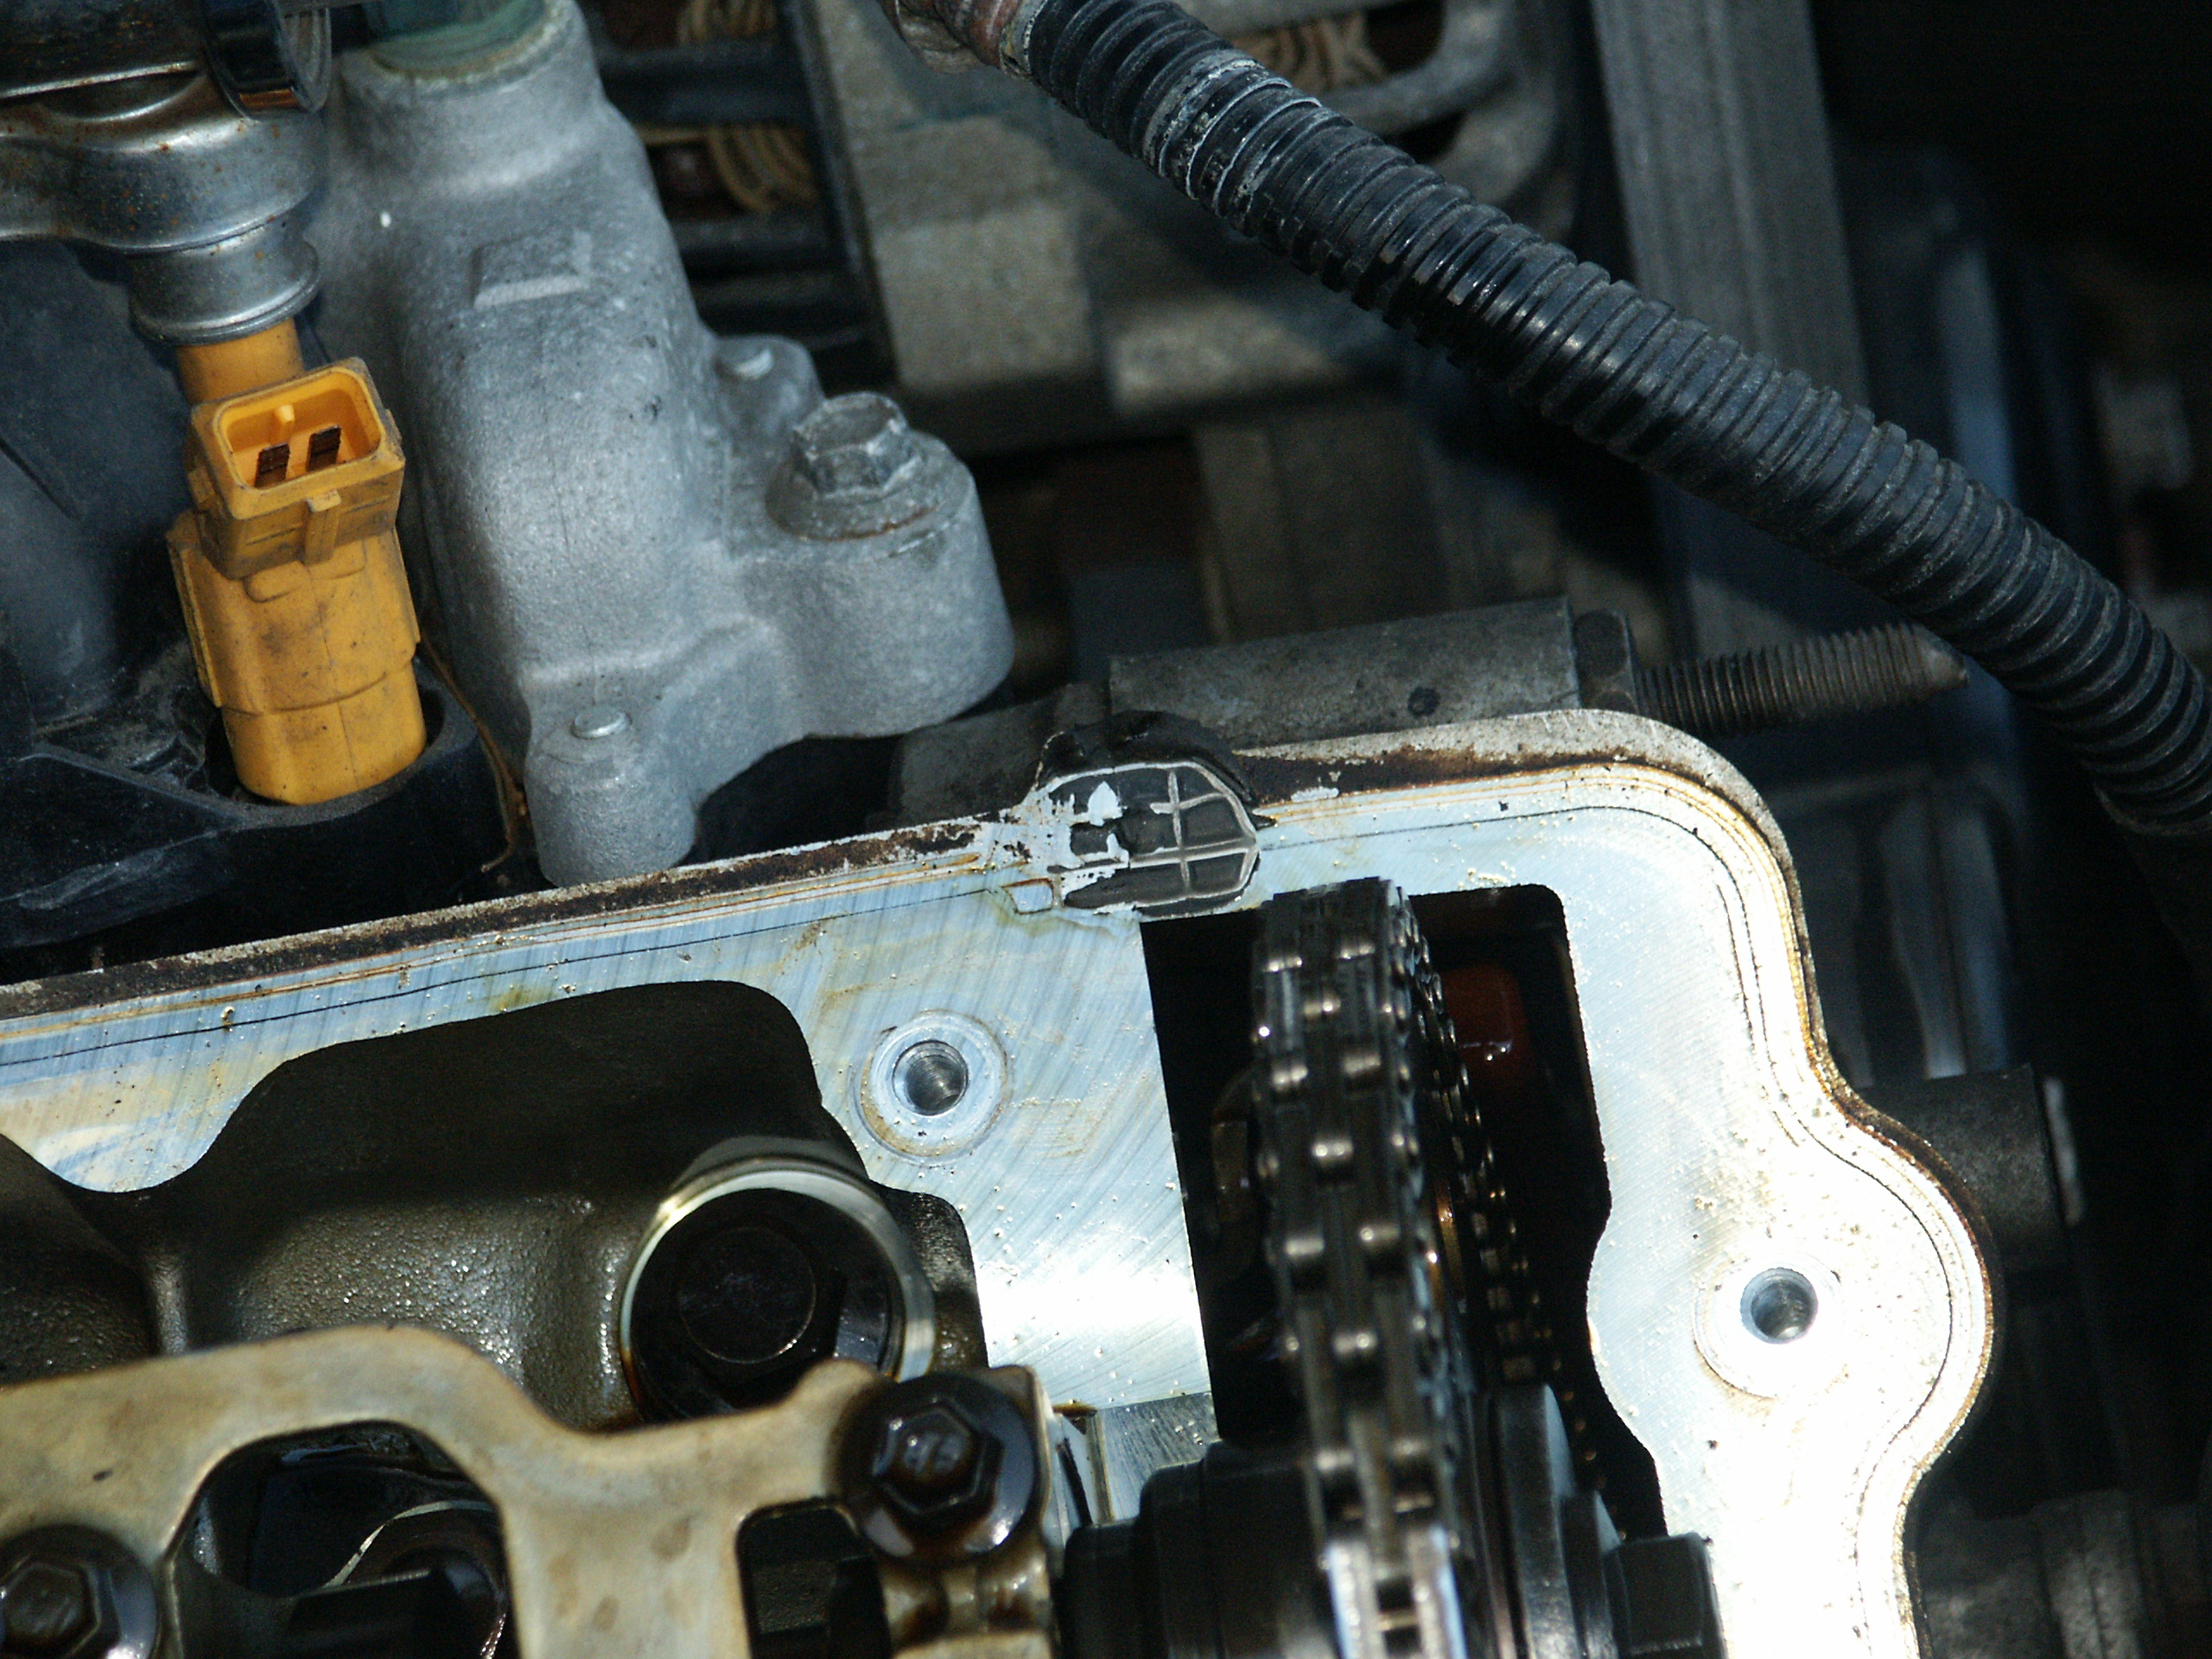
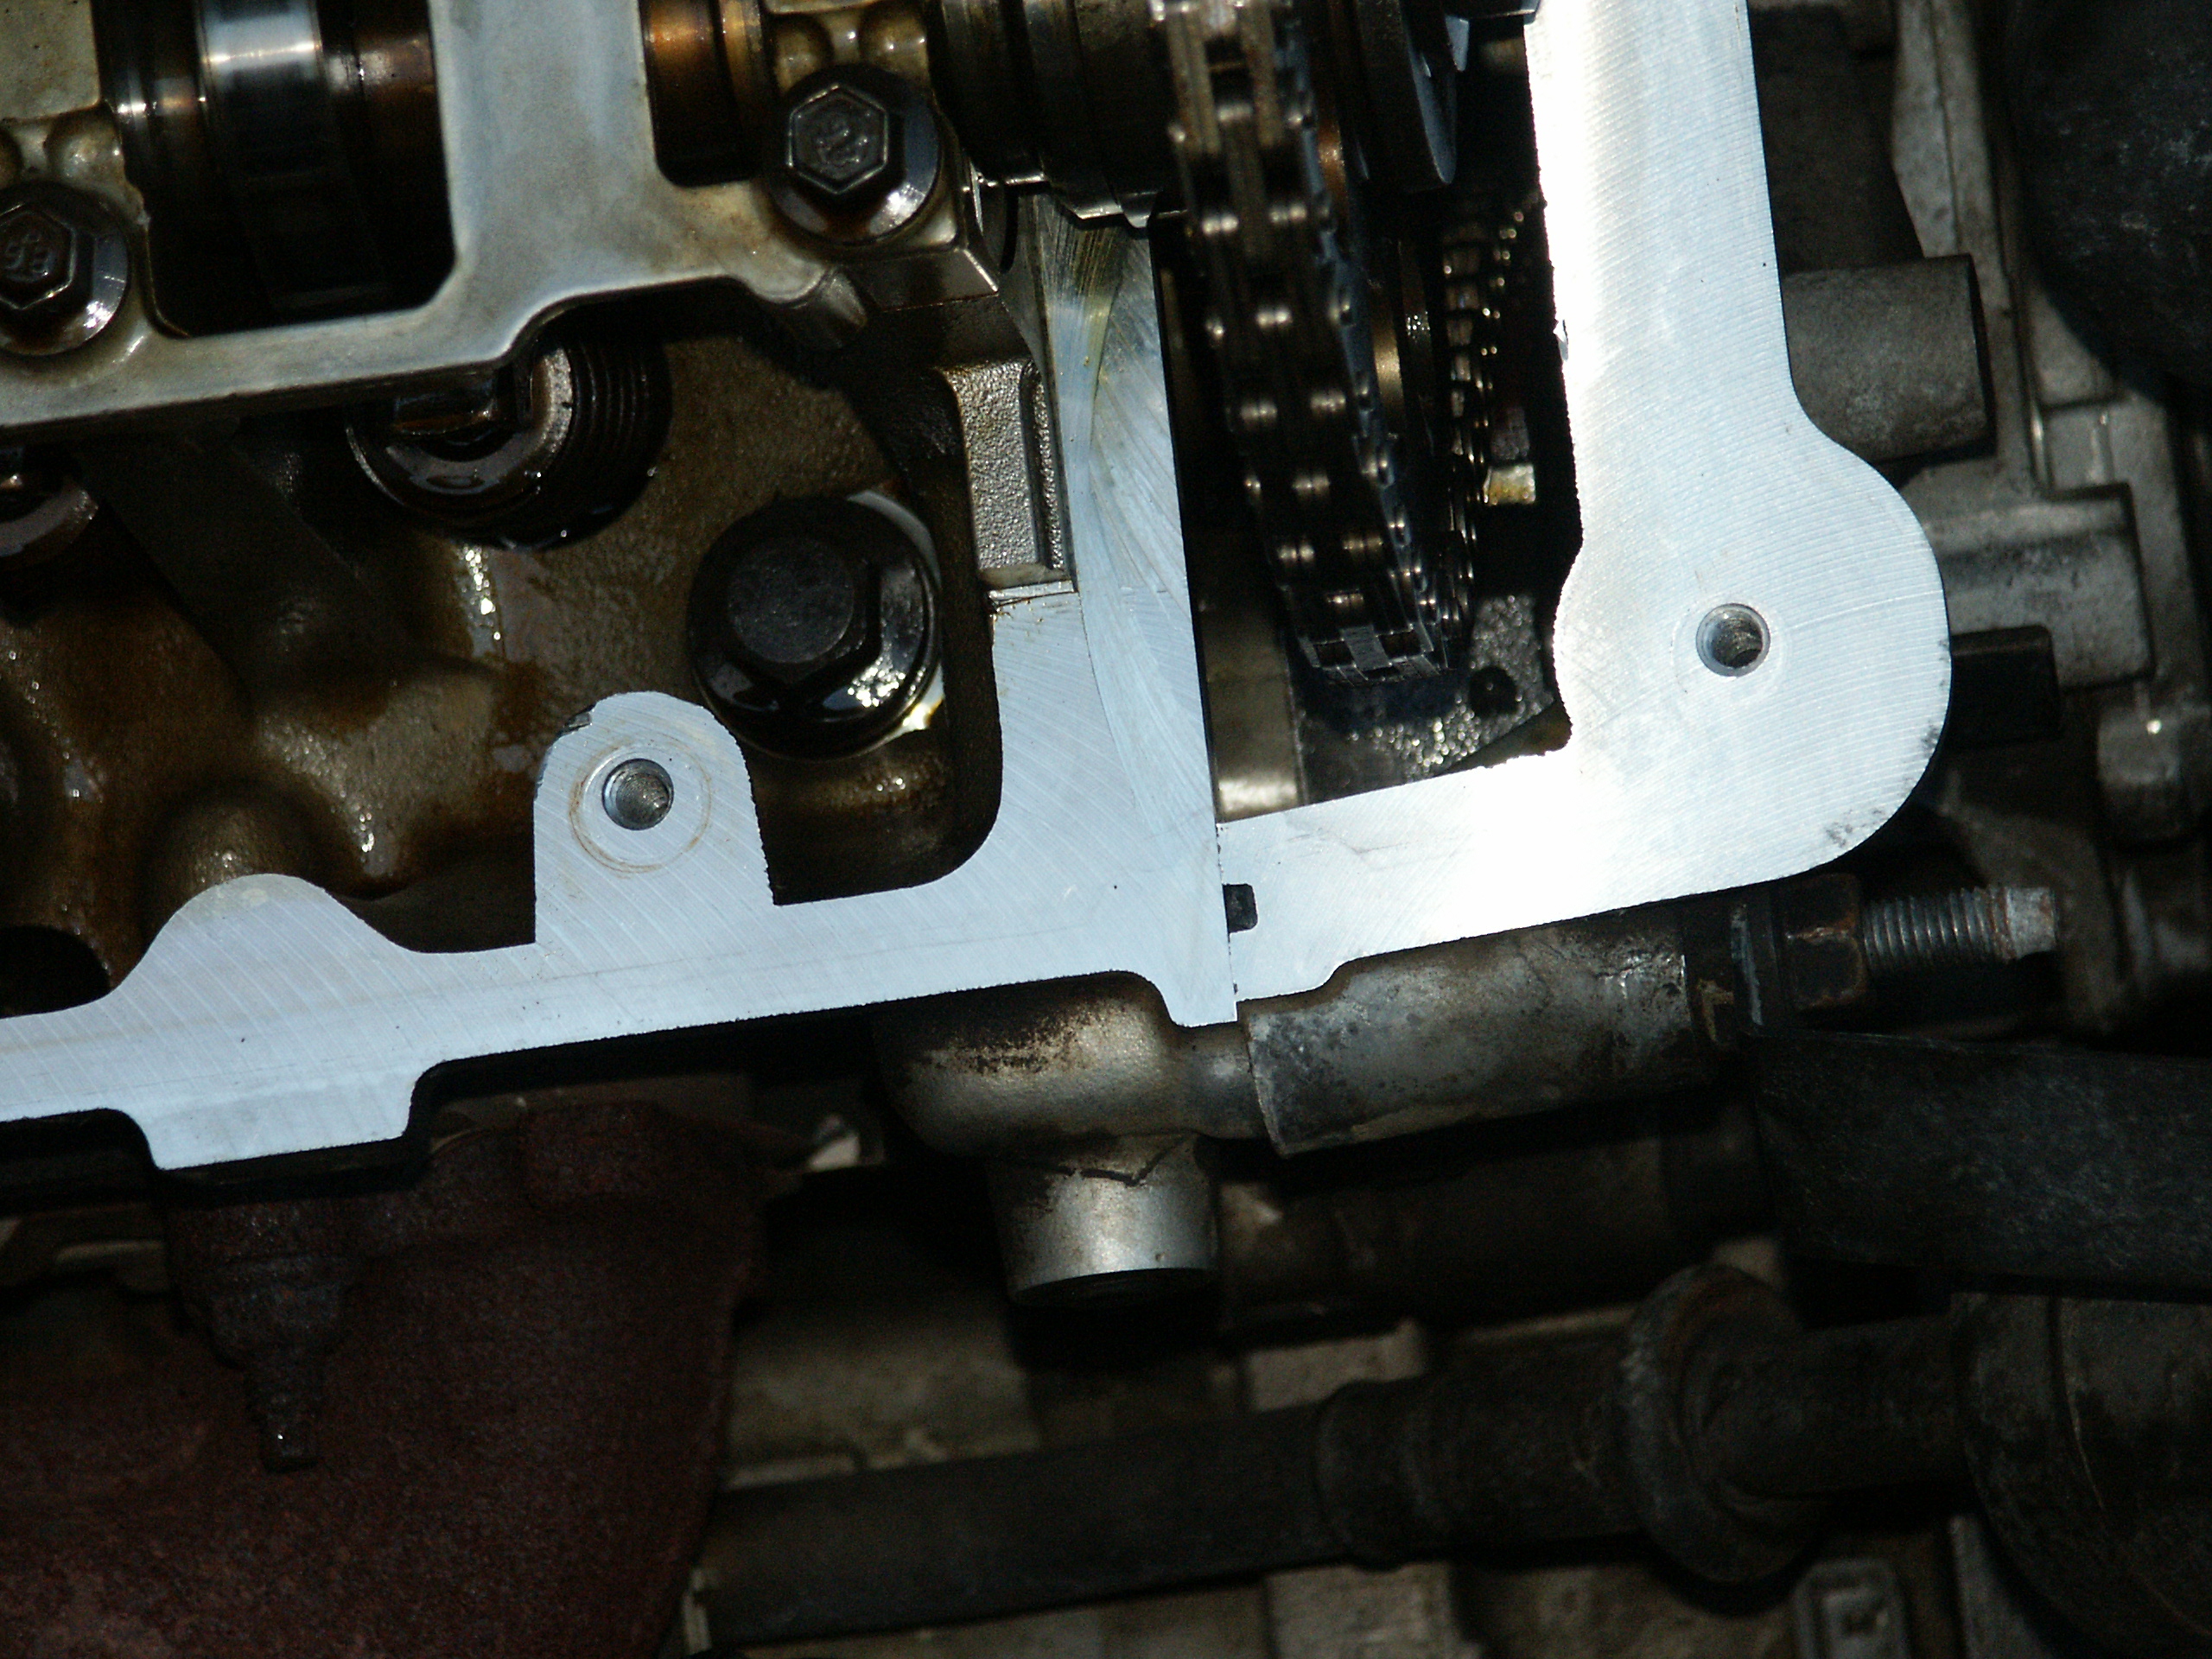
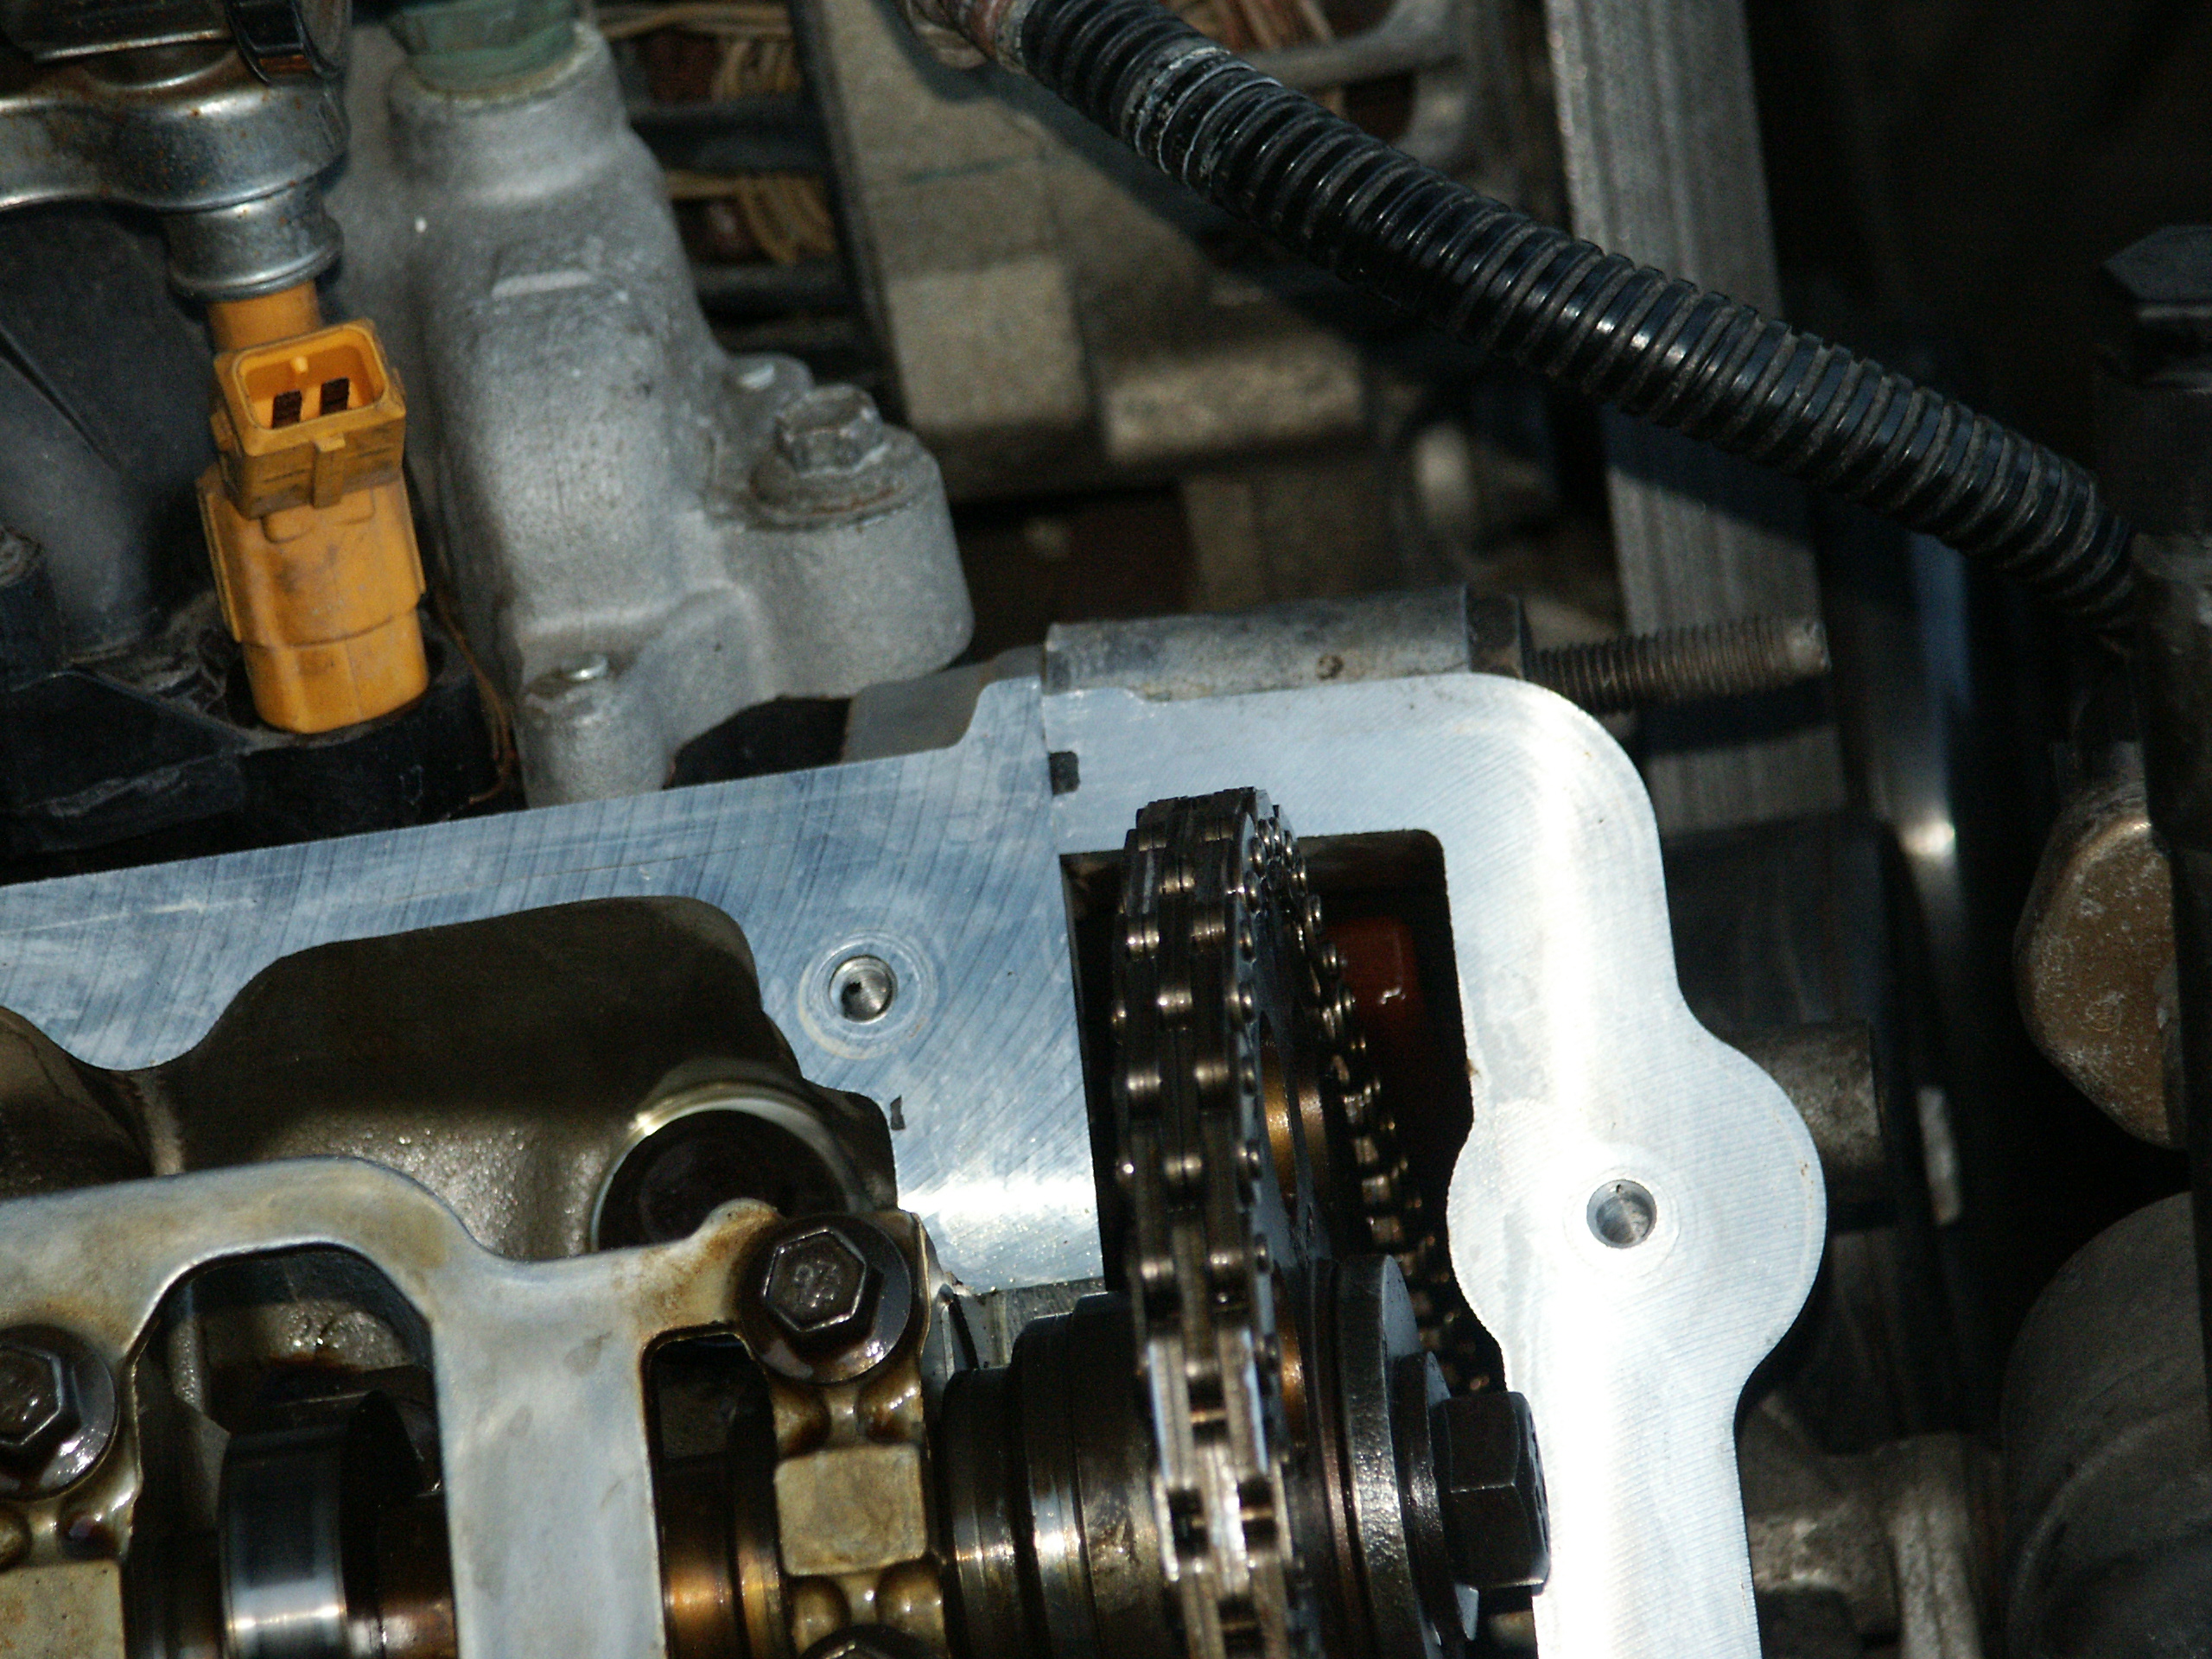
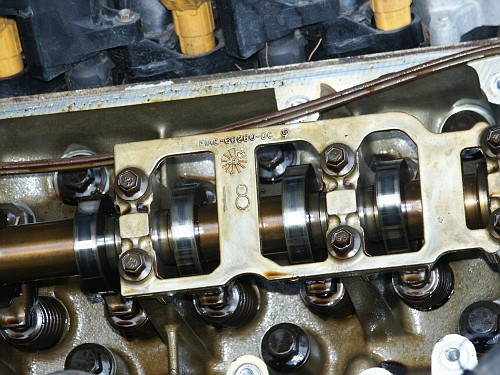
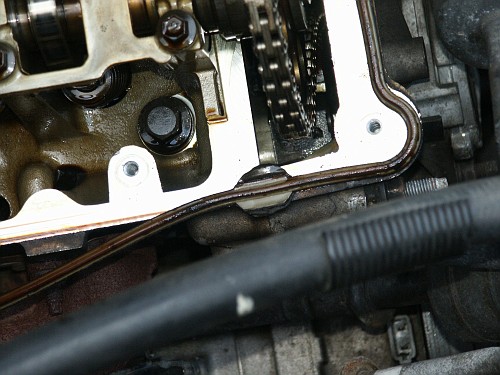
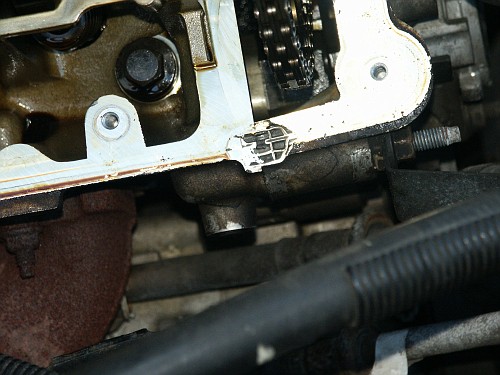
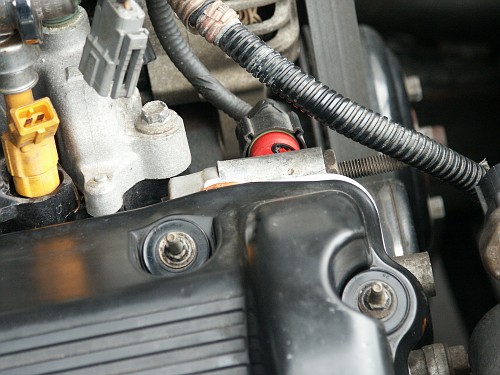
Here's a closeup of where the cylinder head meets the front cover. The
black stuff is factory installed RTV sealant.
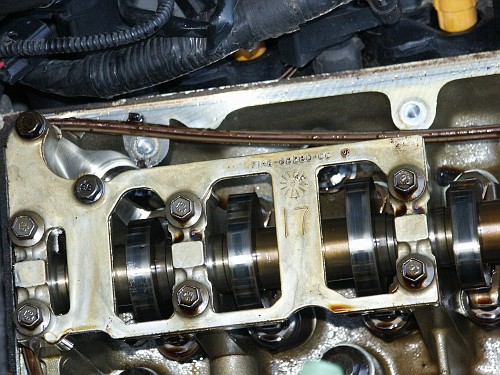
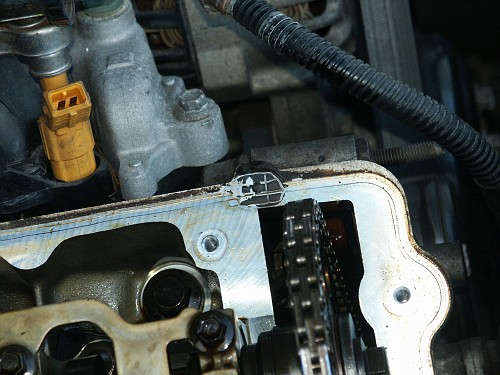
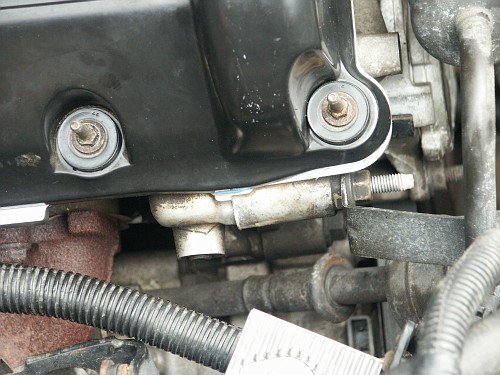
And the other junction point where the cylinder head meets the front
cover
Interestingly, the crownvic uses the same cylinder heads on both the
drivers side of the car and the passengers side of the car. However,
the camshafts are different between the two sides.

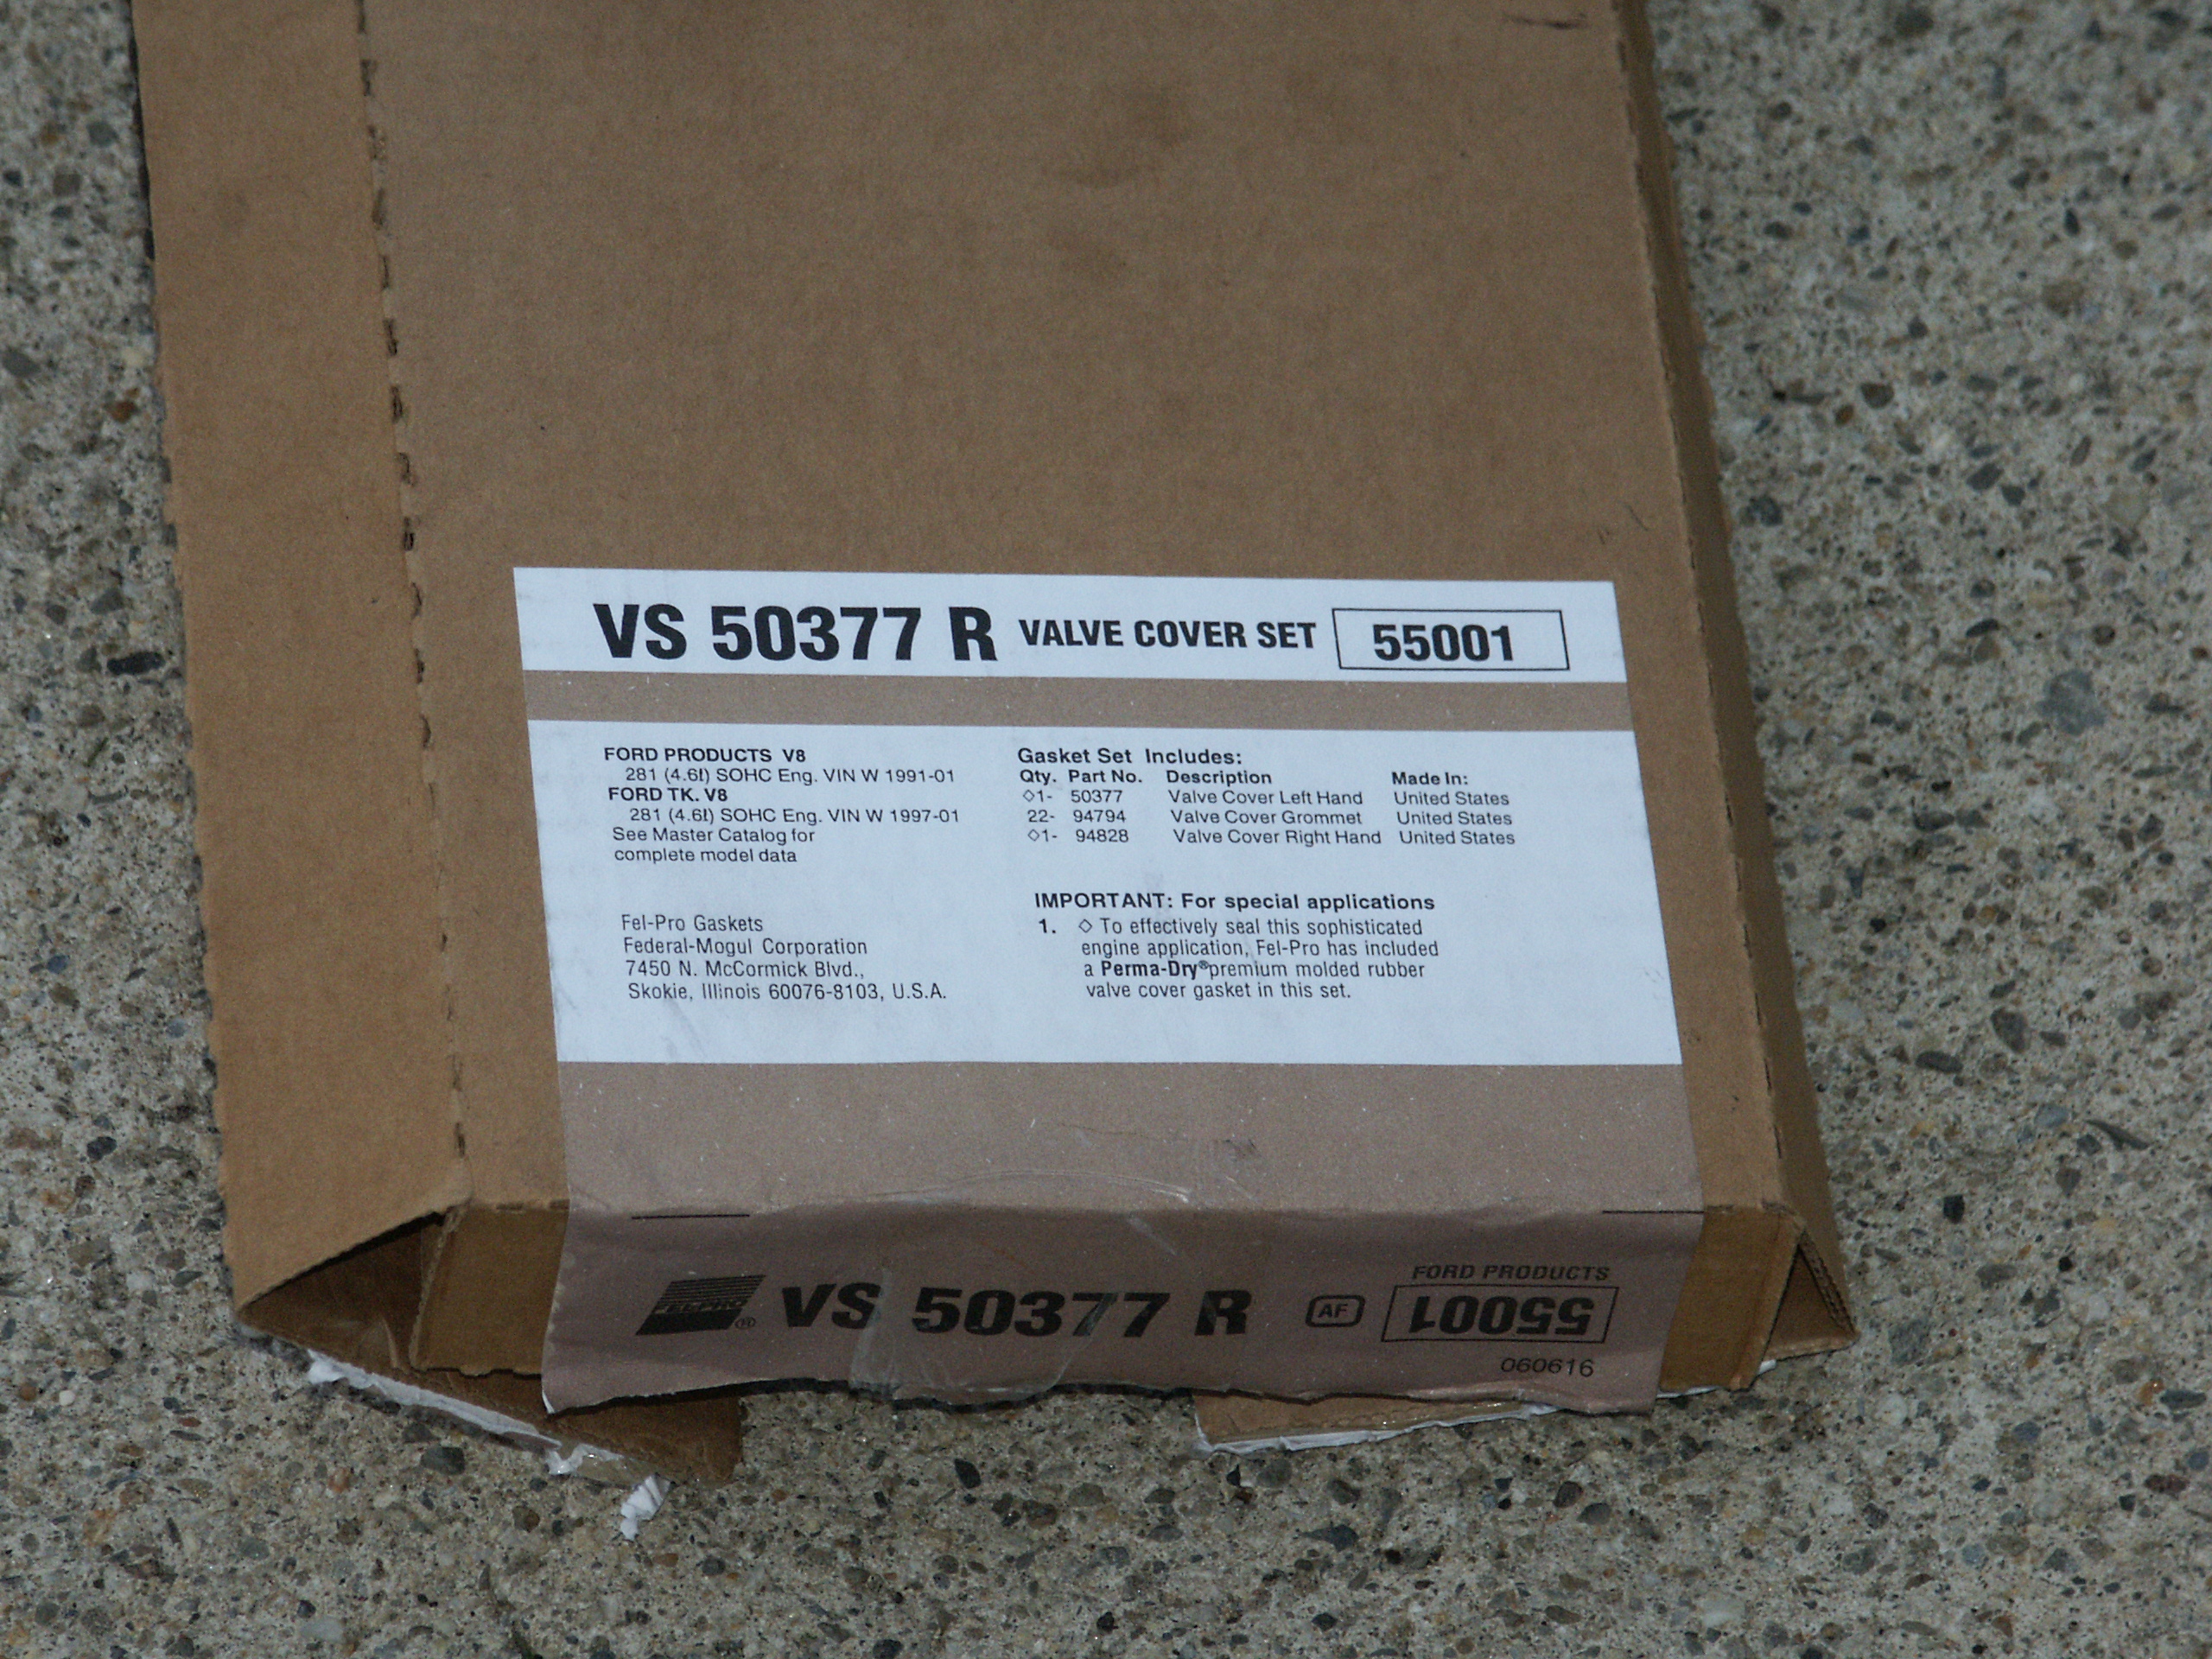
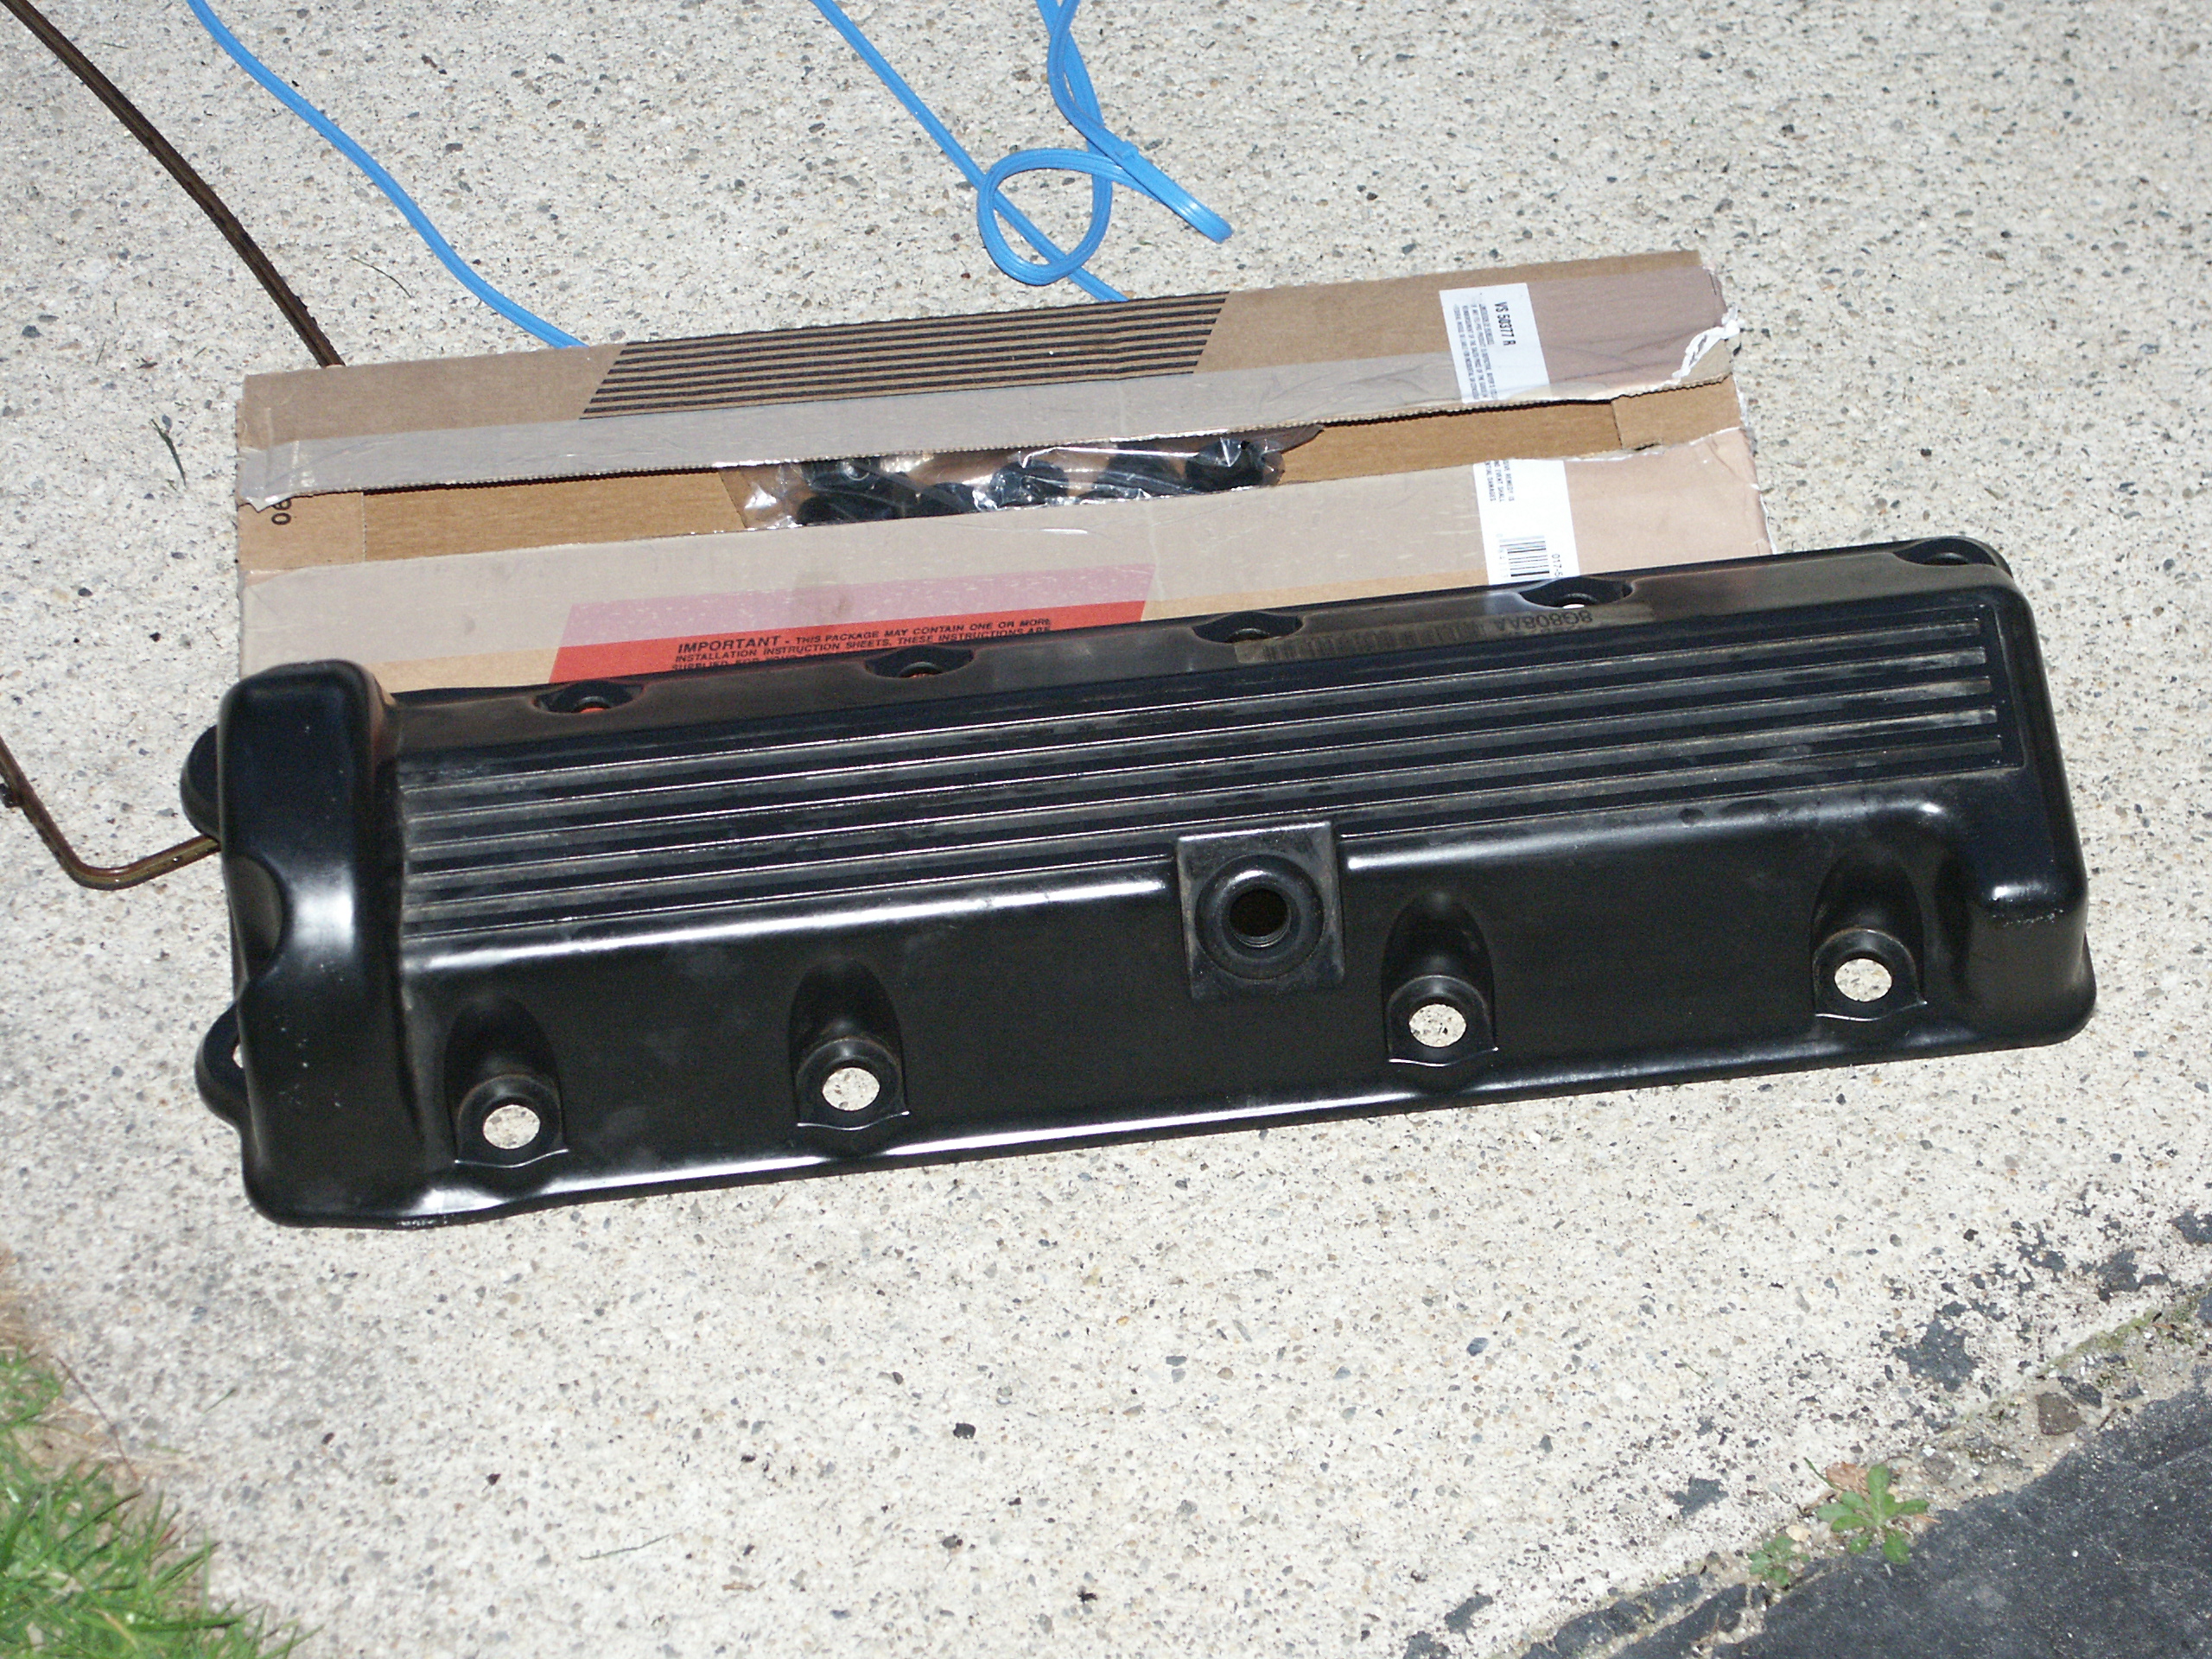
For this project an aftermarket Fel-Pro VS50377R gasket set is being
installed
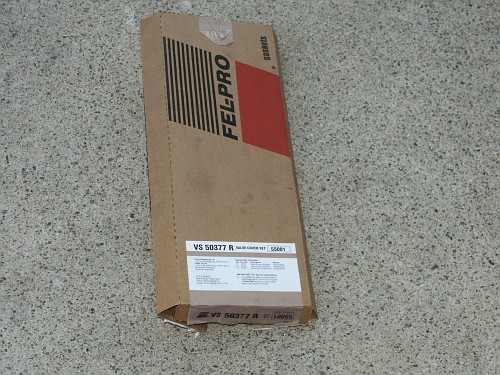
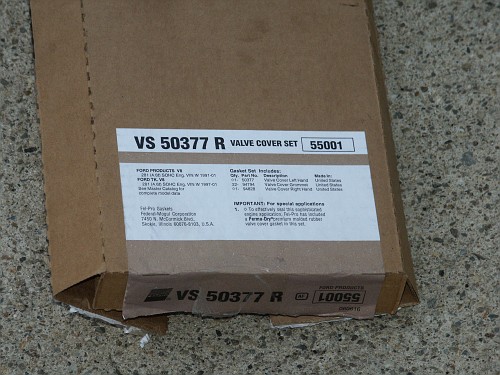
And a closeup of the writing on the box
VS 50377 R VALVE COVER SET 55001
FORD PRODUCTS V8
281 (4.6l) SOHC Eng. VIN W 1991-01
FORD TK. V8
281 (4.6l) SOHC Eng. VIN W 1997-01
See Master Catalog for complete model data
Gasket Set Includes:
Qty.
|
Part No.
|
Description
|
Made In
|
1
|
50377
|
Valve Cover Left Hand
|
United States
|
22
|
94794
|
Valve Cover Grommet
|
United States |
1
|
94828
|
Valve Cover Right Hand
|
United States |
IMPORTANT: For special applications
1. To effectively seal this sophisticated engine application, Fel-Pro
has included a Perma-Dry premium molded rubber valve cover gasket in
this set.
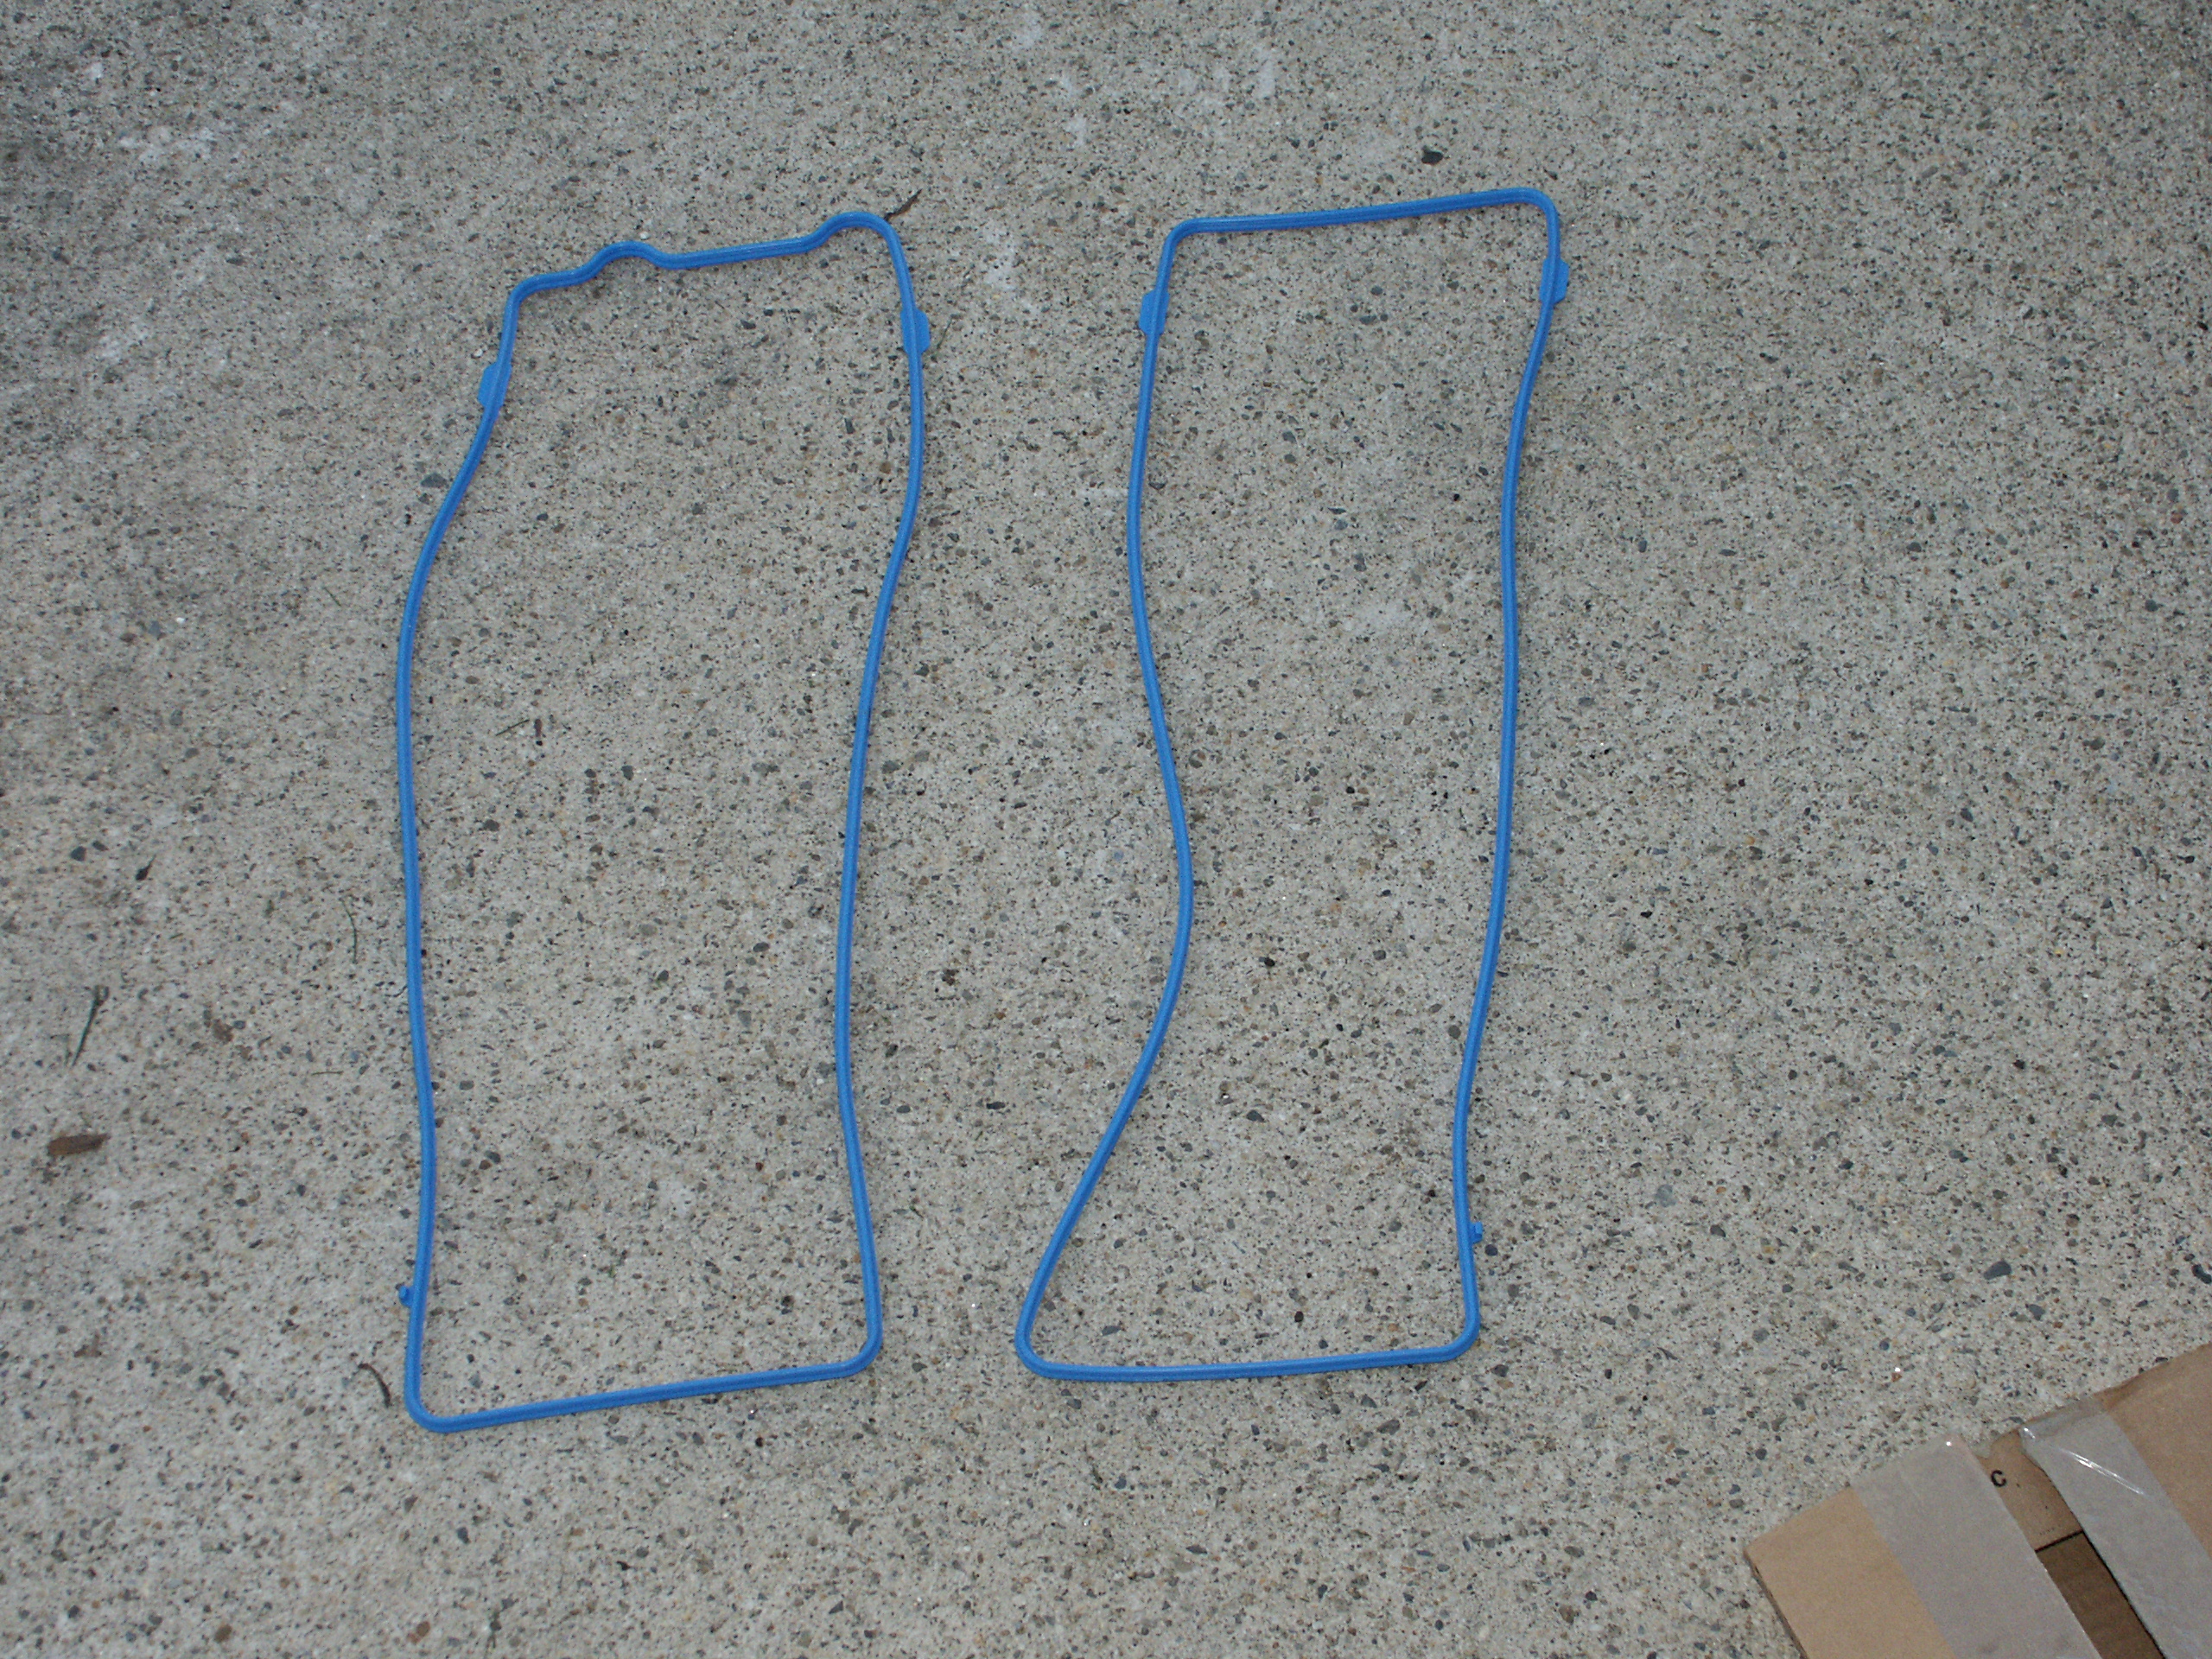
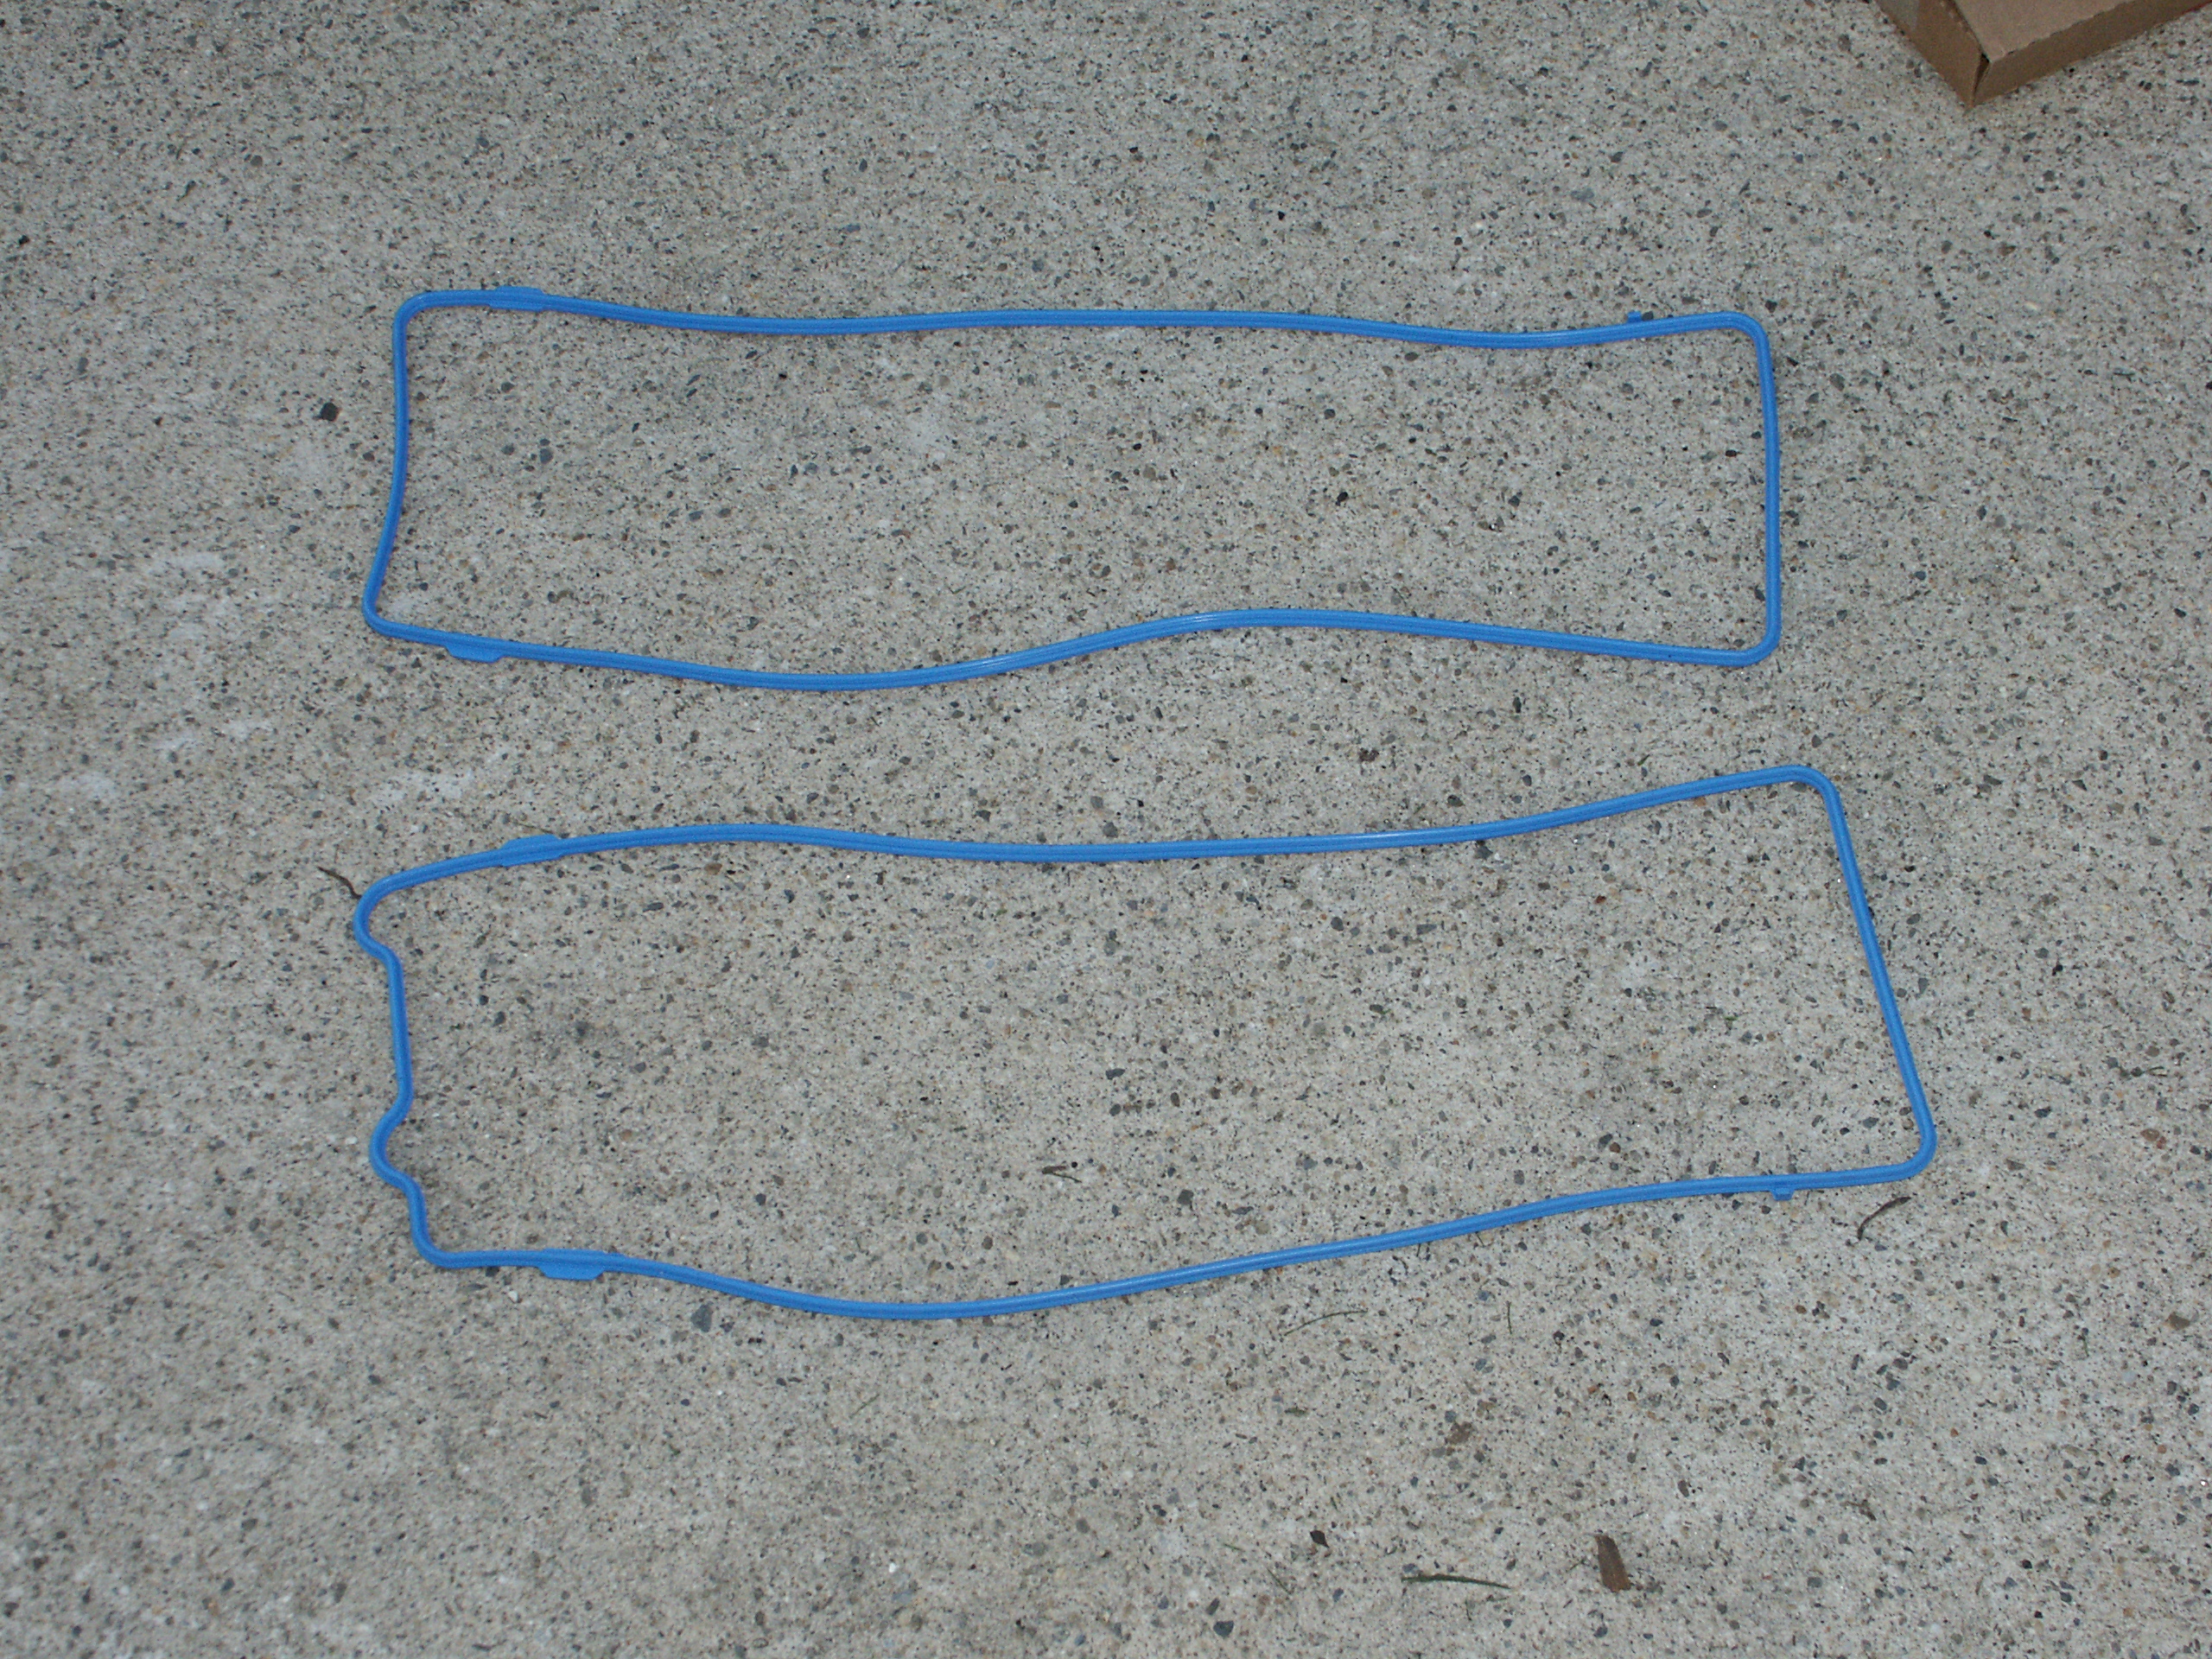
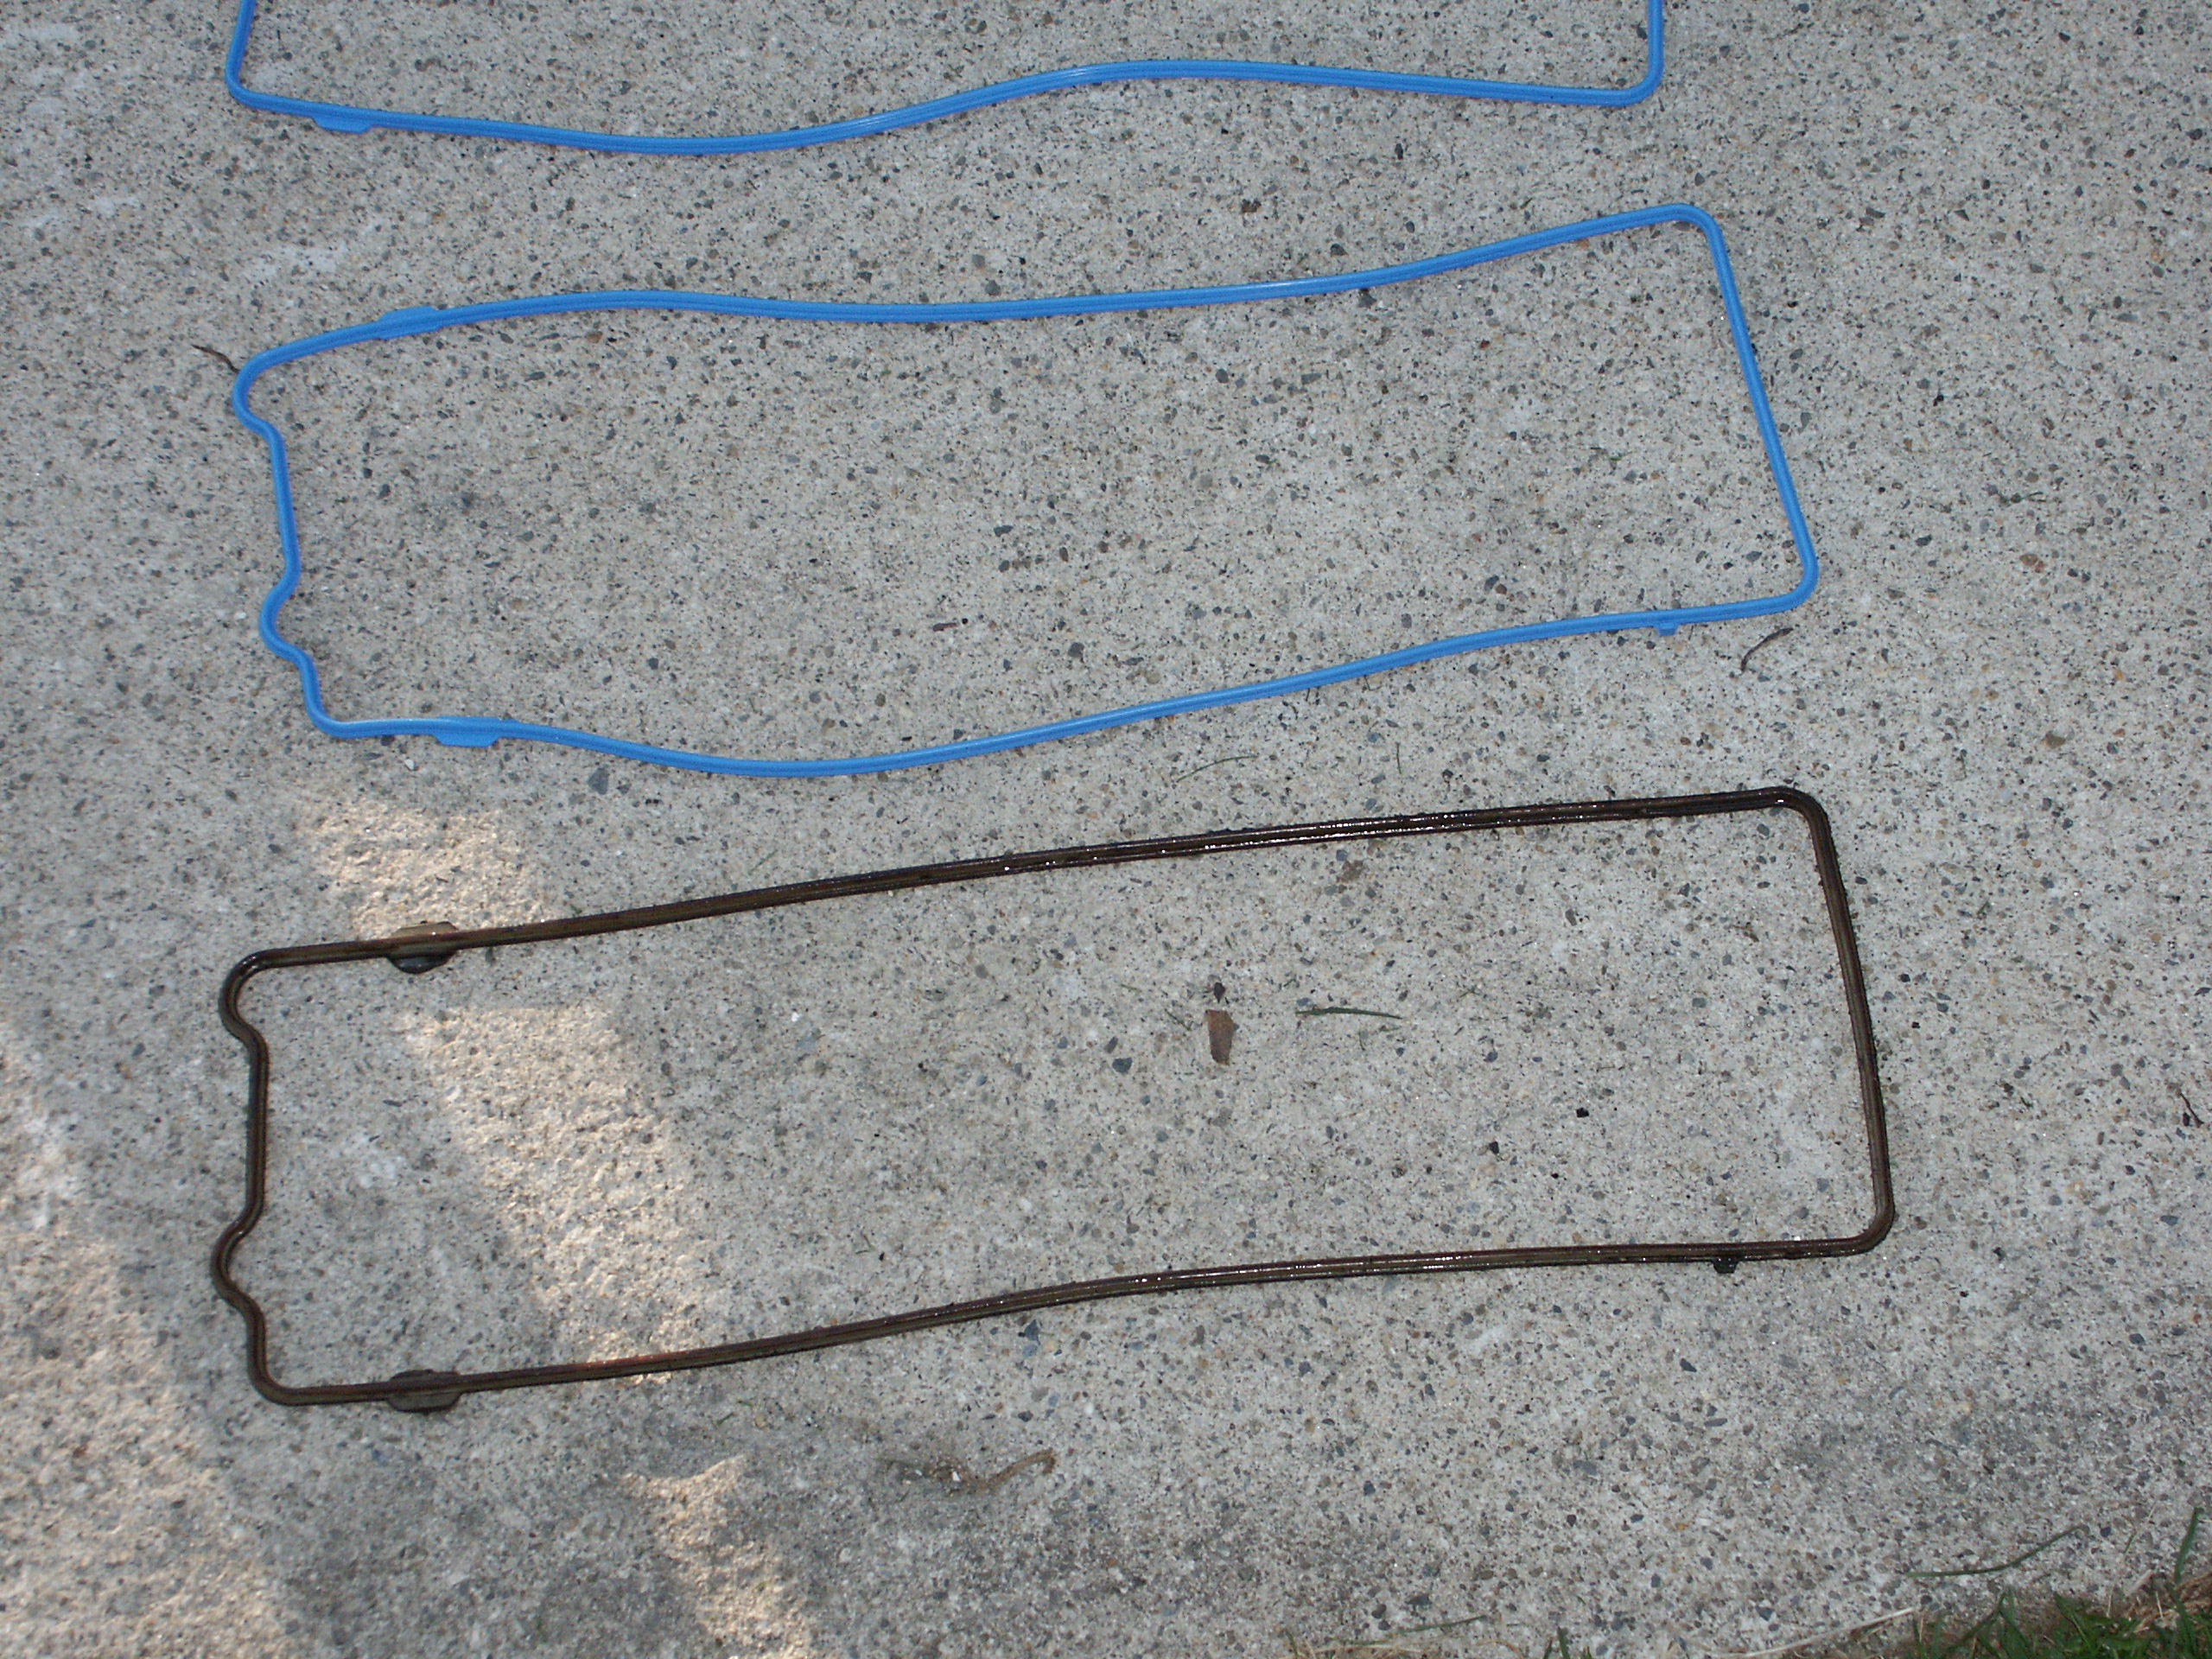
Here are the two valve cover gaskets.
It should be noted that although the application guide on the box lists
1991-2001 4.6L VIN W passenger cars on the box, this gasket set
actually fits all 1992-2002 gasoline powered ford crown victorias,
mercury grand marquis, and lincoln towncars. It will also fit the 1991
lincoln town car too. However, it will not fit the 1991 crown victoria
as these cars still used the 302 and 351 OHV engines.
Do note that this gasket set is for 11-bolt romeo valve covers, and
will not
work on the 1999-2000 ford mustang gt's which uses a windsor
engine. Also note that the mustang windsor motors have have 14
bolt holes in the heads & front cover but only use 13 bolts to hold
the valve cover on, so you may see the same engine referred to as
either 13-bolt or 14-bolt application.
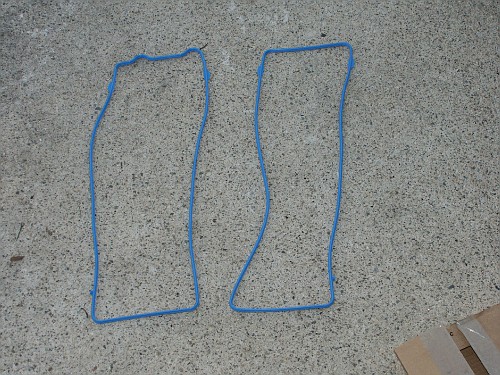
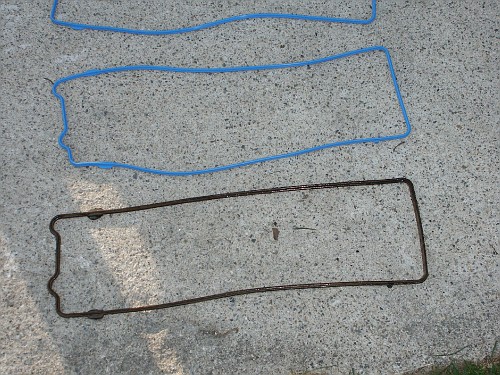
The fel-pro gaskets are blue in color.

The factory installed gasket was grey in color
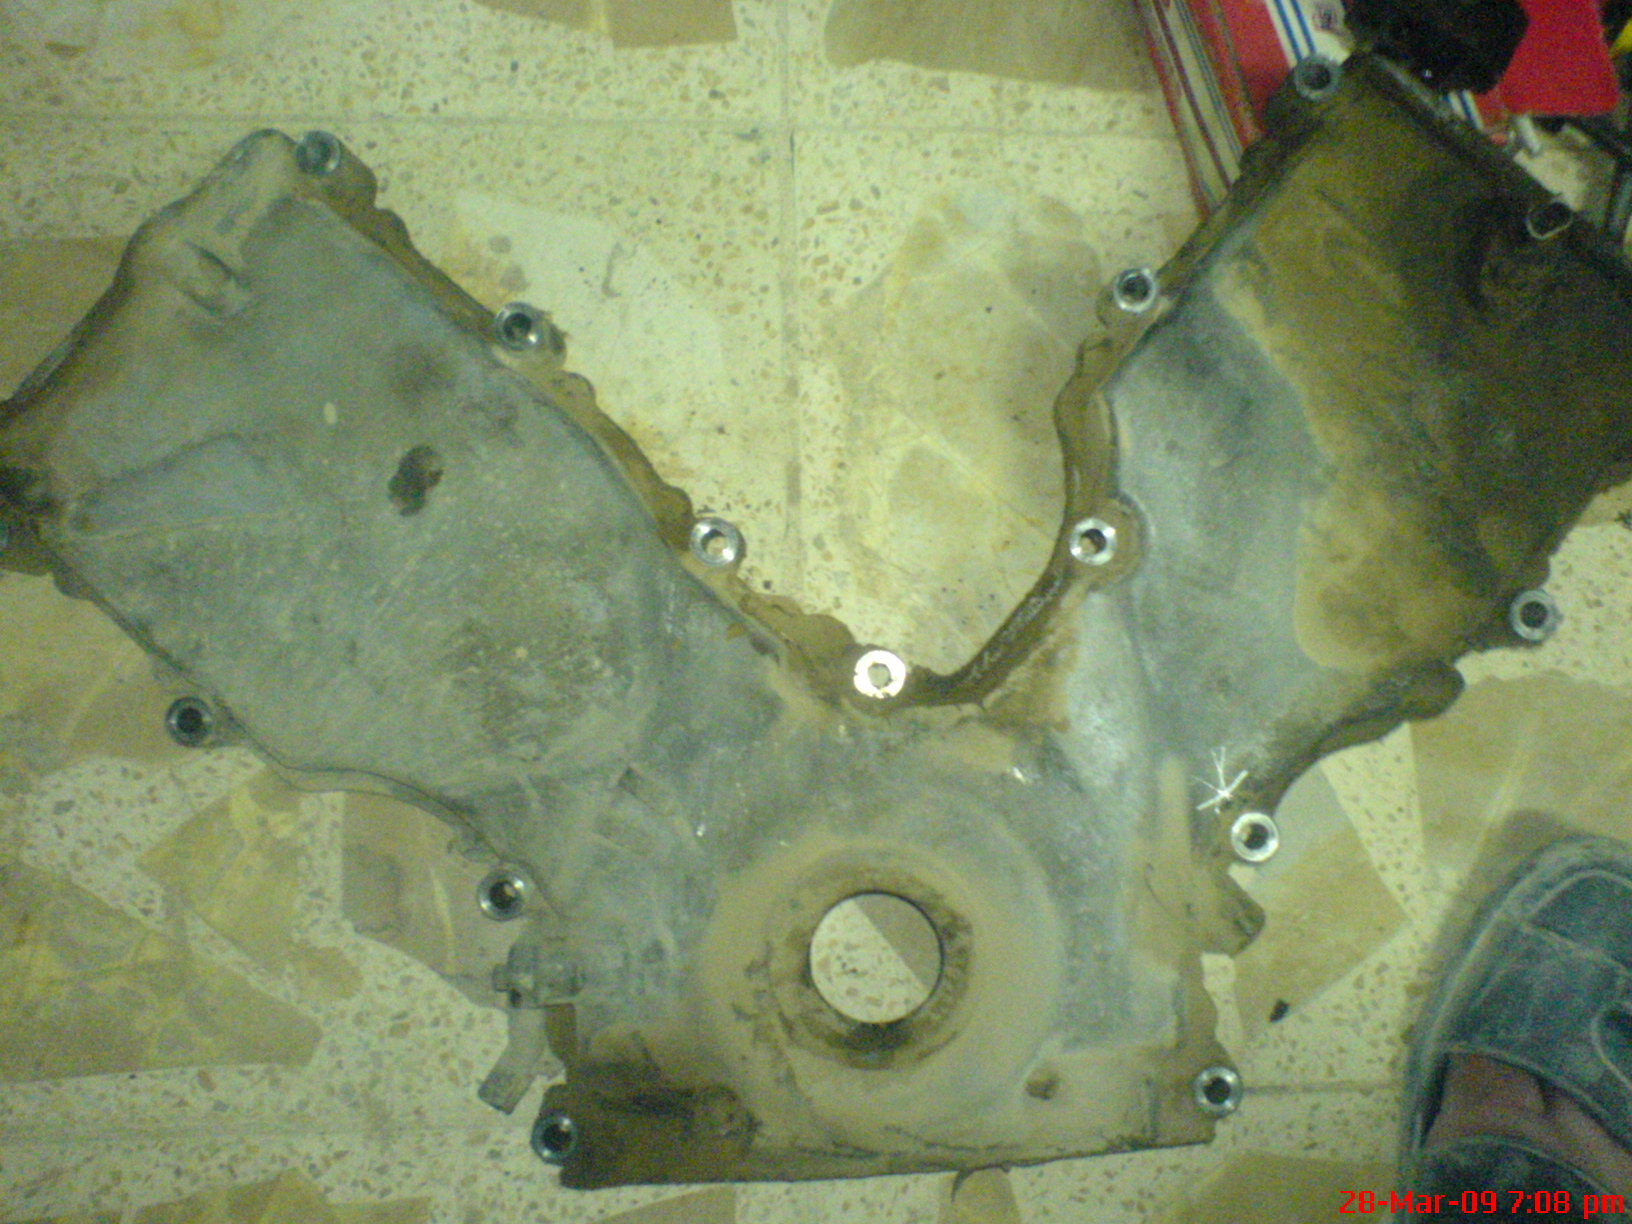
Note that the front timing cover on the crown victoria is removable and
not part of the cylinder head although the valve cover gasket seals to
the top surface of it.
A 2000 crown victoria engine with the front timing cover present
(Picture courtesy of Ruski on
www.crownvic.net)

A 2000 crown victoria engine with the front timing cover removed.
(Picture courtesy of Ruski on
www.crownvic.net)
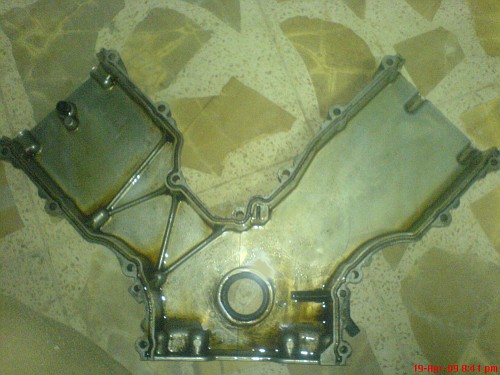
And a F2AE-6D080-AA timing cover from a 1992 crown victoria
(Picture courtesy of vic1992LX on
www.crownvic.net)

And the back side of the timing cover
(Picture courtesy of vic1992LX on
www.crownvic.net)
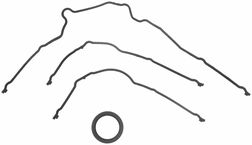
And here is the gasket set which seals the front timing cover to the
engine block. These gaskets do sometimes leak, but it's a lot more
common to have leaking valve cover gaskets than leaking timing cover
gaskets on your crownvic.
Also included in the Fel-Pro TCS458691 gasket kit is the seal for the
harmonic balancer. If your harmonic balancer has a groove worn into the
seal area, there is also a metal repair sleeve avaliable aftermarket.
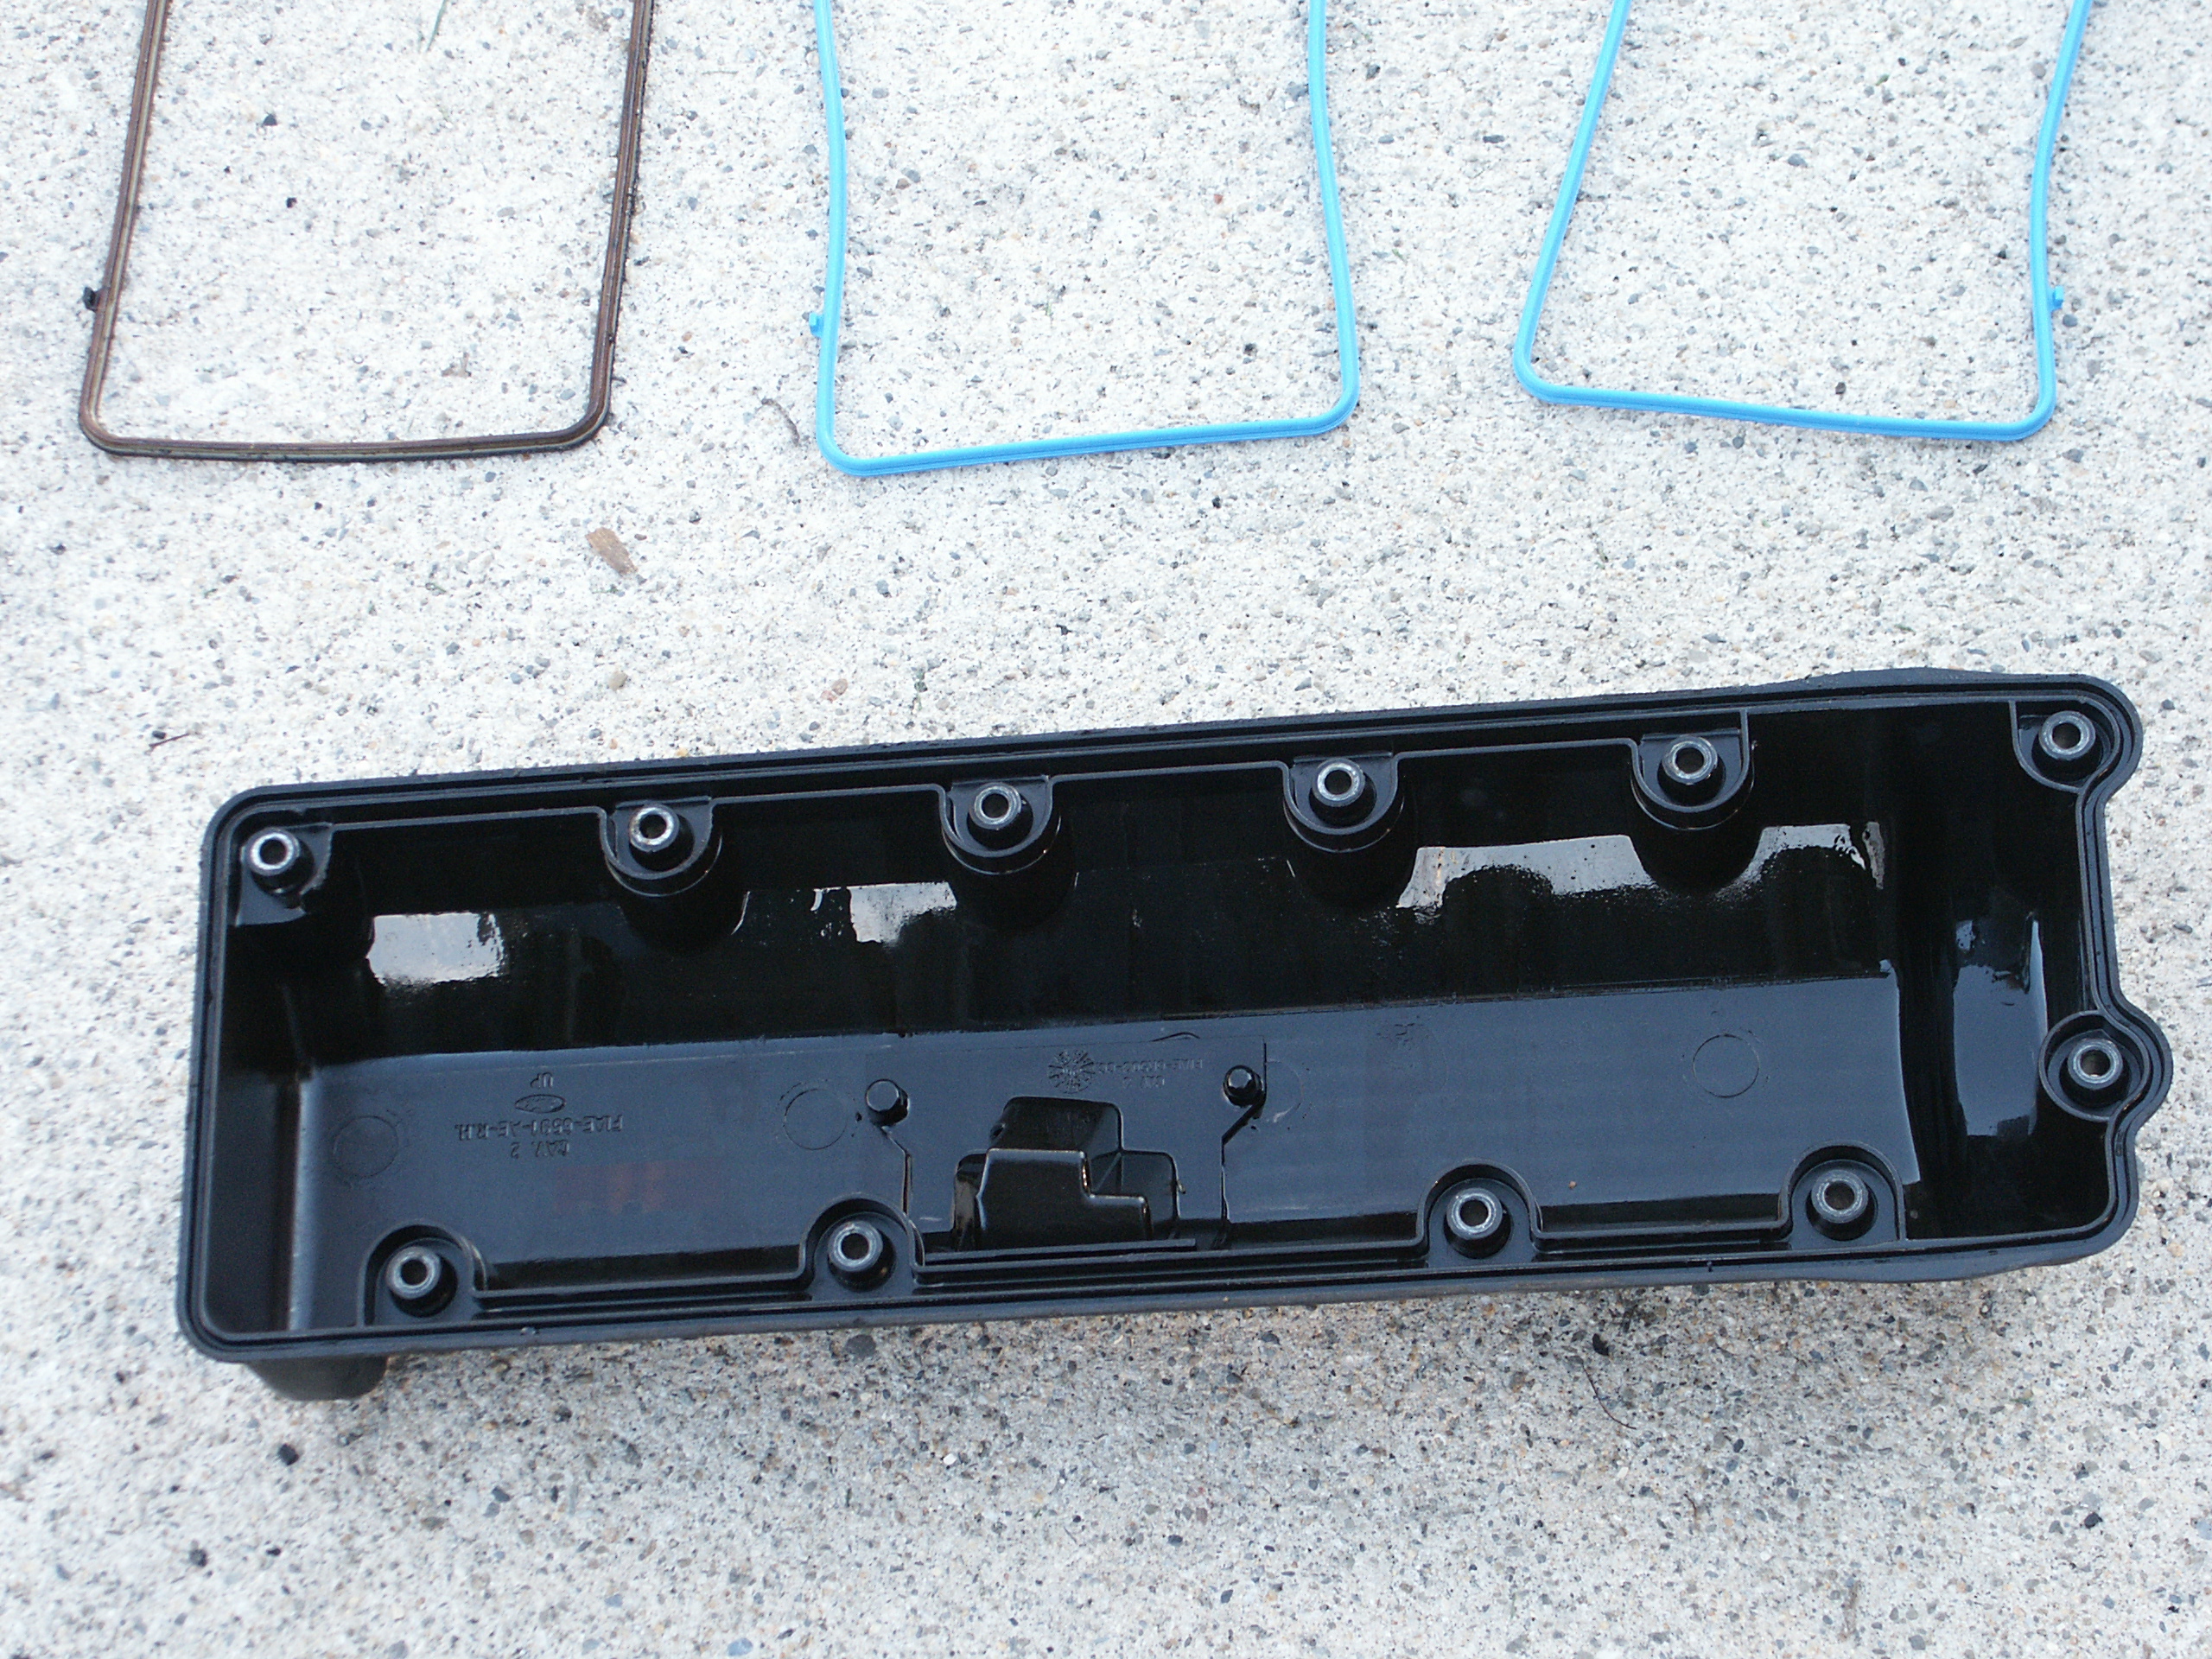
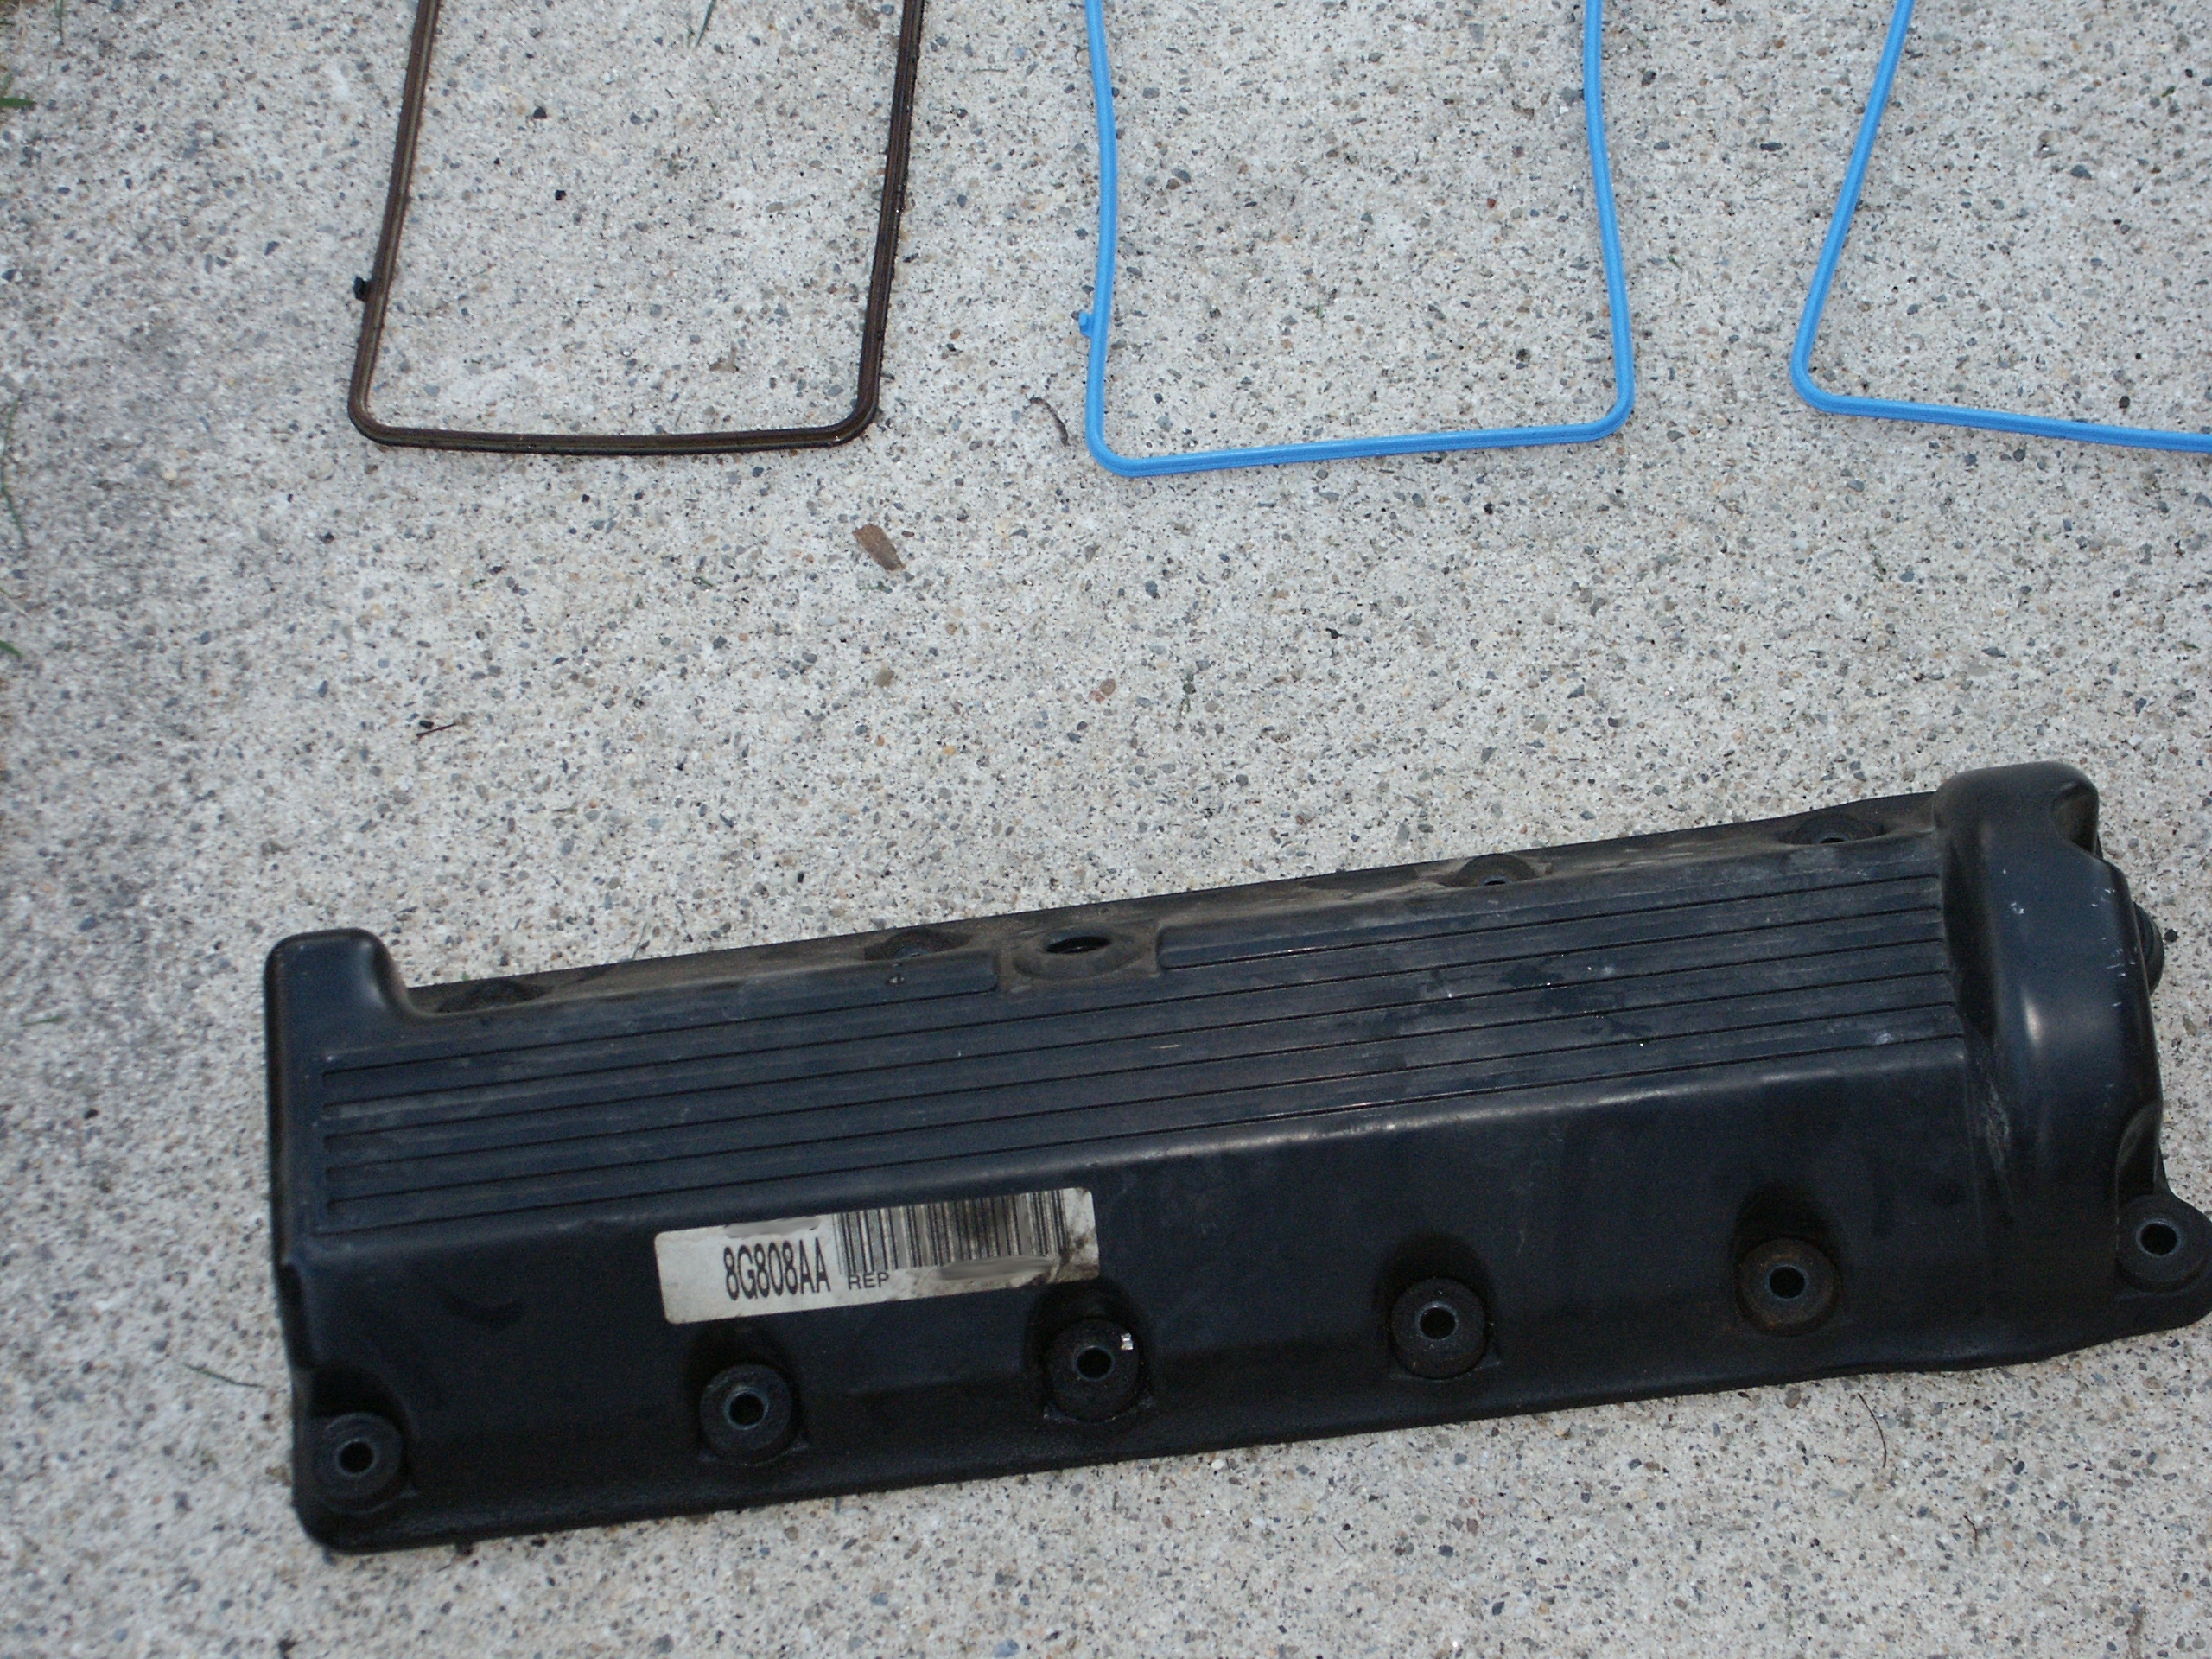
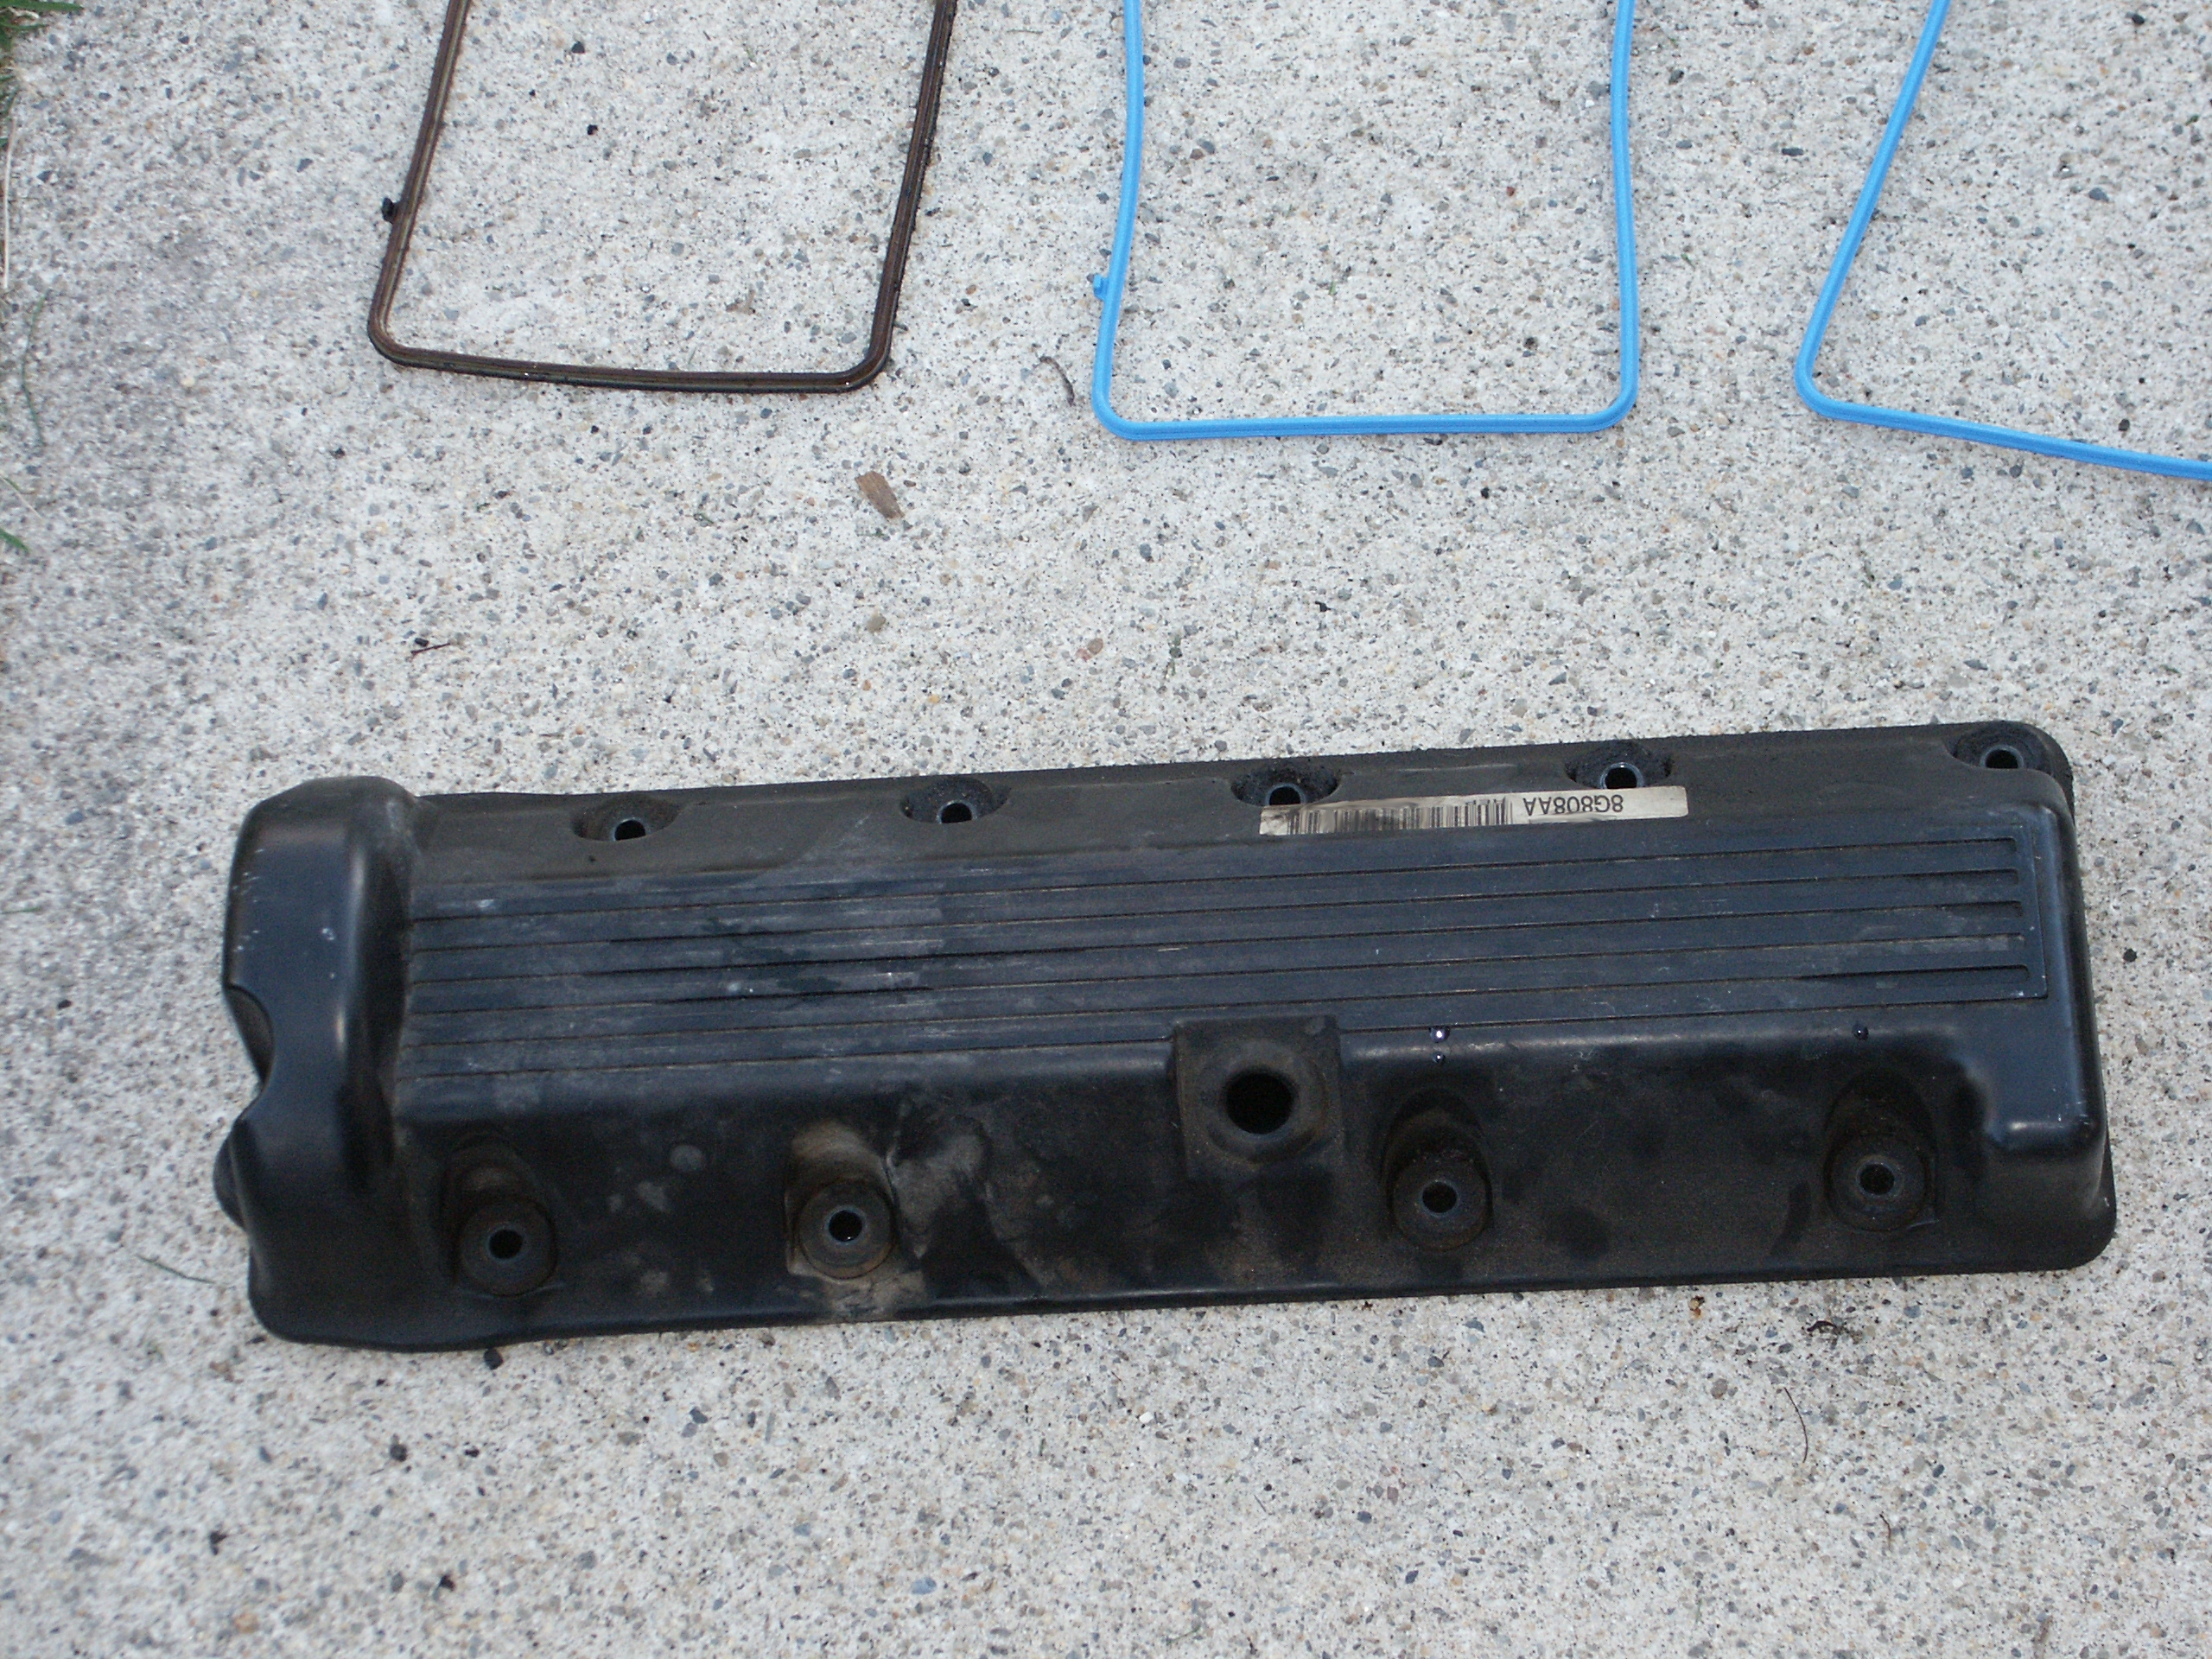
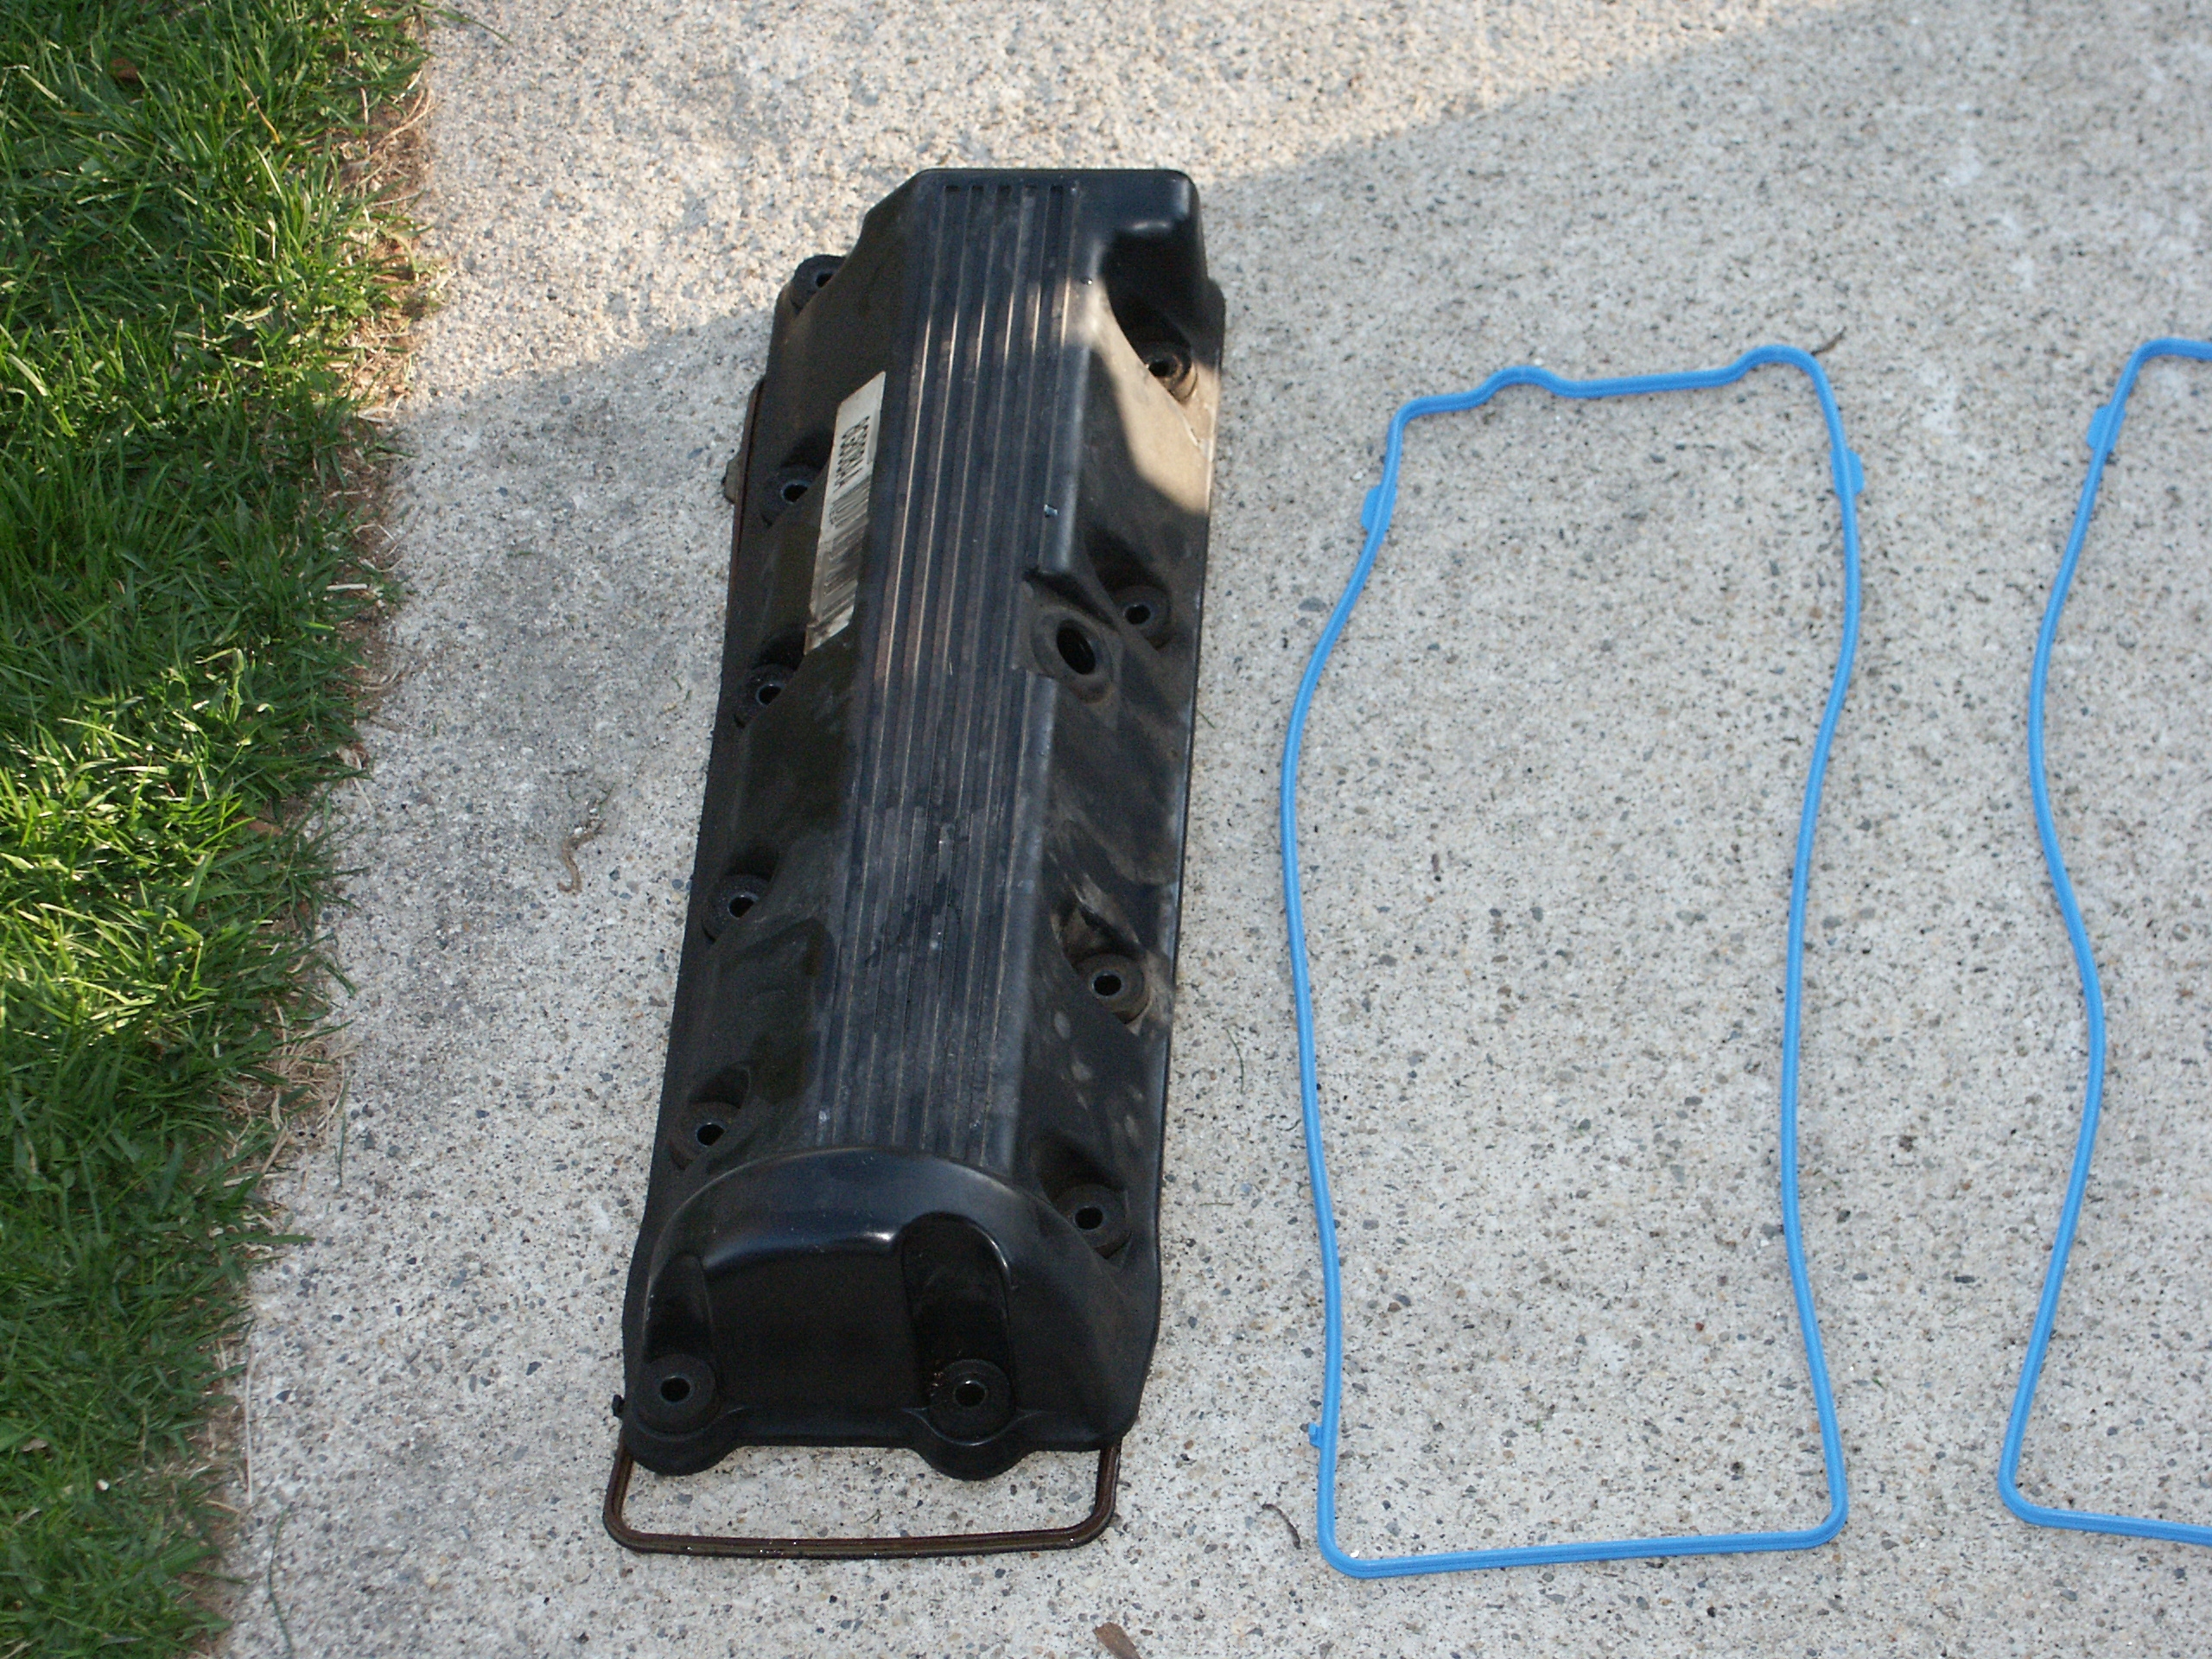
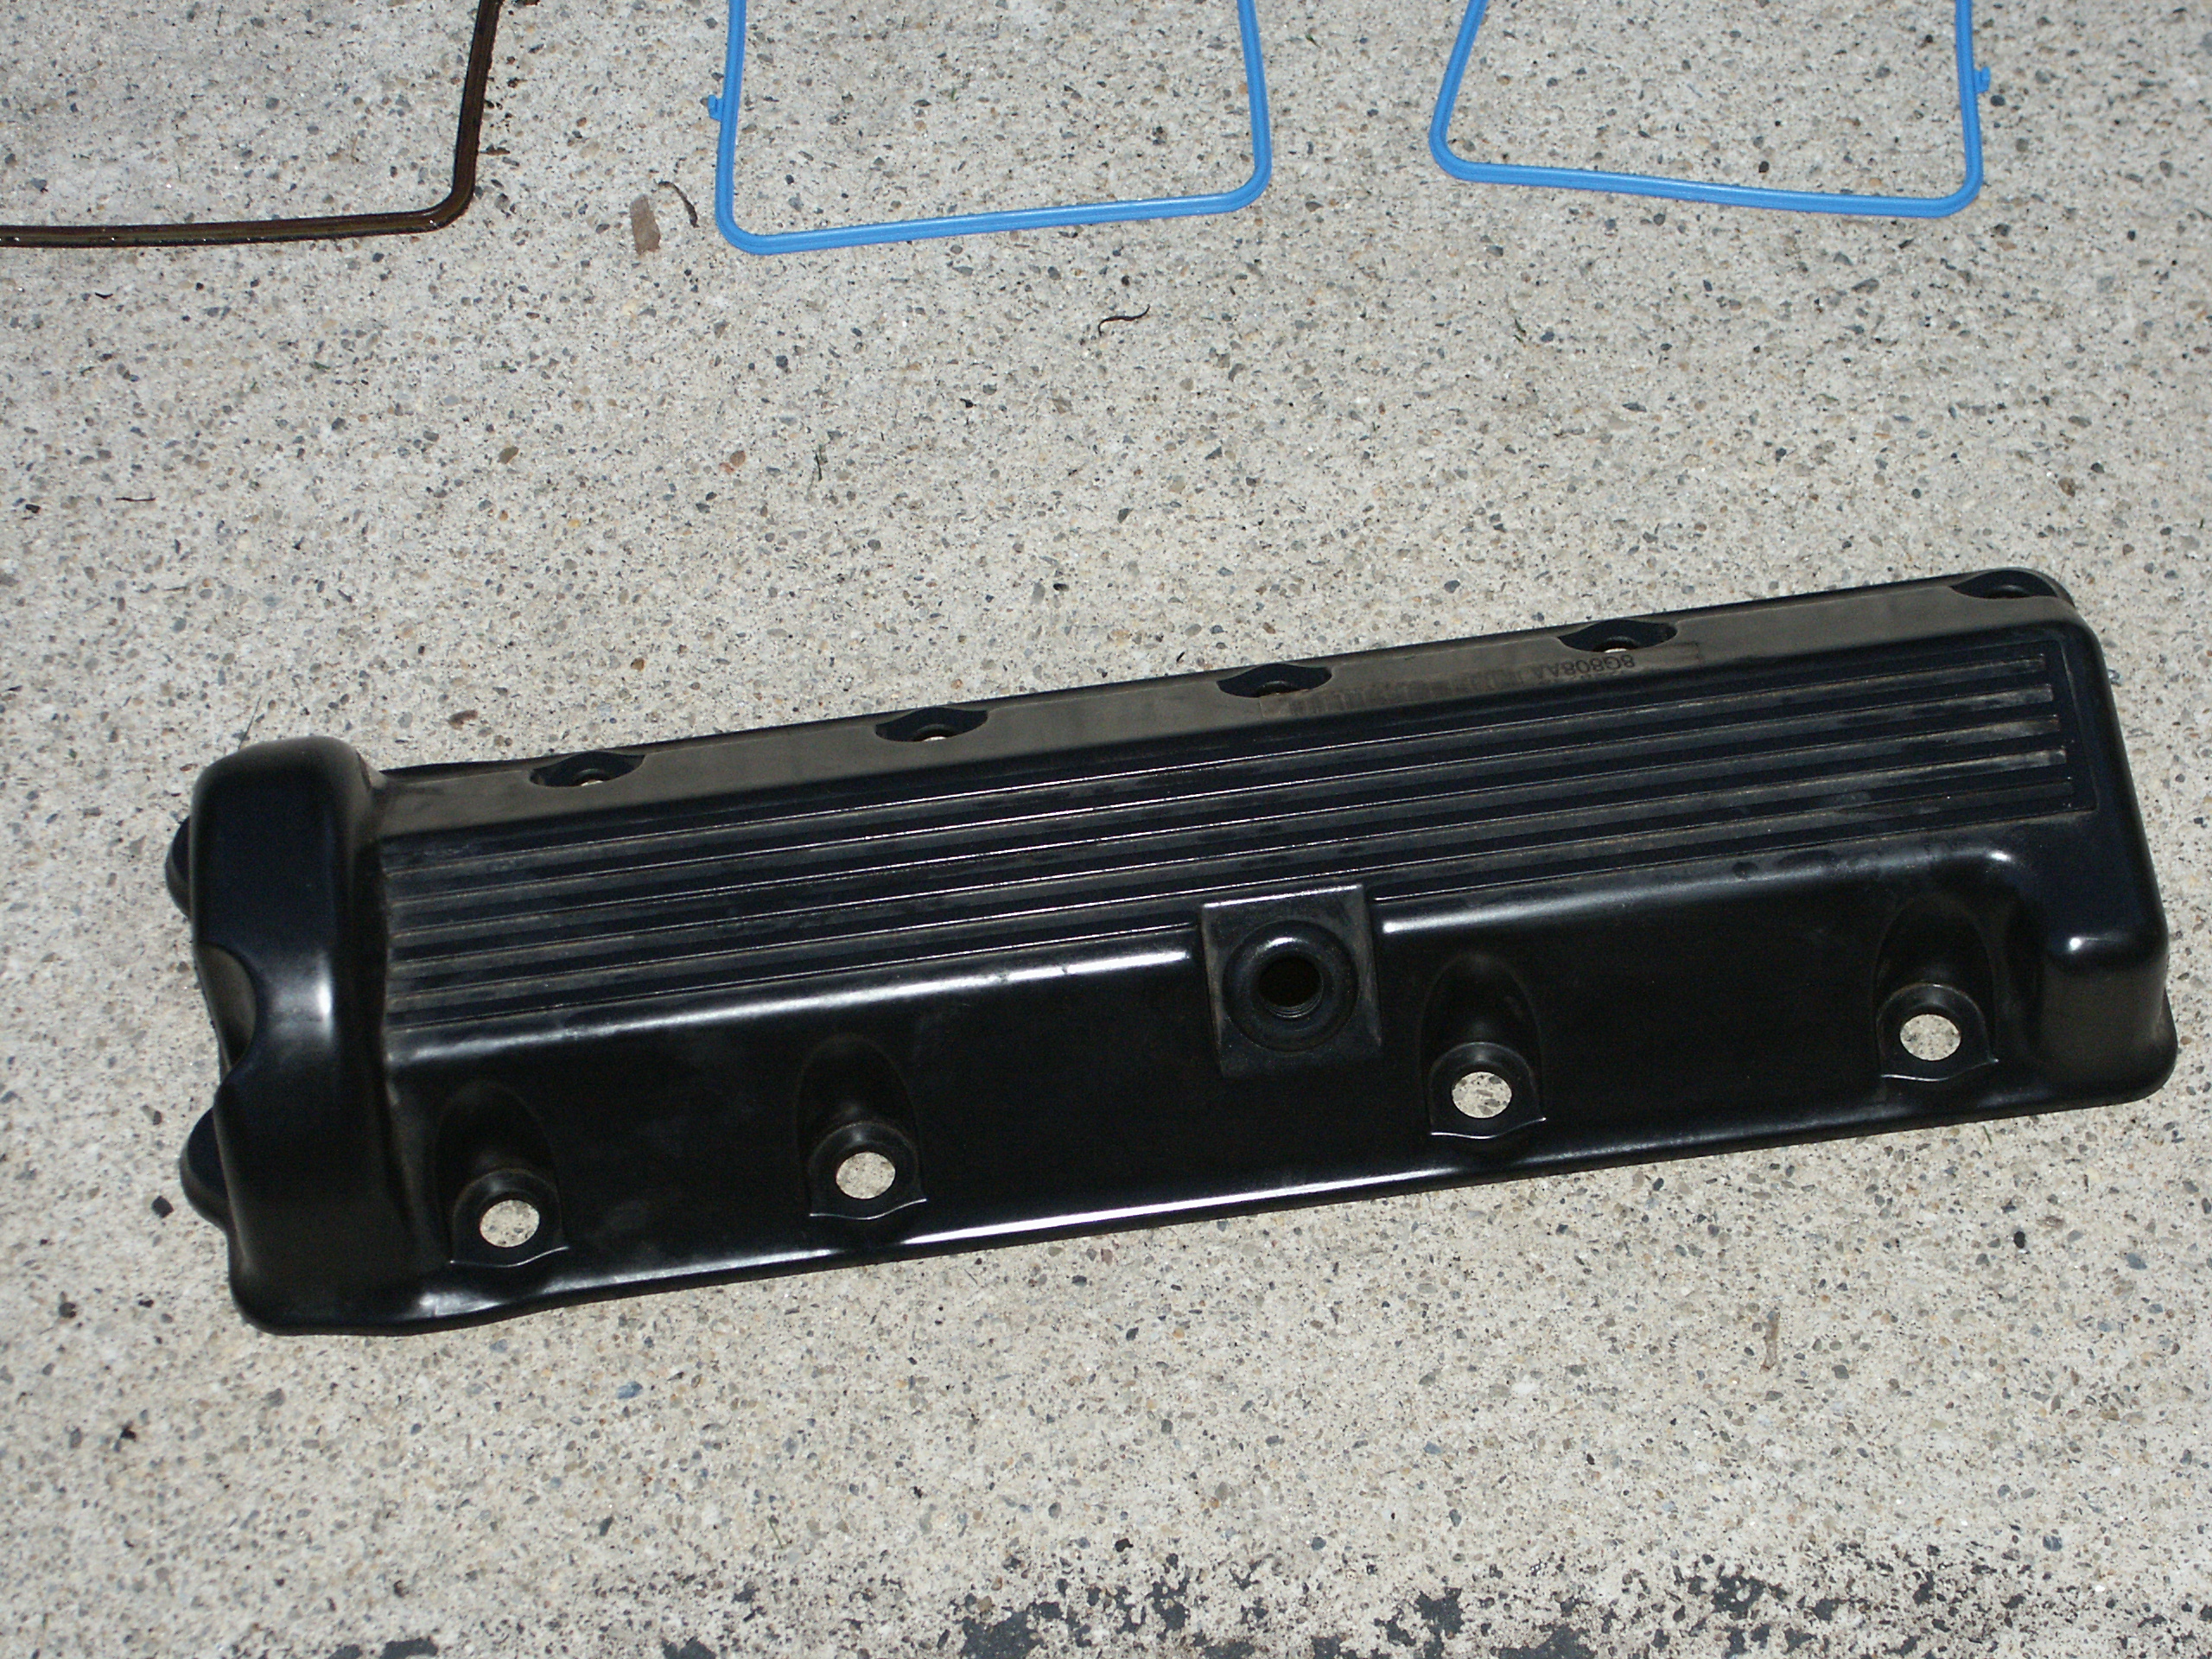
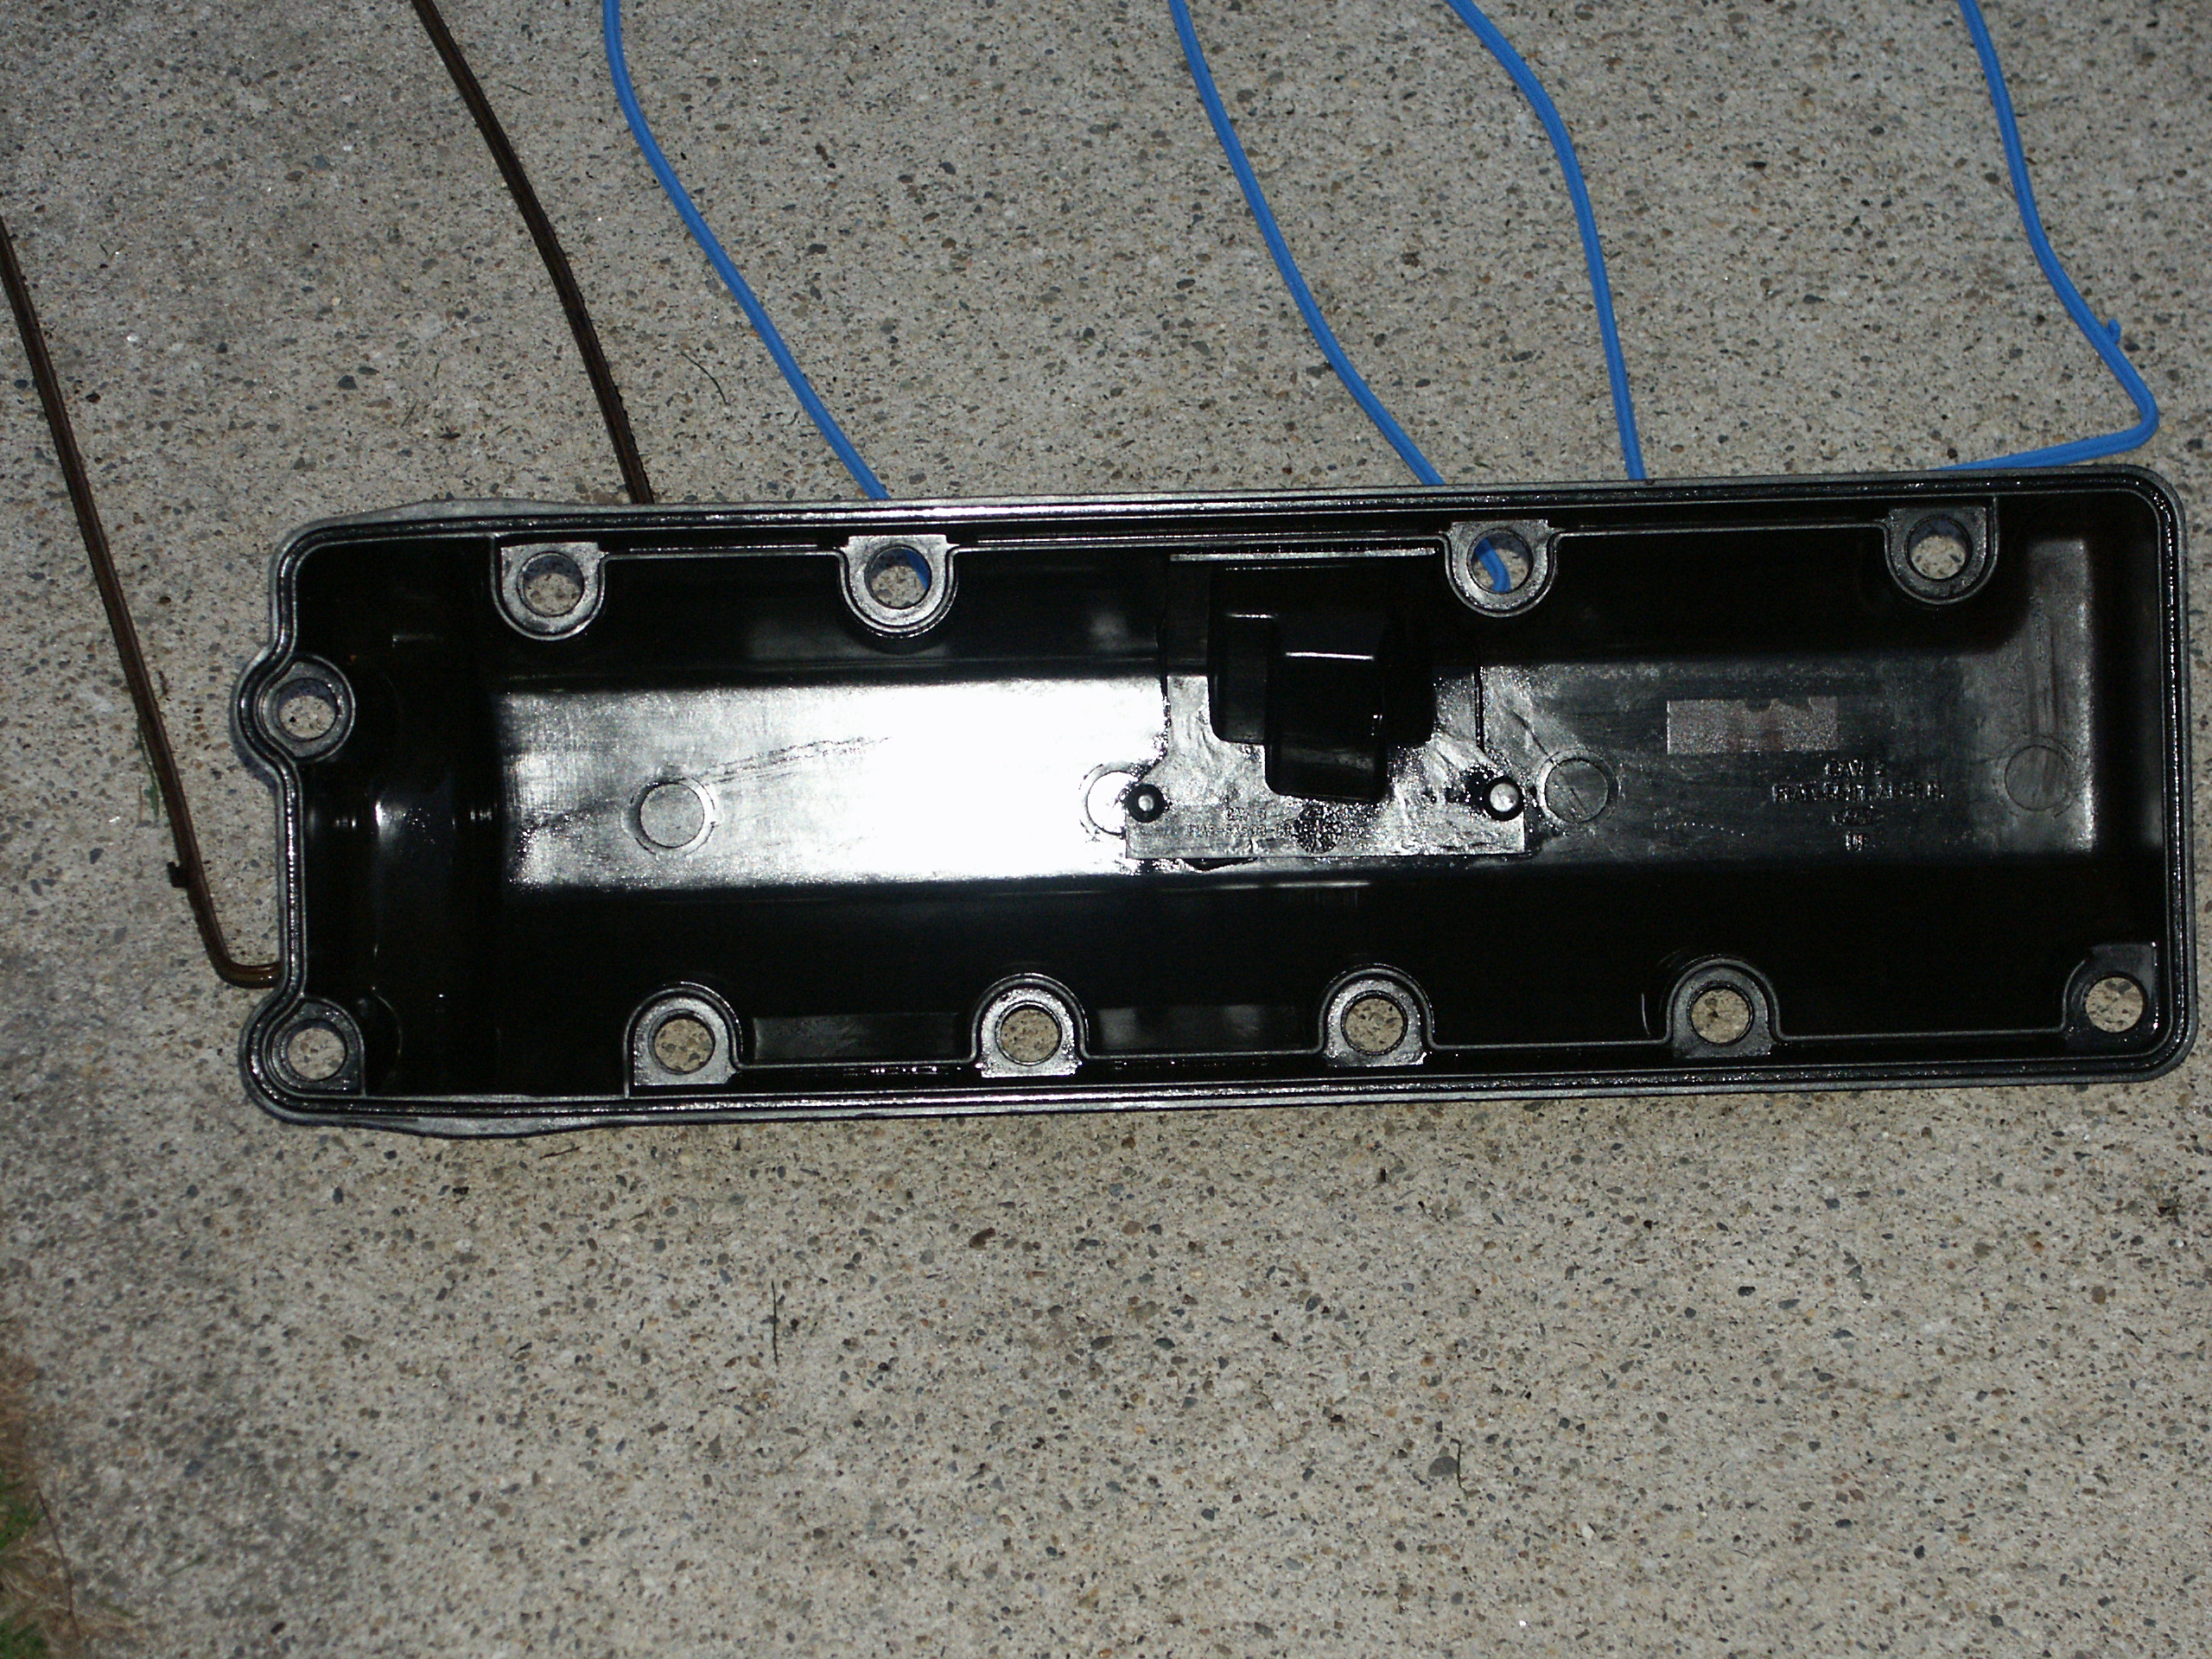
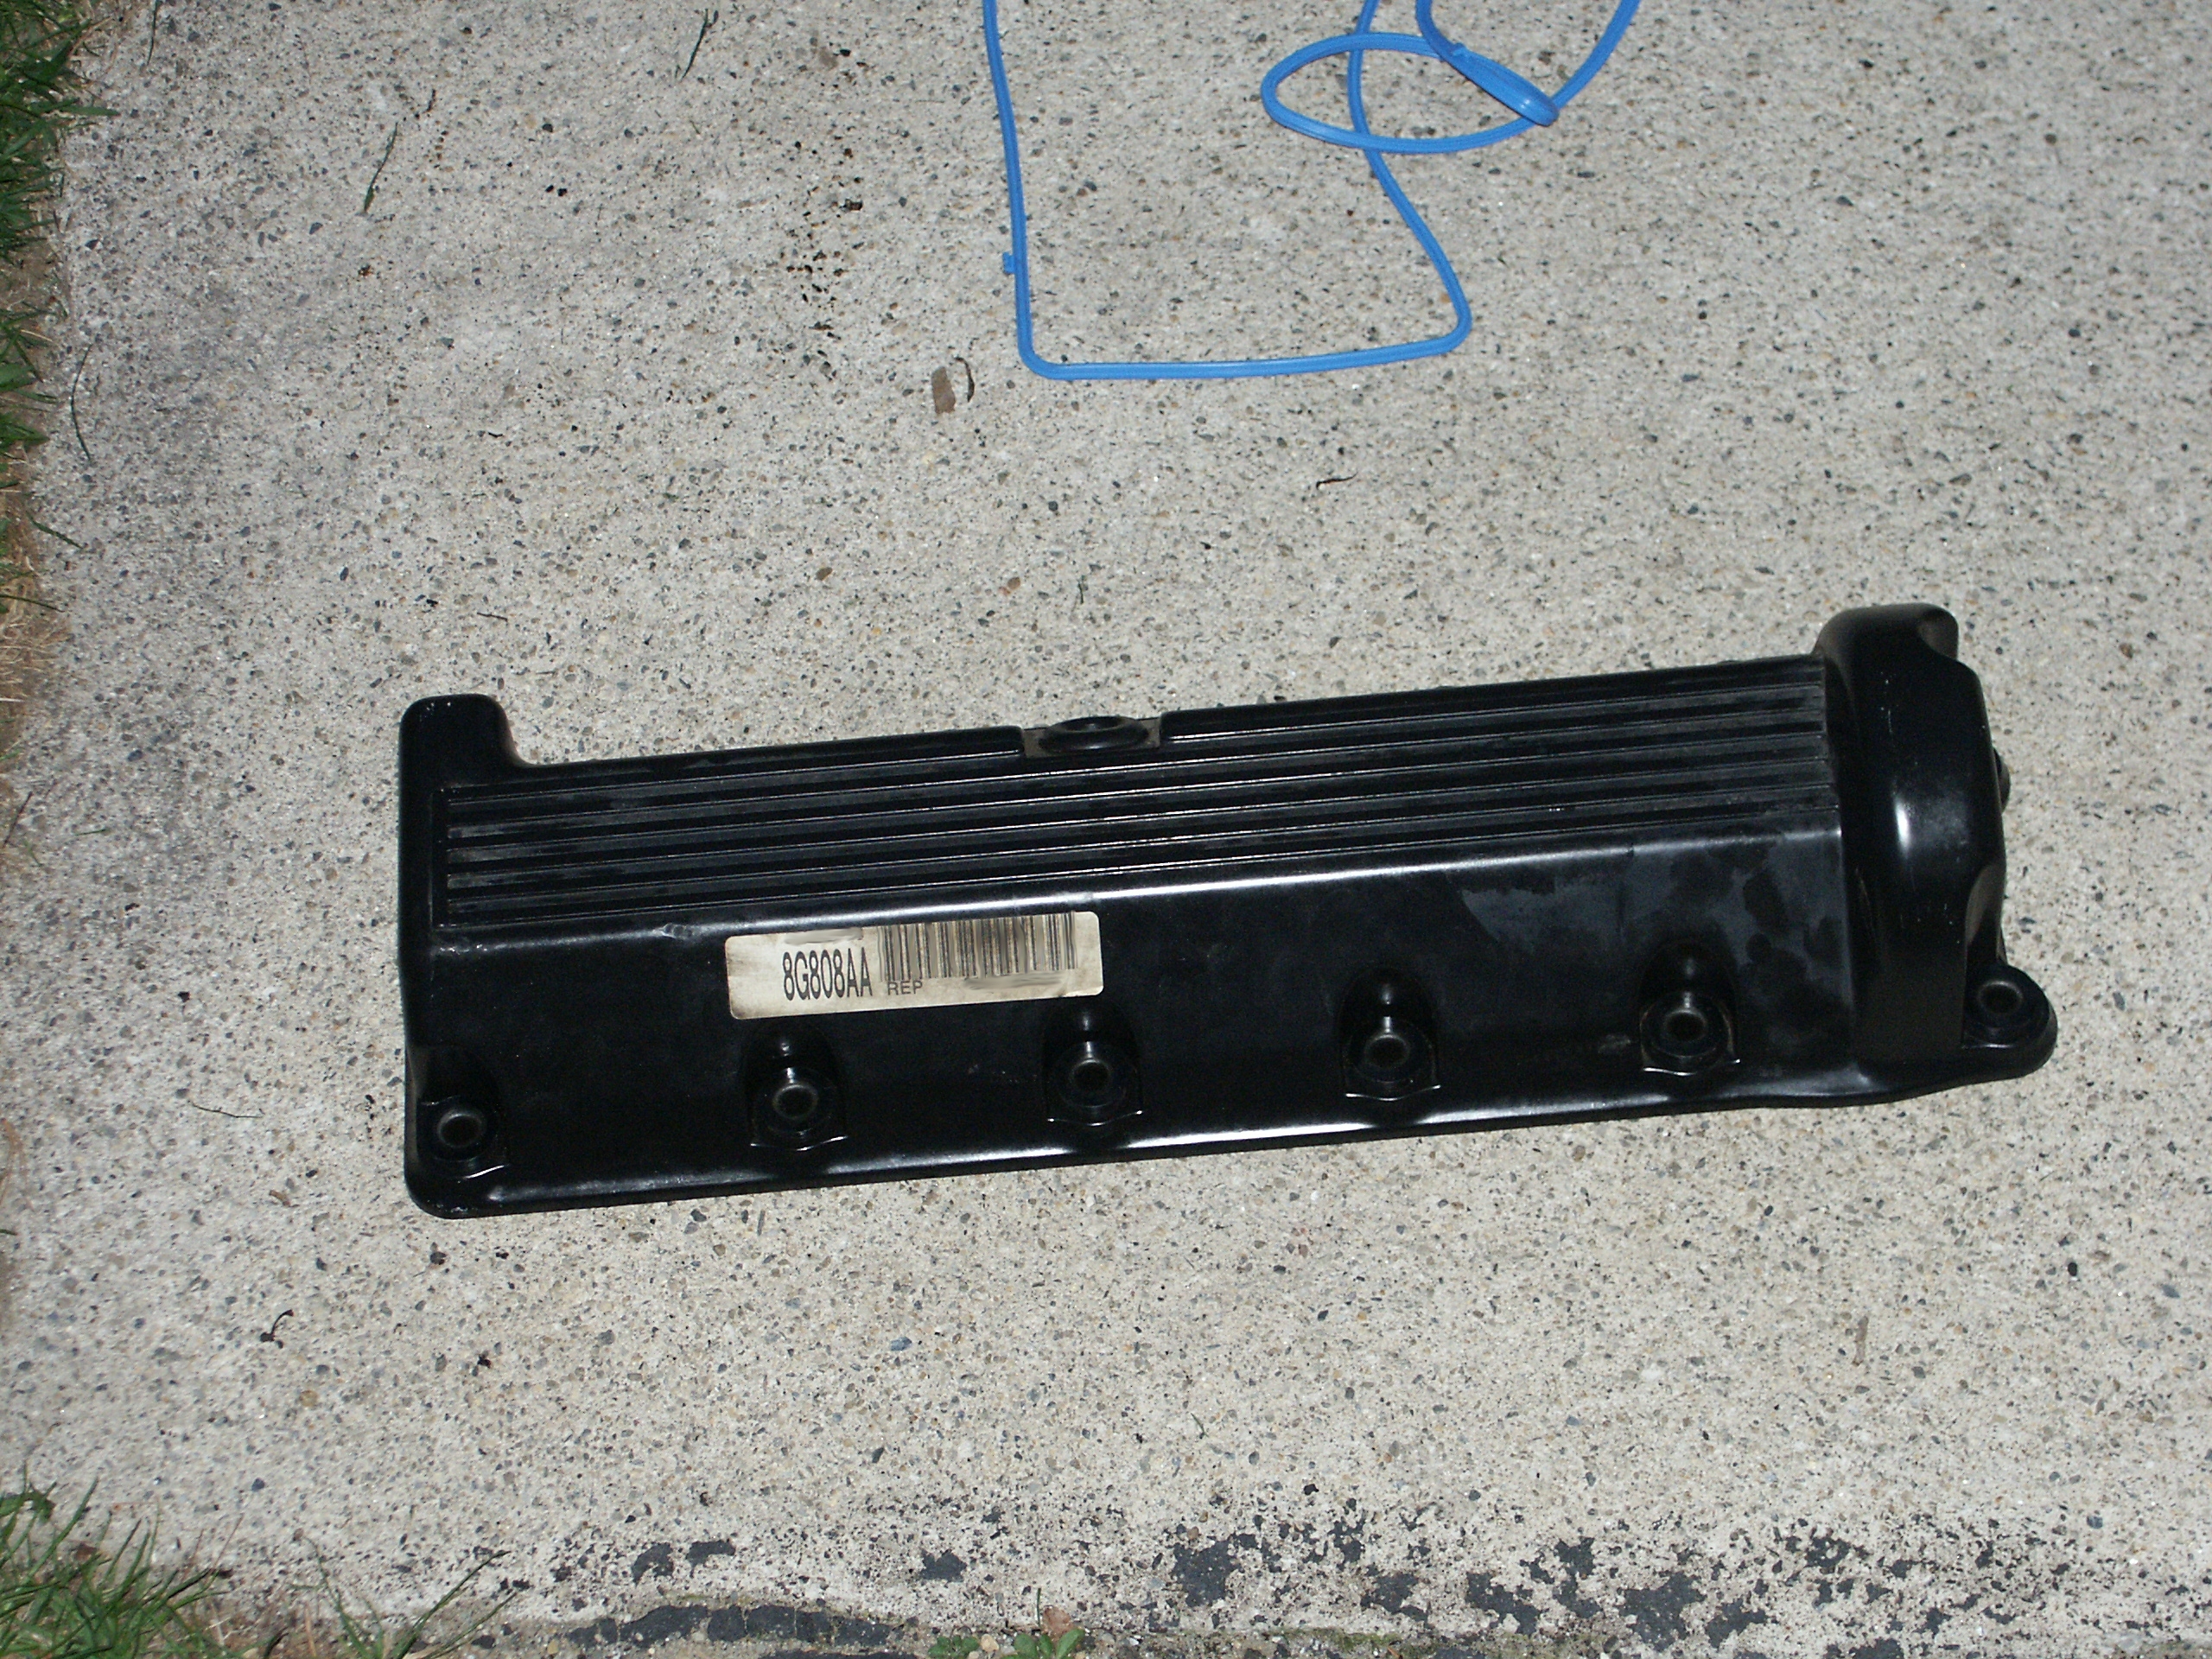
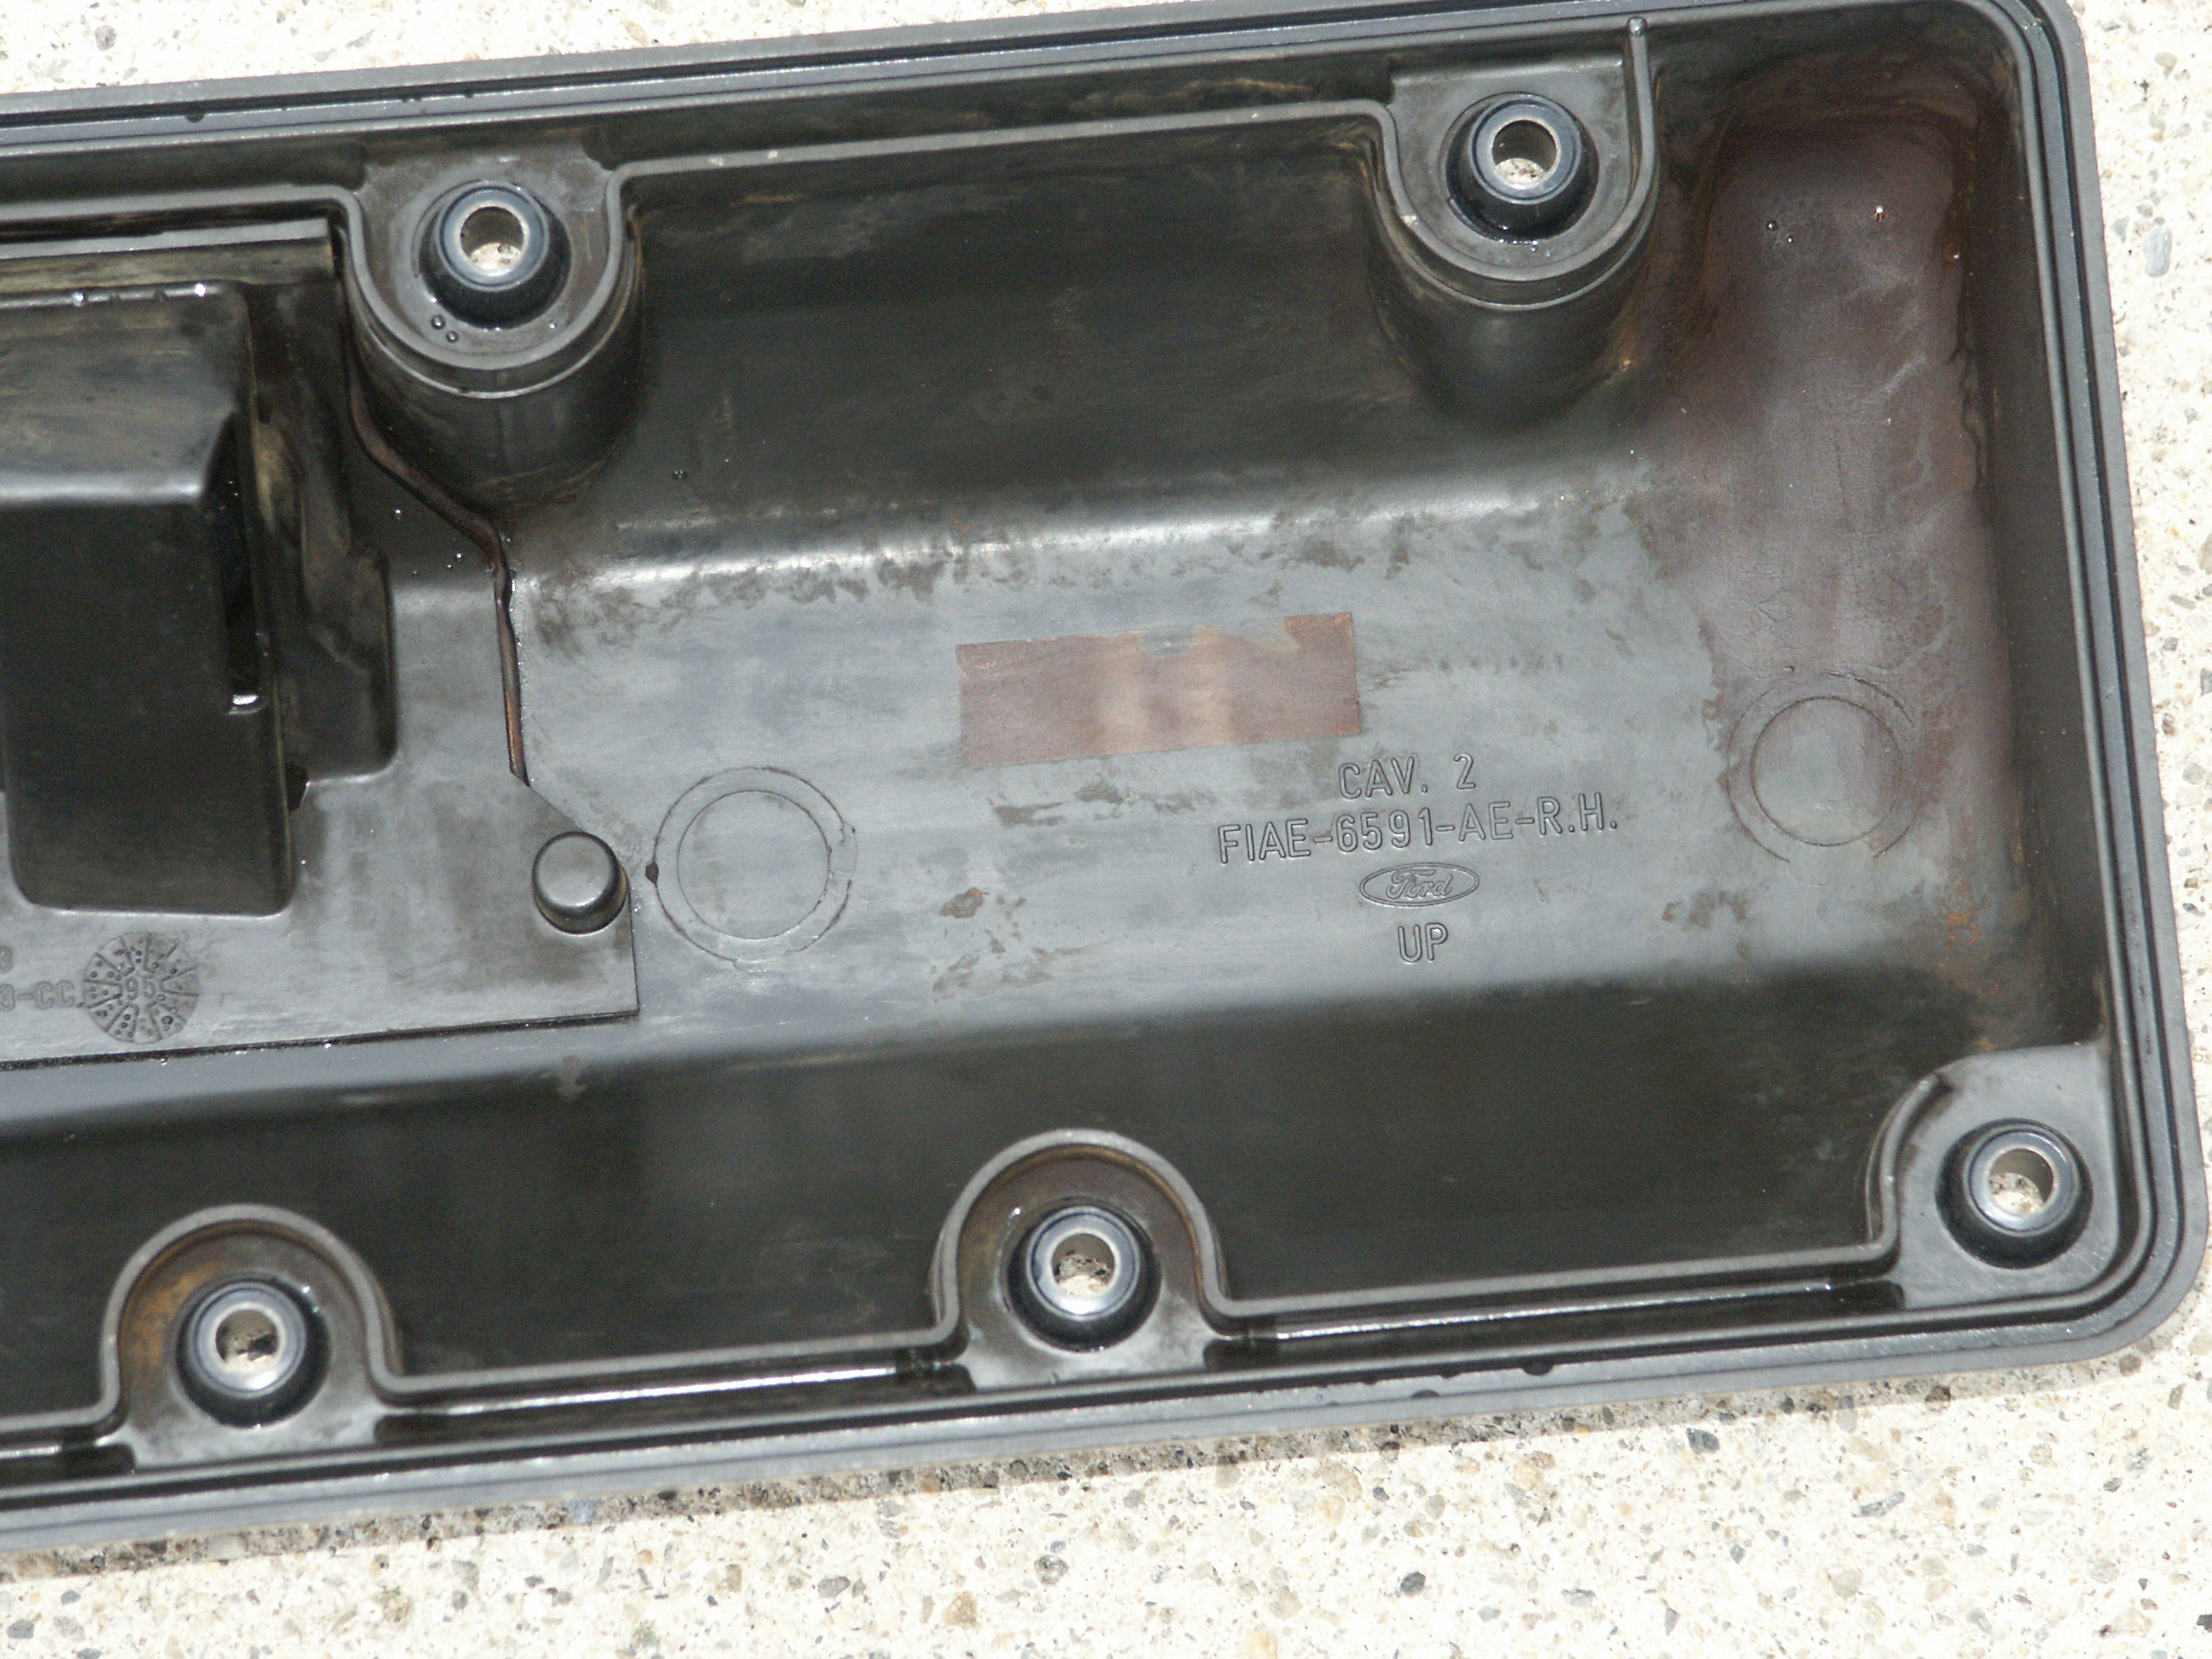
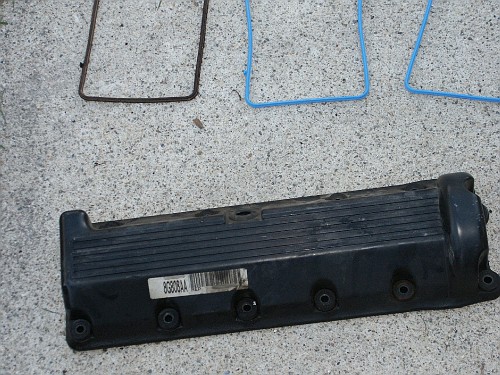
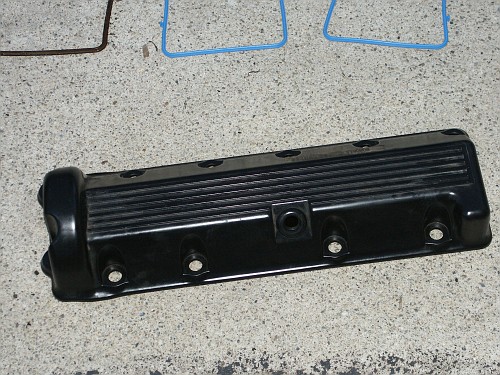
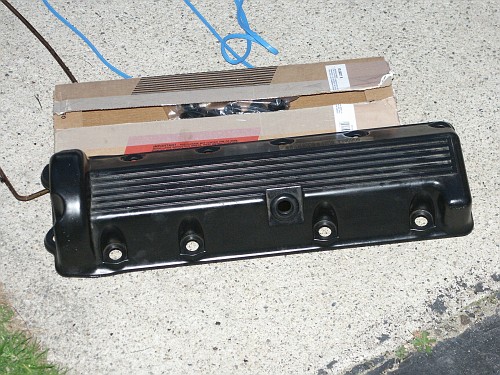
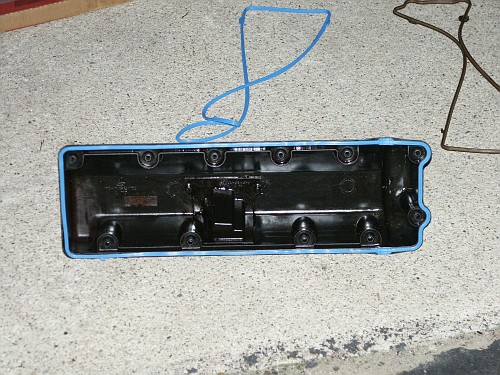
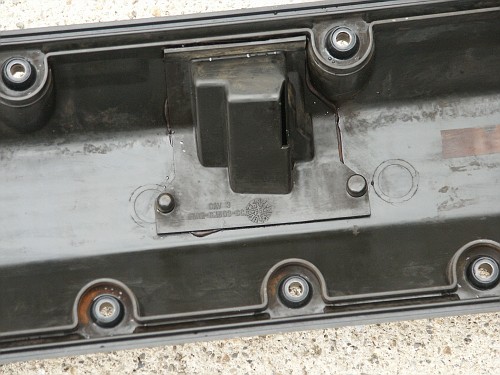
Here's the underside of the valve cover

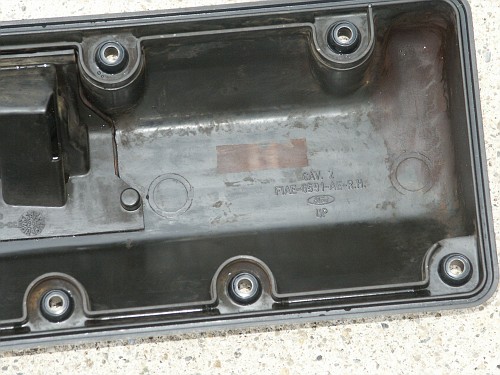
And the top of the valve cover

To get the new valve cover gasket to seal properly, the factory
installed rtv sealant needs to be removed from the junction points
where the cylinder head meets the timing front cover. For this part of
the project, a razor blade, carburetor cleaner, and human fingernails
were used.
Some kitchen paper towels were also used to clean up the oil
impregnated
dirt around the edge of the cylinder head sealing surfaces.

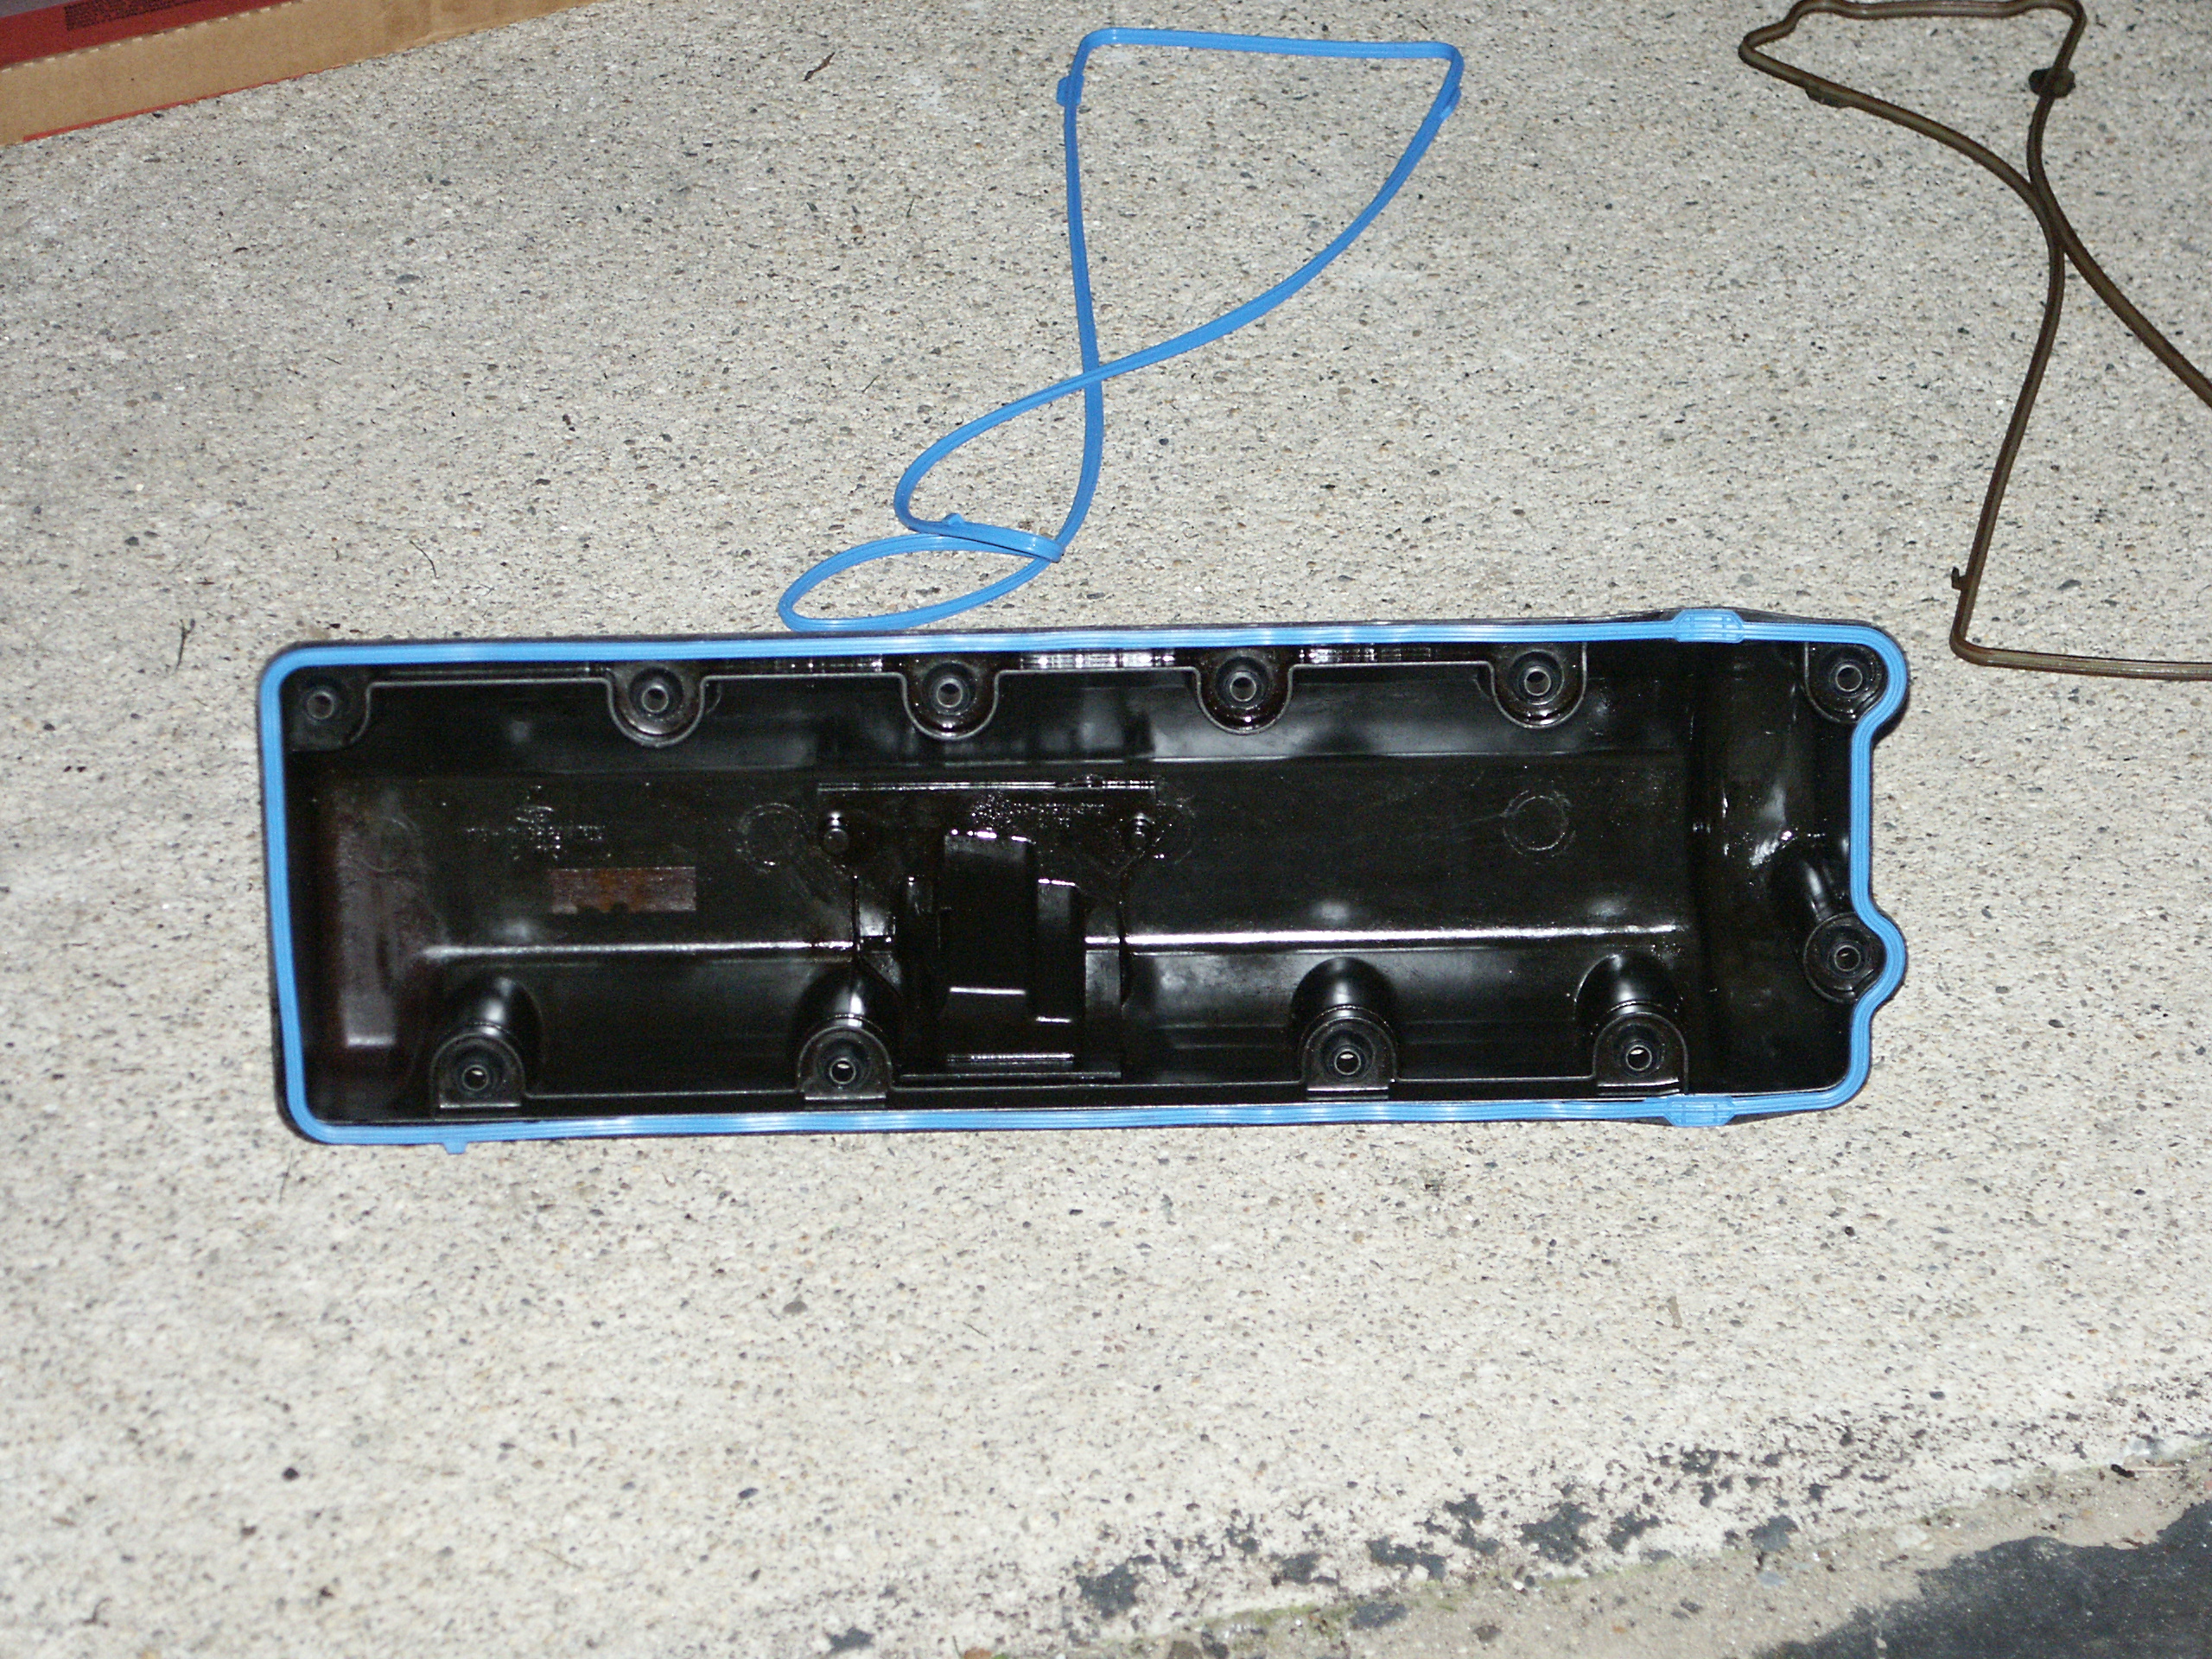
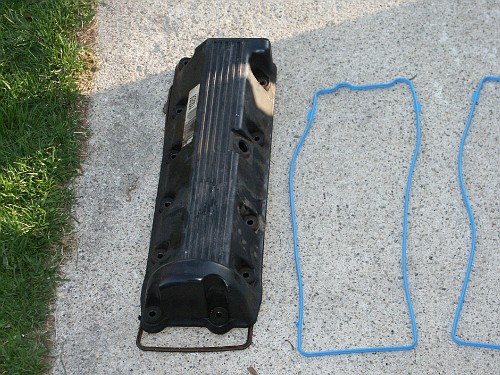
Here's the valve cover after wiping it down with some kitchen paper
towels and pressing out the grommets from the underside with a flat
blade screwdriver.
Make sure that you clean the grooves that the gasket sits in really
good or you will likely have oil leaks after your new gaskets are
installed.

A new pcv valve grommet was also installed. The old rubber was somewhat
brittle, but it didn't crumble into little peices like they sometimes
do when one attempts to remove them.
Removing the old pcv grommet while the valve cover is off of the car
reduces the risk of complications since it's really easy to clean up
debris that would otherwise make into the cylinder head's oiling system.
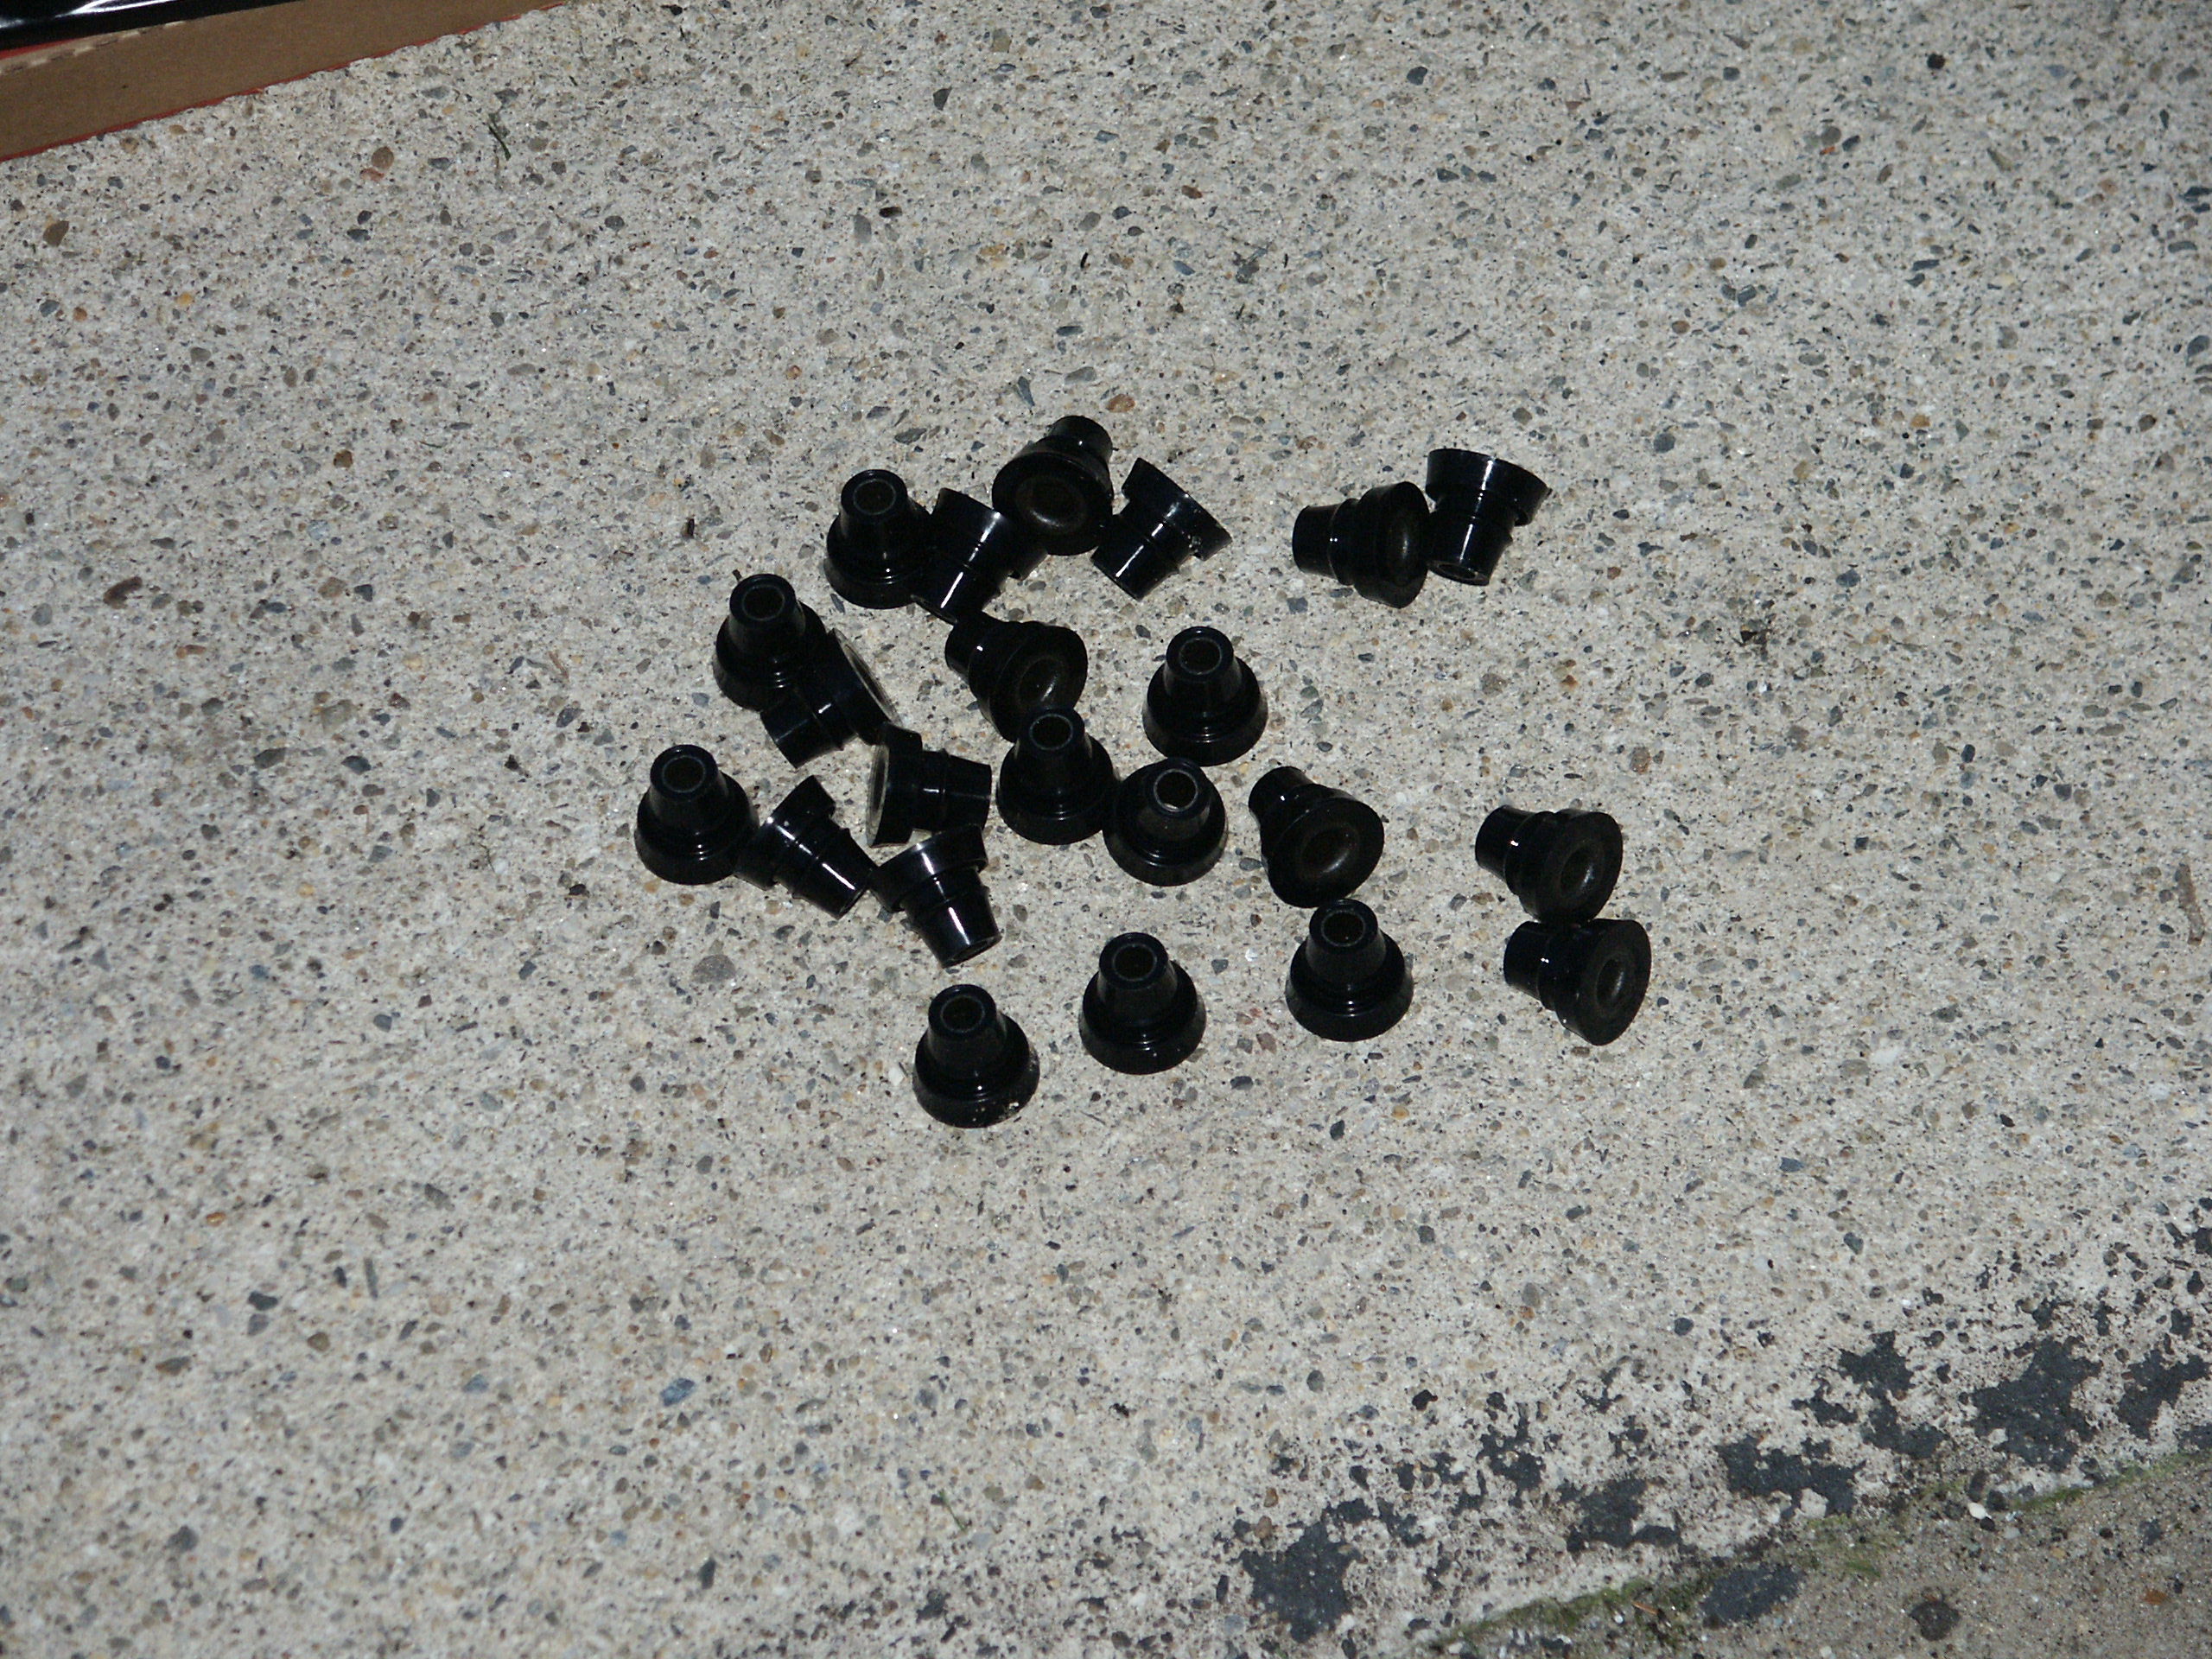
Here's the bag of 22 valve cover grommets that were included with the
valve cover gasket kit
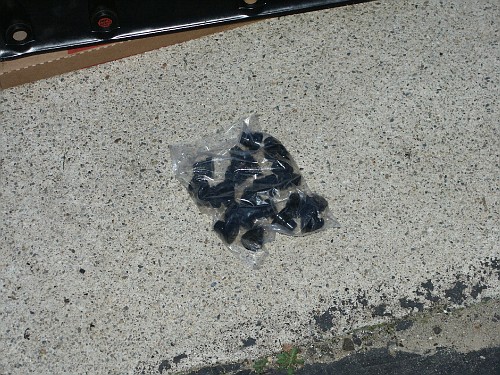
And the grommets removed from the bag

And installed into the valve cover

The ford factory shop manual says to use gasket adhesive to retain the
gasket to the valve cover. But a few small dabs of rtv sealant worked
good in this case instead.
A test fit of the valve cover without putting the rtv on the points
where the front cover meets the cylinder head. In this case, the rtv
sealant worked good and the gasket didn't fall out of place when the
valve cover was turned upside down.

Here's the cylinder head after it has been cleaned up using some paper
towels and carburetor cleaner

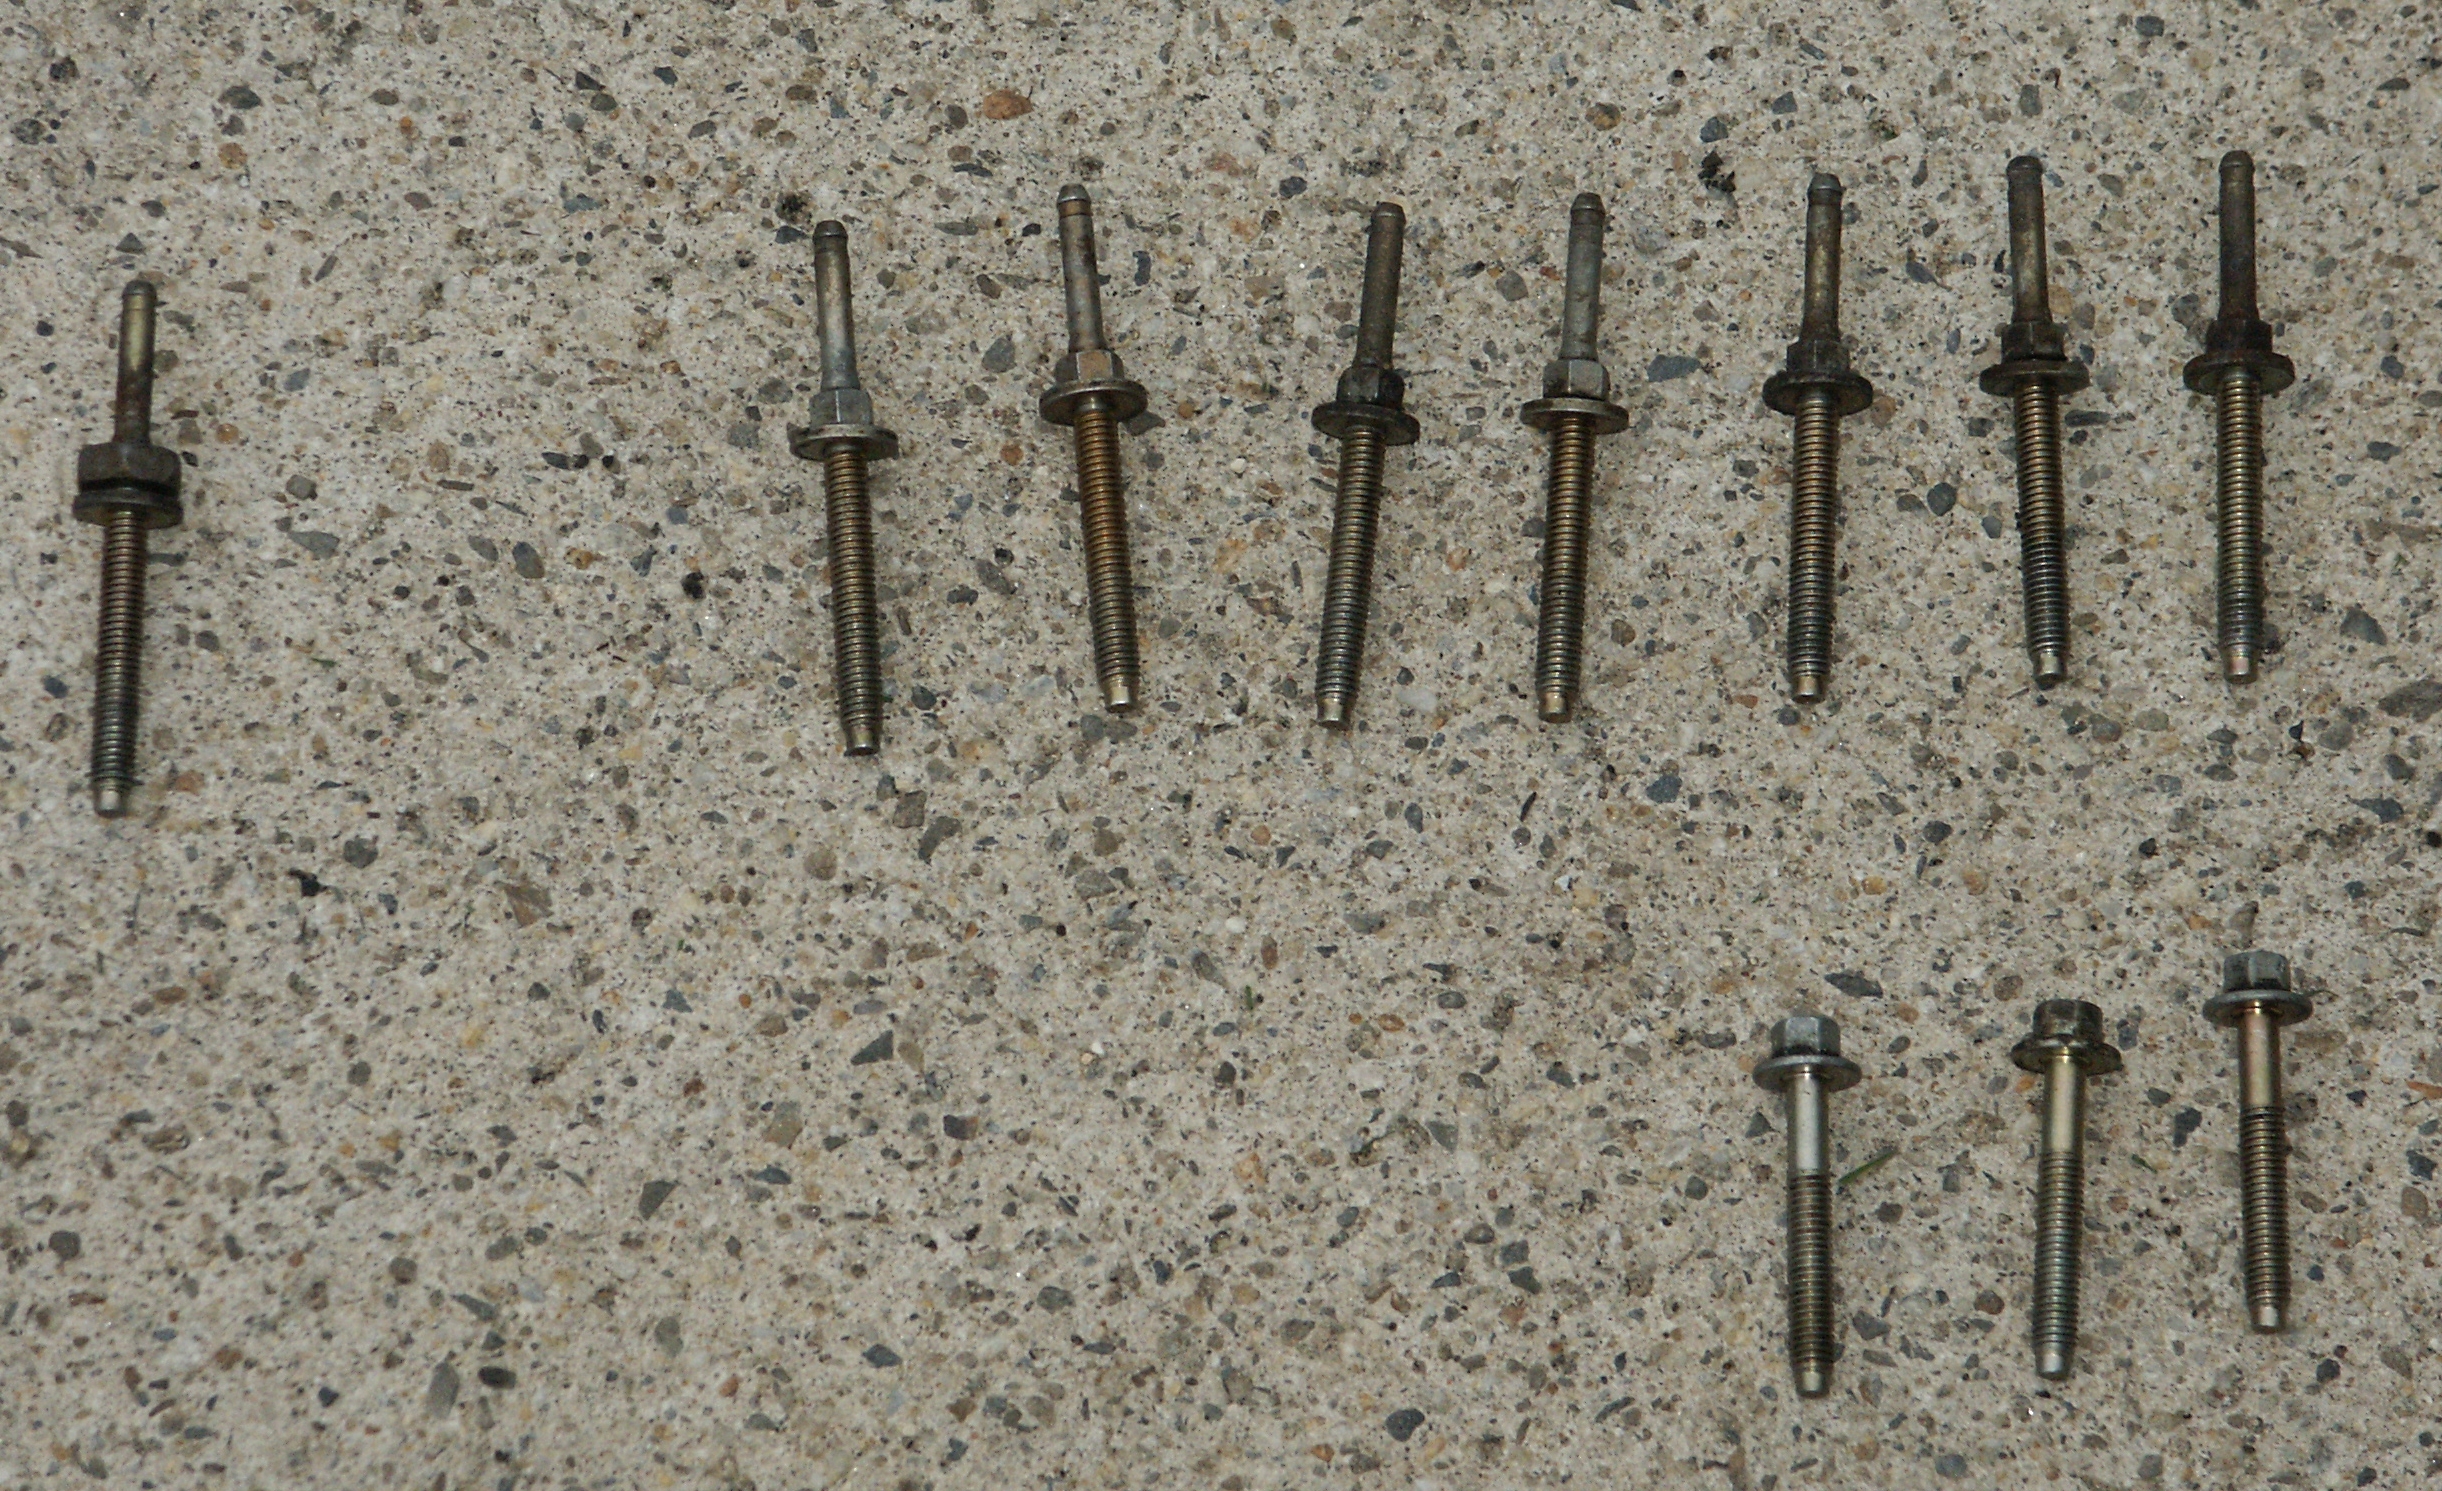
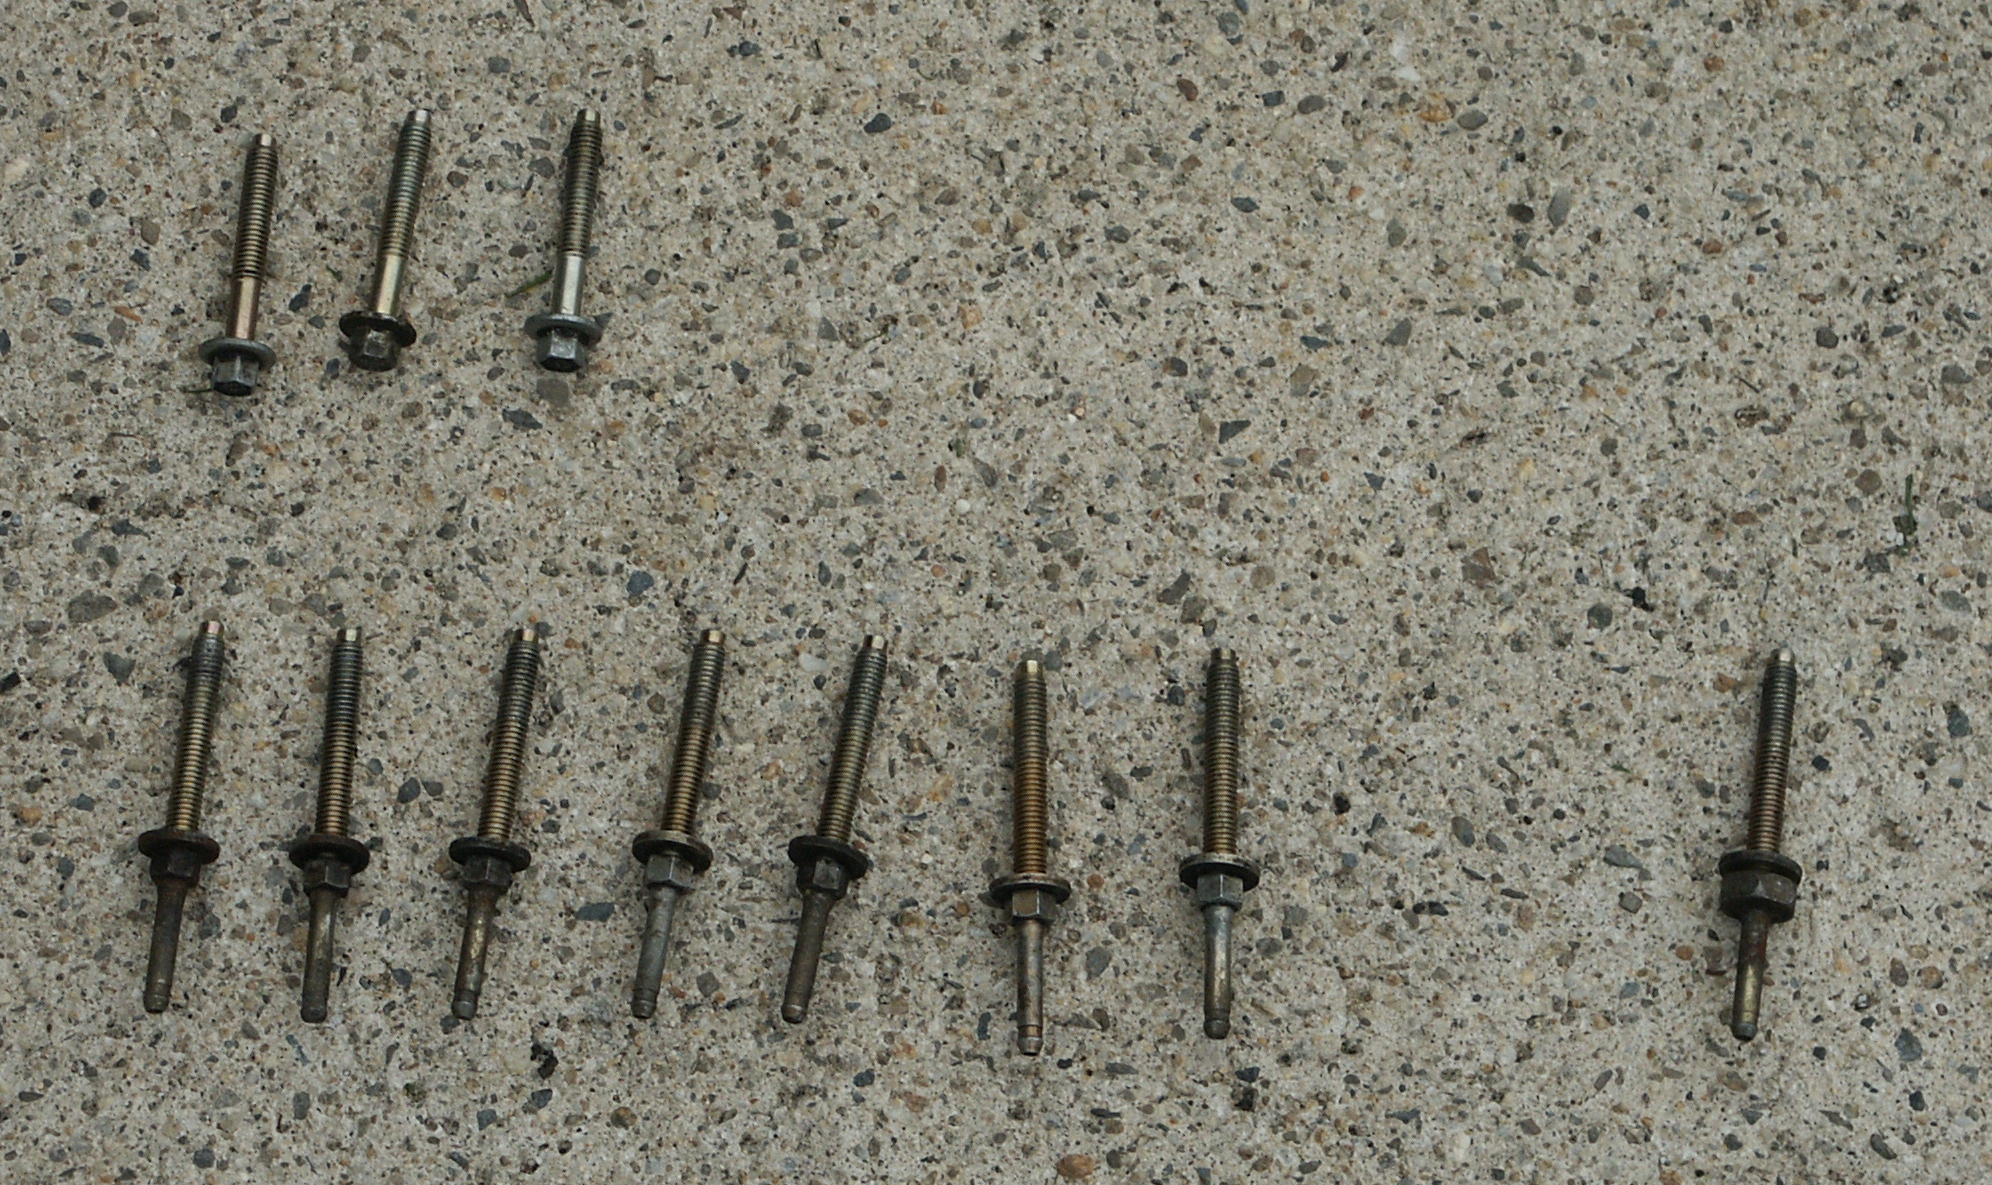
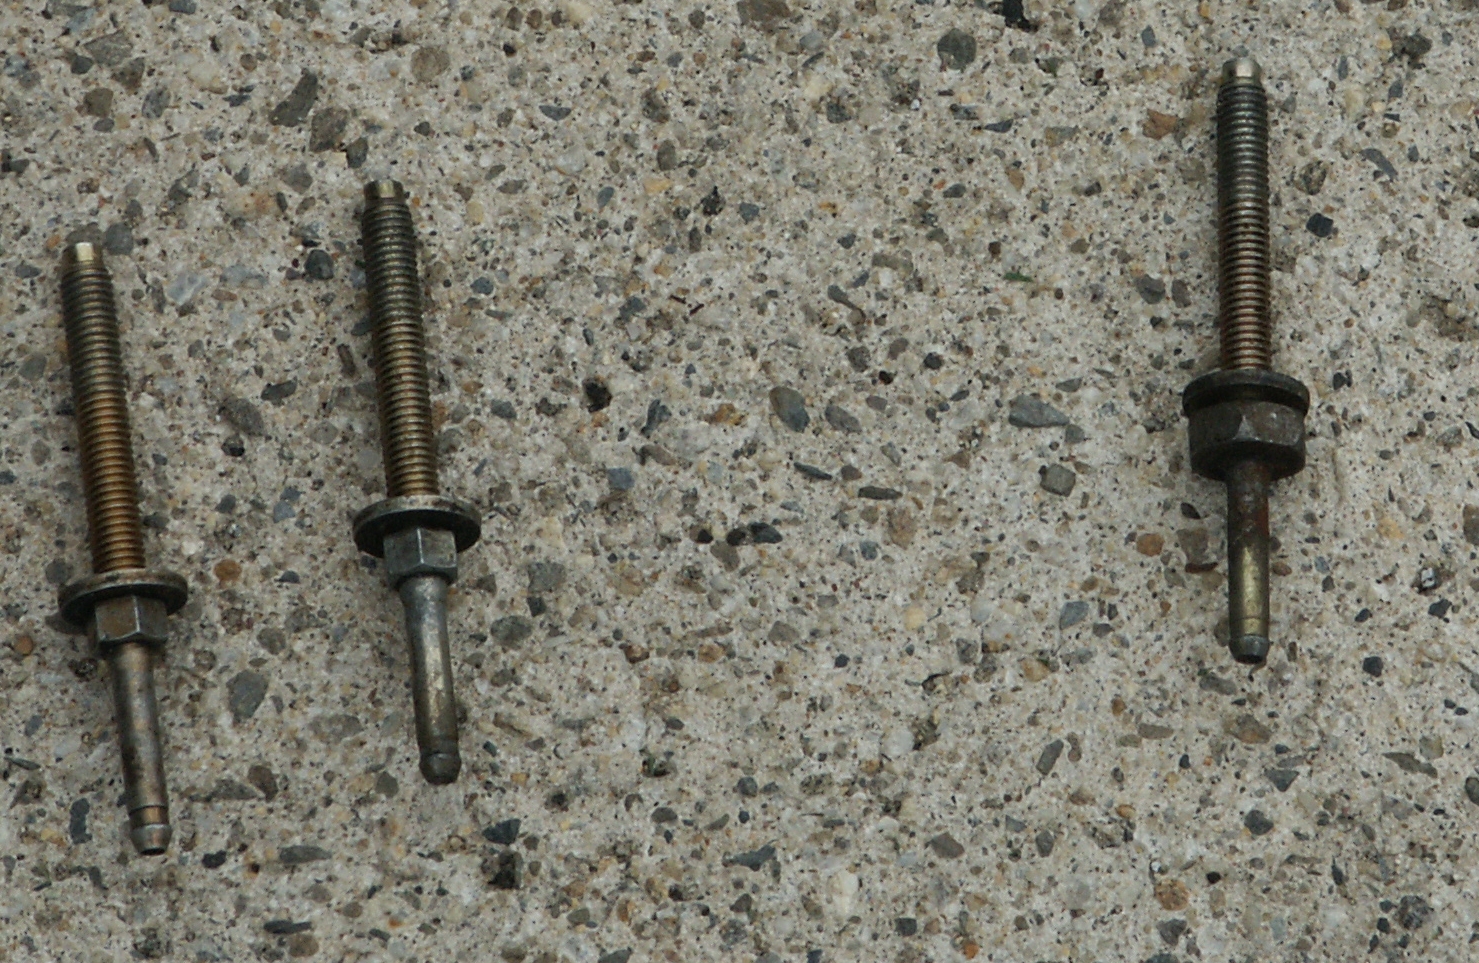
Here's the fasteners which retain the valve cover gasket to the
cylinder head
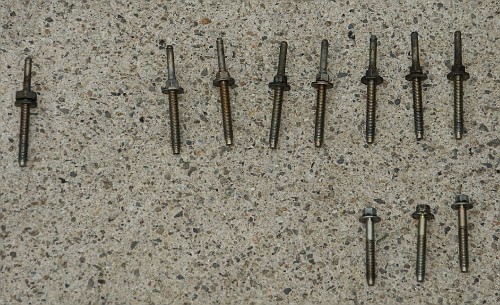
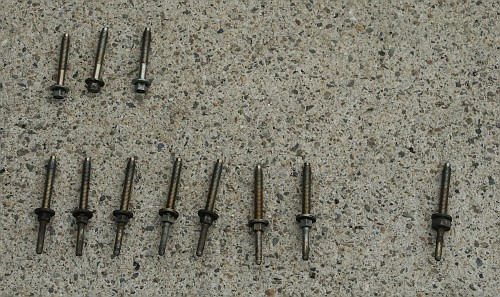
All of the fasteners have an 8mm head except one.

Here's a closeup of the underside of the valve cover where the pcv
valve mounts.
Also visible is the "95" date code even though this valve cover was
manufactured in 1998
Make sure the valve cover seal channels are really clean
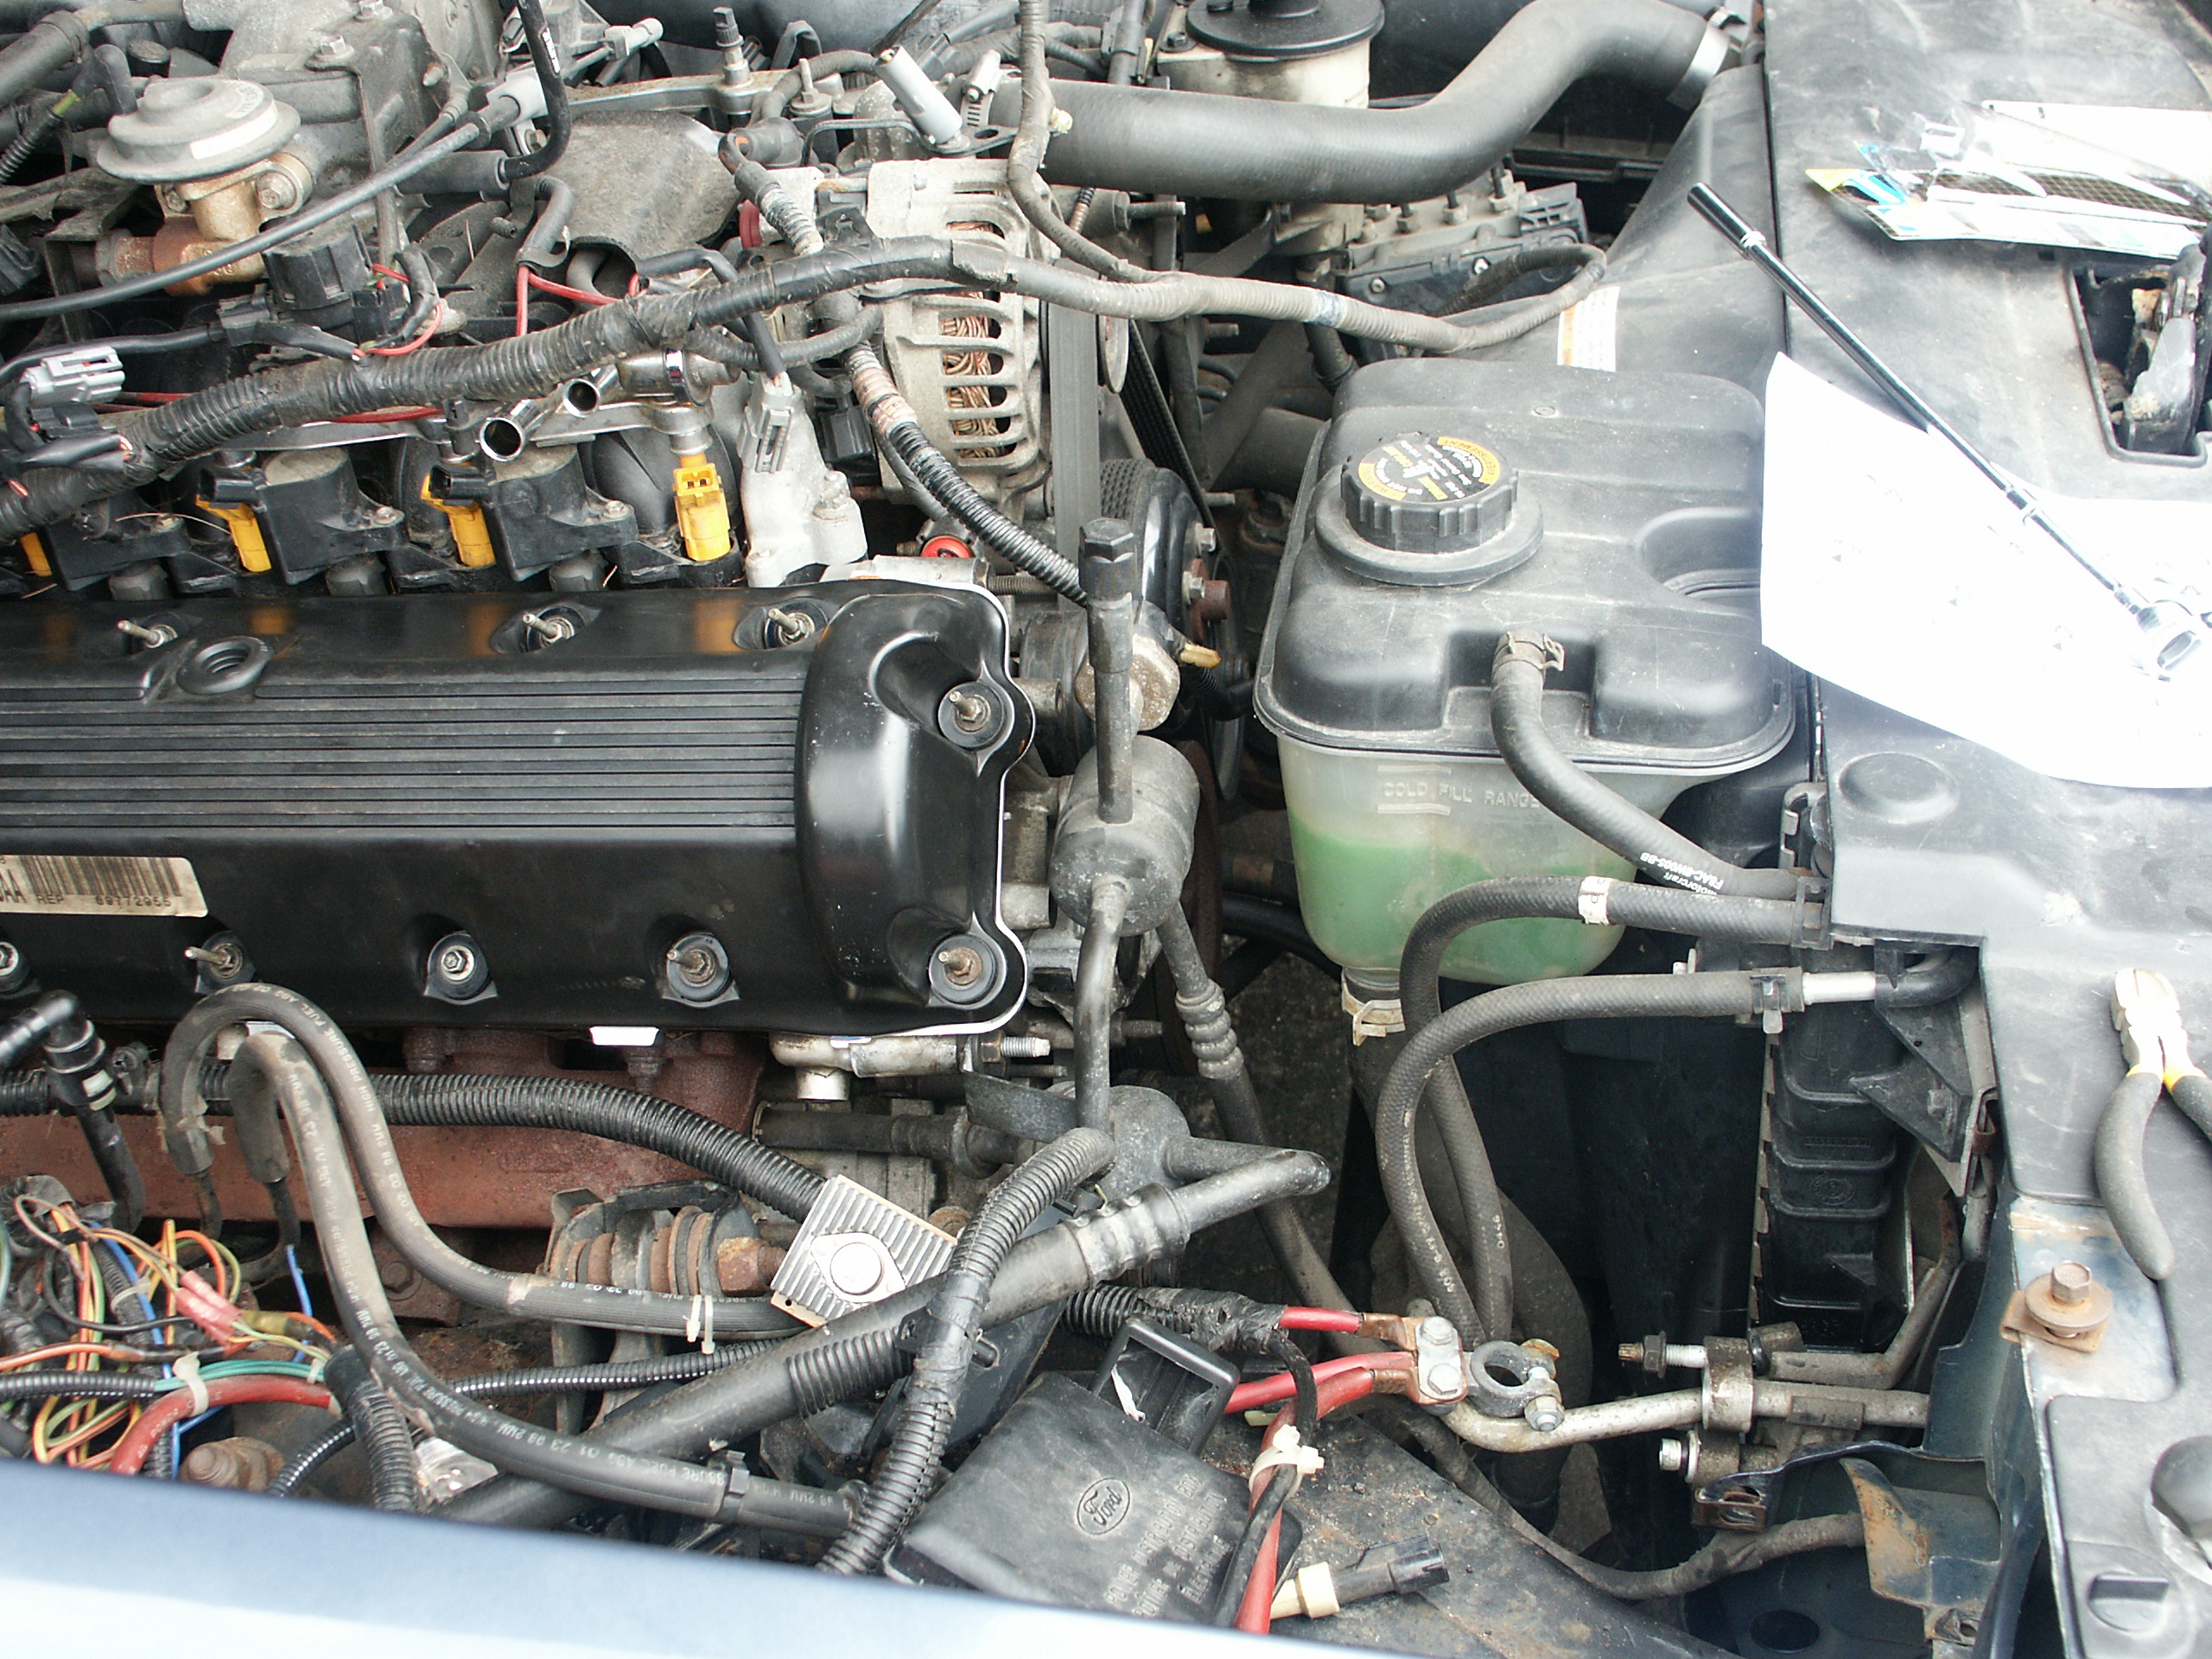
And here's the valve cover after it has been bolted back onto the engine
For this project, permatex ultra copper rtv sealant was used at the
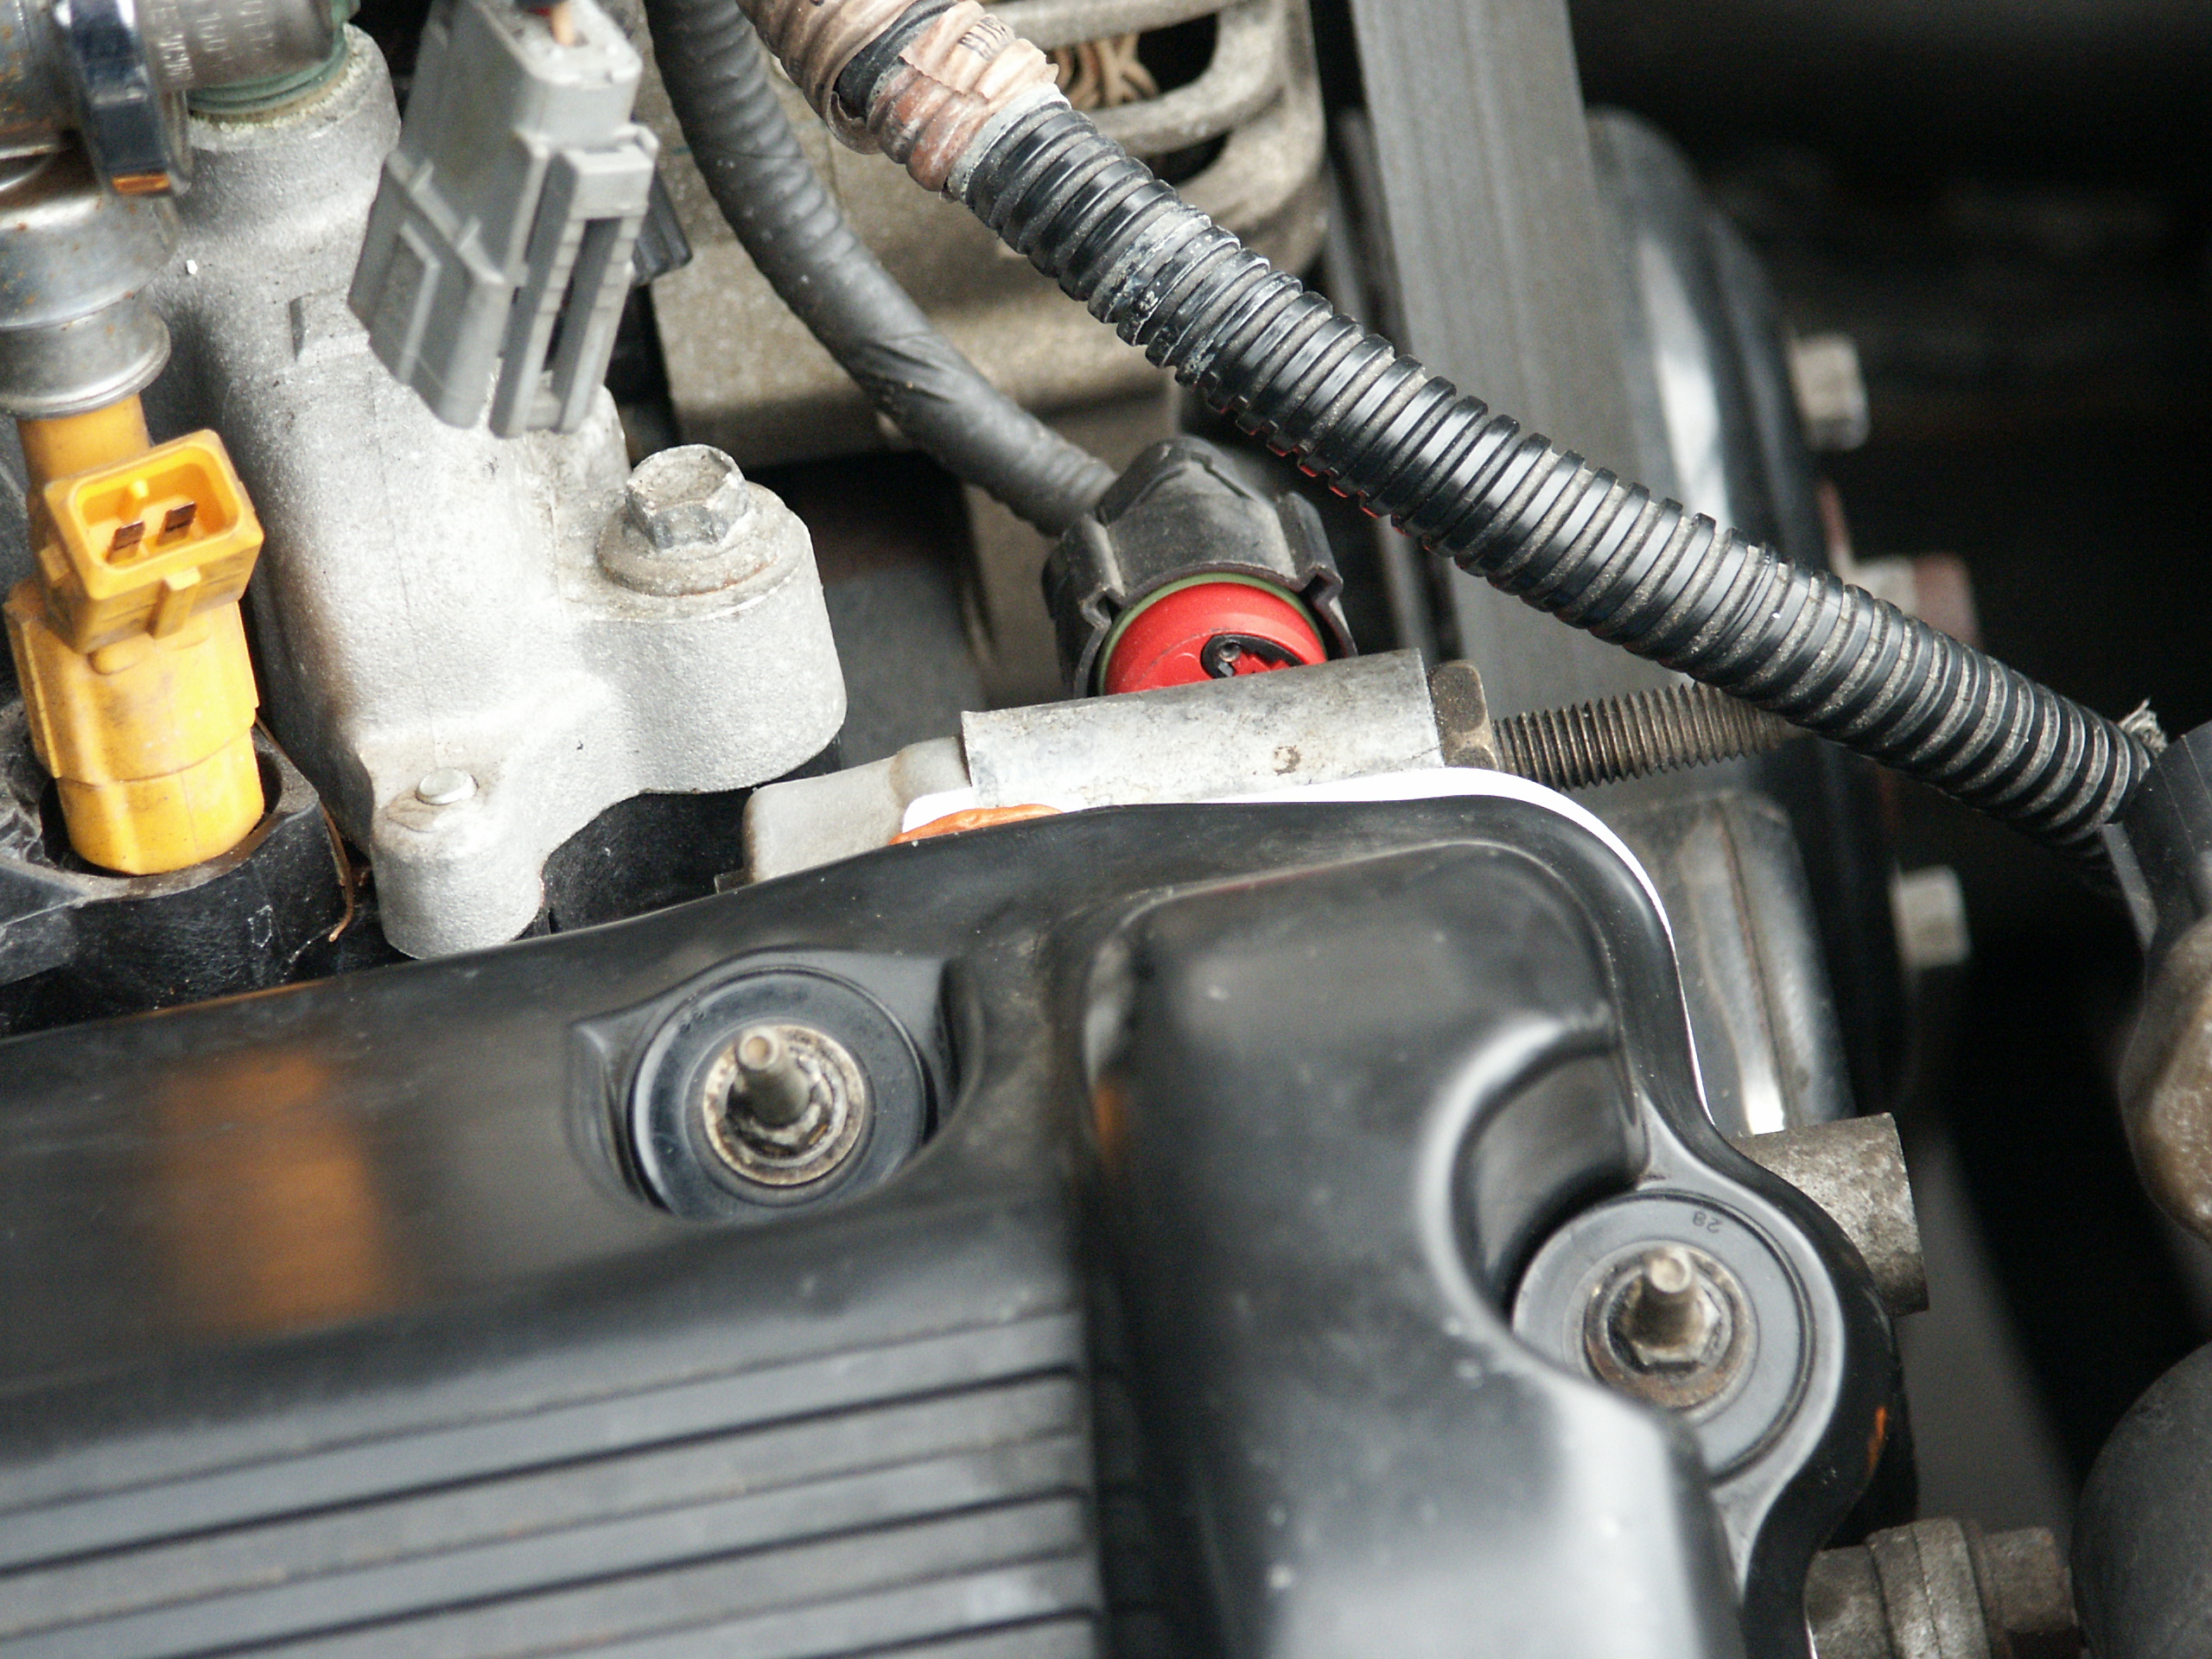
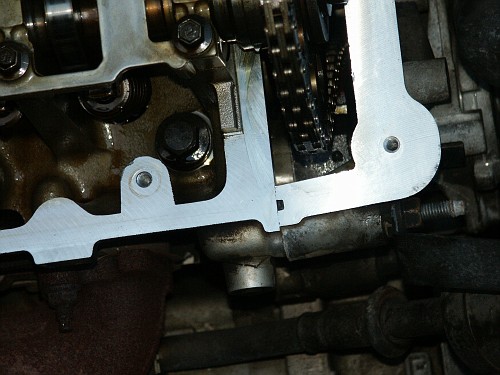
front cover->cylinder head junction.
And a closeup of the other junction point for the cylinder
head->front cover
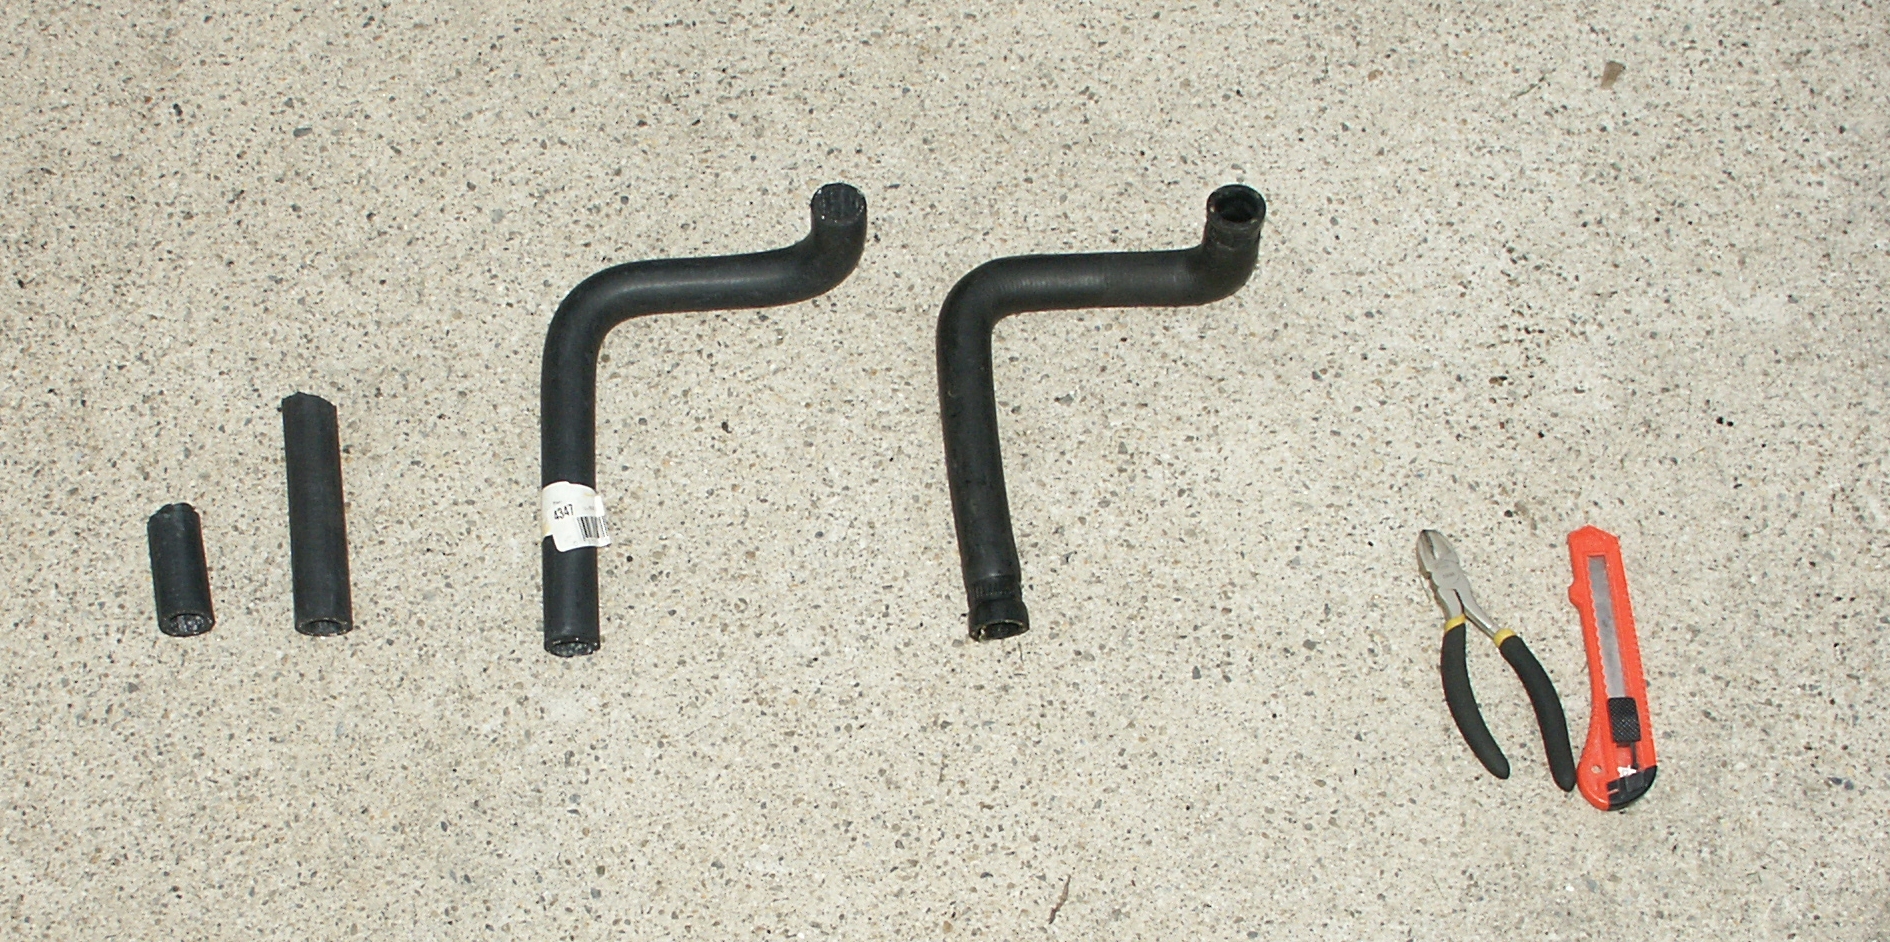
Now reinstall the wiring harnesses and fuel lines that were disconnected

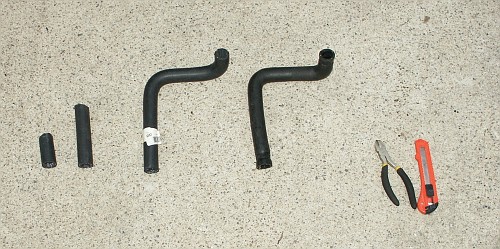
The hose which connects the intake manifold passenger rear water nipple
to the heater core wouldn't come off of the heater core tube easily. So
a slit was cut in the hose with a razor blade. And then the hose came
off easily, but it also needed to be replaced.
Ford sells direct fit heater core hoses for the crown vic, but the
local ford dealer didn't have any in stock at the moment.
Autozone did have the needed hose in stock. The sales person alleged
that it was direct fit, but it actually turned out to be a universal
hose that fits multiple vehicles.
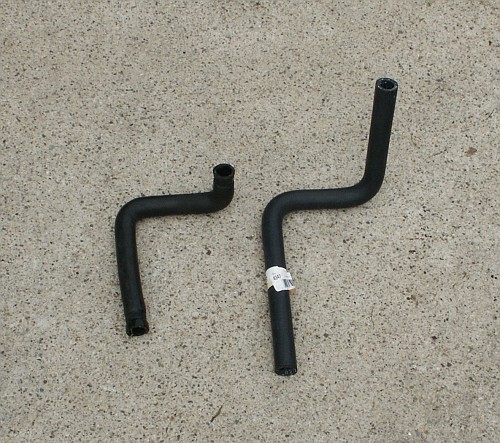
After using a razor and some diagonal cutters, the new hose was trimmed
to fit.
Several years ago, I had installed eatc in my crown victoria police
cruiser. This involved hacking the evaporator housing with a dremel to
accept the eatc speed controller. But since the evaporator housing is
out anyways, now is a good chance to install the evaporator housing
that had been sitting for years collecting dust.
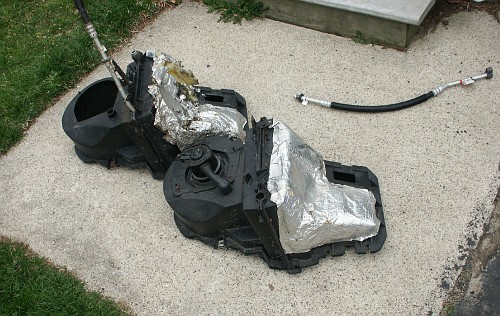
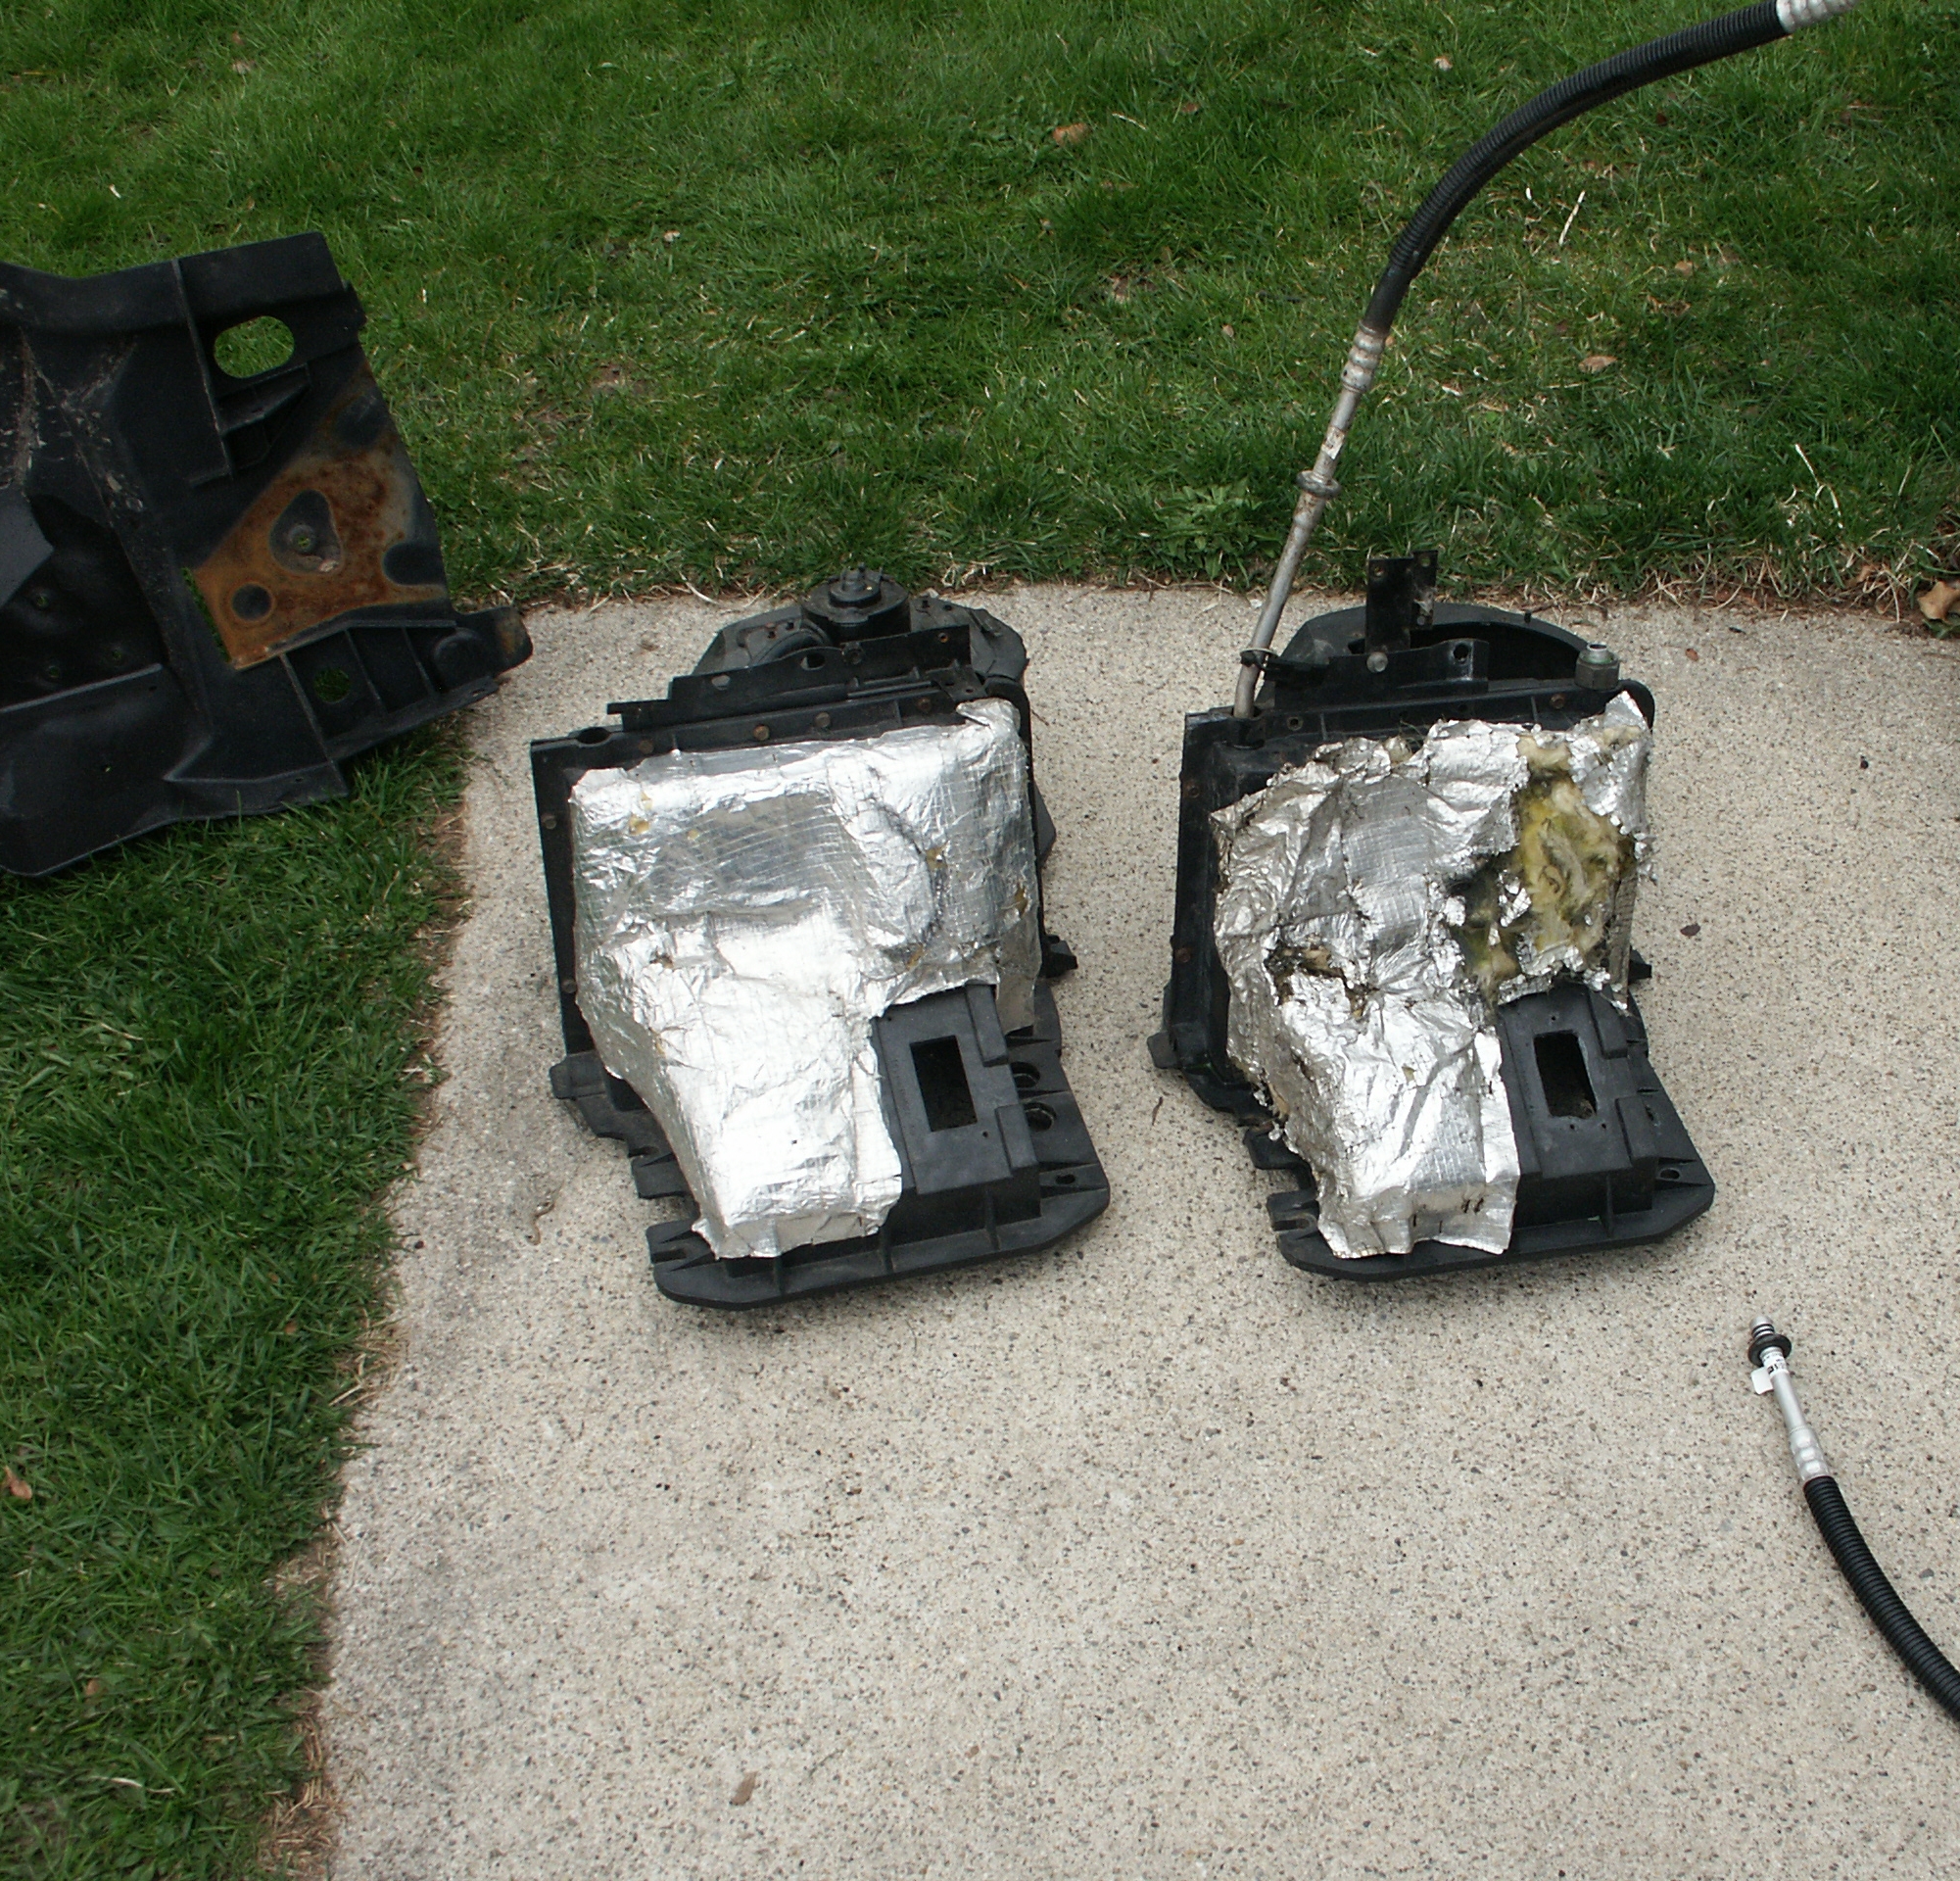
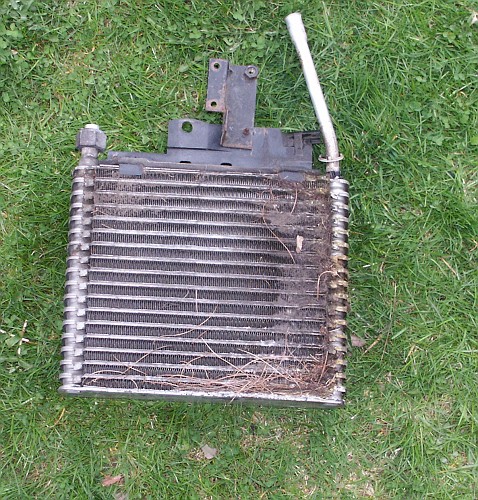
The housing on the left is from a 1999 crown victoria that was around 2
years old when it was wrecked. The fiberglass insulation on it is in
much better condition than the one that I pulled out of my police
cruiser.

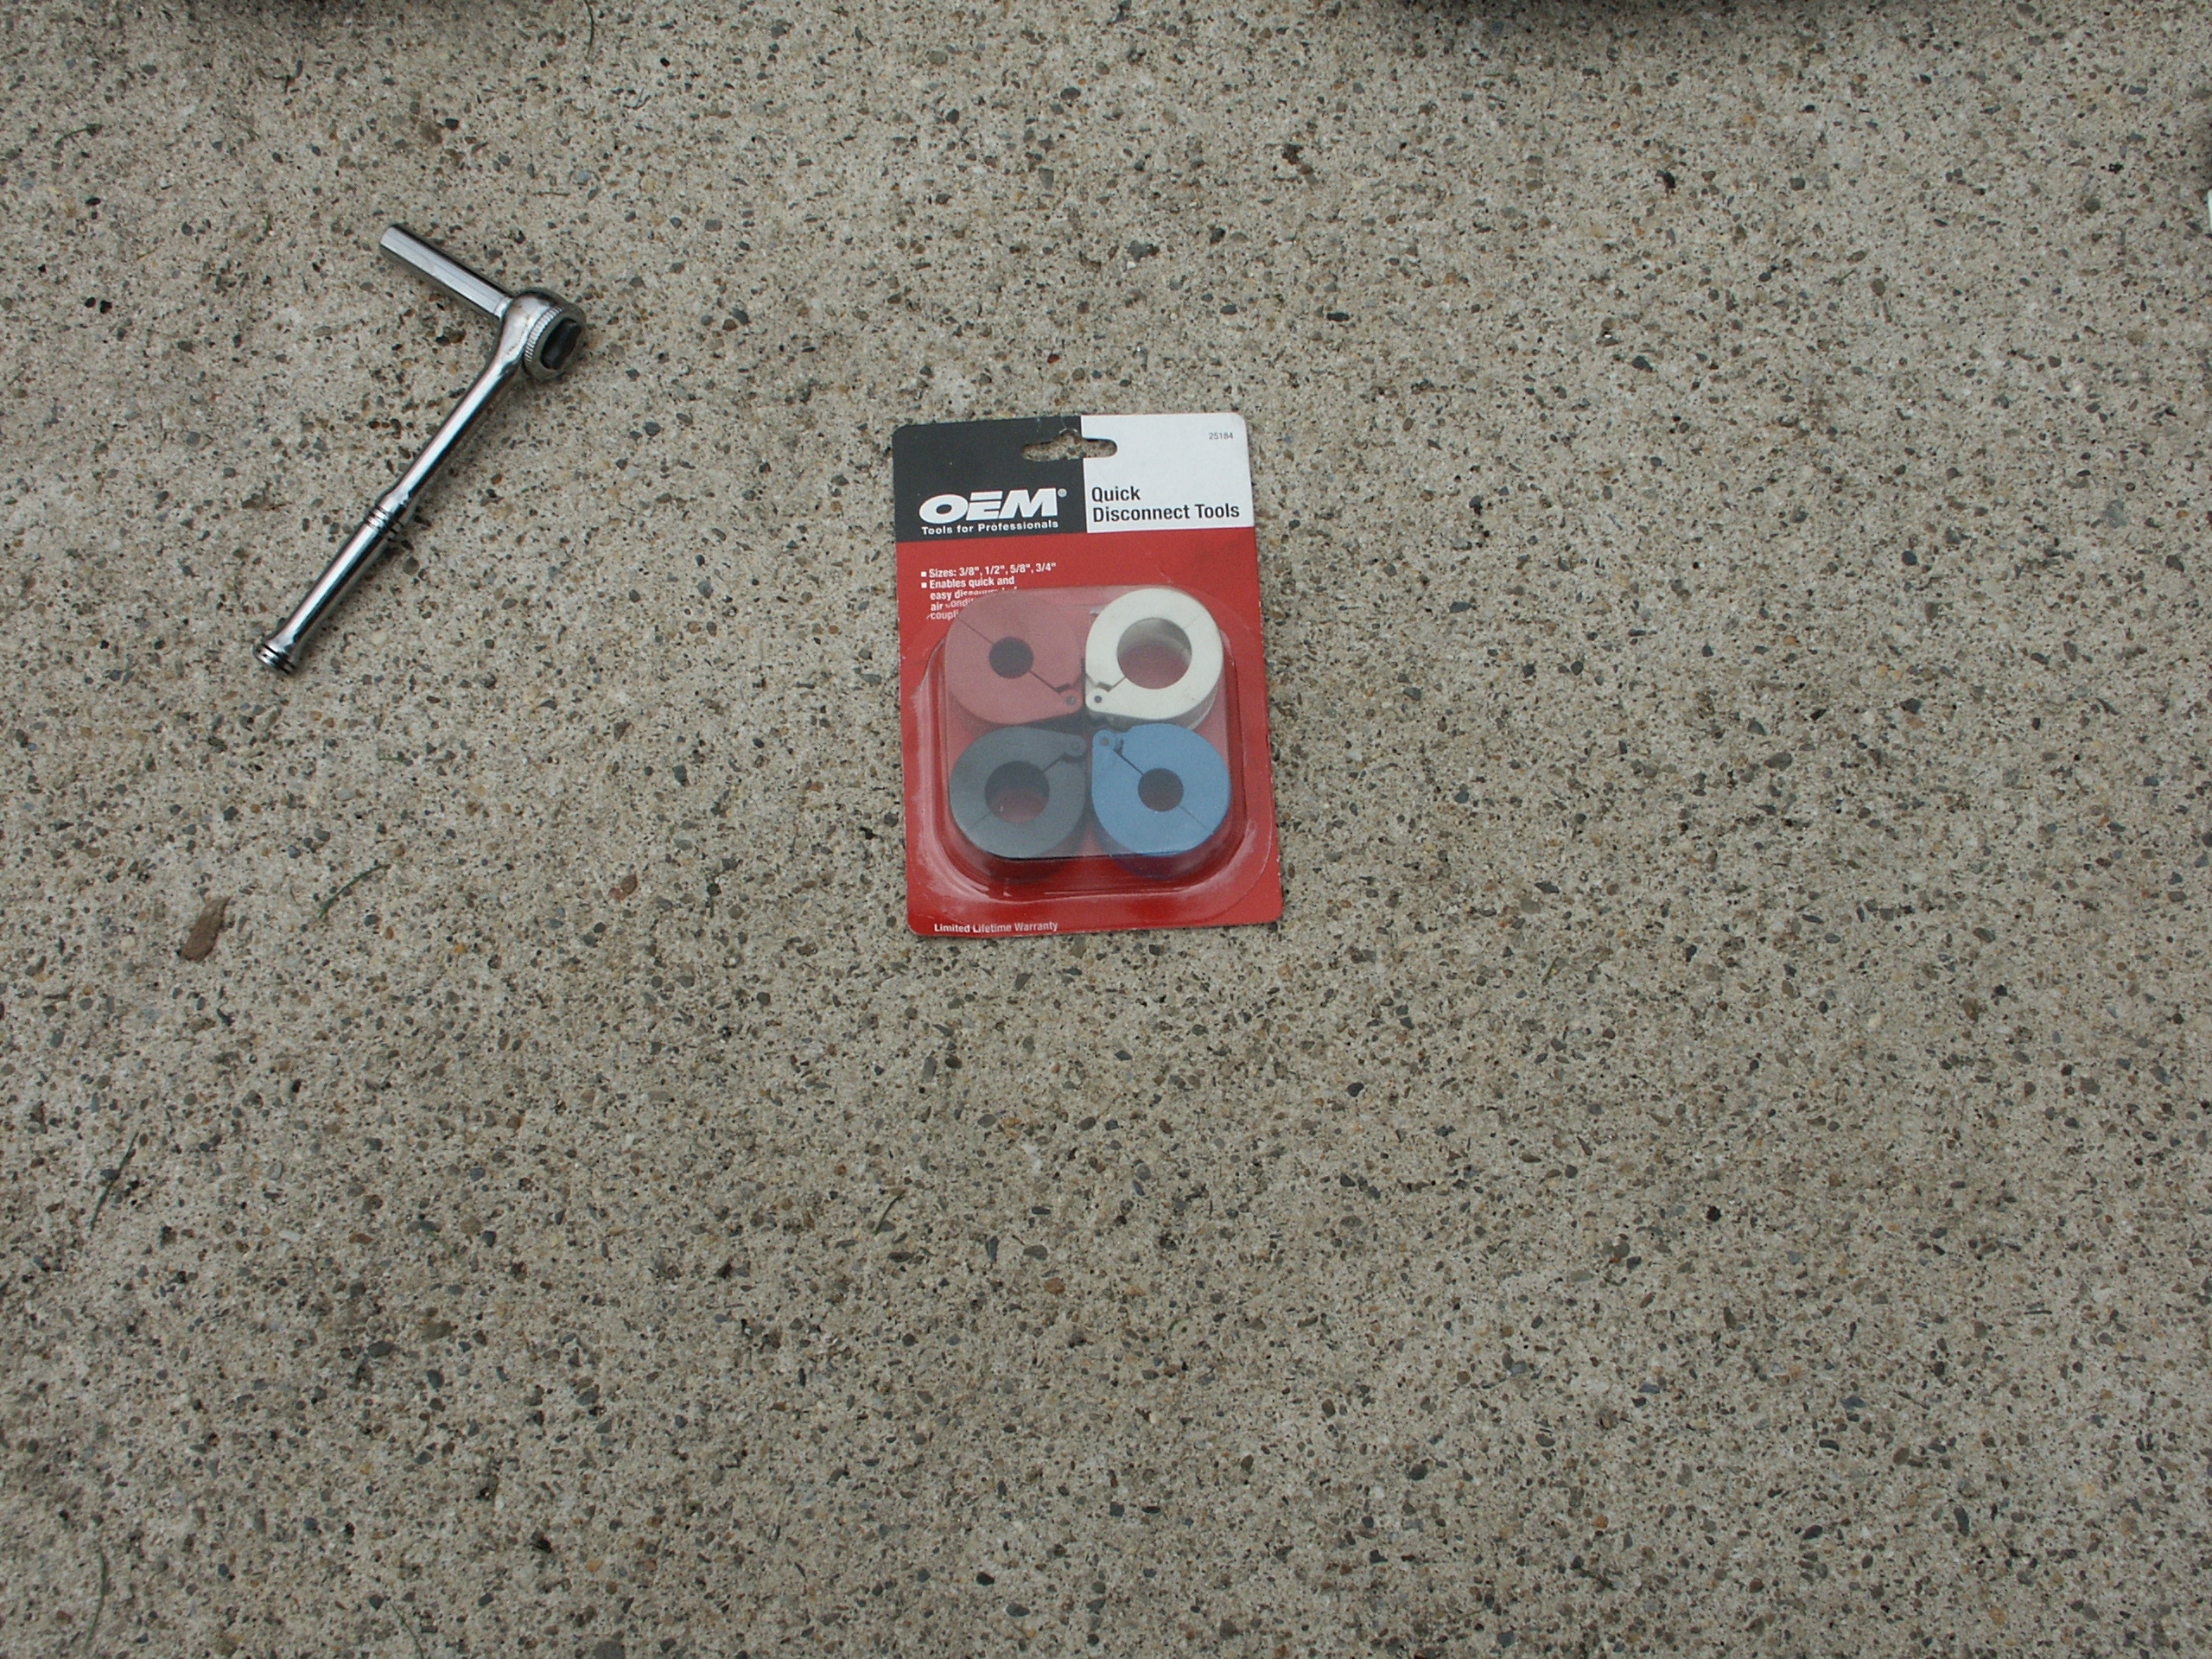
This set of quick disconnect tools works good for the a/c lines, but
you'll want a different set for the fuel lines

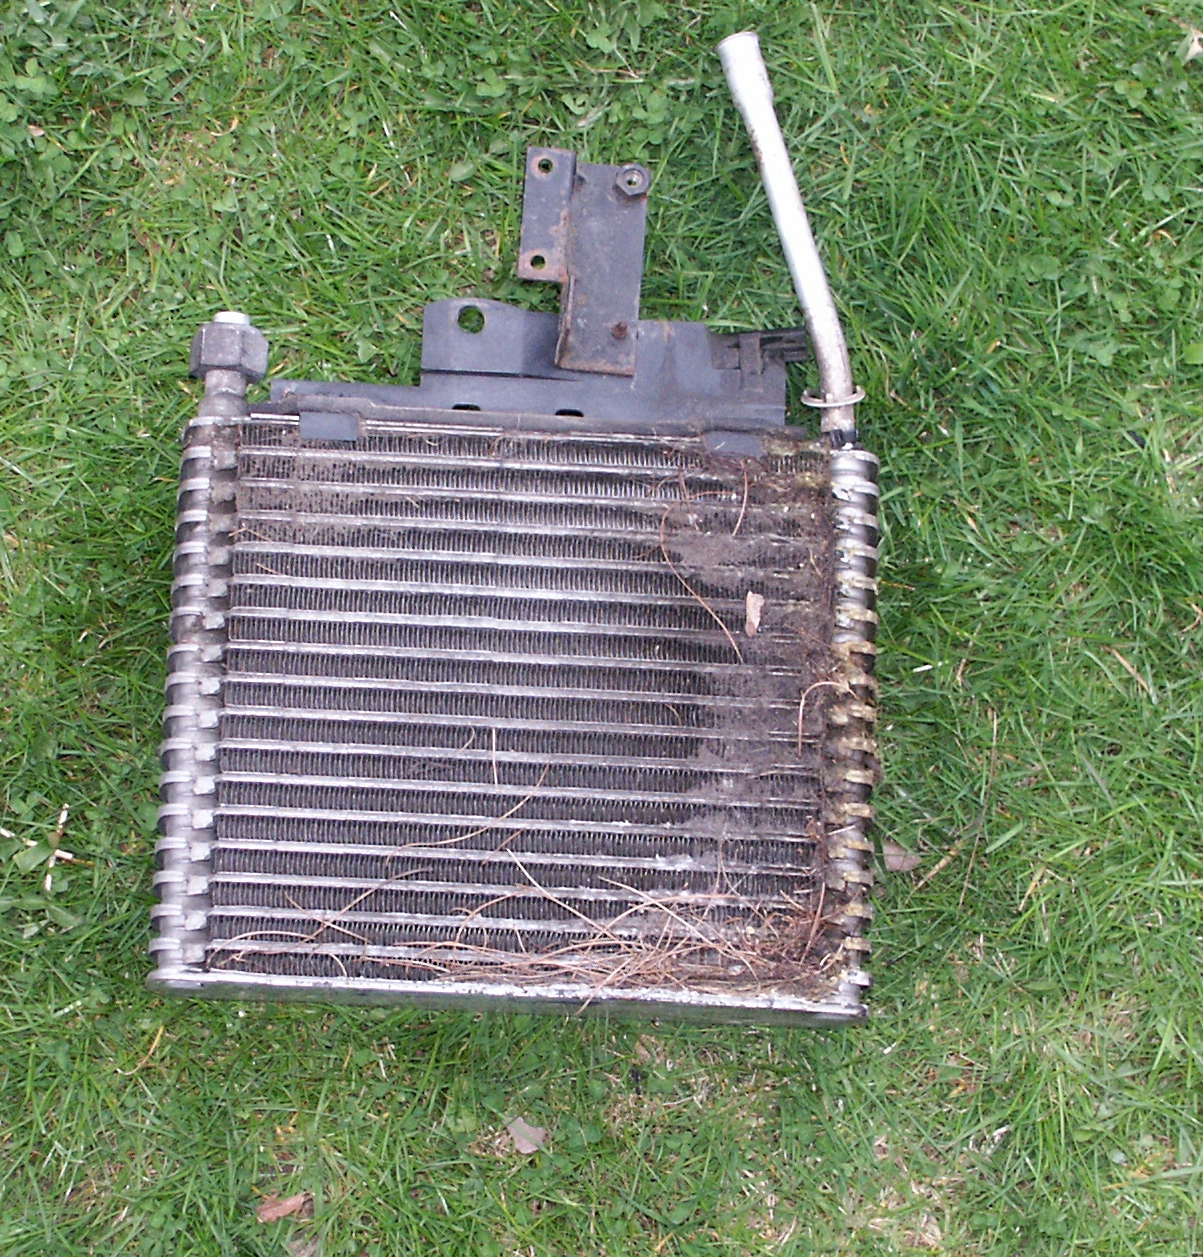
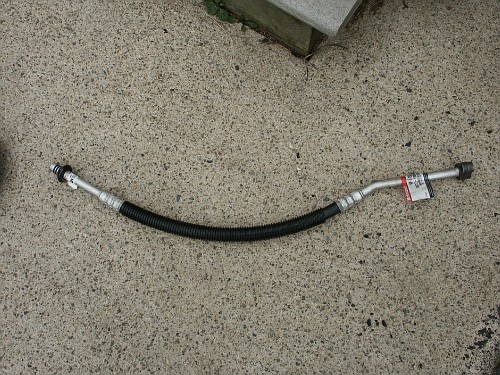
This hose is the lower a/c liquid line. Corrosion is often a problem
with this line, so a new line is going to be installed while the a/c
system is open.
Here's the evaporator housing opened up.
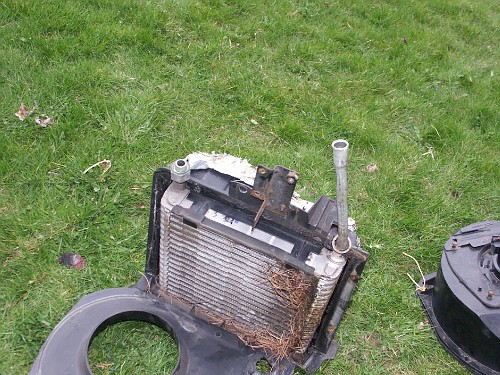
The evaporator acts like an air filter. In this case, it caught pollen,
pine needles, and debris from passenger's clothing.
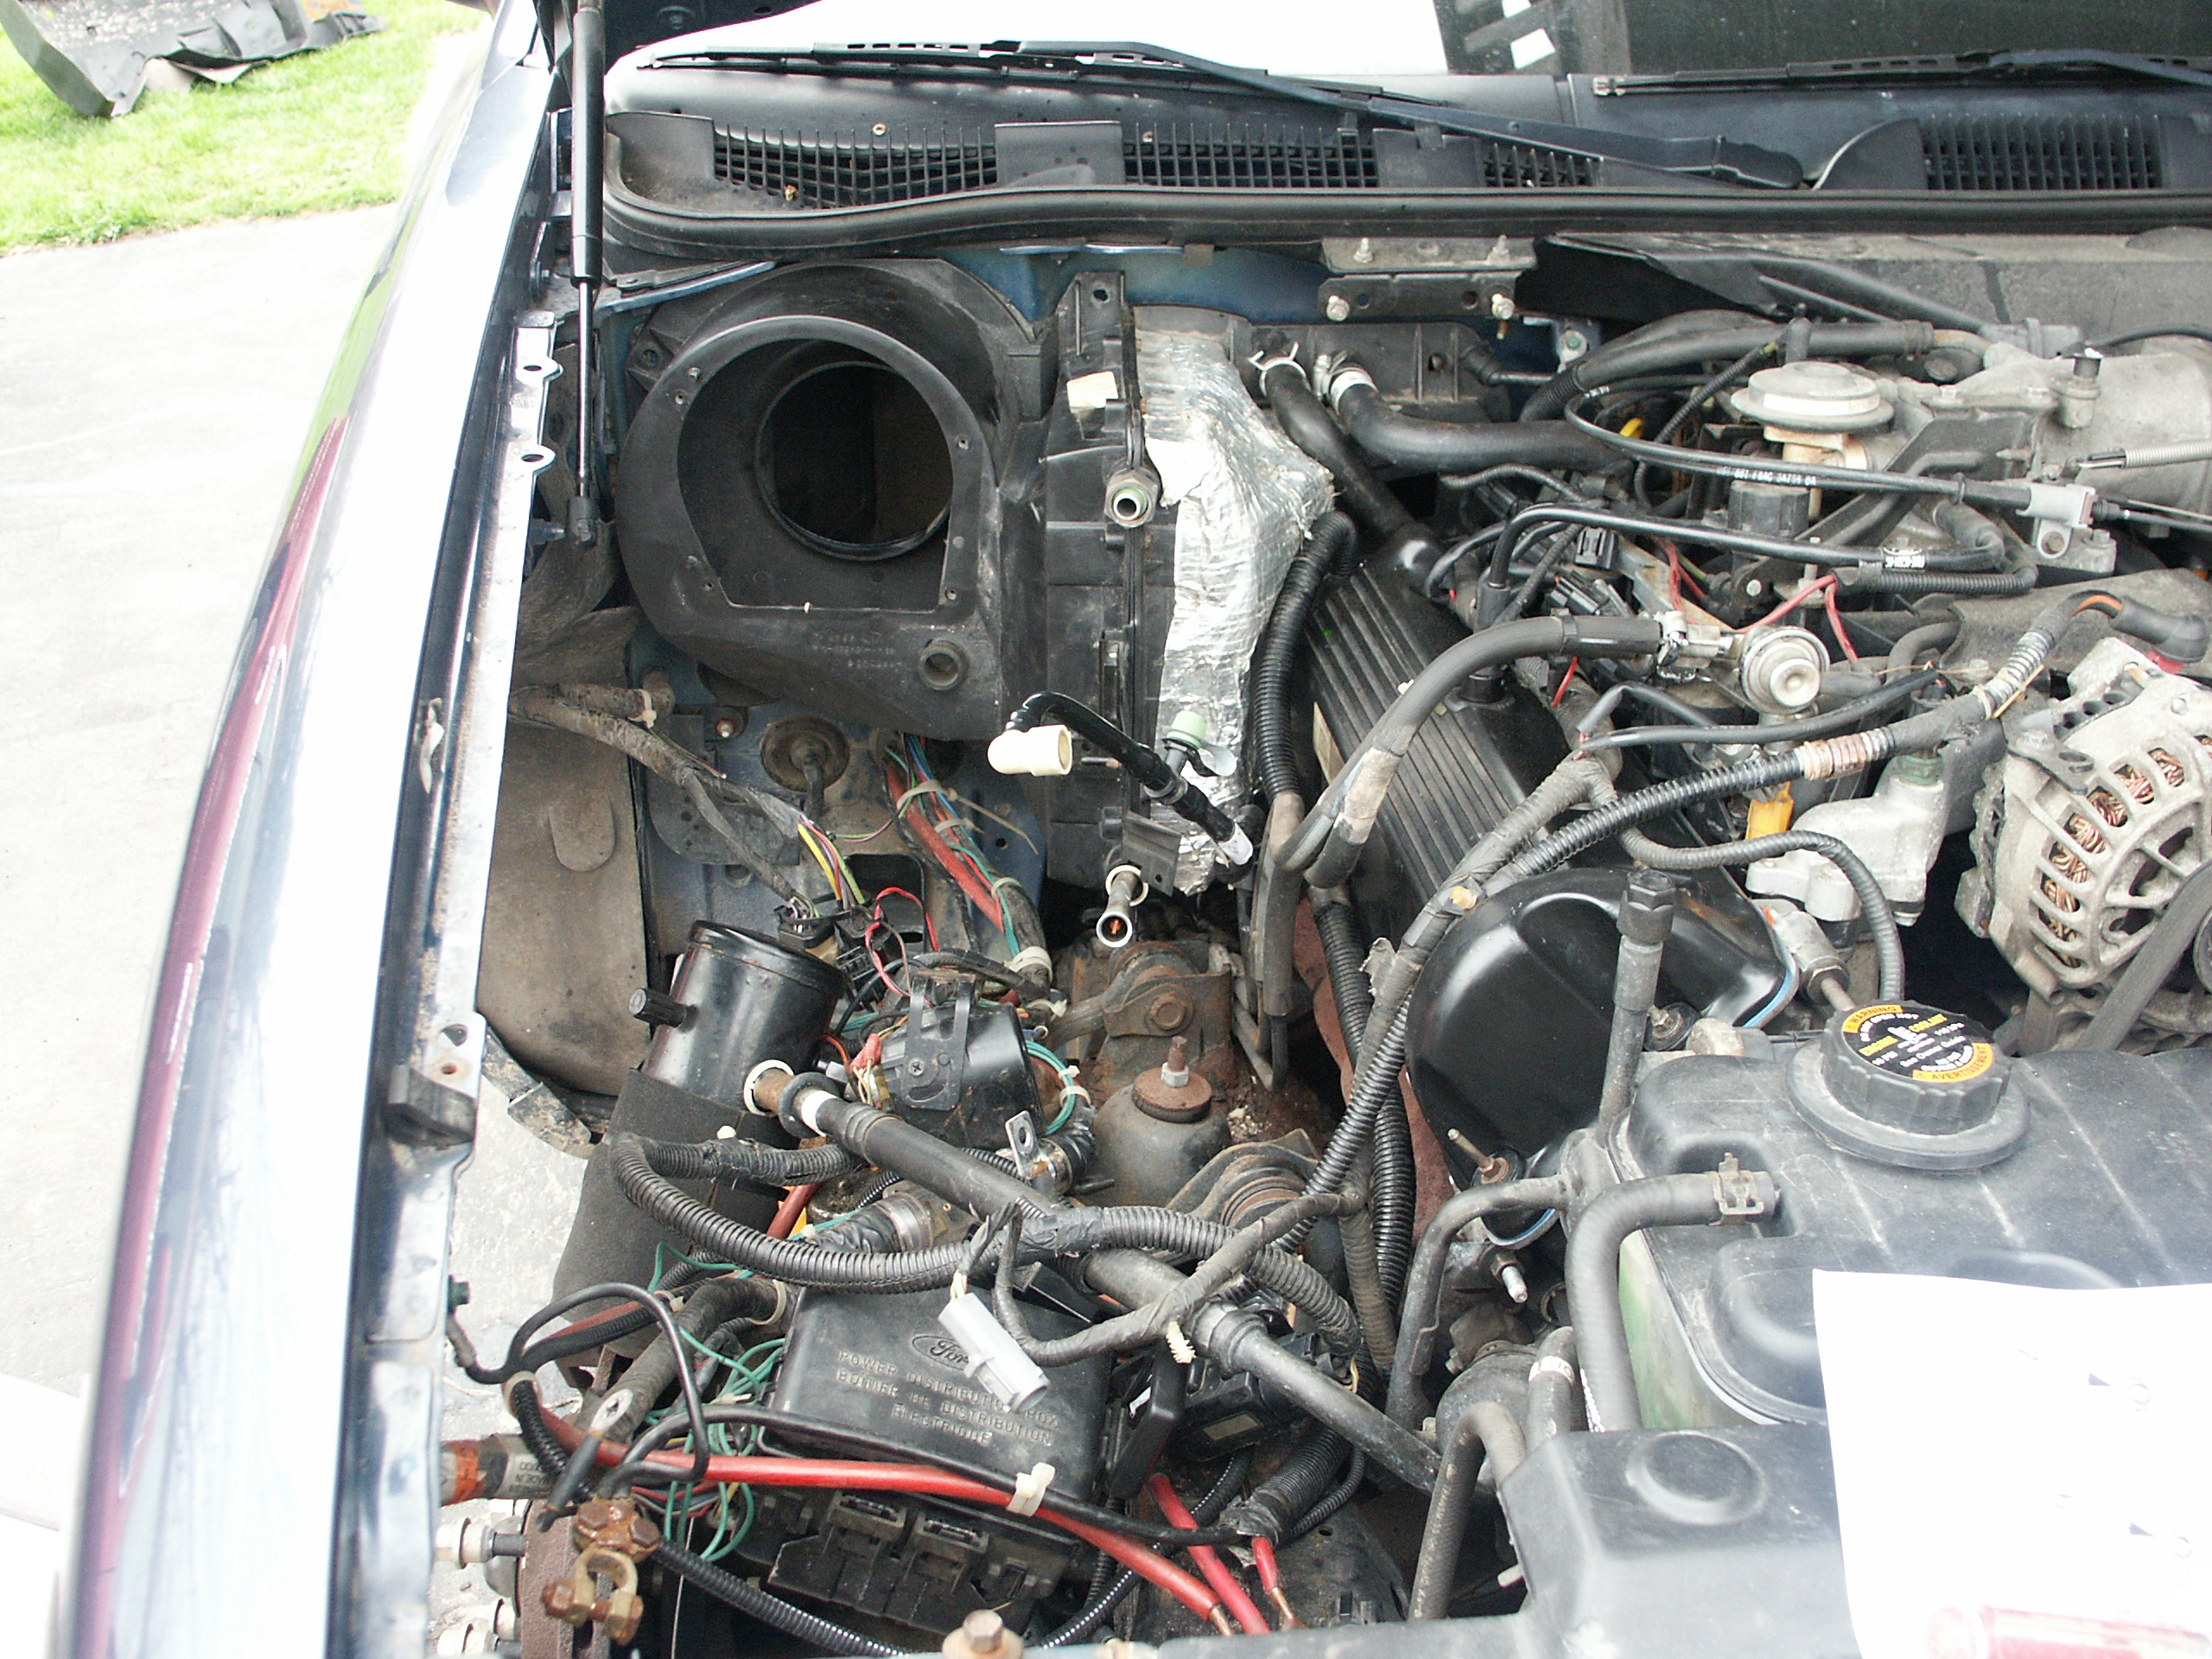
With the evaporator housing back on the car

It's was really convenient to have a spare crown victoria present for
visual comparison when reassembling all of the electrical harnesses
which are present on the fender liner.
Notes:
-Make sure that the PCV (positive crankcase ventilation) system in your
car is working properly. A malfunctioning PCV system can cause oil
vapor pressure inside the crankcase to rise so high that most every
seal on your engine will leak.
-In this particular case, oil was not leaking fast enough to drip onto
the ground underneath the car. However, the climate control system
fresh air intake was located very close to a hot exhaust manifold which
had a continous supply of crankcase oil dripping onto it. Whenever the
car would stop at an intersection with the climate control system
engaged, there would be a burned oil smell transmitted to the interior
passenger compartment of the car. At first, the valve cover only leaked
noticeably when it was very cold outside. But after several months, it
leaked noticeably regardless of the outside ambient temperature.
-The ford shop manual procedure for 1998 crown vics to replace the
passenger's valve cover is to first remove the a/c evaporator housing.
This is the procedure that is documented above.
-In later crown vics, ford states to remove the drivers side motor
mount and allow the engine to roll away from the evaporator housing to
gain clearance.
-If you use some small wrenches or flexible sockets, you might be able
to get the passenger valve cover off without removing either the motor
mount or the evaporator housing. However, there will be limited space
in which you can get the new gasket to seat properly.
-In my particular case, I wanted to swap in the correct eatc
evaporator housing that I had in my possession. It's not common for
people to convert a
car from manual climate controls to eatc though. And most people would
probably like to avoid pulling the evaporator housing out of their cars
and then having to deal with recharging the refrigerant in the air
conditioning system.
-One of the bolts which holds the two peices of the
lower evaporator
housing together was really rusty and snapped in half when I was
disassembling the old housing. If I were going to reinstall the same
evaporator housing, it probably would have been a good idea to drill
out the bolt remnants and install a new bolt to help prevent future air
leaks.
-If you disassemble the evaporator case, make
sure to put some rtv sealant around where the two evaporator
refrigerant tubes pass through the case. If you don't, you will have a
massive air leak into the engine bay whenever the blower motor is
spinning.
-Spray some penatrant oil on the lower
studs/nuts which hold the
evaporator housing to the firewall, and then run the nuts up/down the
threads a few times to break away the corrosion prior to reinstalling
the evaporator housing
-While you have the evaporator case apart, it's
a good chance to remove
debris that may be lodged in the drain system
-An 11mm ratcheting gear wrench with a flexible box end would be useful
for removing the two nuts that go on the mounting studs under the
evaporator box
-Be very careful with the wiring in the passenger's fender liner area
if you remove the fender liner. Often, mechanics are under pressure to
rush a job which can result in mangled wiring harnesses causing some
interesting driveability issues.
-On crown victoria internet discussion forums, a frequent suggestion to
correct leaking valve cover gaskets is to tighten the valve cover
bolts. While this solution probably worked great on your grandfather's
1969 ford mustang, it doesn't work so good on a 1990's 4.6L ford
engine. The cylinder heads on the 4.6L crownvic are soft aluminum and
the valve cover bolts are hard steel, and you'll have great fun
repairing the damage if you stripout the threads in the cylinder head
from overtorquing the bolts. Also, the valve cover doesn't bolt
directly to the cylinder head on the 4.6L engines. Instead, the valve
cover is suspended above the cylinder head with some rubber grommets
with steel inserts in them. Tigthening the valve cover bolts just
presses the steel inserts harder against the cylinder head and doesn't
bring the valve cover any closer to the cylinder head.
-When discussion about valve cover leaks comes up, there are sometimes
suggestions that the valve cover gaskets are leaking because they have
somehow "fallen out of place". This isn't likely since the valve cover
gaskets are wedged tightly in between the valve cover mounting channel
and the cylinder head and there is no routine maintenance which
requires removal of the valve covers. The actual culprit behind these
leaks is usually that rubber changes texture after having hot crankcase
oil thrown at it for thousands of hours. And police interceptors may
get leaky valve cover gaskets with really low mileage because of the
massive amount of time they spend idling without accumulating any
mileage on the odometer.