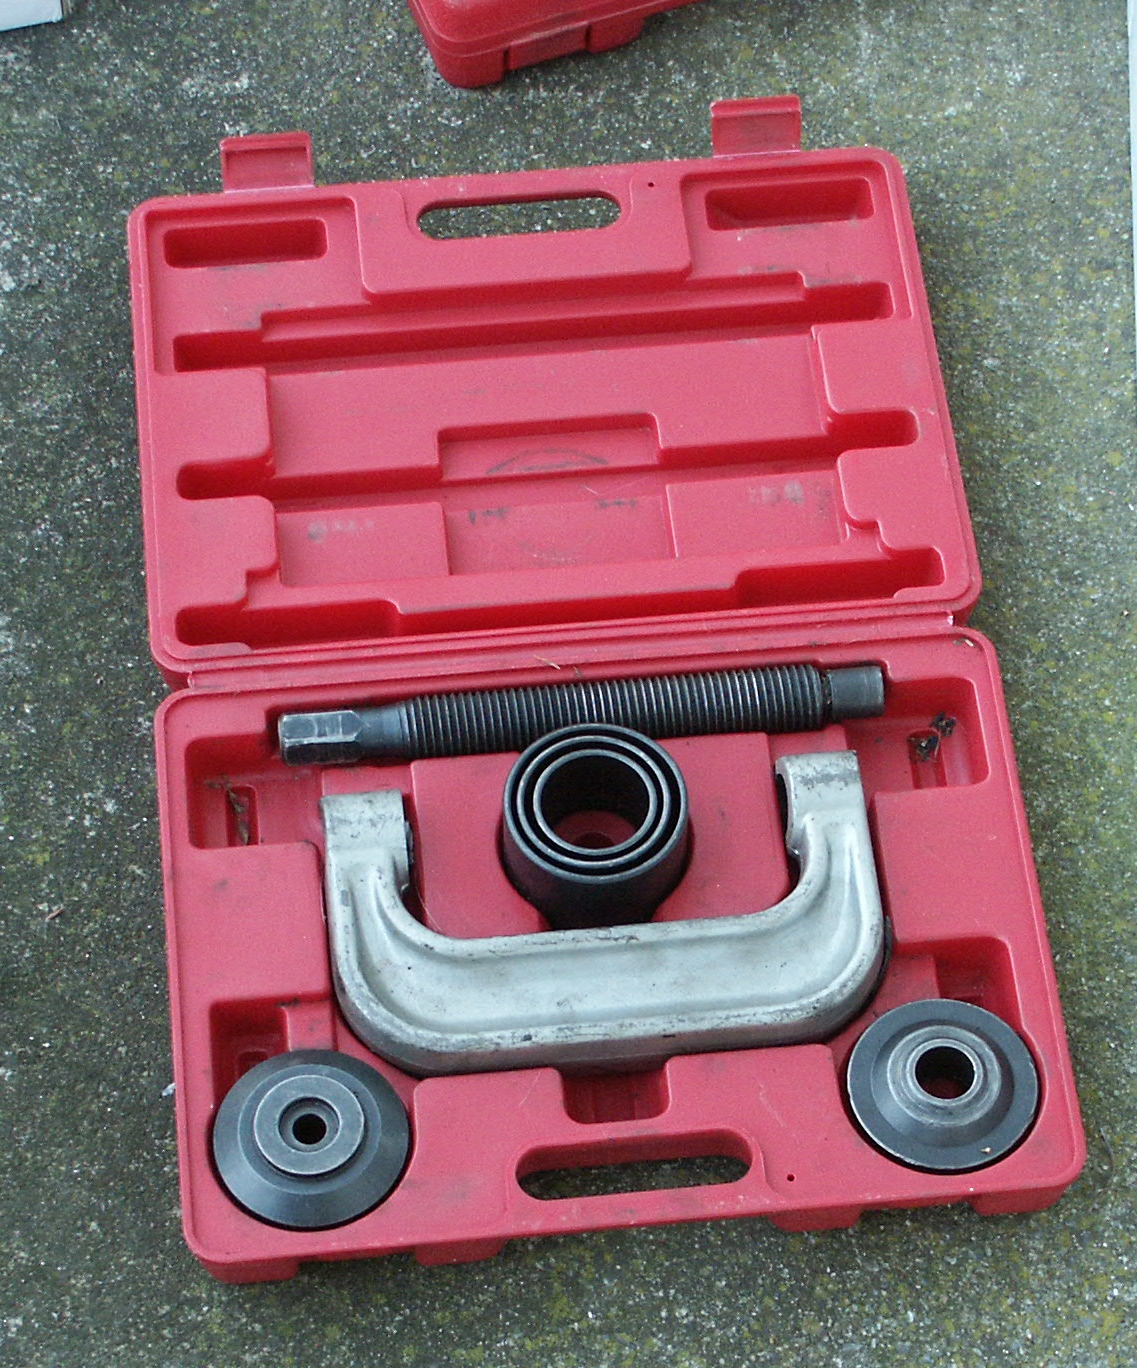
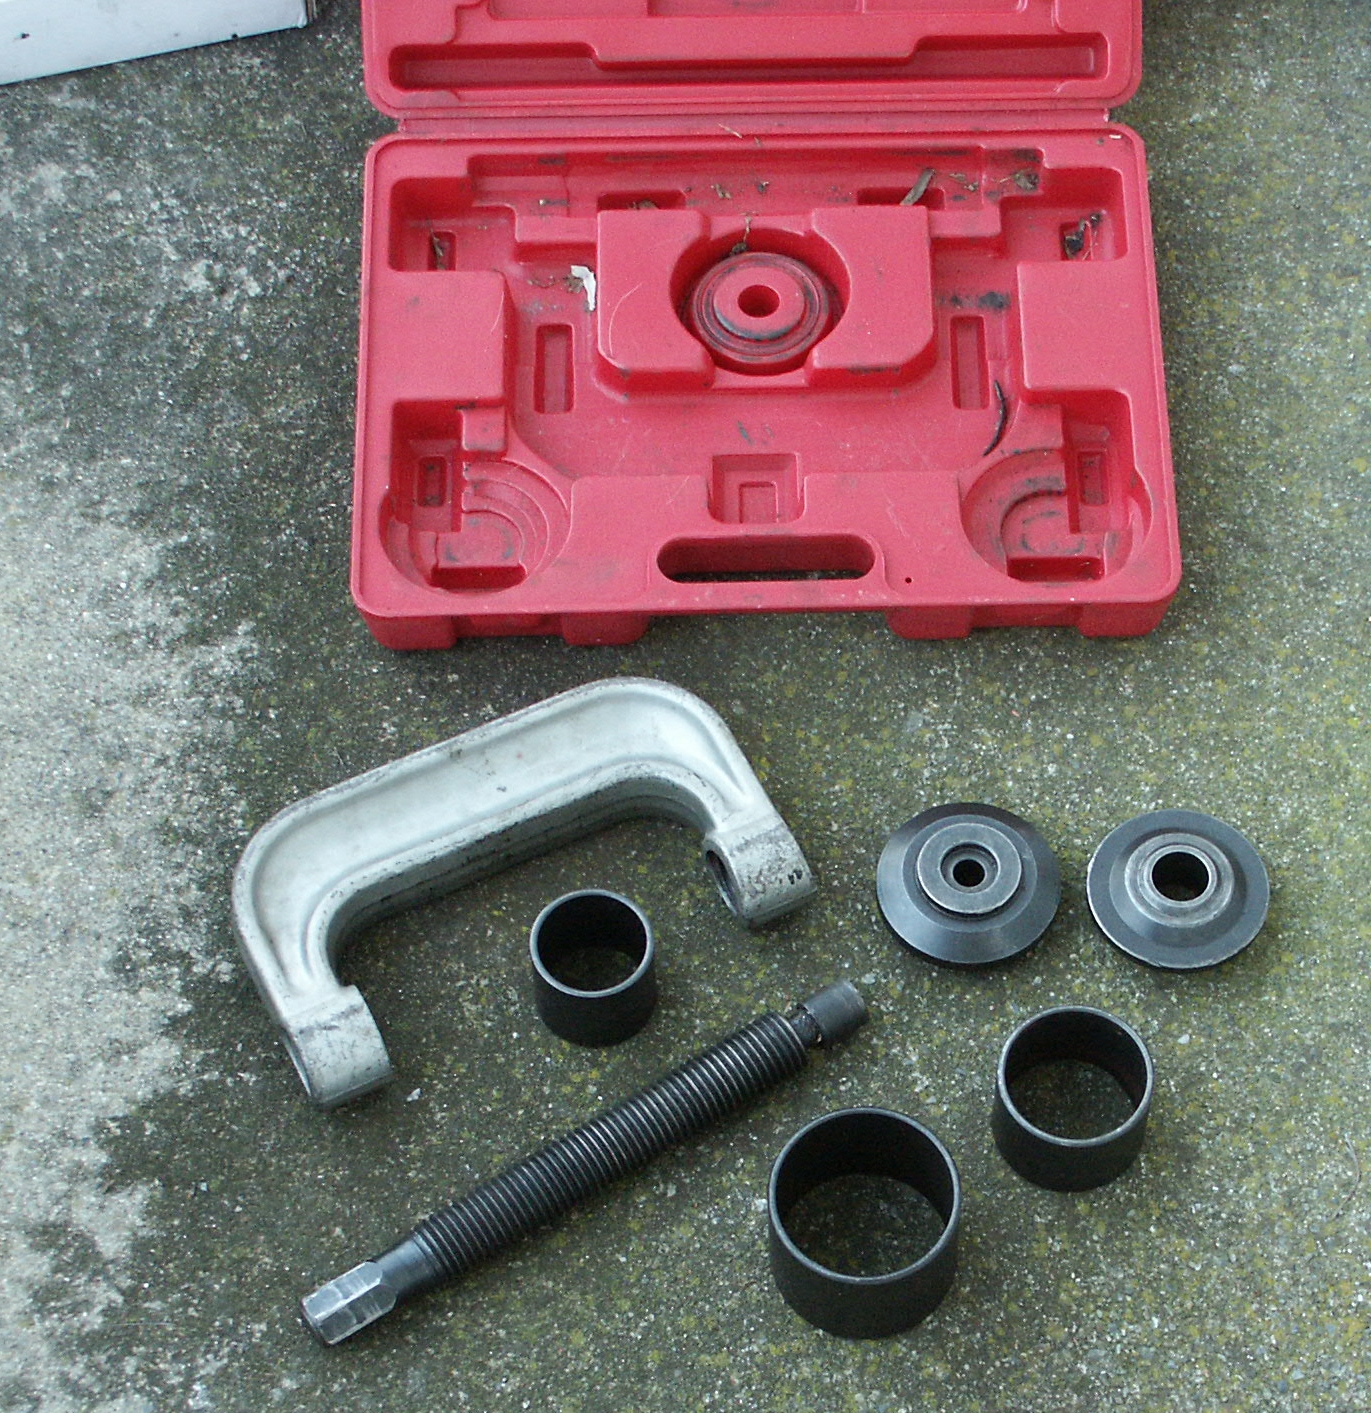
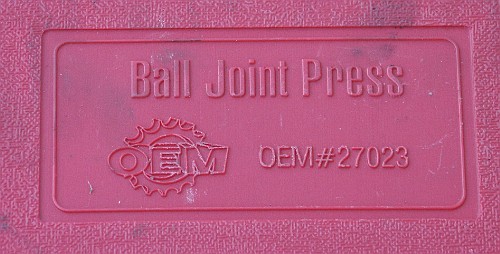
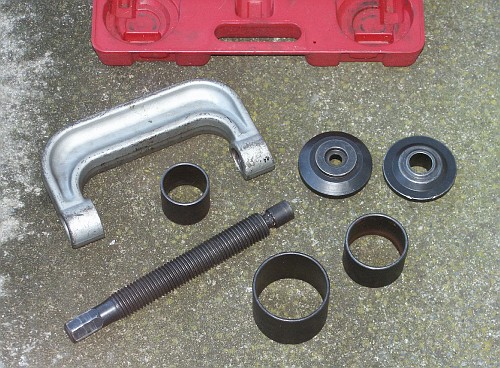
Below are some pictures of using a balljoint press kit from autozone to
install a new lower balljoint into the driver's side lower control arm
of a 1997 ford crown victoria police interceptor.

Ball Joint Press OEM #27023


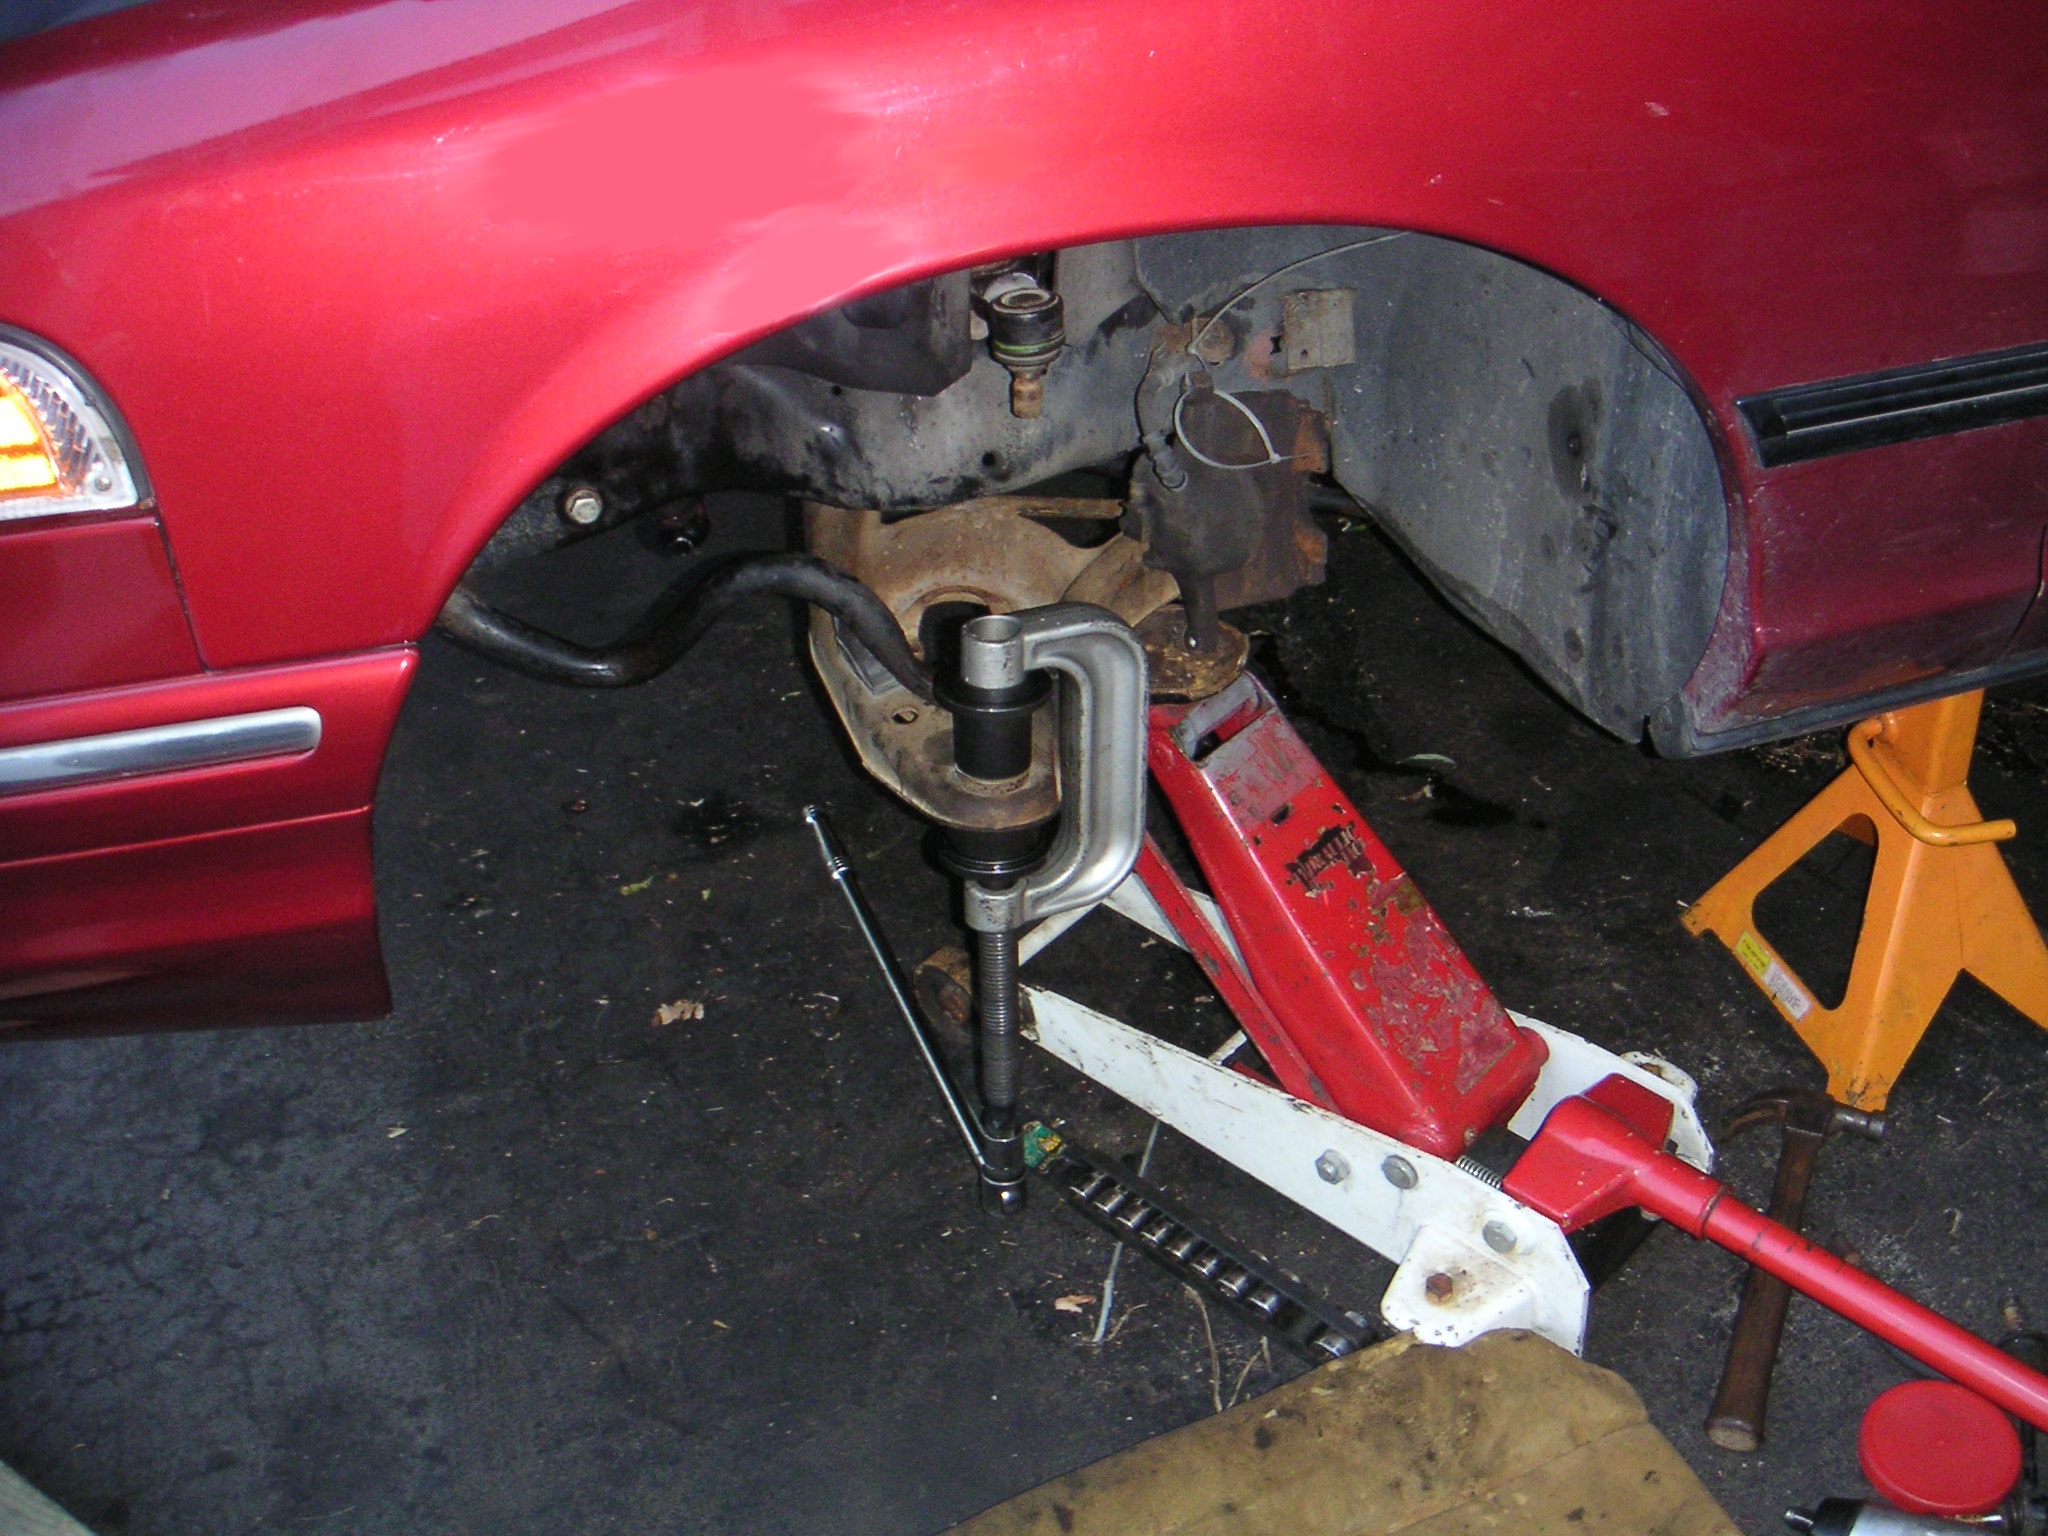
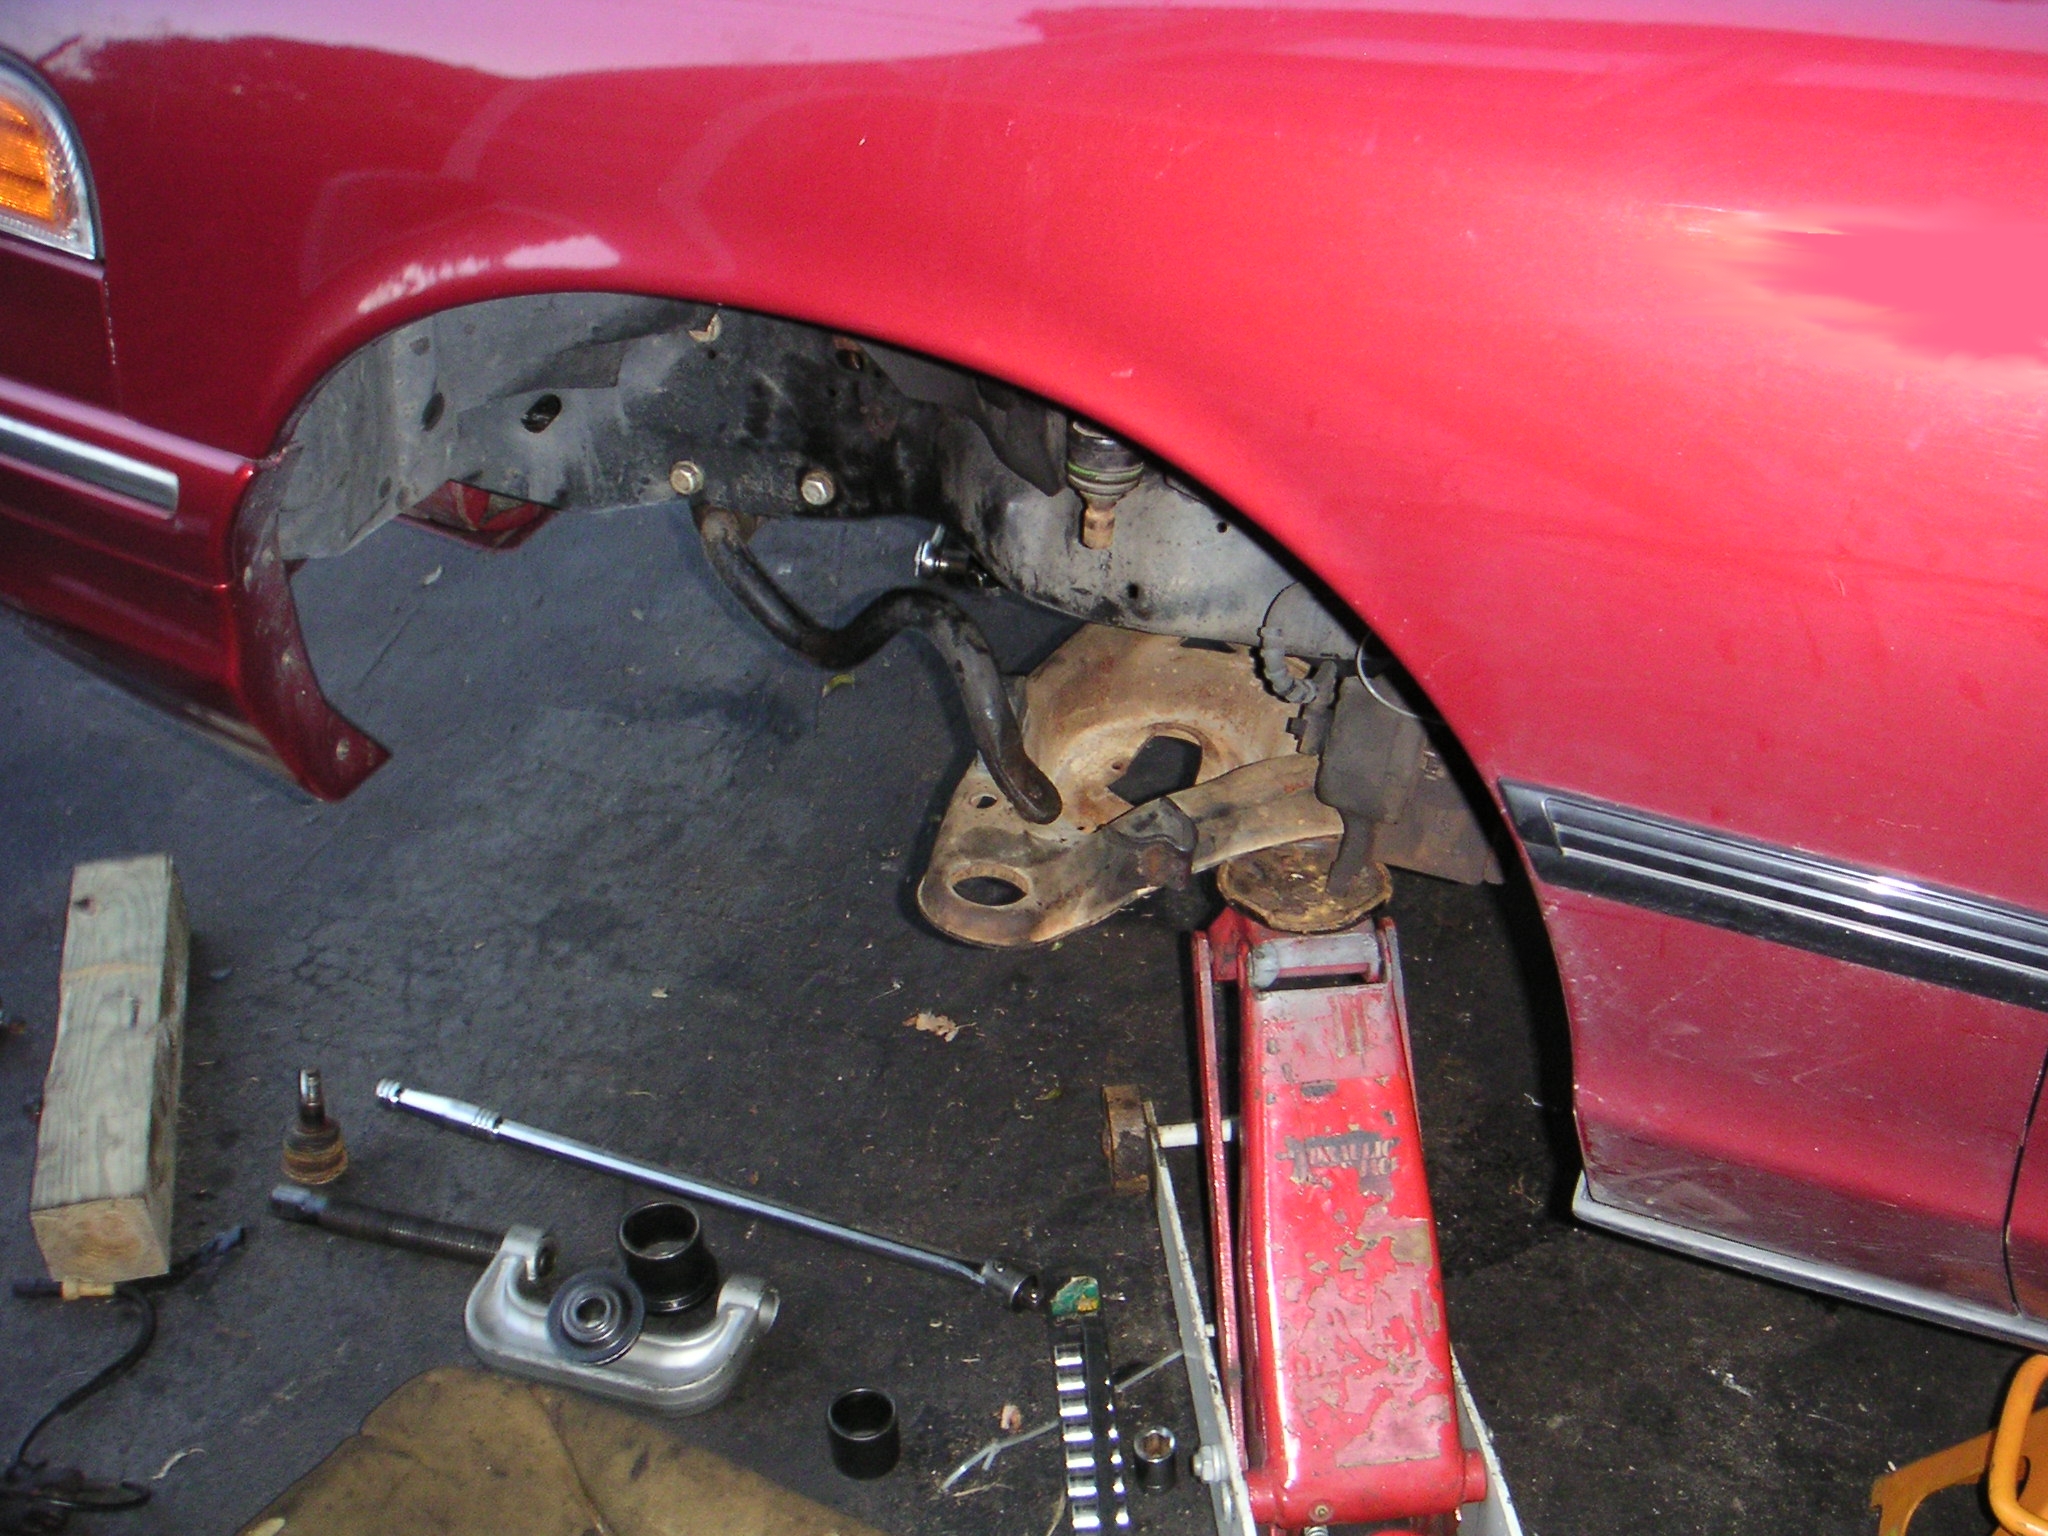
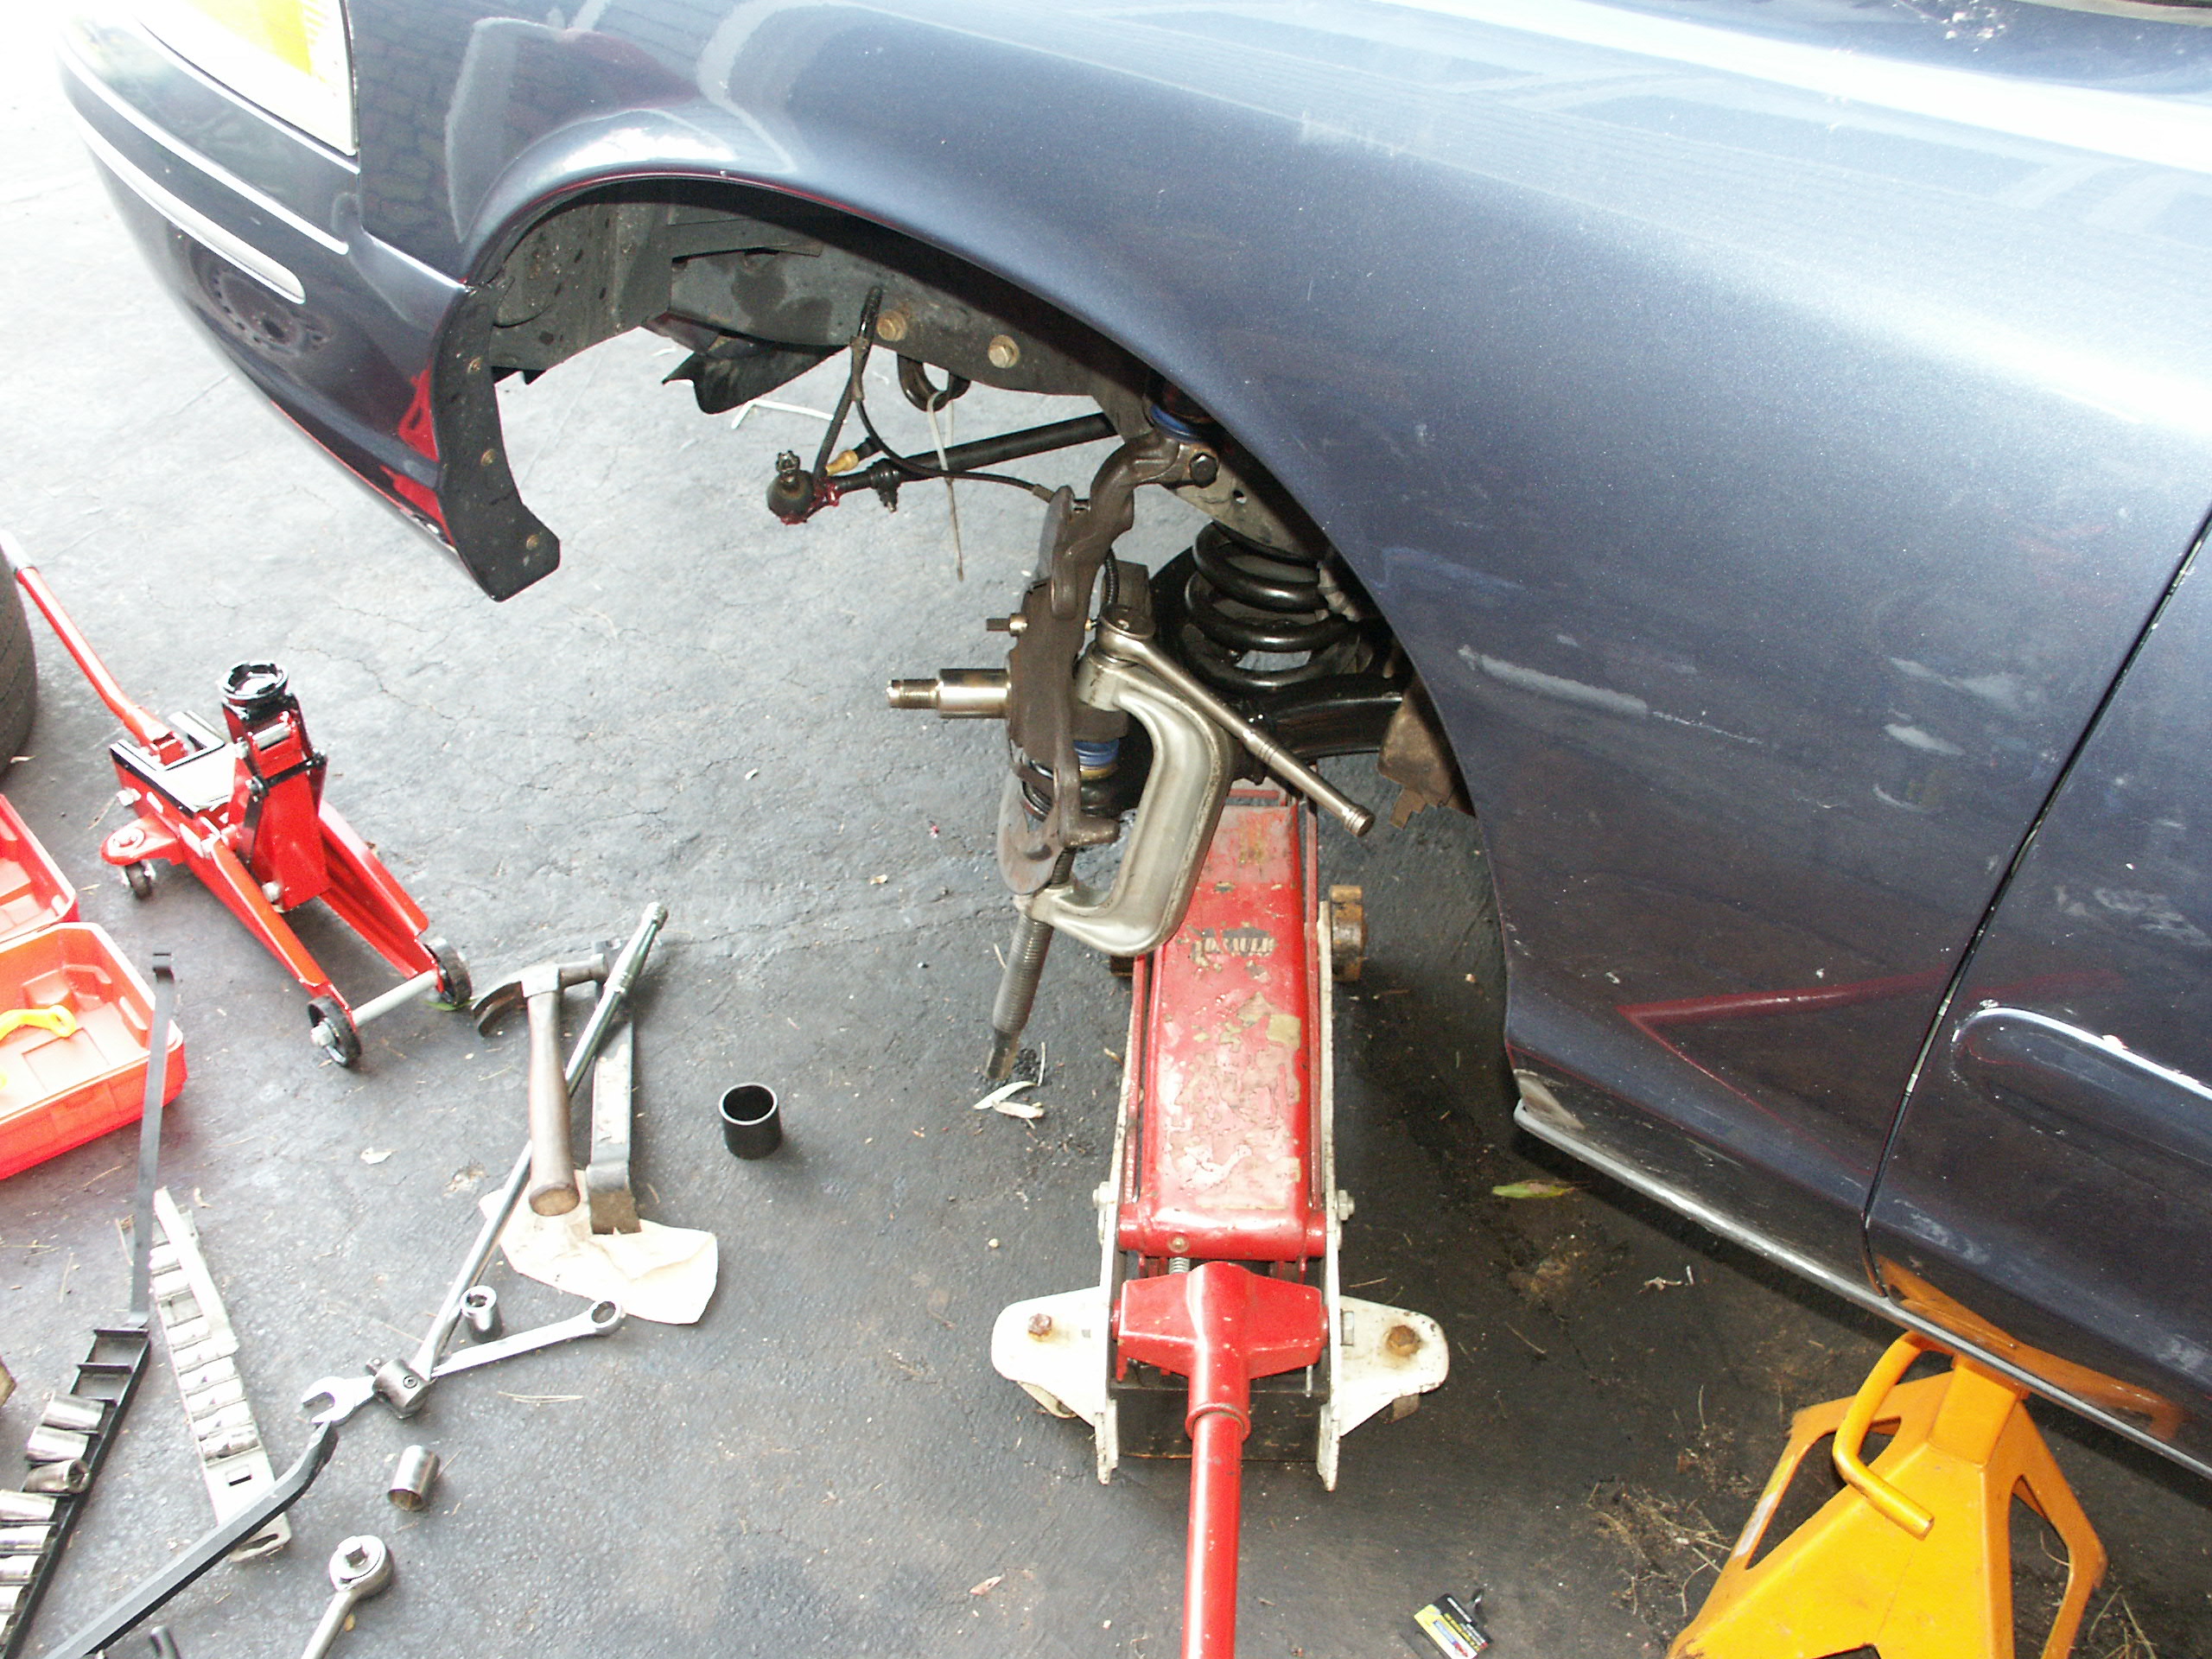
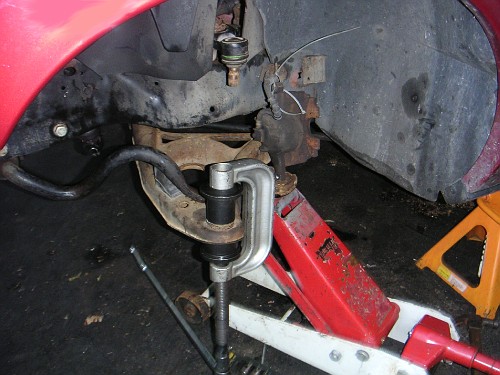
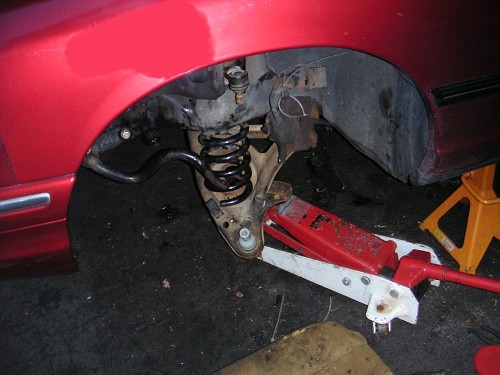
Pressing the old balljoint out of the control arm.
NOTE: If the
suspension spring is still installed, do not support the lower control
arm under the corner as shown. Instead support the lower control arm
under the center where the shock absorber would normally be mounted.

NOTE: If the
suspension spring is still installed, do not support the
lower control arm under the corner as shown. Instead support the lower
control arm under the center where the shock absorber would normally be
mounted.
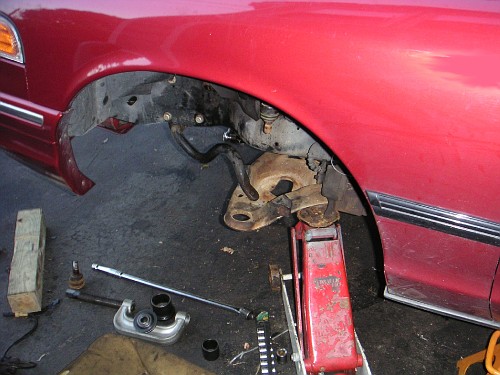
The old balljoint removed from the control arm
NOTE: If the
suspension spring is still installed, do not support the
lower control arm under the corner as shown. Instead support the lower
control arm under the center where the shock absorber would normally be
mounted.
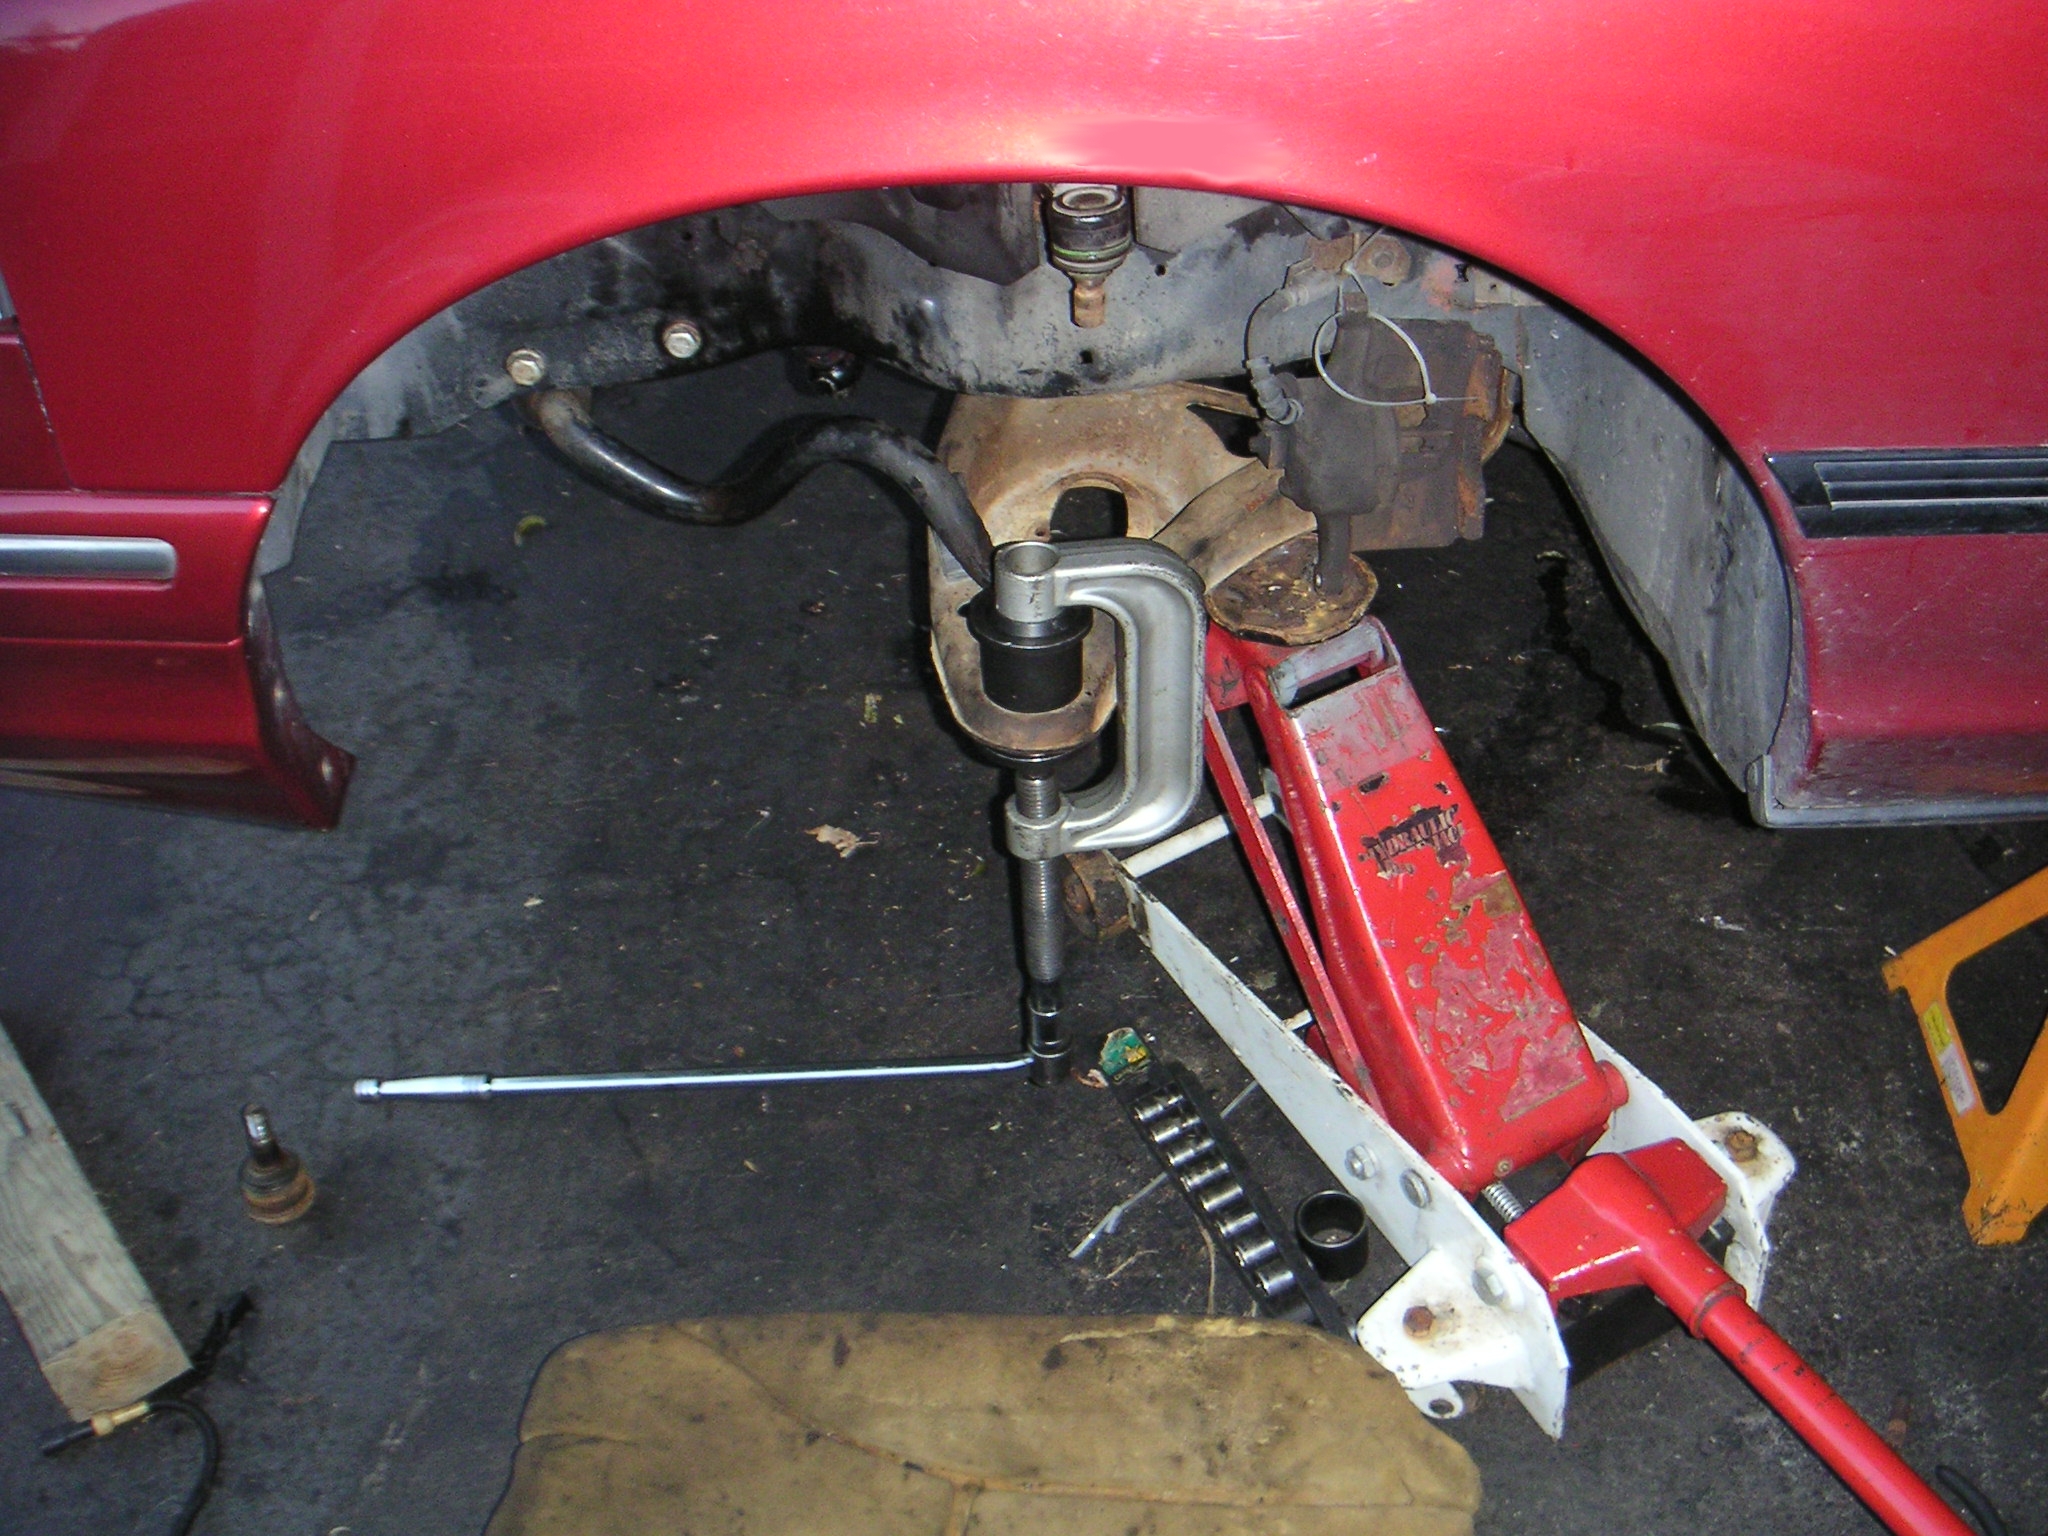
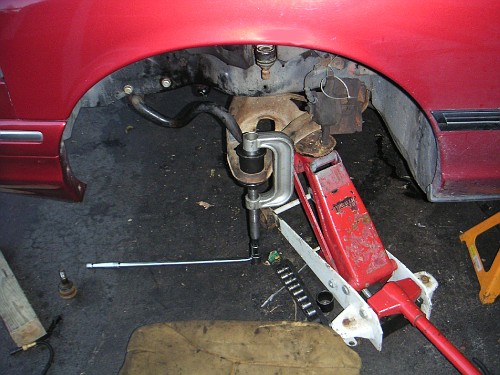
The new balljoint being pressed in
NOTE: If the
suspension spring is still installed, do not support the
lower control arm under the corner as shown. Instead support the lower
control arm under the center where the shock absorber would normally be
mounted.
NOTE: If the
suspension spring is still installed, do not support the
lower control arm under the corner as shown. Instead support the lower
control arm under the center where the shock absorber would normally be
mounted.

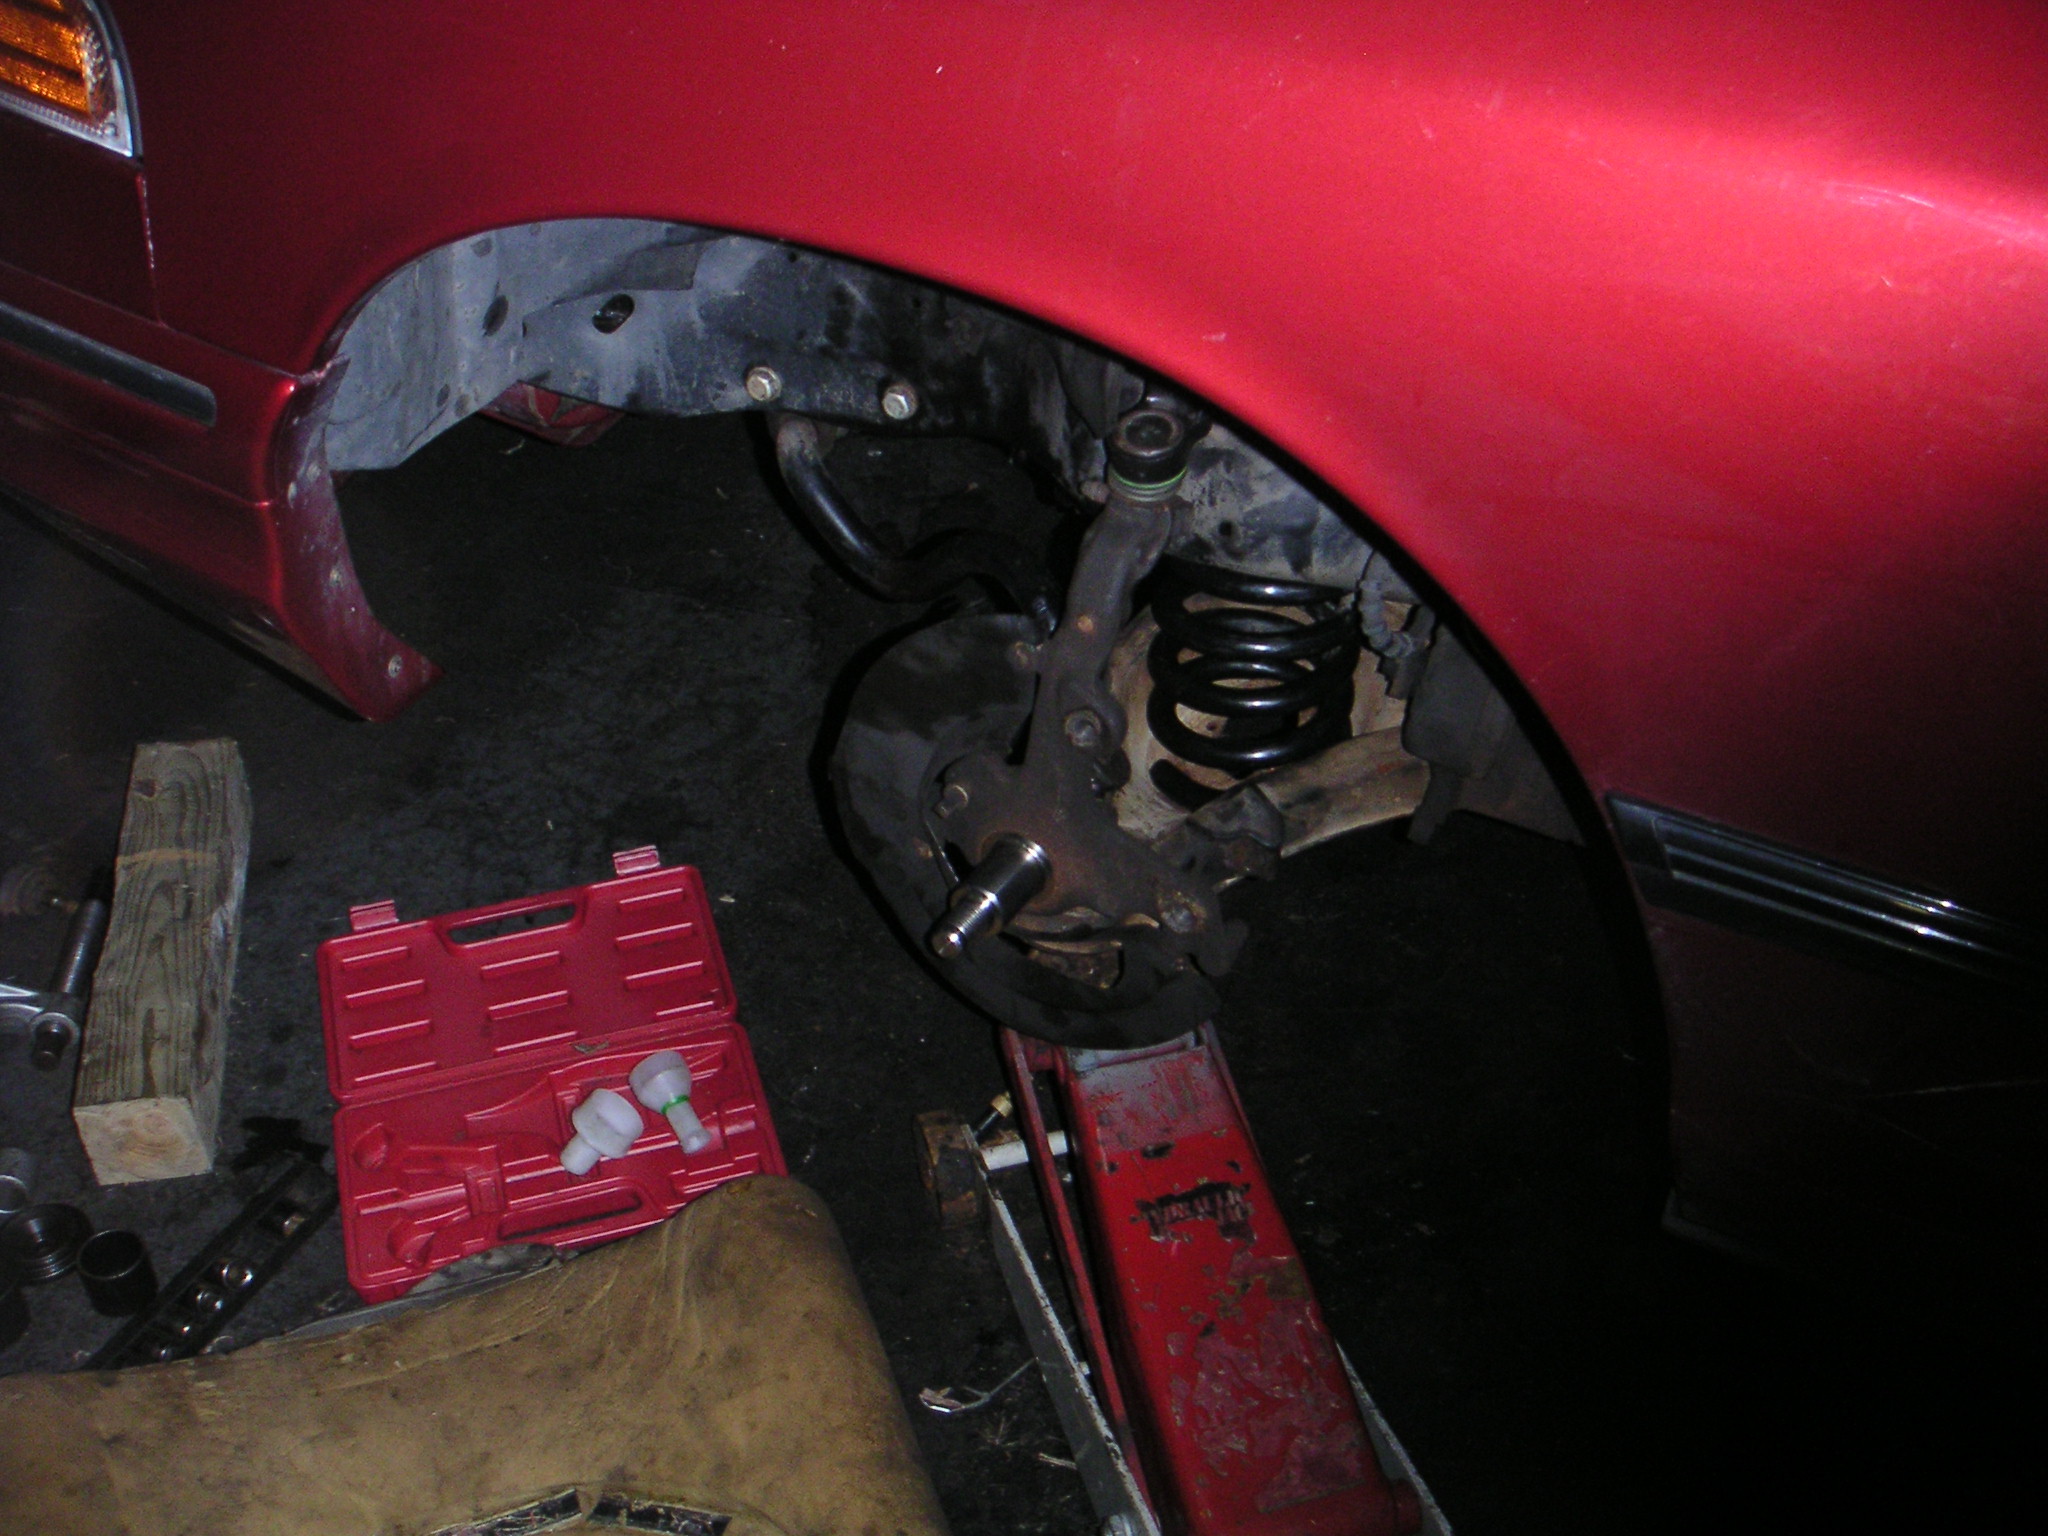
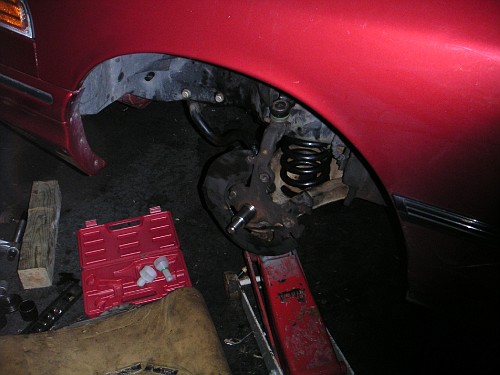
You don't have to remove the suspension spring to replace the lower
balljoint, but in this case new lower control arm->frame bushings
were being installed
NOTE: This picture
of a spring being held in between the lower control arm and frame
spring perch was taken for reference purposes only. When compressing
the spring, do
not support the
lower control arm under the corner as shown. Instead support the lower
control arm under the center where the shock absorber would normally be
mounted.
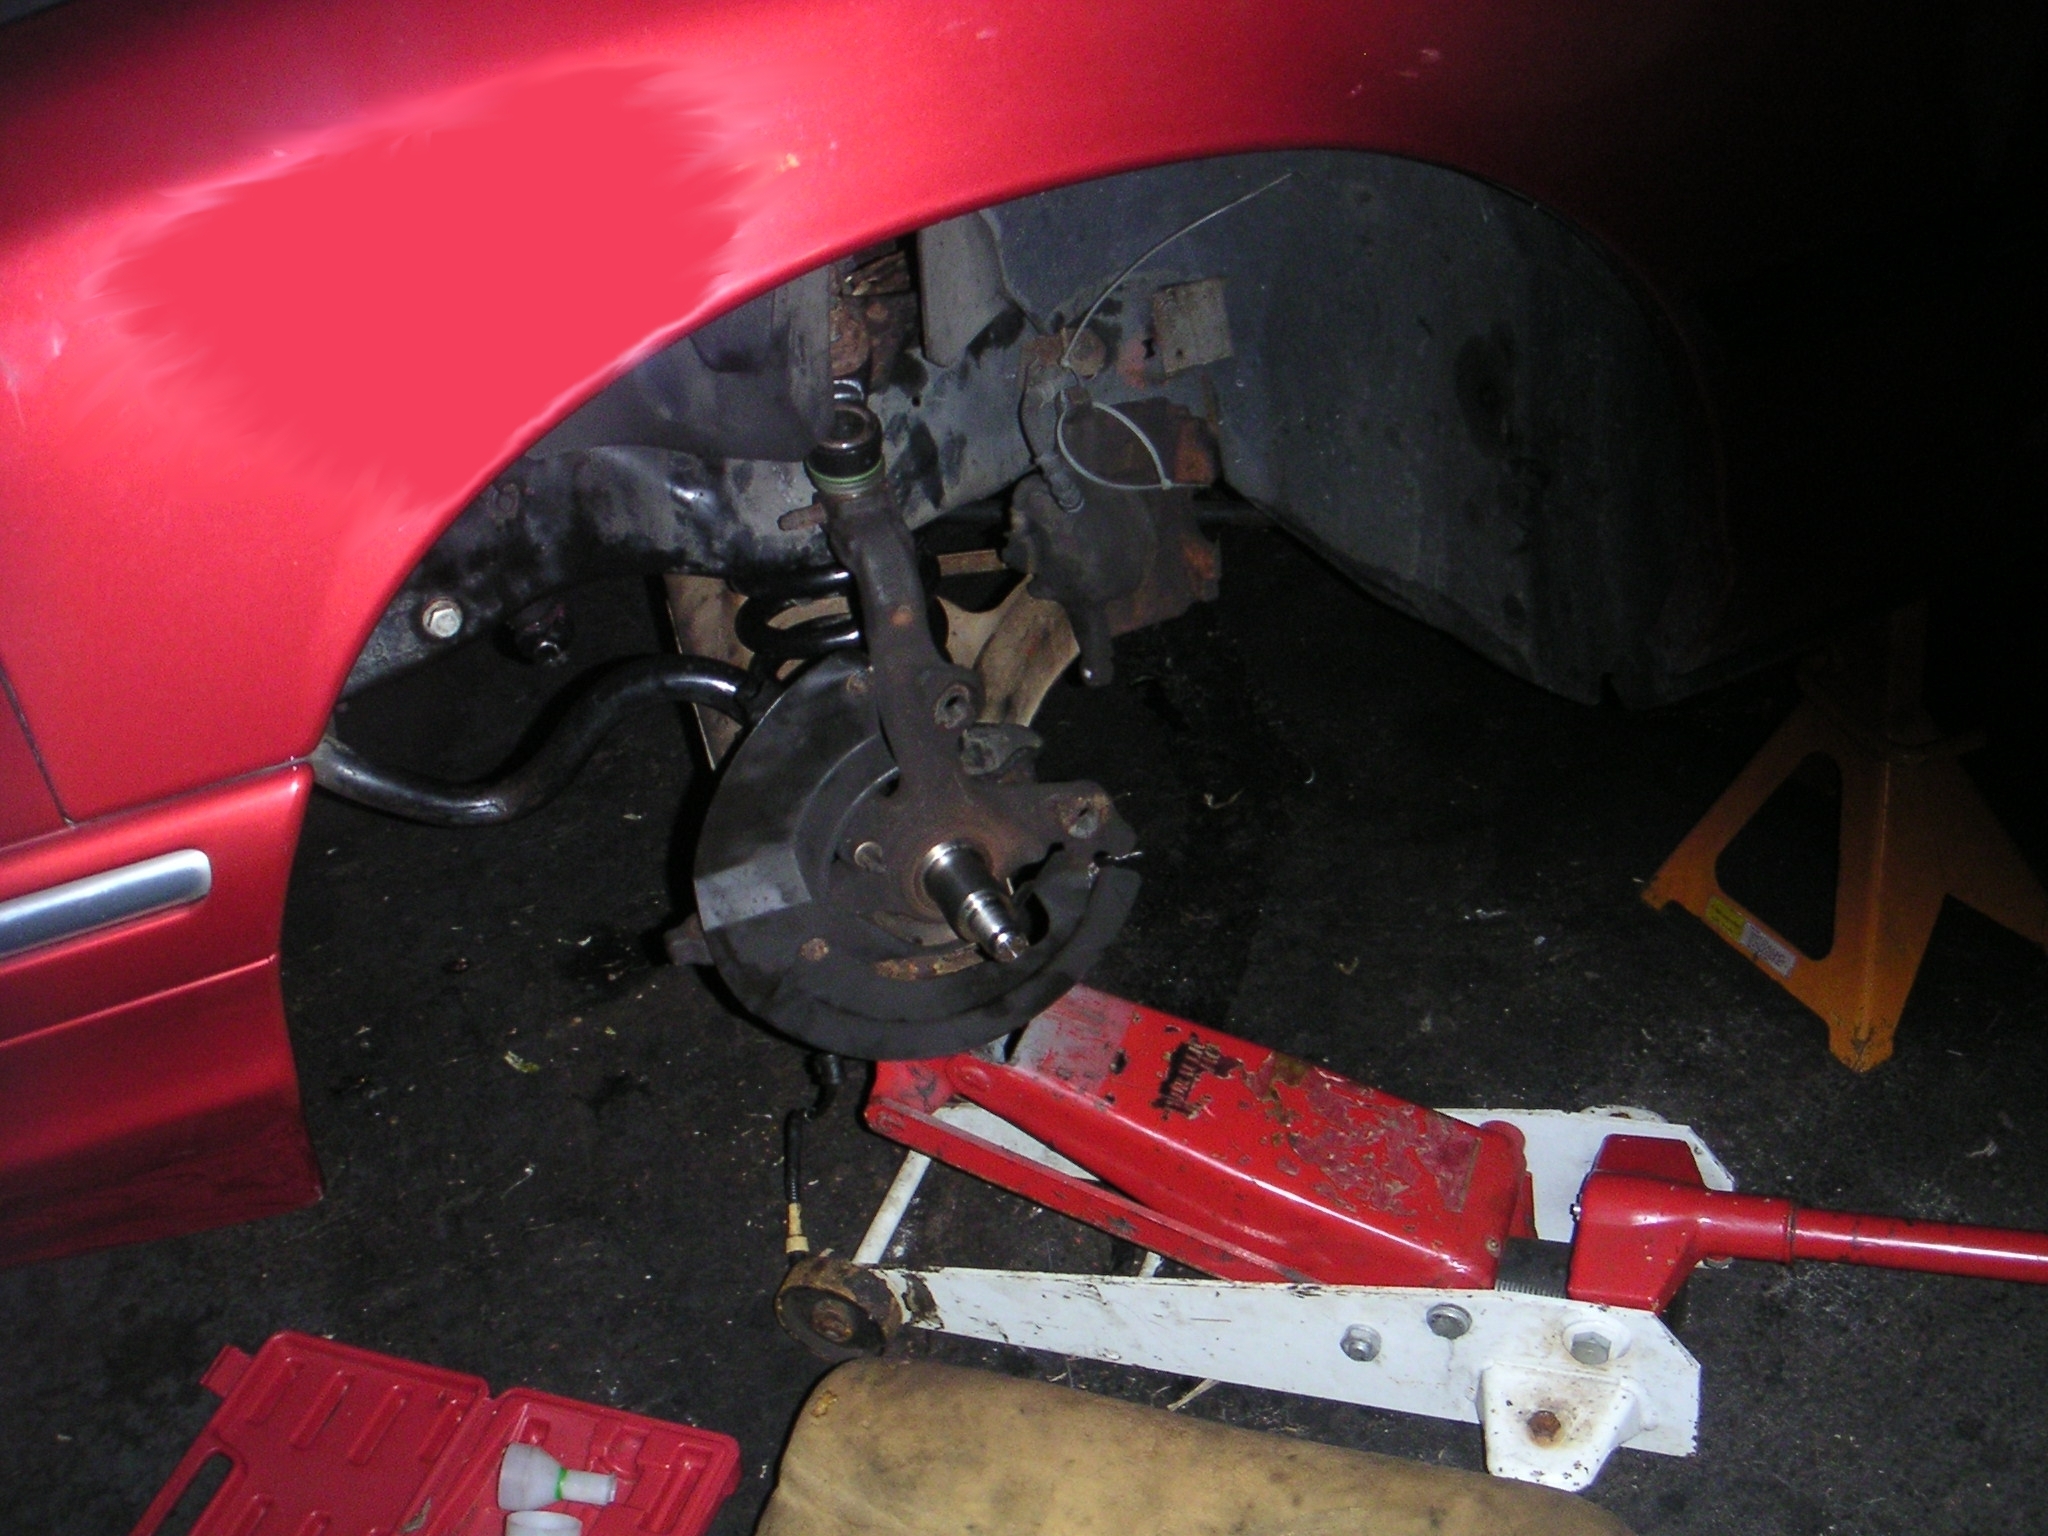
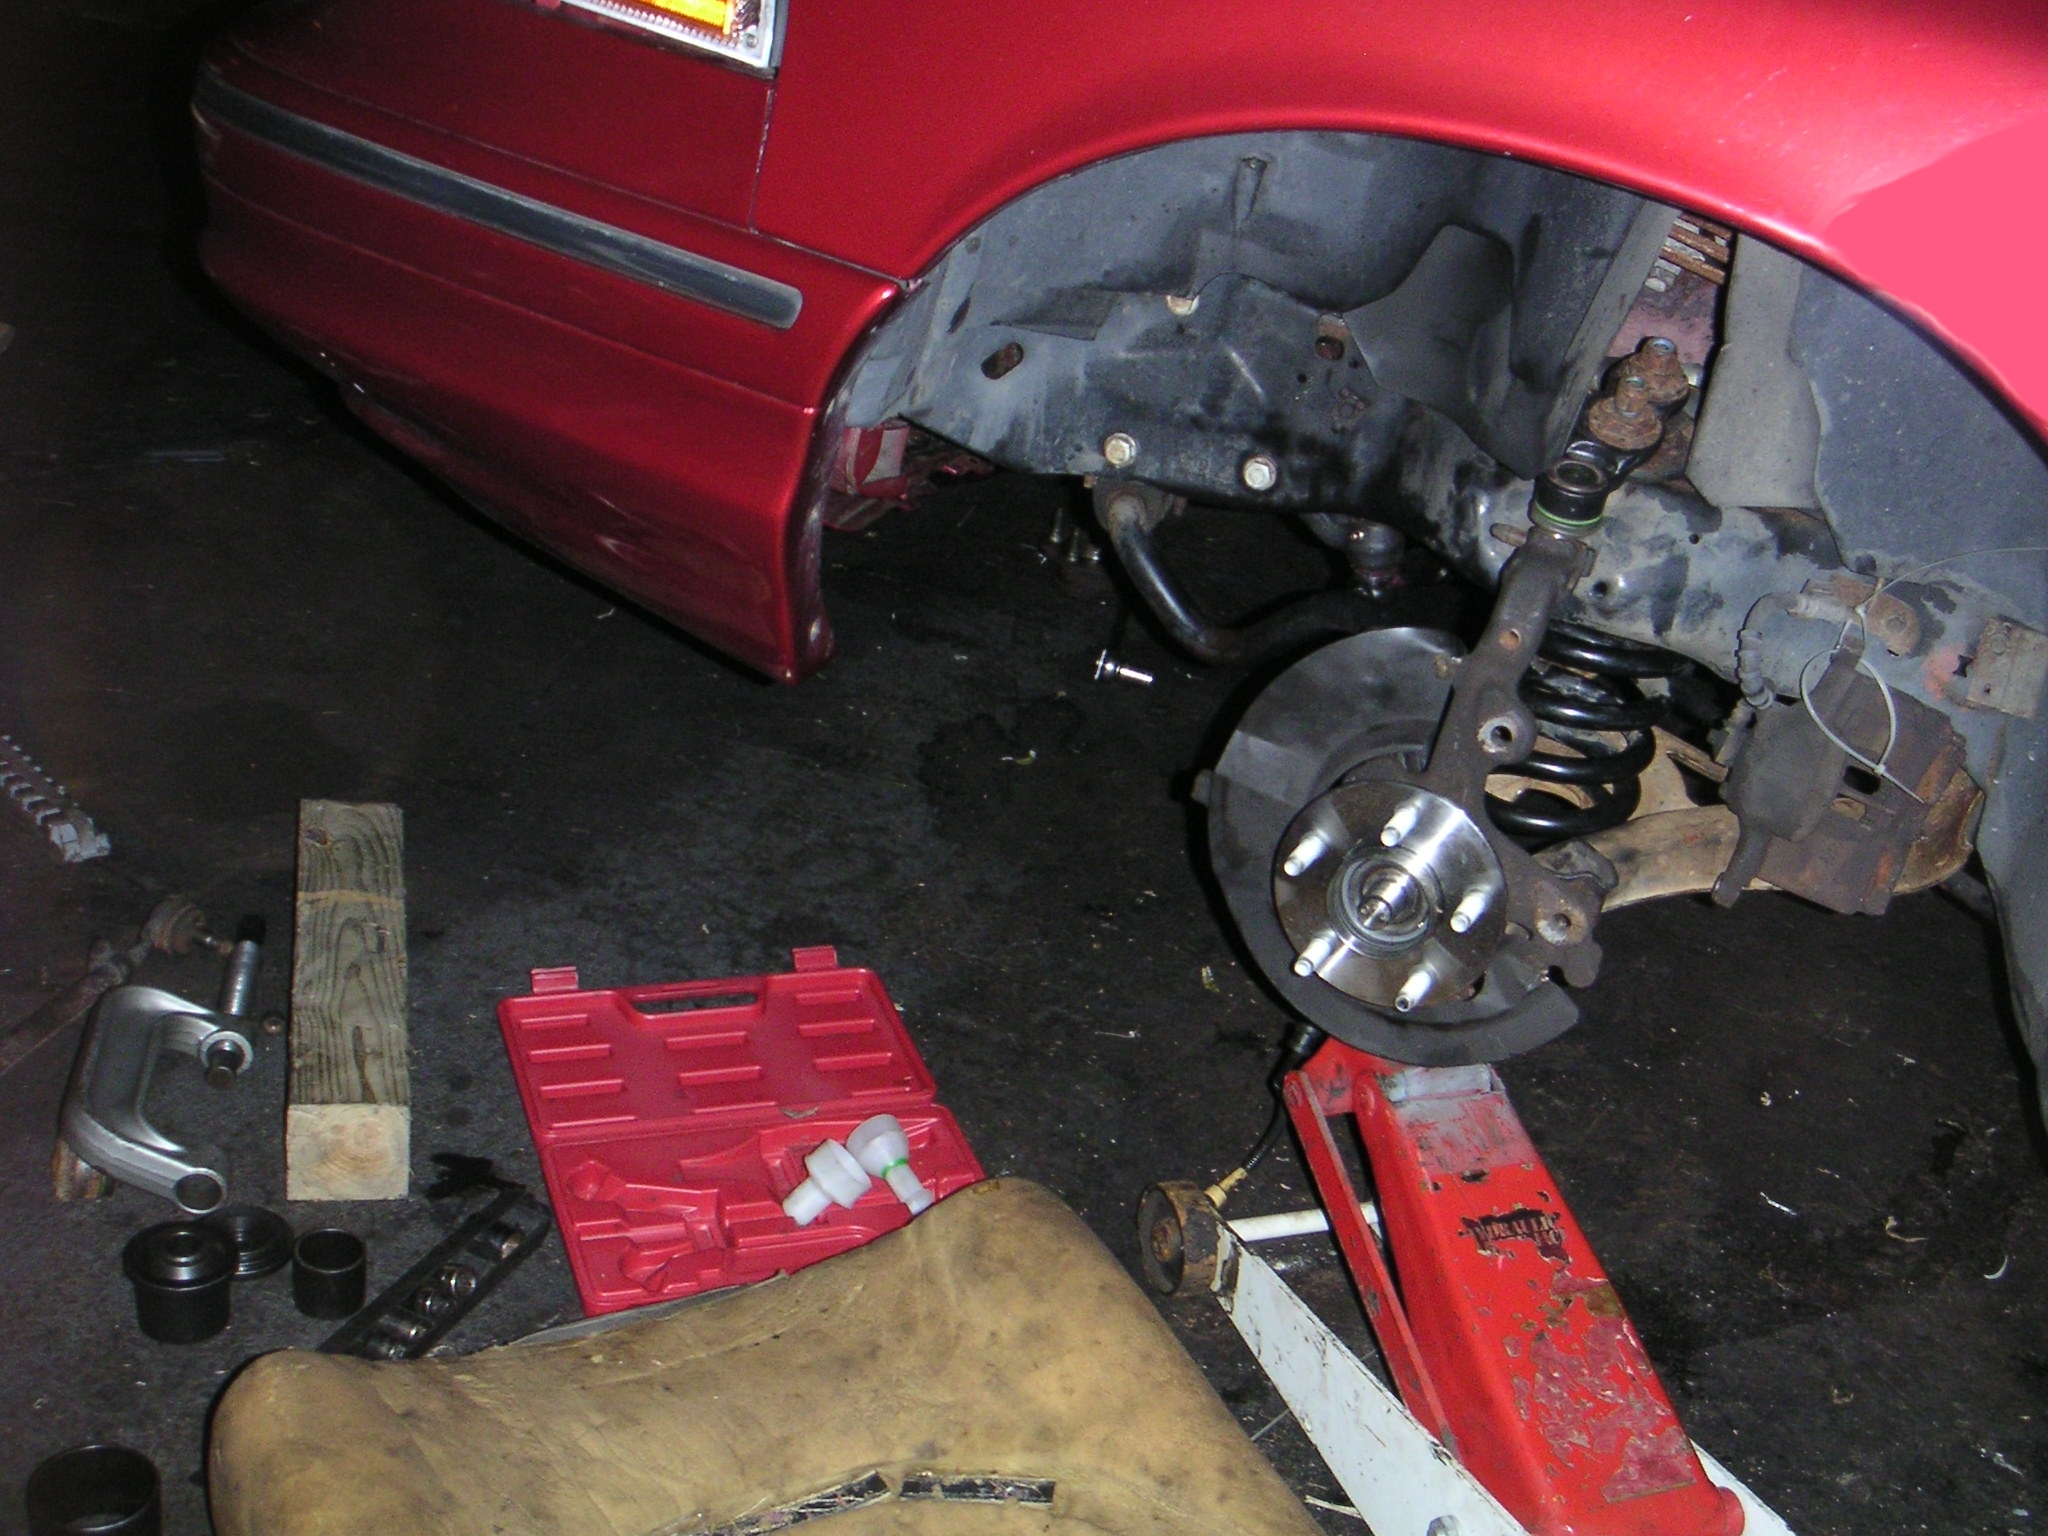
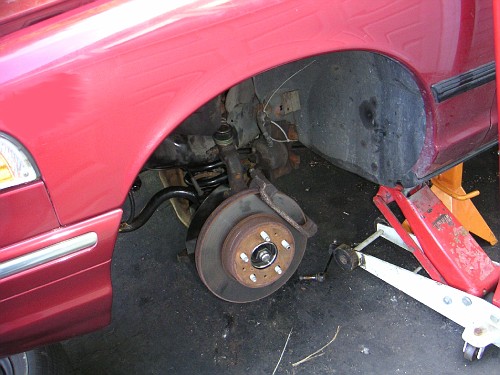
Now the spindle is reinstalled

And the new wheel bearing placed onto to the steering knuckle

Now lets reinstall the brake rotor and brake caliper bracket
Now it's time to reinstall the remaining parts and place the tires back
on the vehicle. And finally tighten up the lower control arm
bushing->frame bolts.
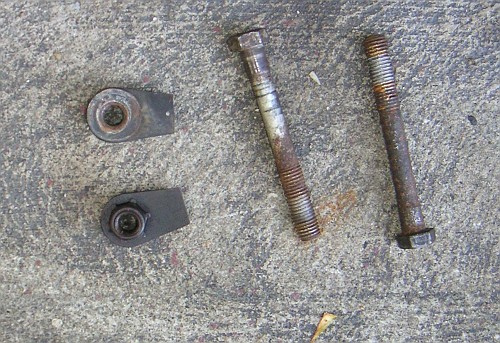
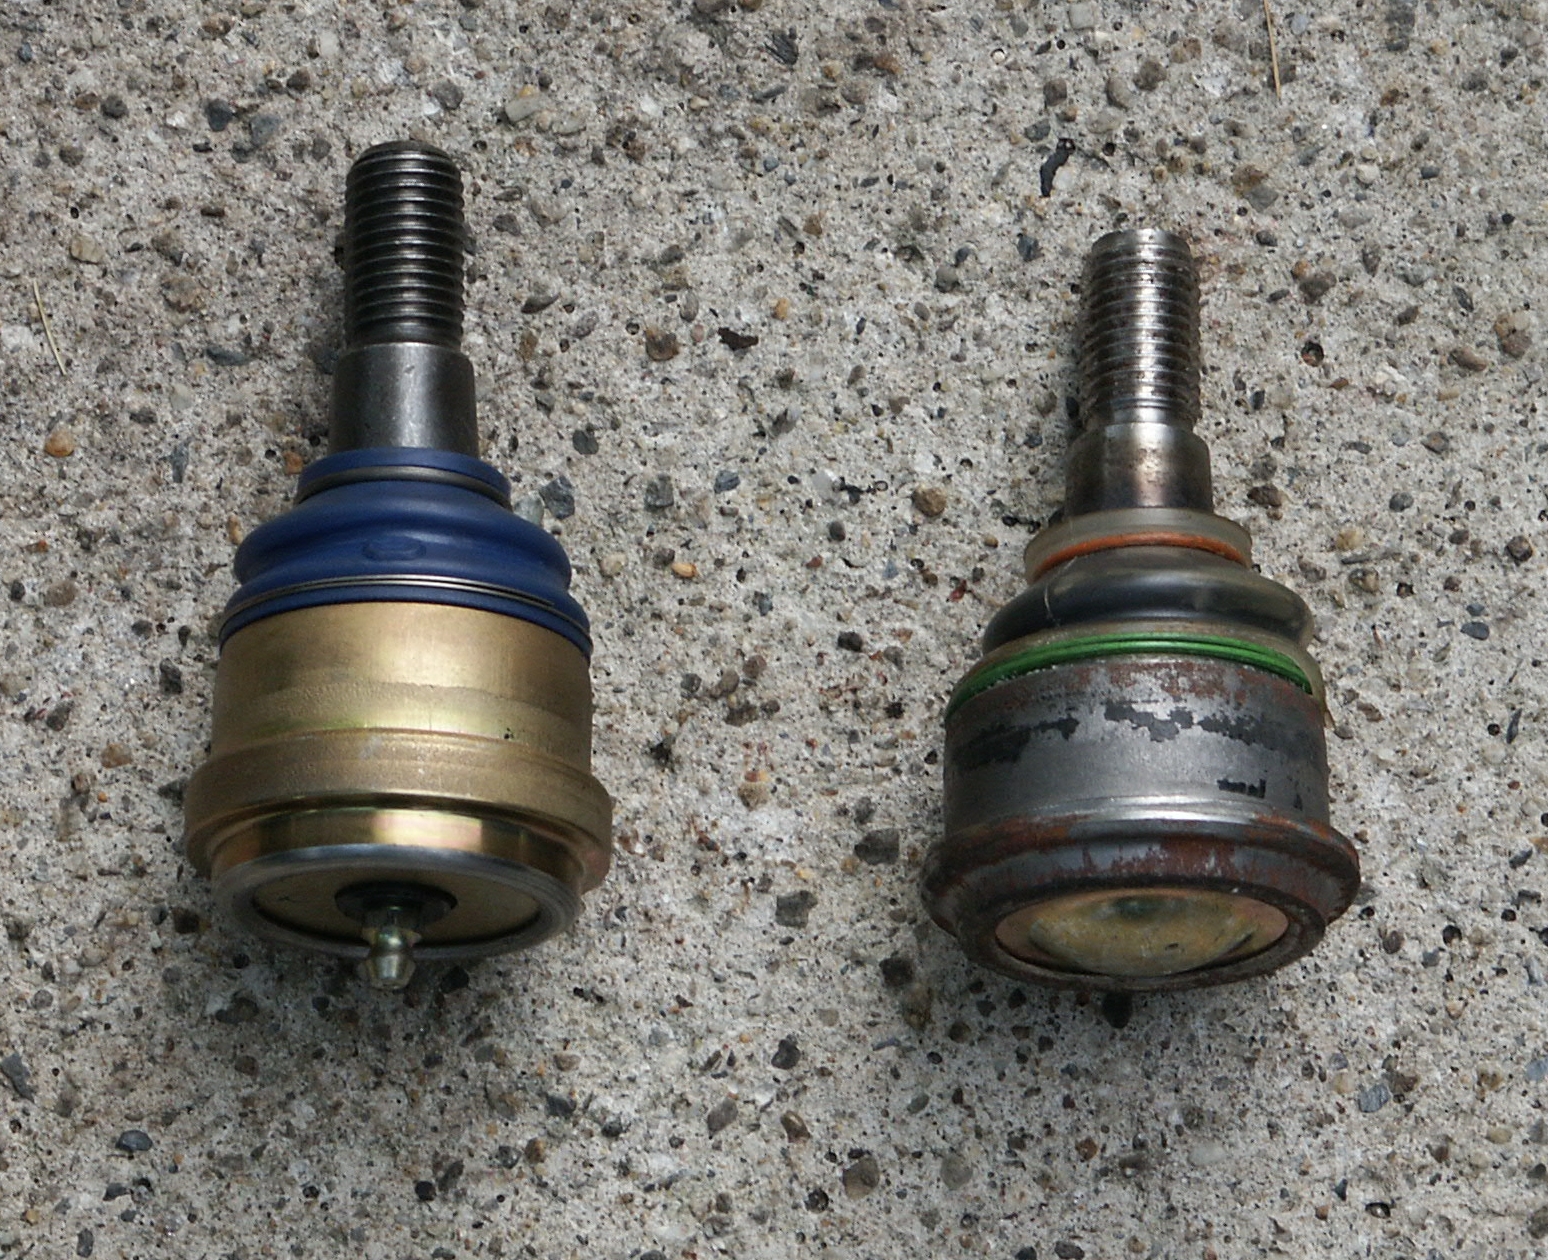
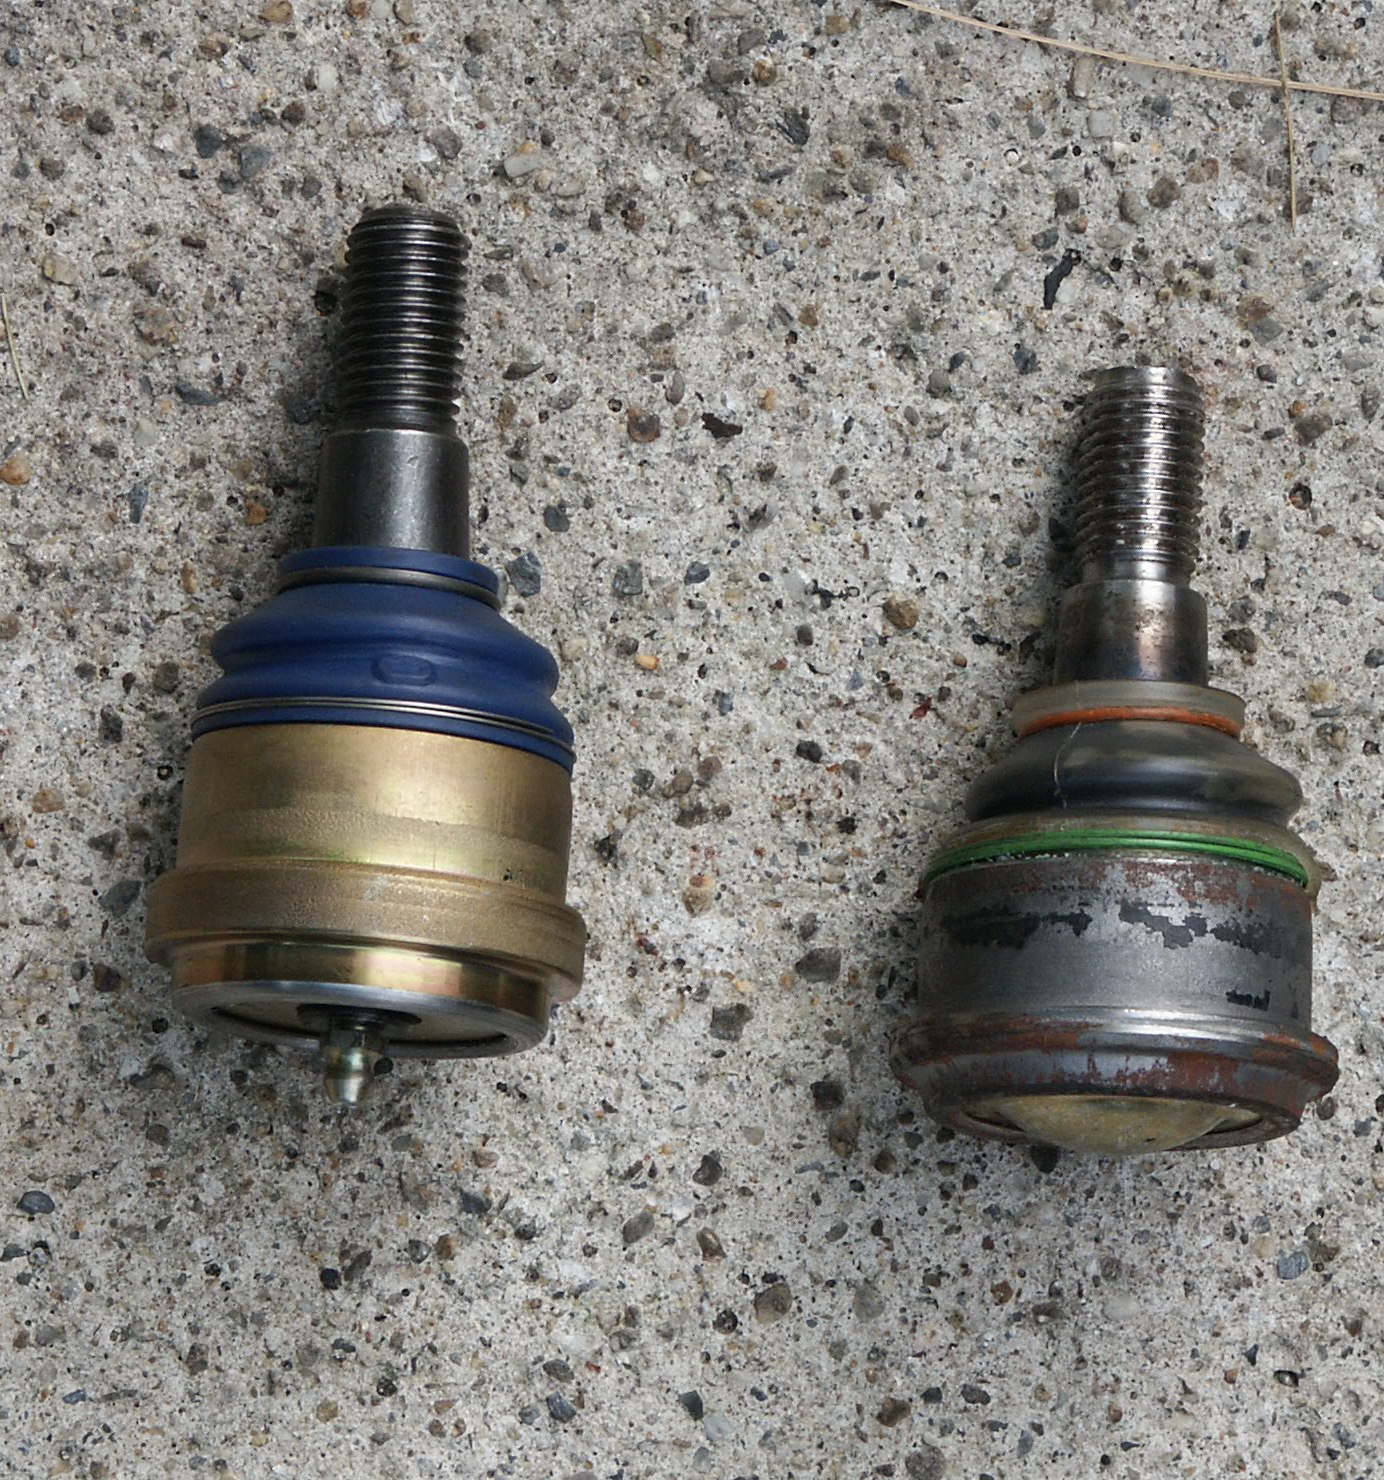
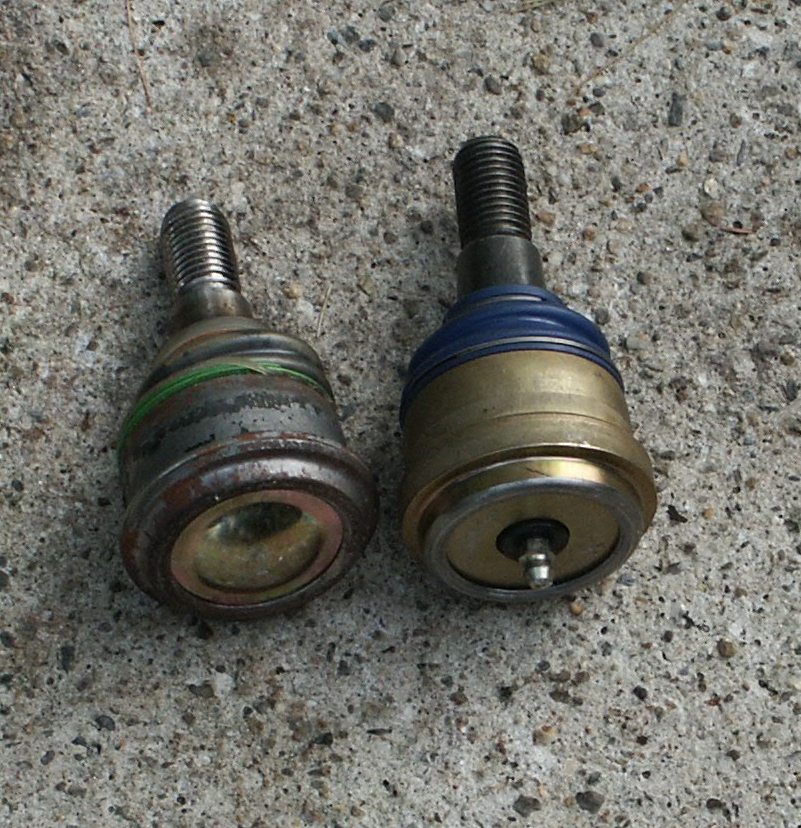
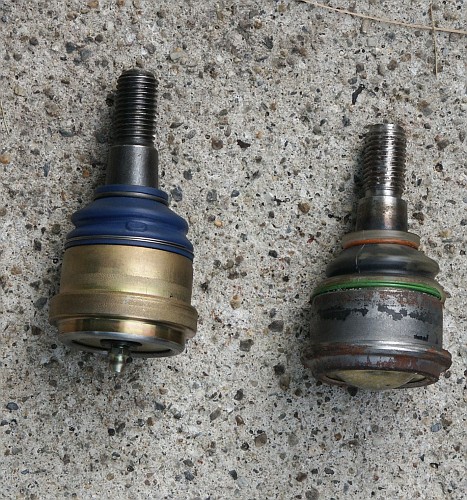
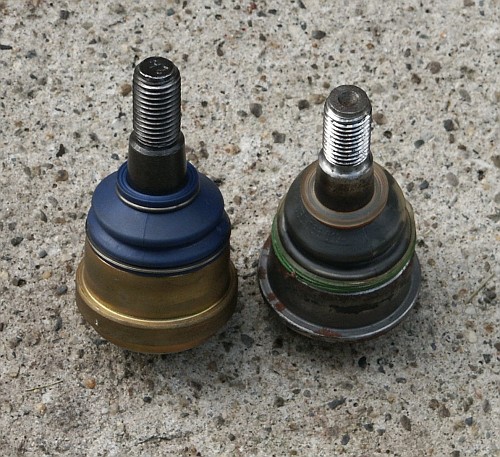
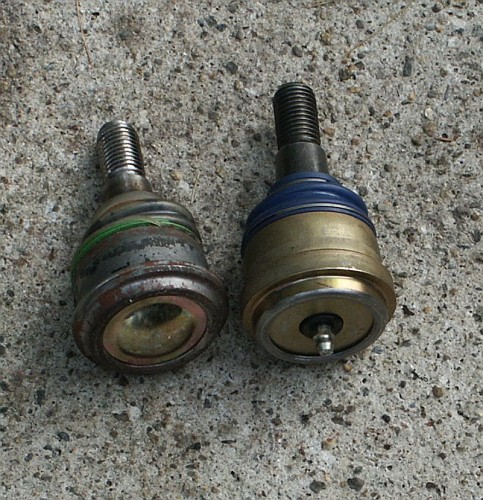
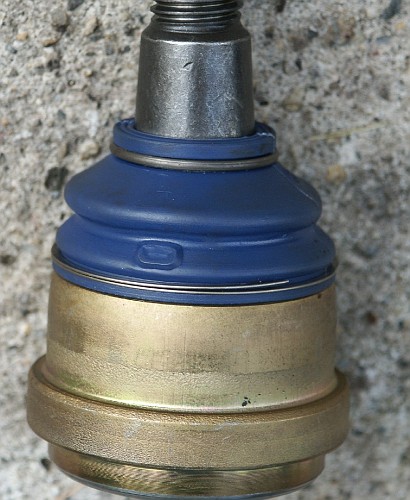
Here are a few pictures of lower balljoints for 1995-2002 crown
victorias. On the left is an aftermarket Napa Chassis Parts (NCP)
balljoint. On the right is an Original Equipment (OE) Ford Motorcraft
lubed-for-life unit.

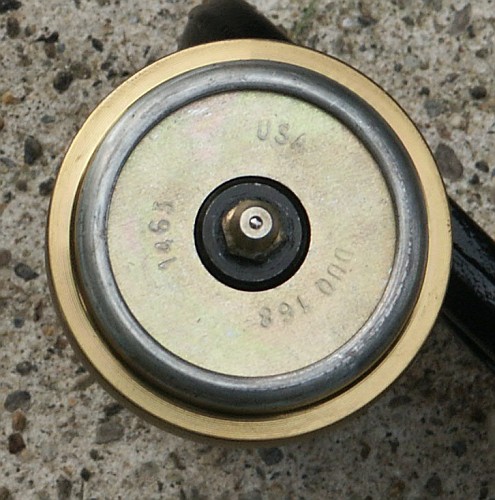
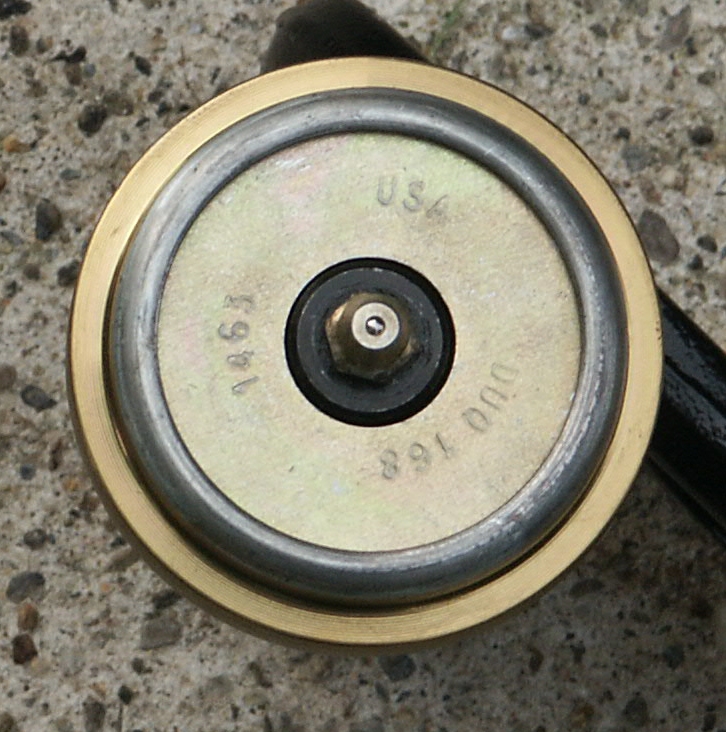
And a closeup of the grease overflow valve in the protective boot of
the aftermarket napa unit.
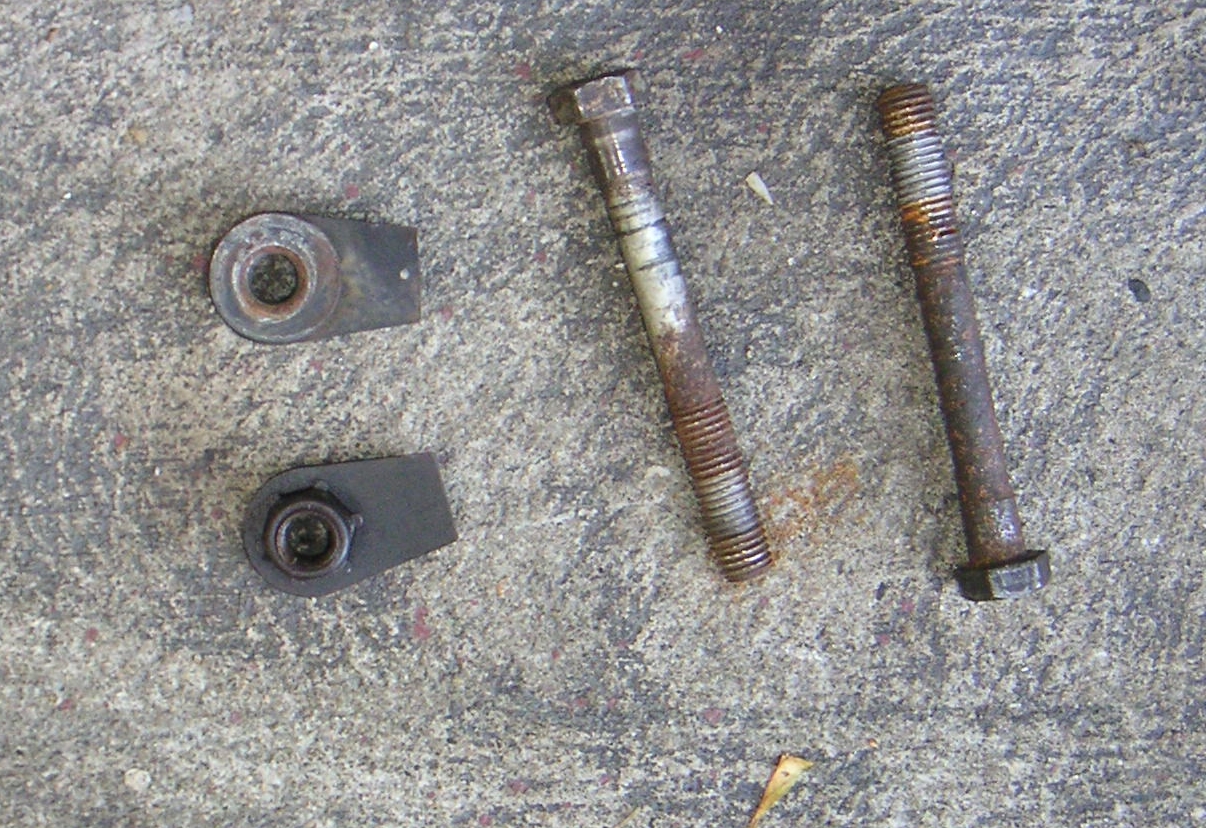
The napa chassis balljoints use nuts that physically deform around the
threads to lock in place instead of the castellated nut/cotterpin setup
or adhesive backed nut setup that you'll find on some other balljoints.
To install the nut onto the balljoint stud, the stud must remain
stationary while the nut is tightened. Here is a balljoint press being
used without the upper reciever cup installed so that the underside of
the balljoint is lightly pressed against the steering knuckle. A
ratchet with the appropriate sized socket then can tighten the nut down
without the tapered stud of the balljoint spinning around in the
spindle.

The front suspension spring is under immense load, so make sure to use
appropriate safety measures when dealing with the
front suspension spring tension. The front suspension spring can
release large amounts of energy very quickly and can cause serious
injury or death in a hurry.
If you do not feel comfortable safely working around the force that a
monstrous front suspension spring can exert, then bring your car to a
professional repair shop and let someone that does this type of work
for a living do the job for you.