| Part Number |
Description |
Year |
Year |
Suggested Retail March 2009 |
| F2AZ-54264B14-A |
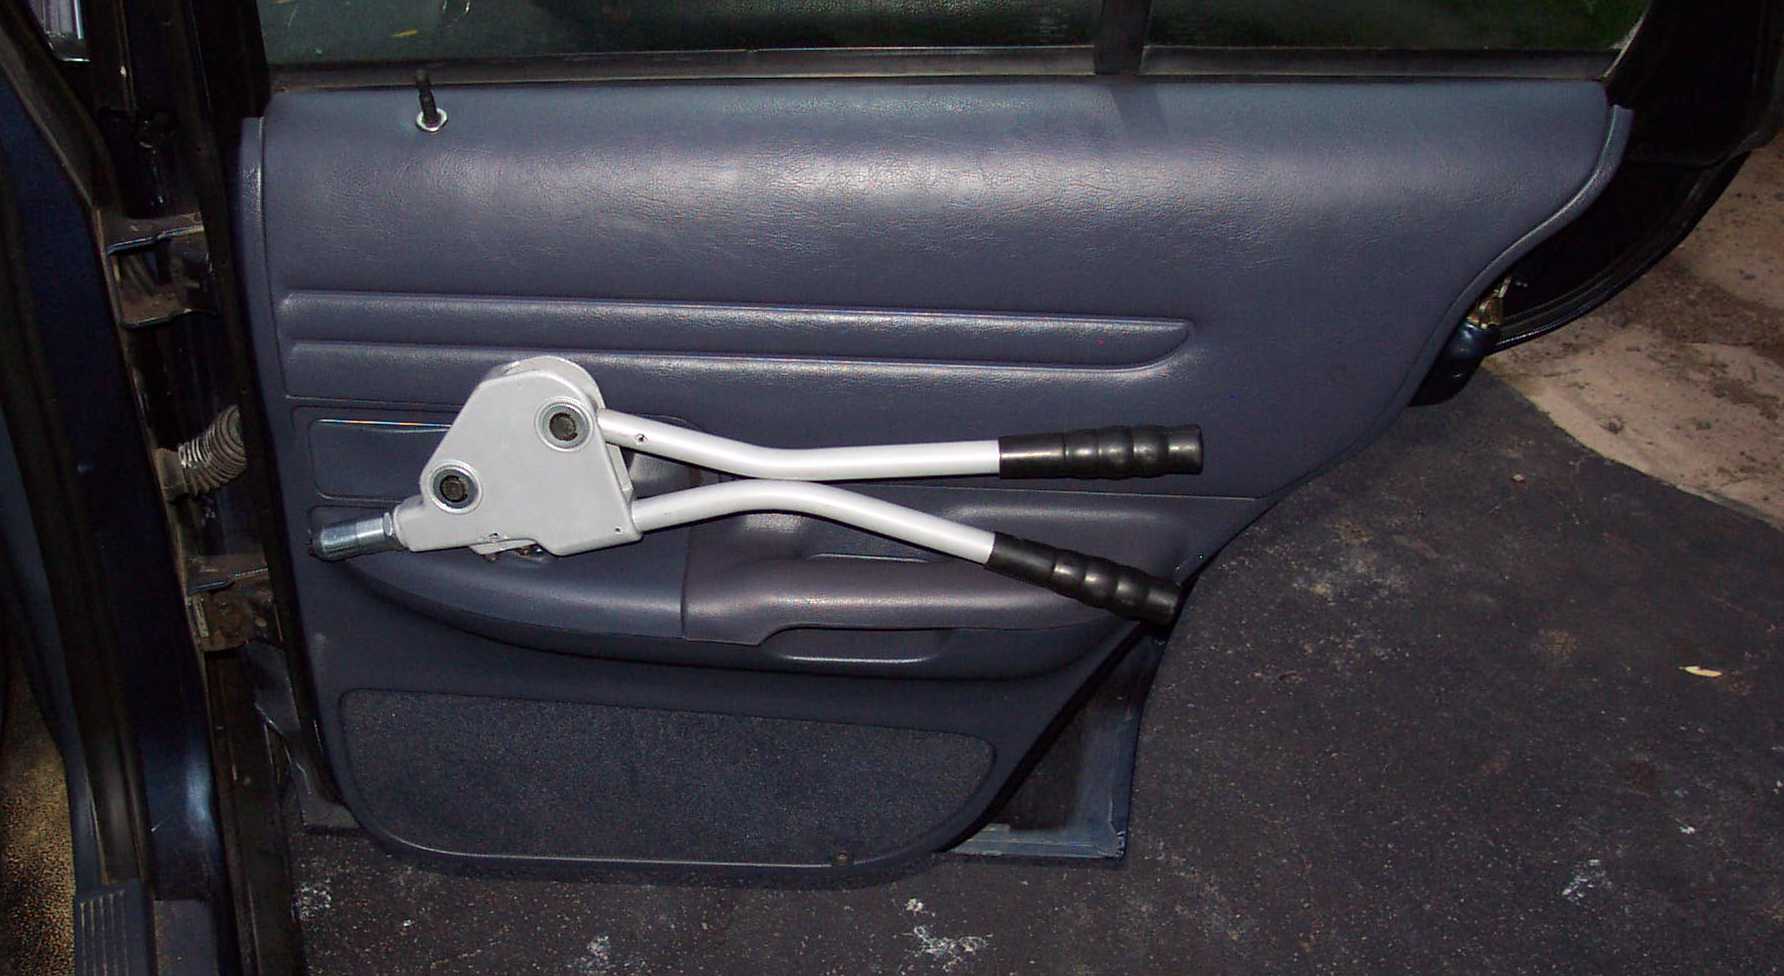
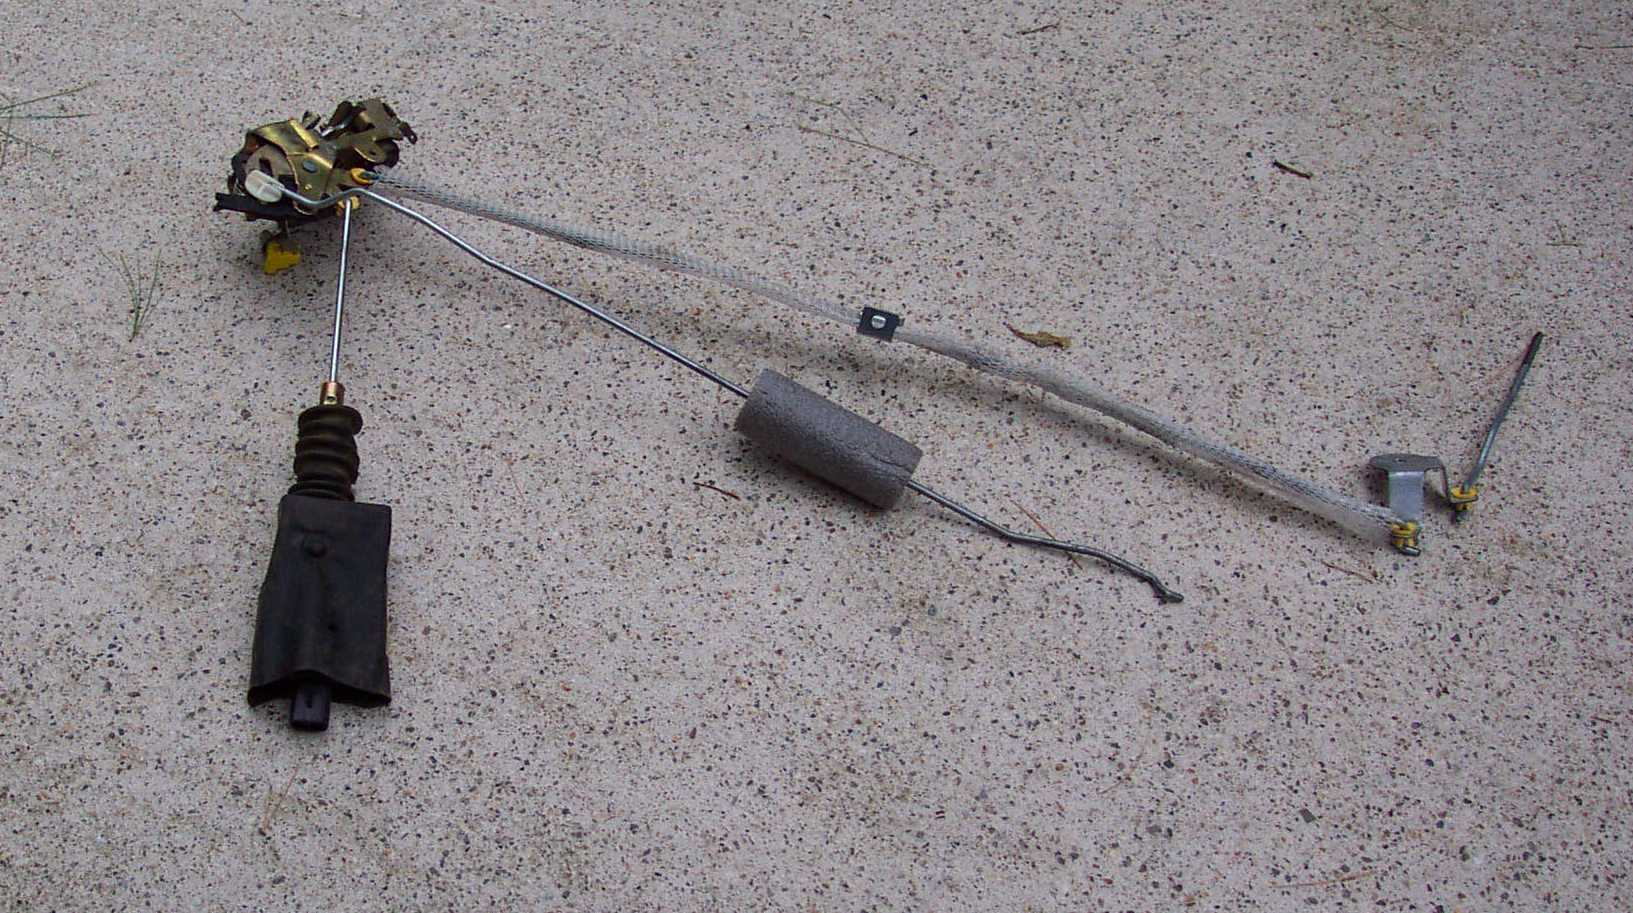
Bellcrank and Link Asy - RH - Rear Door Chrome Door Lock Button |
1992 |
1998 |
$26.32 |
| F2AZ-54264B15-A |
Bellcrank and Link Asy - LH - Rear Door Chrome Door Lock Button |
1992 |
1998 |
$26.32 |
| XW7Z-54264B14-AA |
Bellcrank and Link Asy - RH - Rear Door | 1999 |
1999 |
Obsolete |
| XW7Z-54264B15-AA |
Bellcrank and Link Asy - LH - Rear Door | 1999 |
1999 |
Obsolete |
| YW7Z-54264B14-AA |
Bellcrank and Link Asy - RH - Rear Door Black Door Lock Button |
2000 |
2009 |
$18.43 |
| YW7Z-54264B15-AA |
Bellcrank and Link Asy - LH - Rear Door Black Door Lock Button |
2000 |
2009 |
$18.43 |
| 1W7Z-5426448-AA |
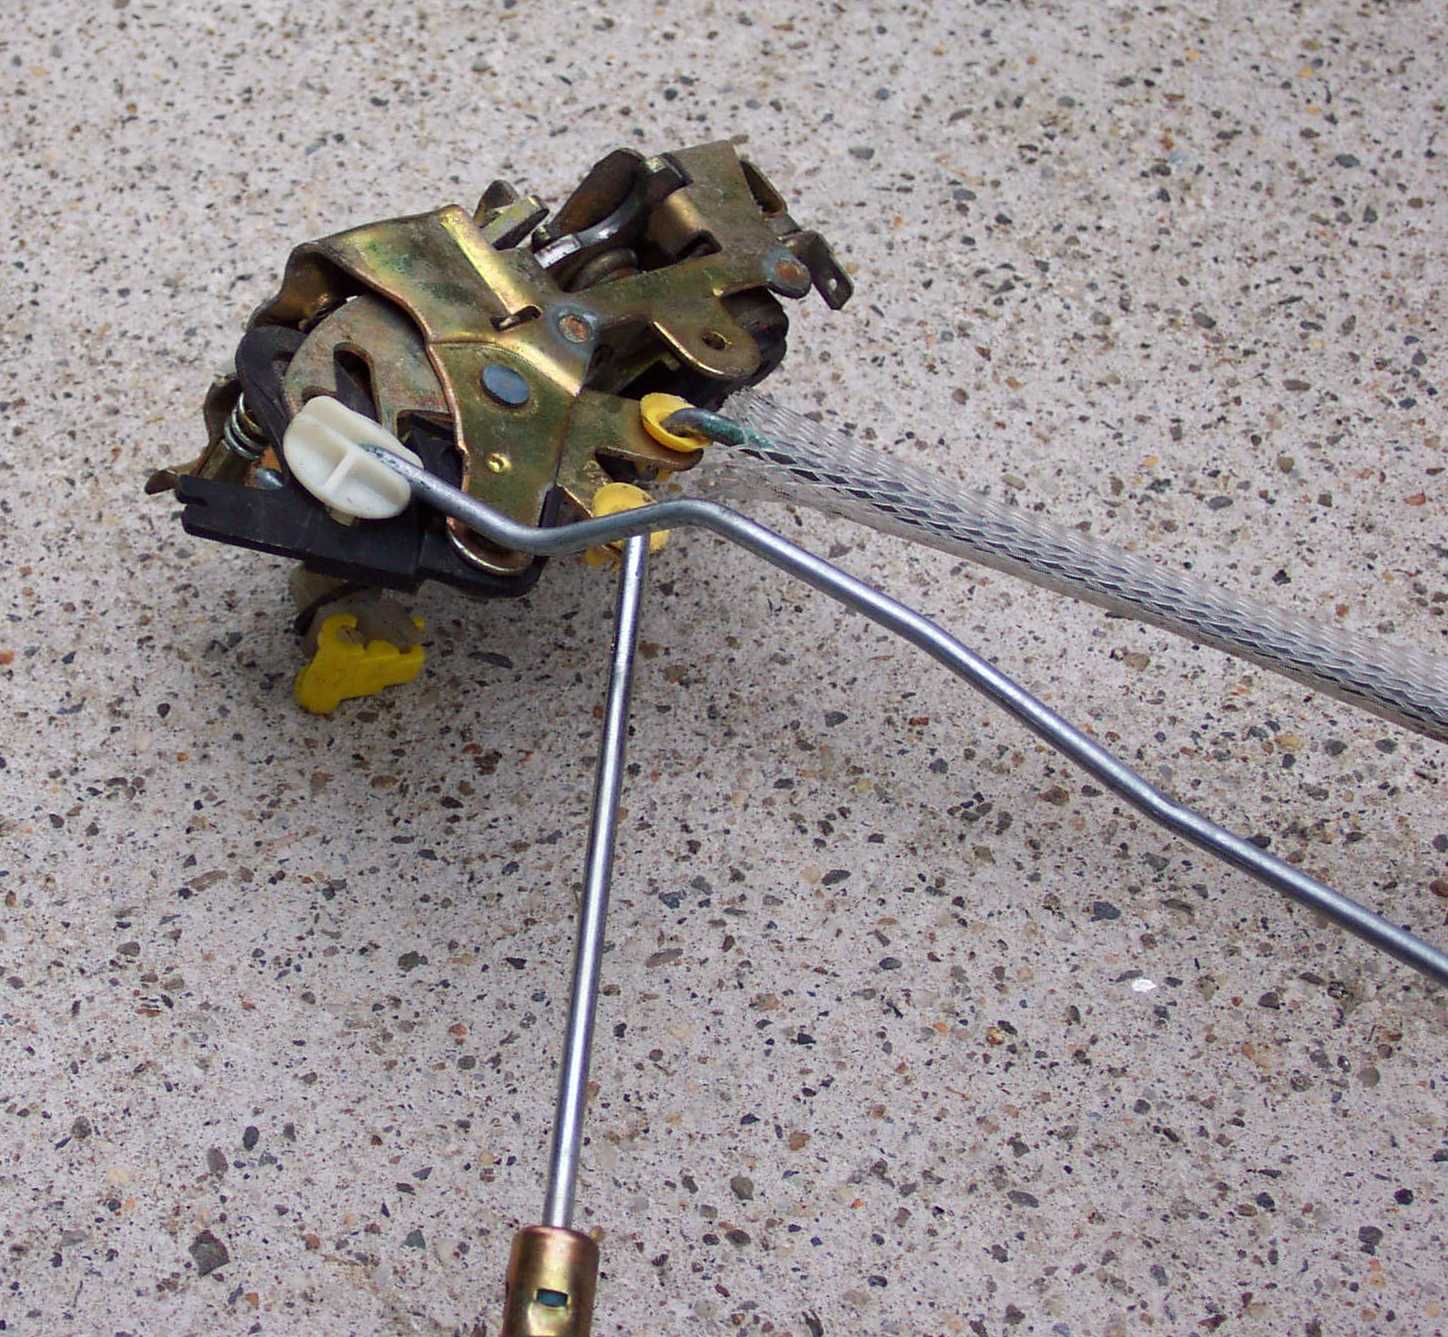
Bushing - Latch Bellcrank- RH - Rear Door Supercedes: F00Z-5426648-A & F2AZ-5426448-A |
1992 |
2009 |
$10.52 |
| 1W7Z-5426448-AA | Bushing - Latch Bellcrank - LH - Rear Door Supercedes: F00Z-5426648-A & F2AZ-5426448-A |
1992 |
2009 |
$10.52 |
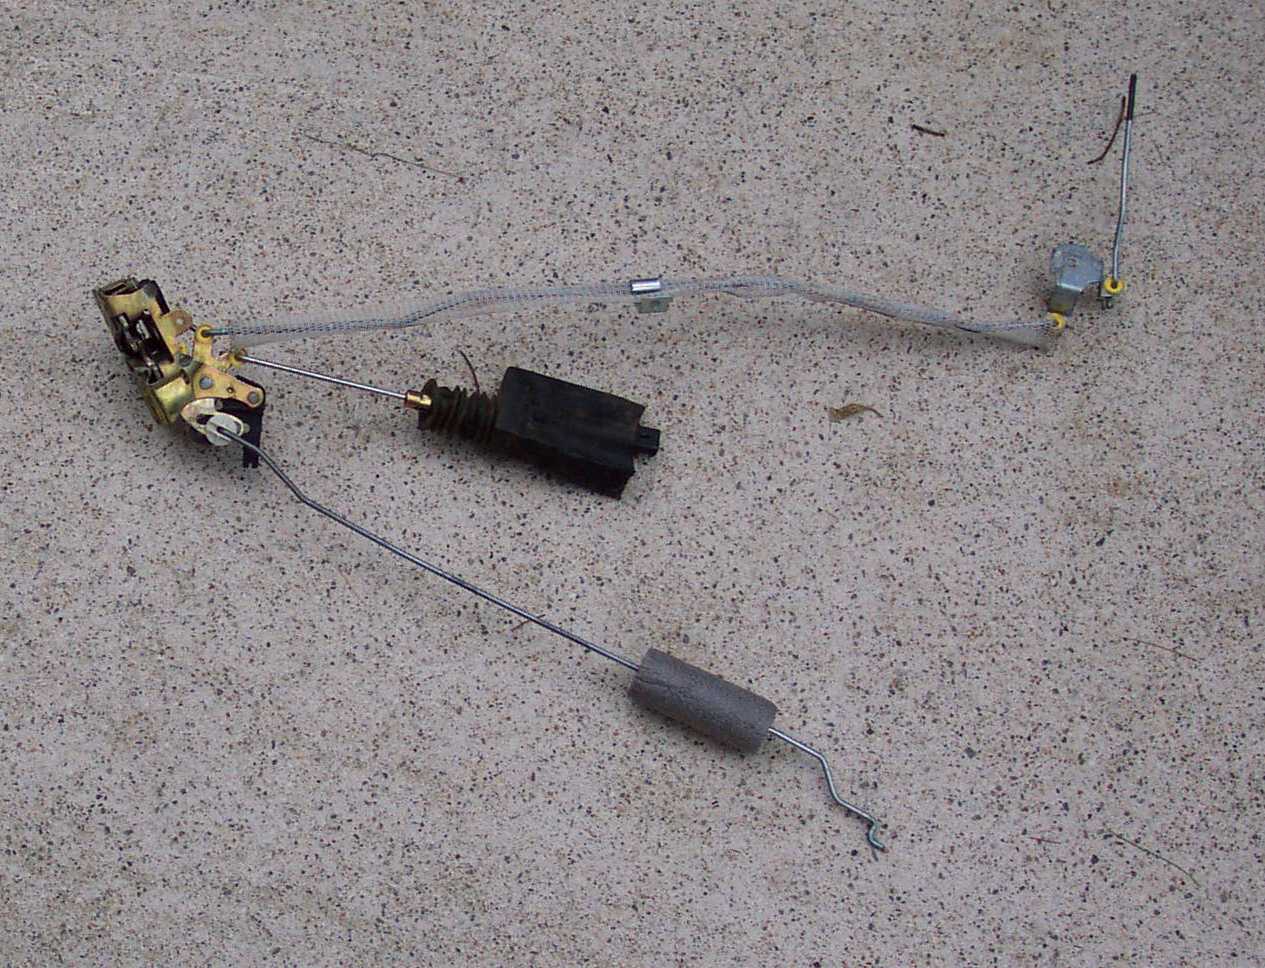
| F5AZ-5426442-AA |
Latch Remote Control Link - RH - Rear Door For use with 1992-2002 interior door handles Supercedes: F2AZ-5426442-A |
1992 |
2002 |
$13.42 |
| F5AZ-5426443-AA |
Latch Remote Control Link - LH - Rear Door For use with 1992-2002 interior door handles Supercedes: F2AZ-5426443-A |
1992 |
2002 |
$13.42 |
| 5W7Z-5426442-A |
Latch Remote Control
Link - RH - Rear Door For use with 2003+ interior door handles Supercedes: 3W7Z-5426442-AA |
2003 |
2009 |
$12.42 |
| 5W7Z-5426443-A |
Latch Remote Control
Link - LH - Rear Door For use with 2003+ interior door handles Supercedes: 3W7Z-5426443-AA |
2003 |
2009 |
$12.42 |
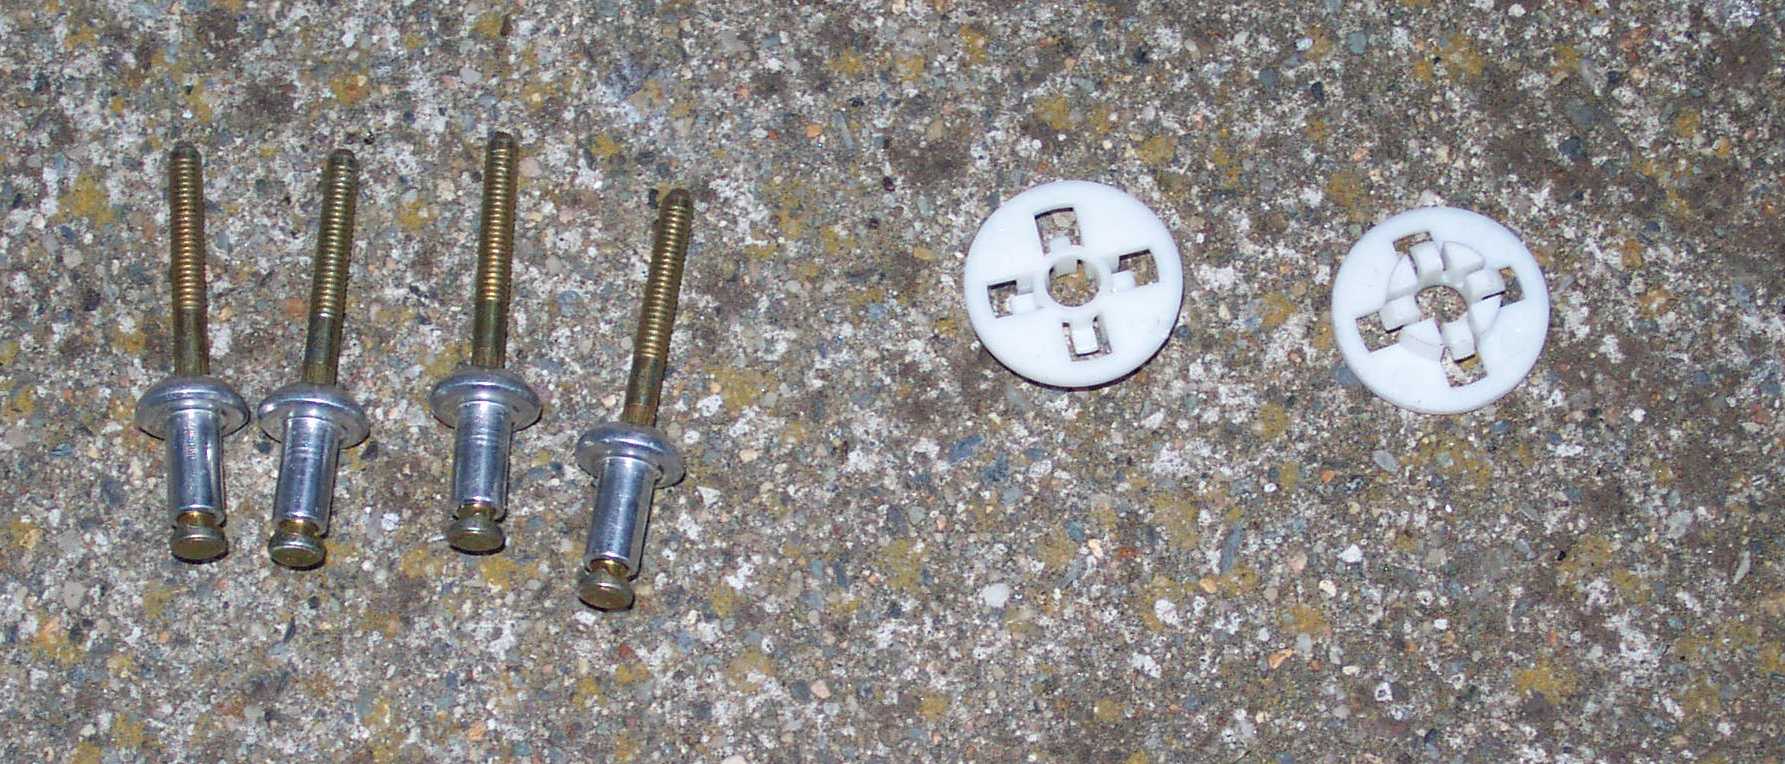
| N808594-S100 |
1/4" "Peel Rivet" Rivet M6.4 x 14.75 Blind Oval “Peel-Type” Rivet Diameter: 1/4" Grip: 1/8"-5/16" Flange Diameter: 5/8" Aluminum Rivet Steel Mandrel (Zinc & Yellow) Ford Door Lock Actuator Supercedes: N802034-SG & N808594-S |
|||
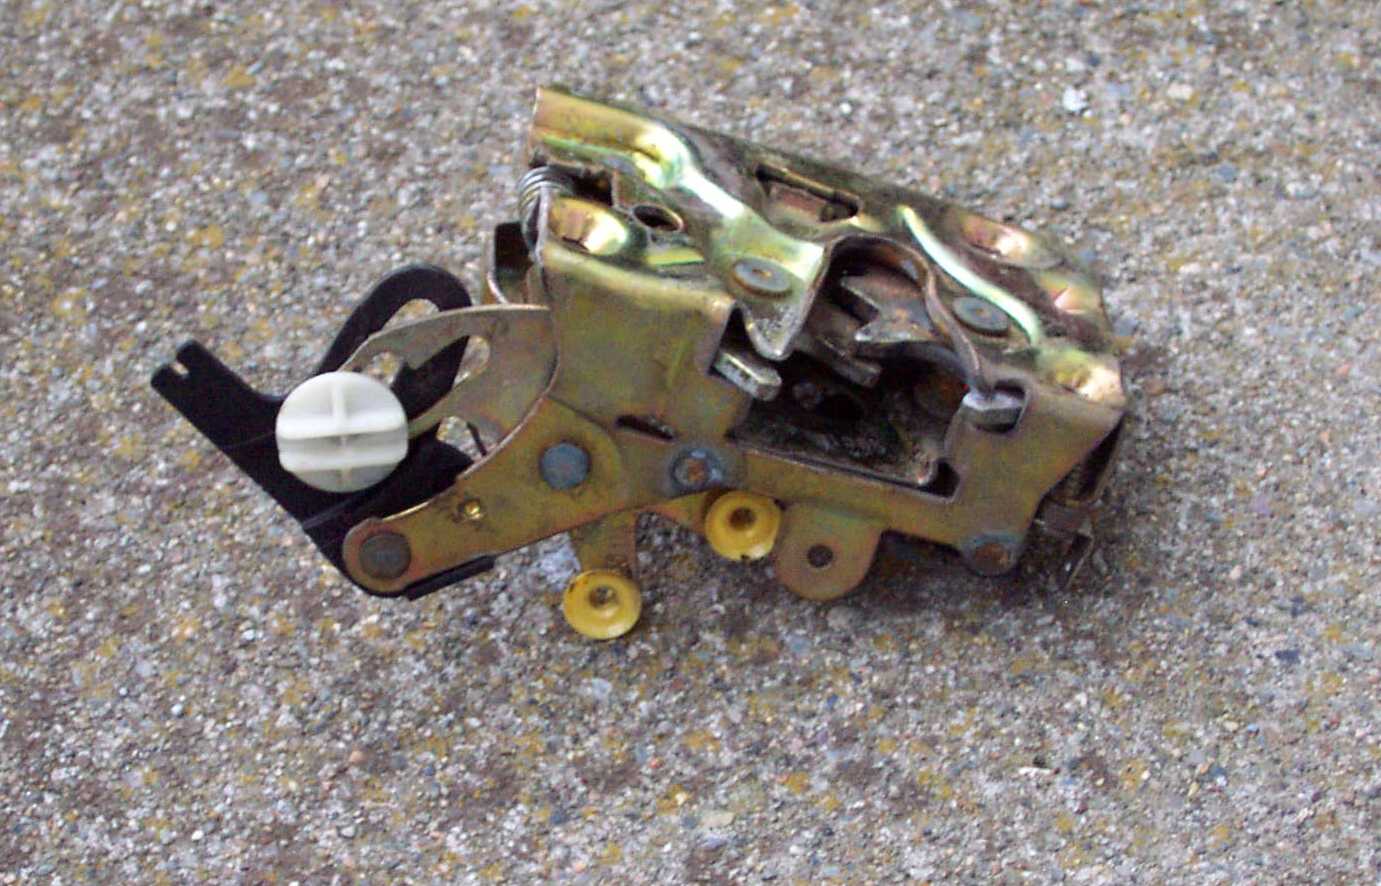
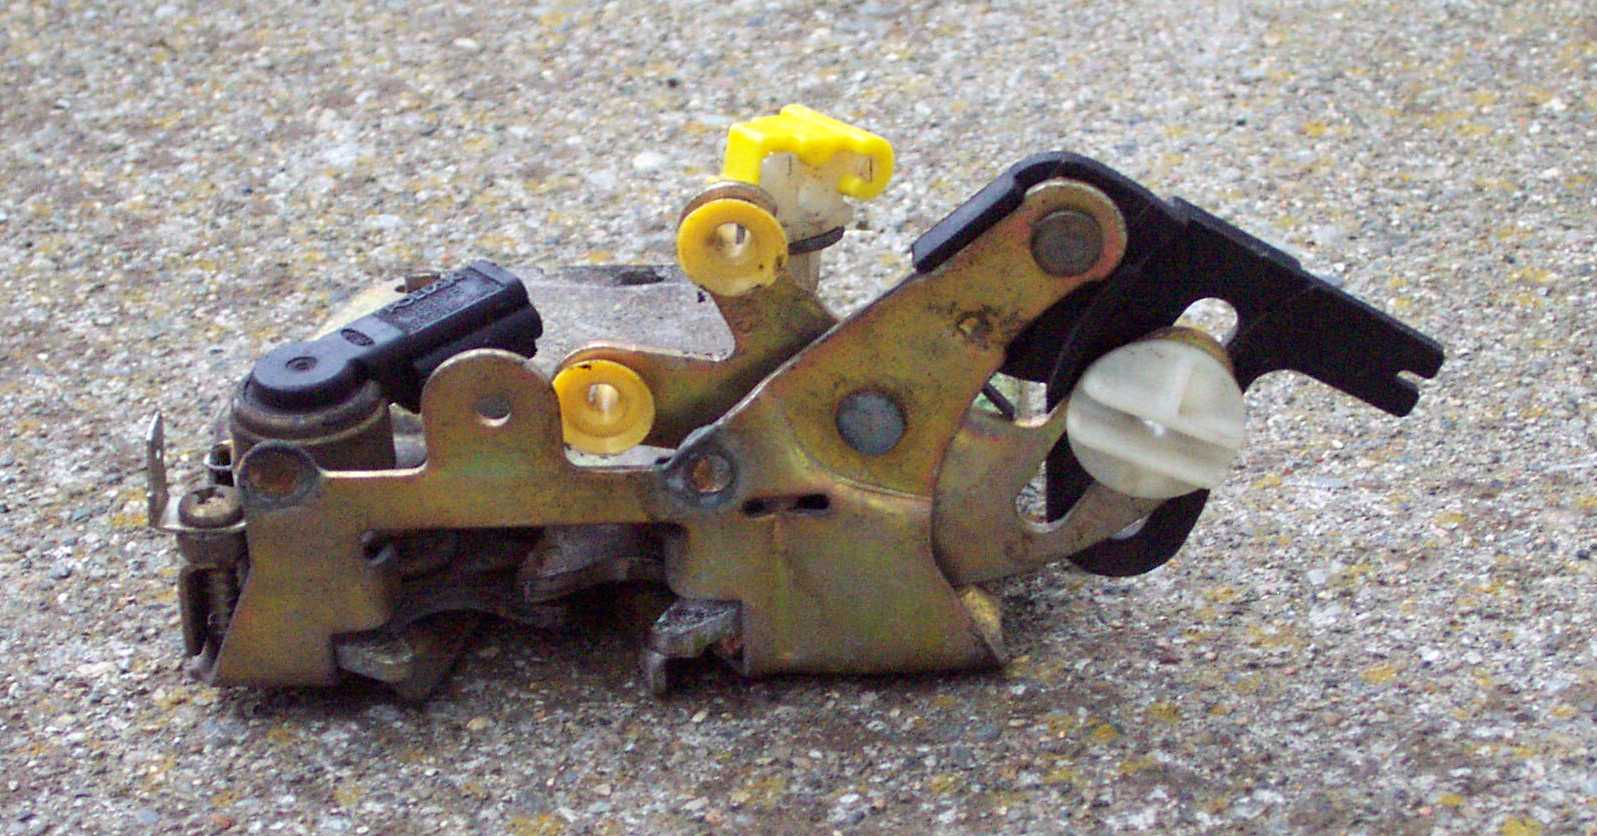
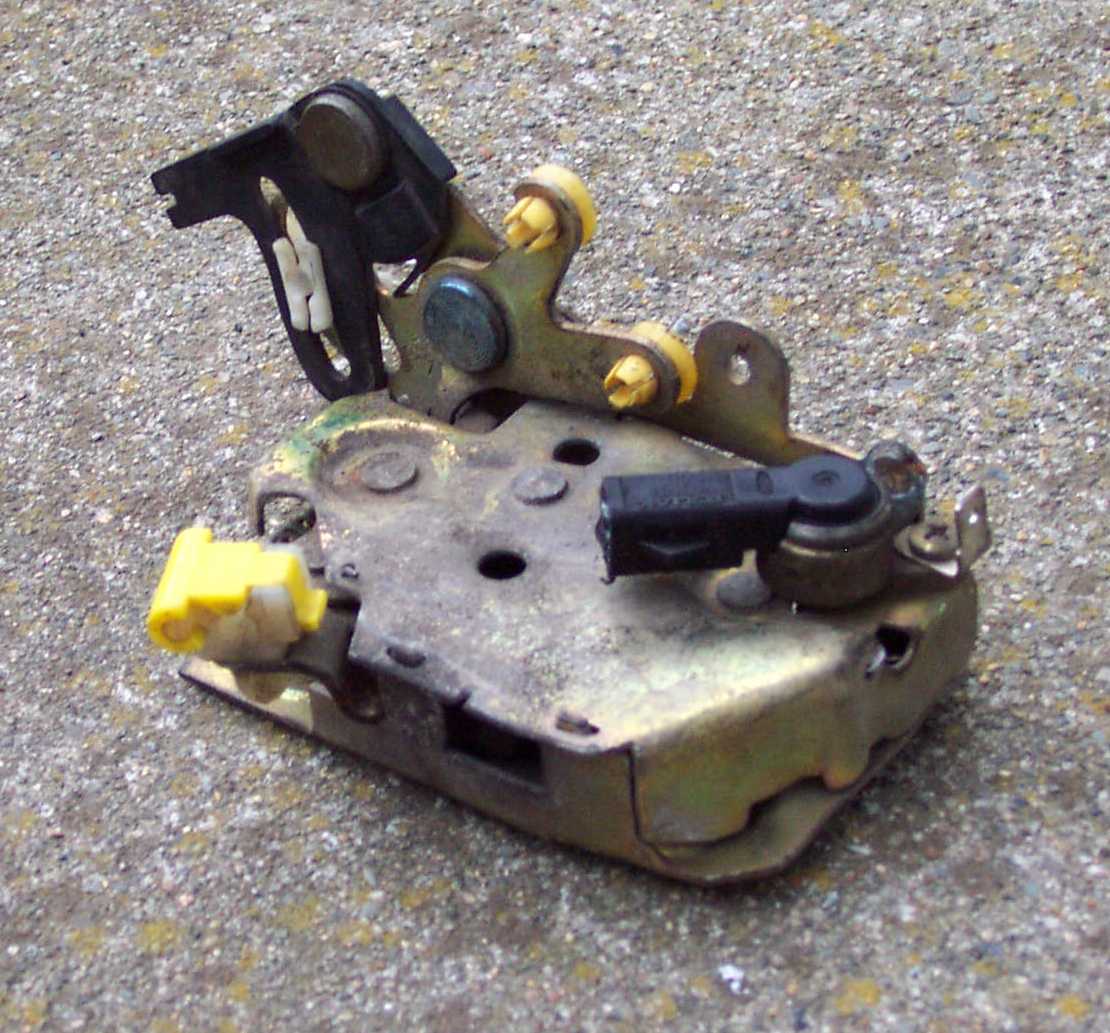
| 6W7Z-5426412-B |
Latch Asy - RH - Rear Door Supercedes: F2AZ-5426412-A F5AZ-5426412-A F5AZ-5426412-AD 3W7Z-5426412-AA 3W7Z-5426413-AB 5W7Z-5426412-AA 5W7Z-5426412-AB 6W7Z-5426412-A |
1992 |
2009 |
$32.98 |
| 6W7Z-5426413-B |
Latch Asy - LH - Rear Door Supercedes: F2AZ-5426413-A F5AZ-5426413-A F5AZ-5426413-AD 3W7Z-5426413-AA 3W7Z-5426413-AB 5W7Z-542613-AA 5W7Z-5426413-AB 6W7Z-5426413-A |
1992 |
2009 |
$32.50 |