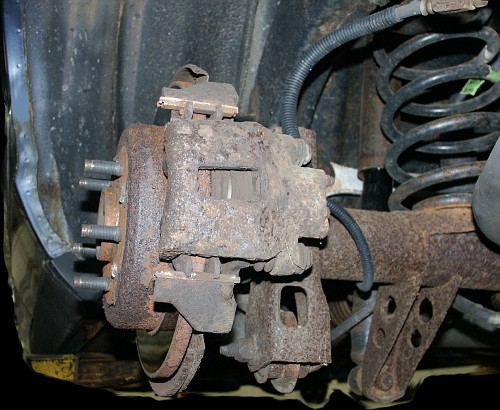
For today's project, all four brake calipers on a 1998 crown victoria
are going to be replaced because they are corroded and it is suspected
that the bleeder valves are seized. Due to the age of the vehicle, four
new brake flex hoses are also going to be installed.
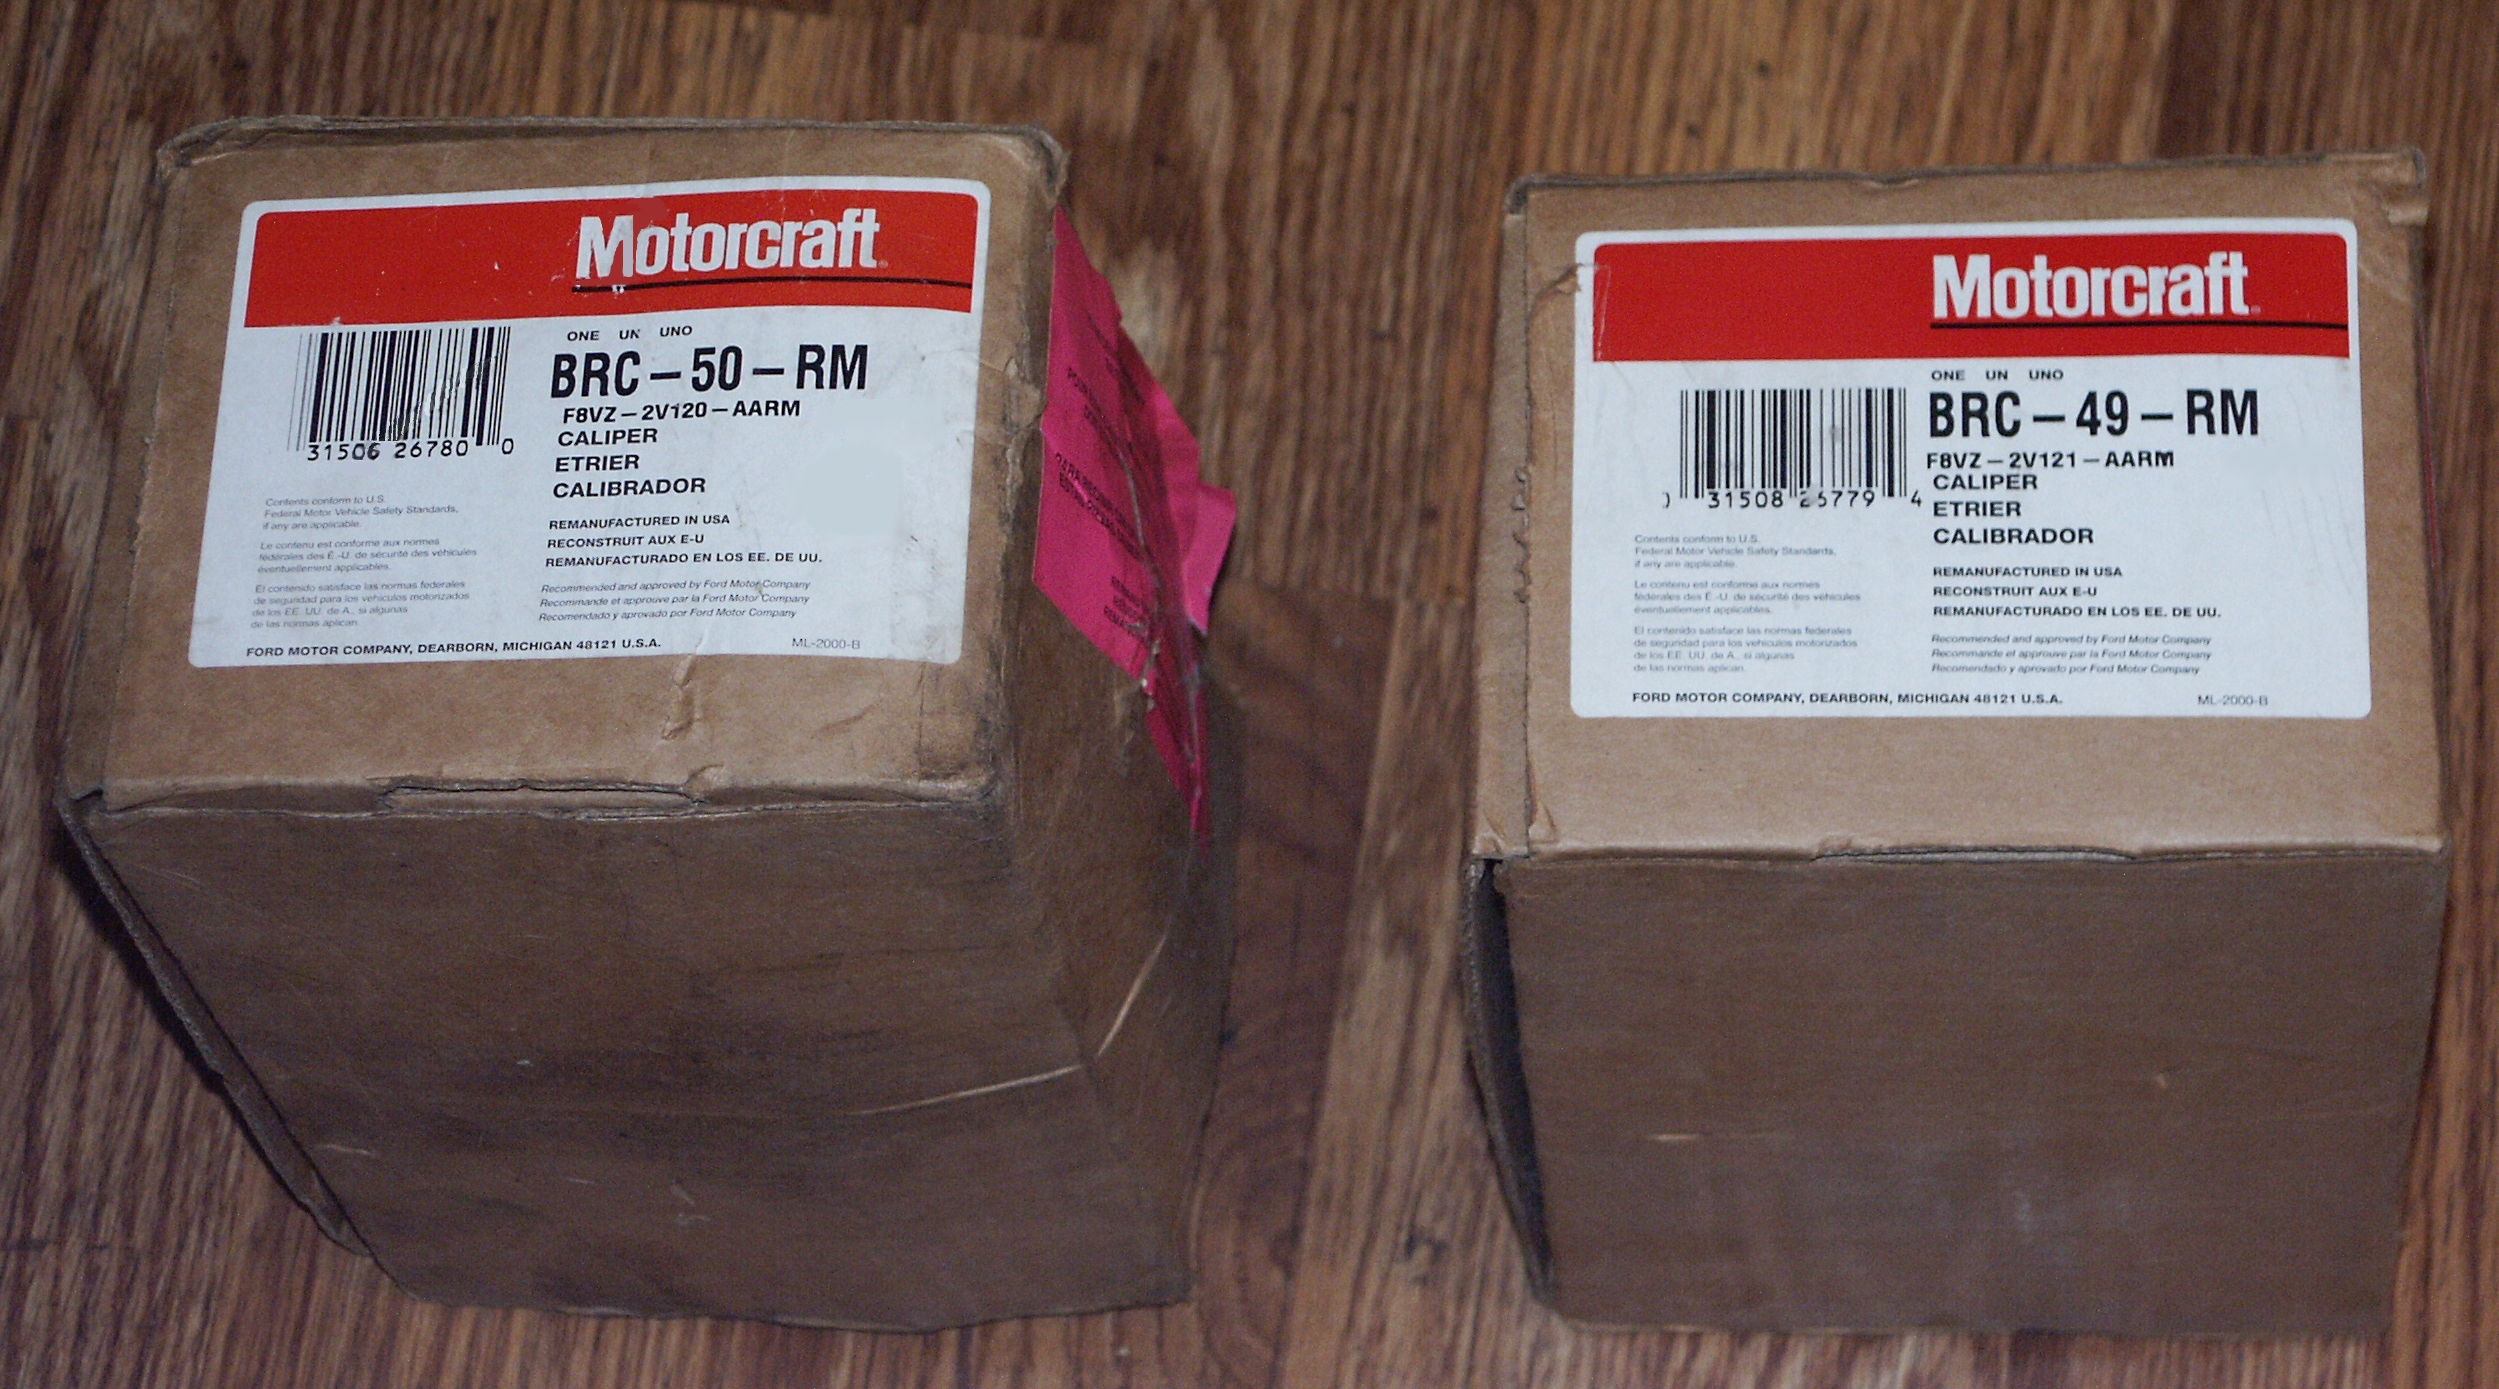
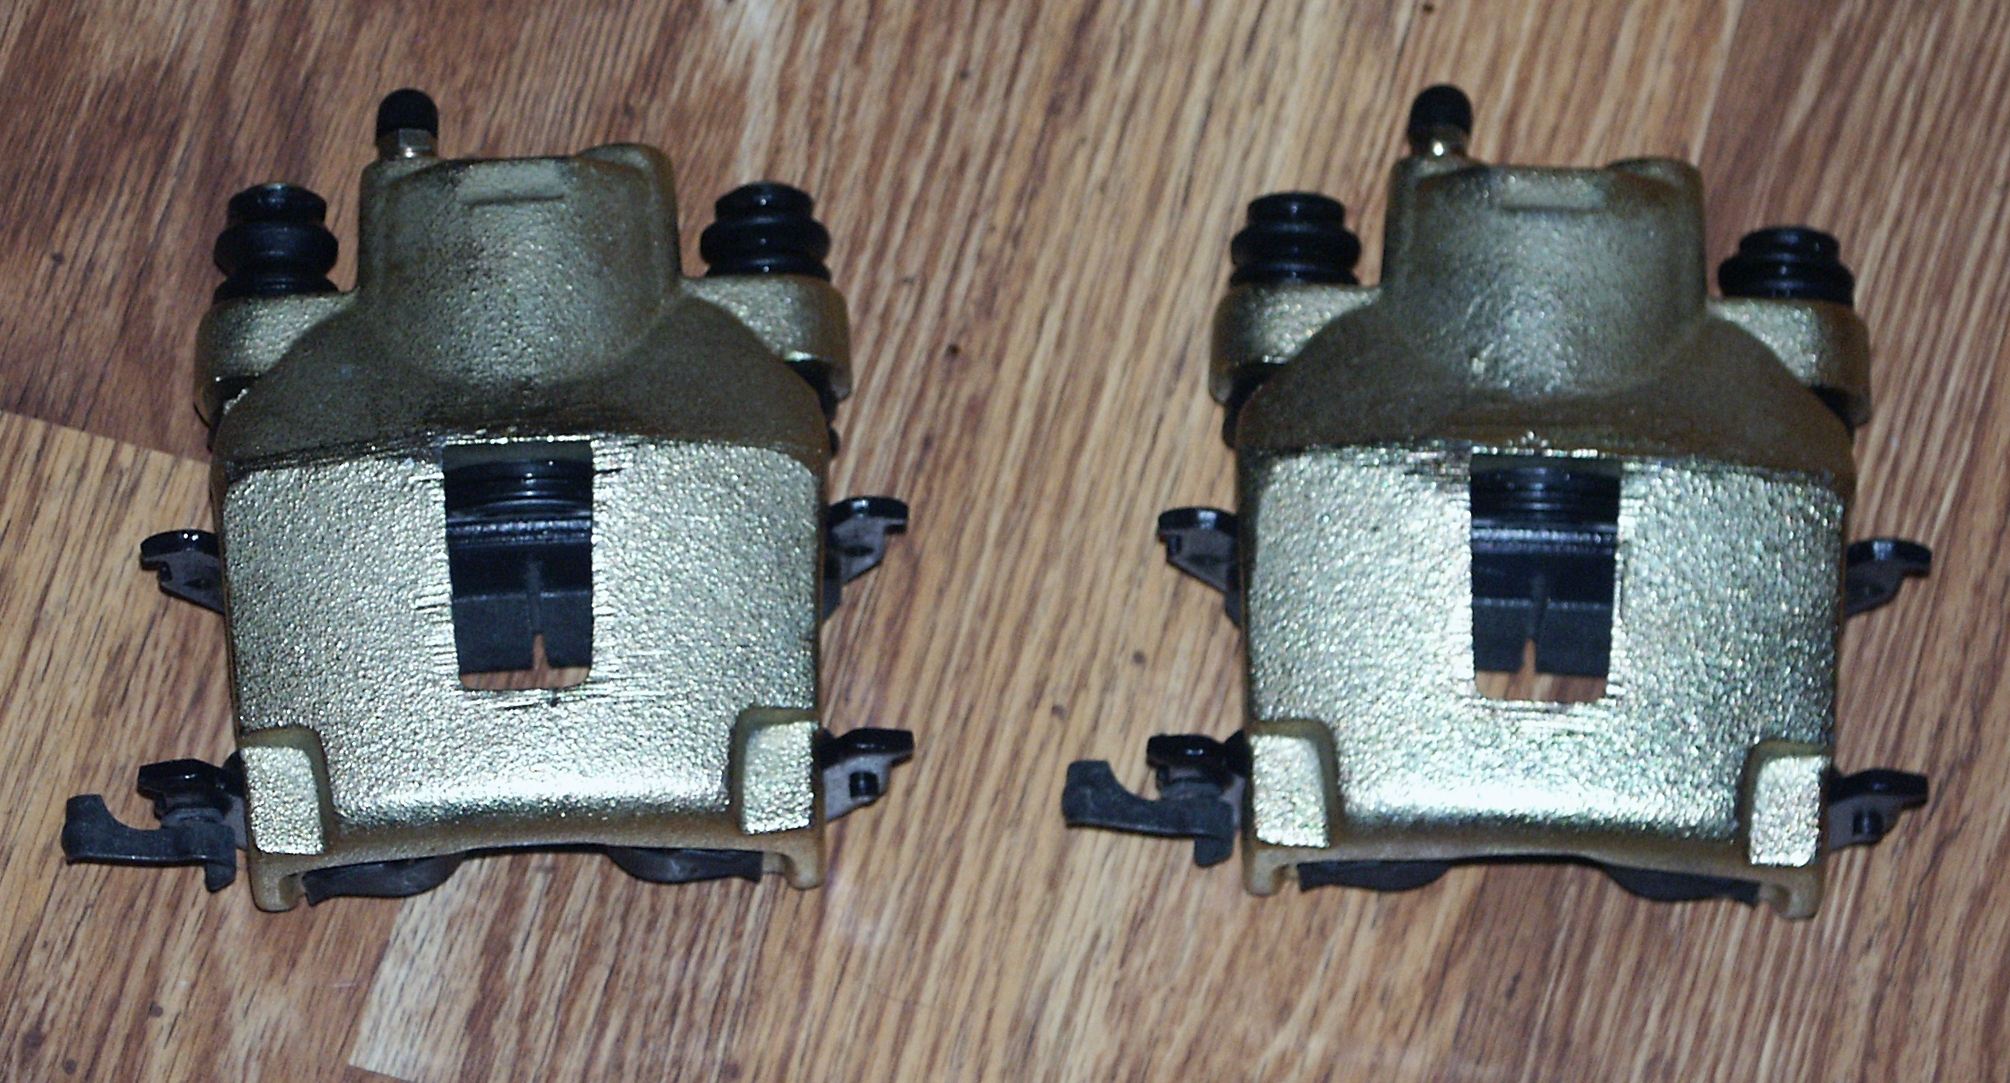
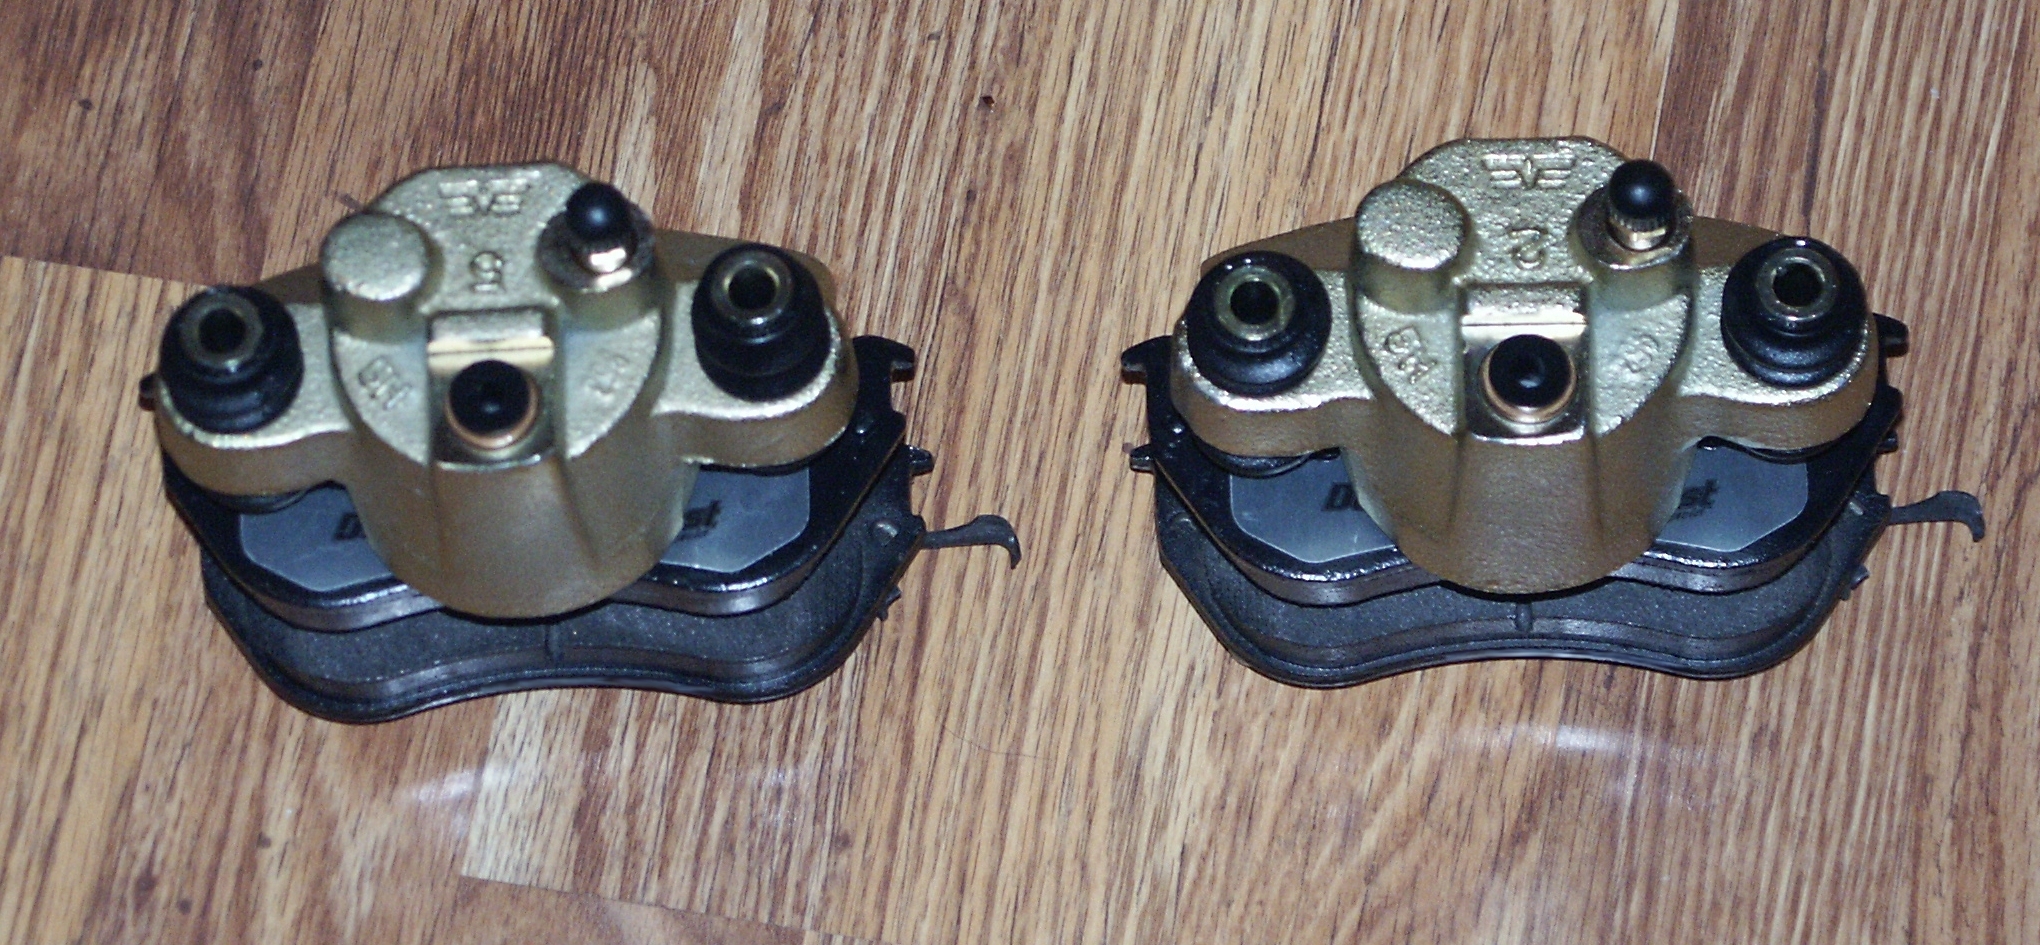
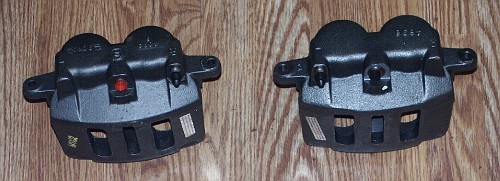
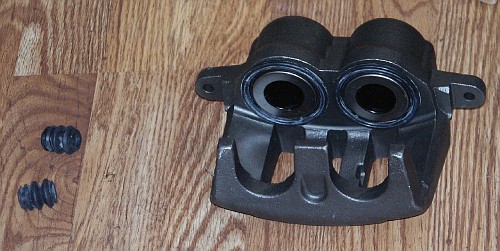
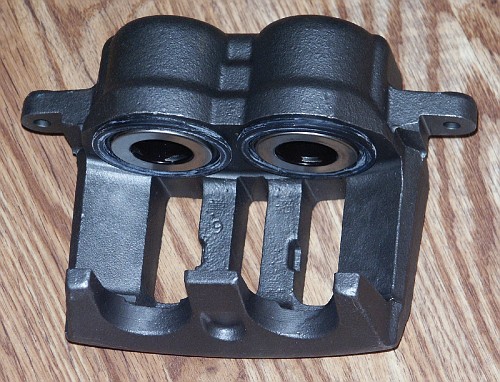
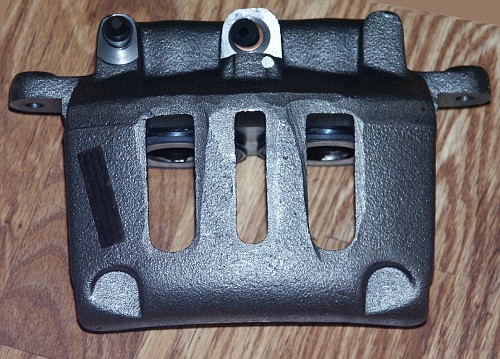
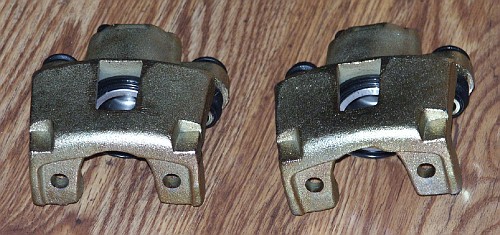
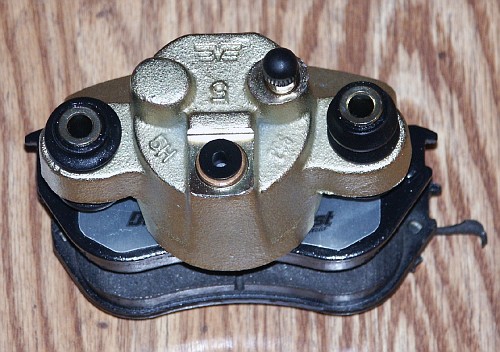
The first part of this project is to acquire some bare remanufactured
front calipers.
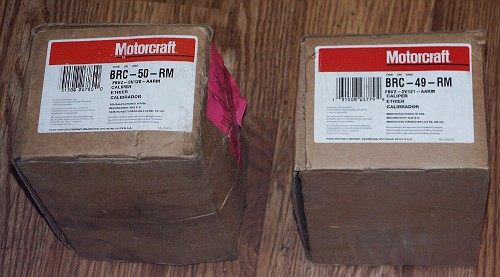
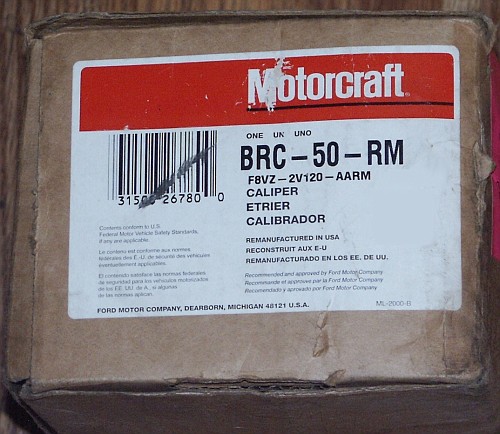
Motorcraft BRC-50-RM
Ford Service Part Number: F8VZ-2V120-AARM
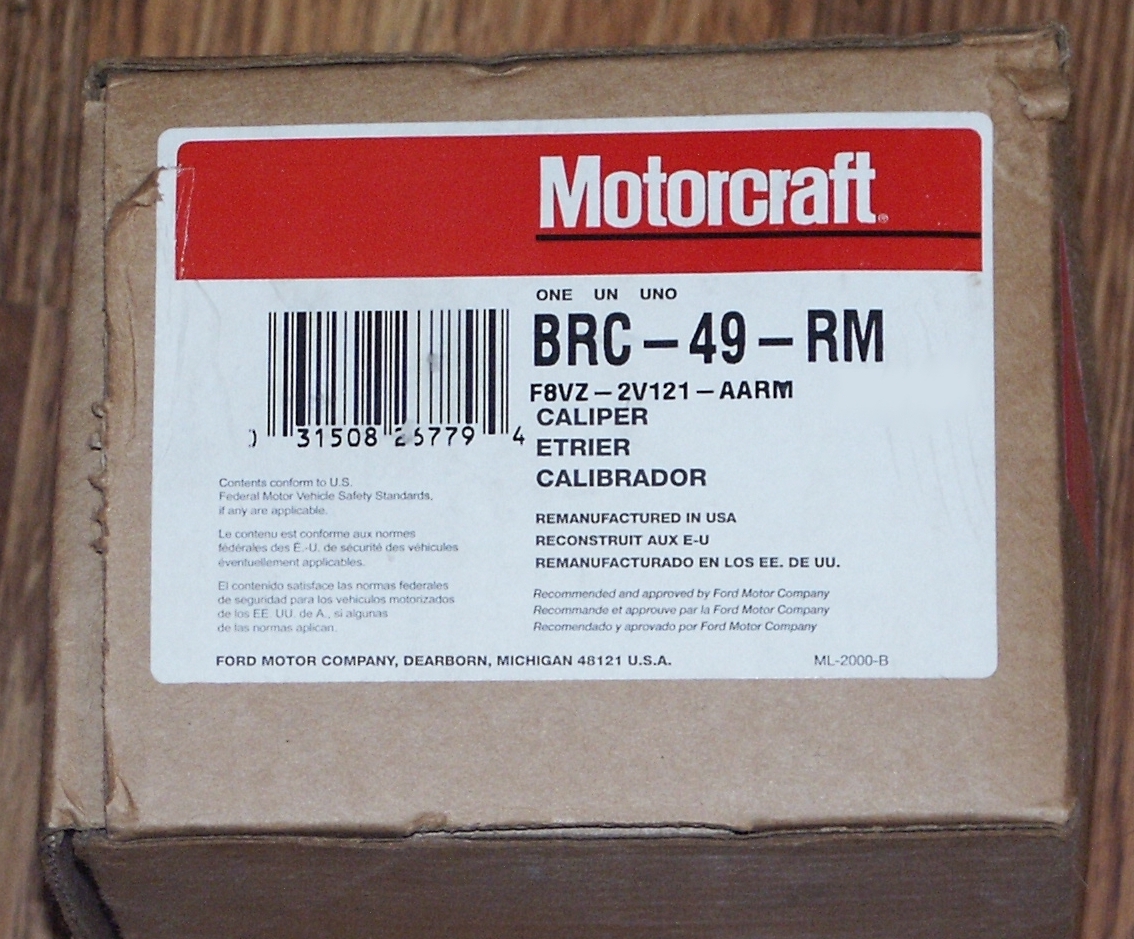
Motorcraft BRC-49-RM
Ford Service Part Number: F8VZ-2V121-AARM

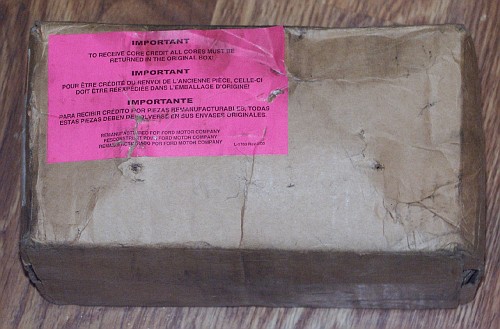
Pink colored sticker with a warning about the core return procedure.
A note included in the brake caliper box about lubricating the slide
mechanism of the floating calipers

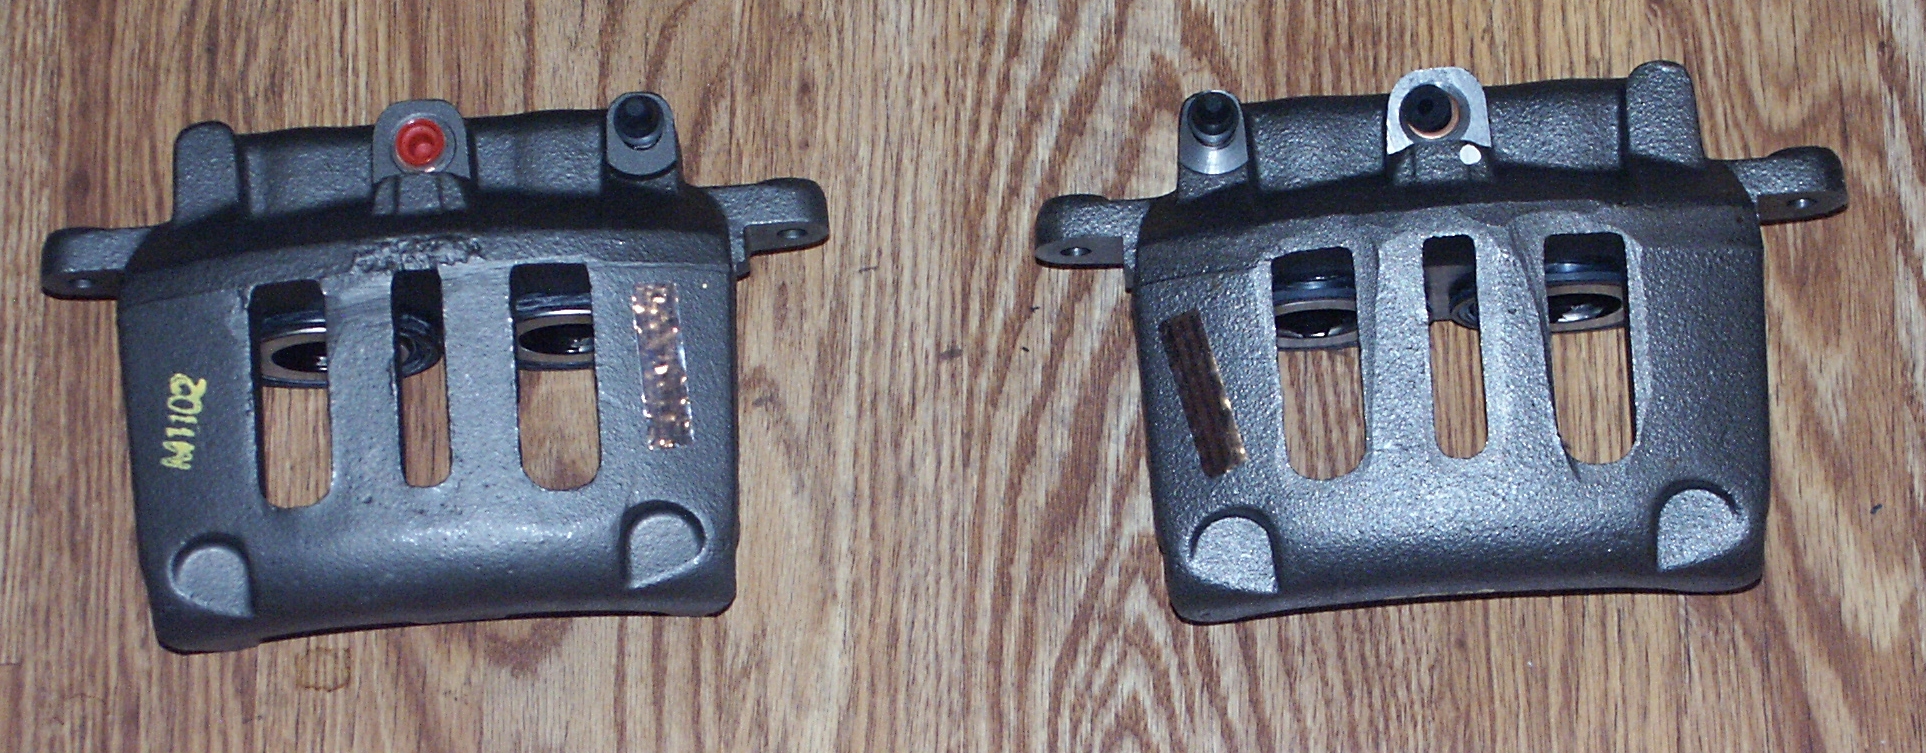
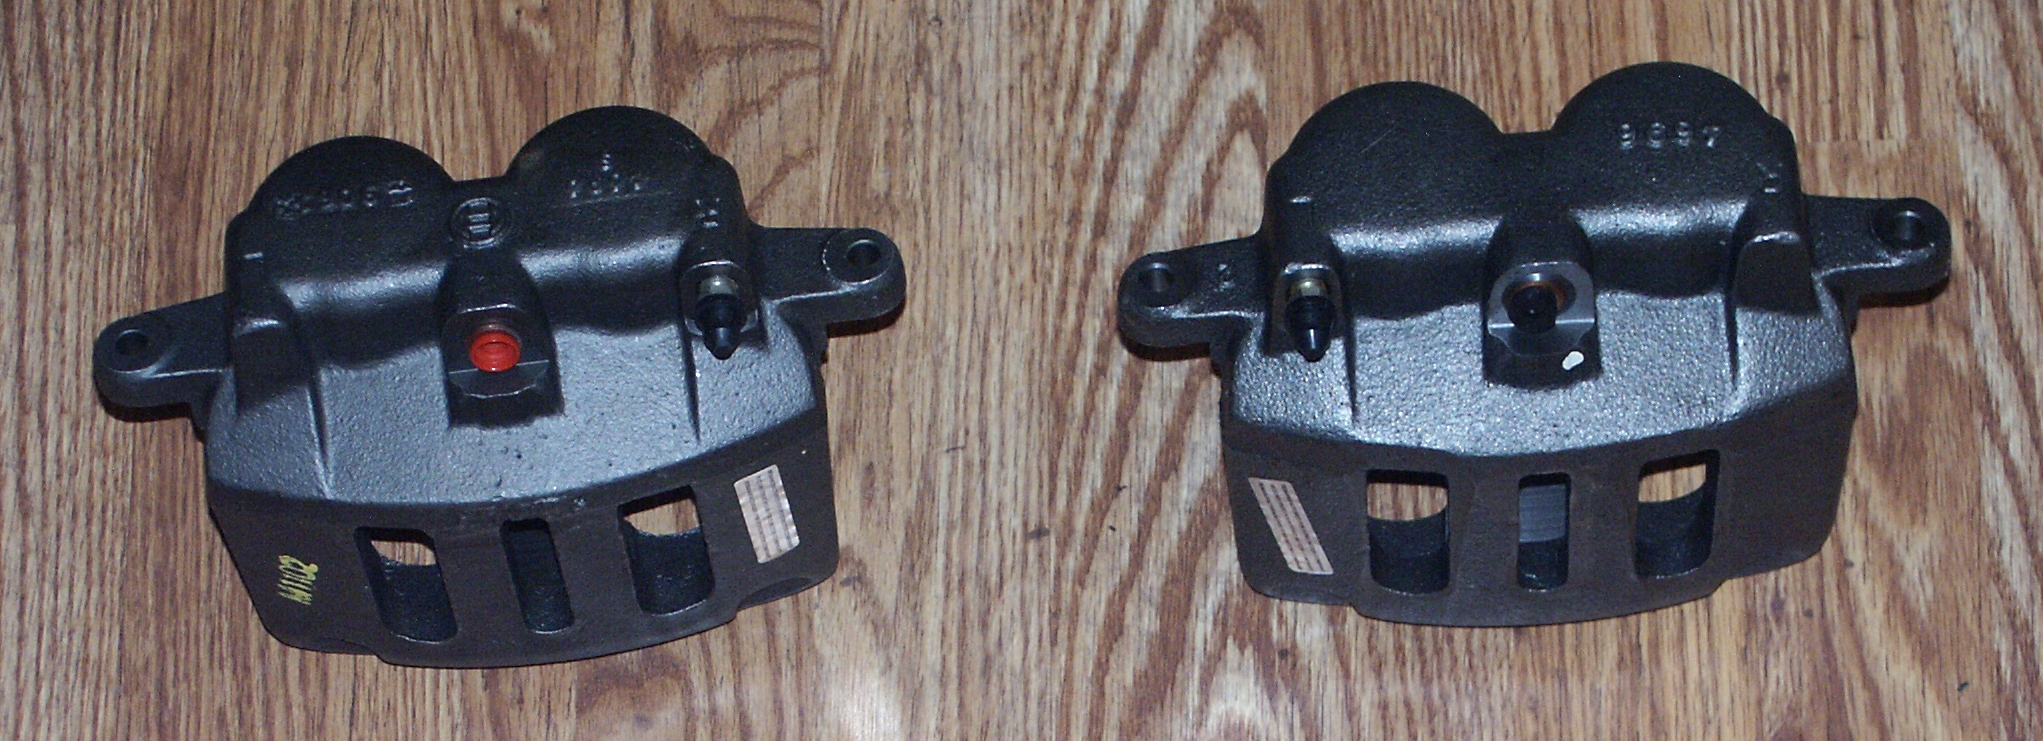
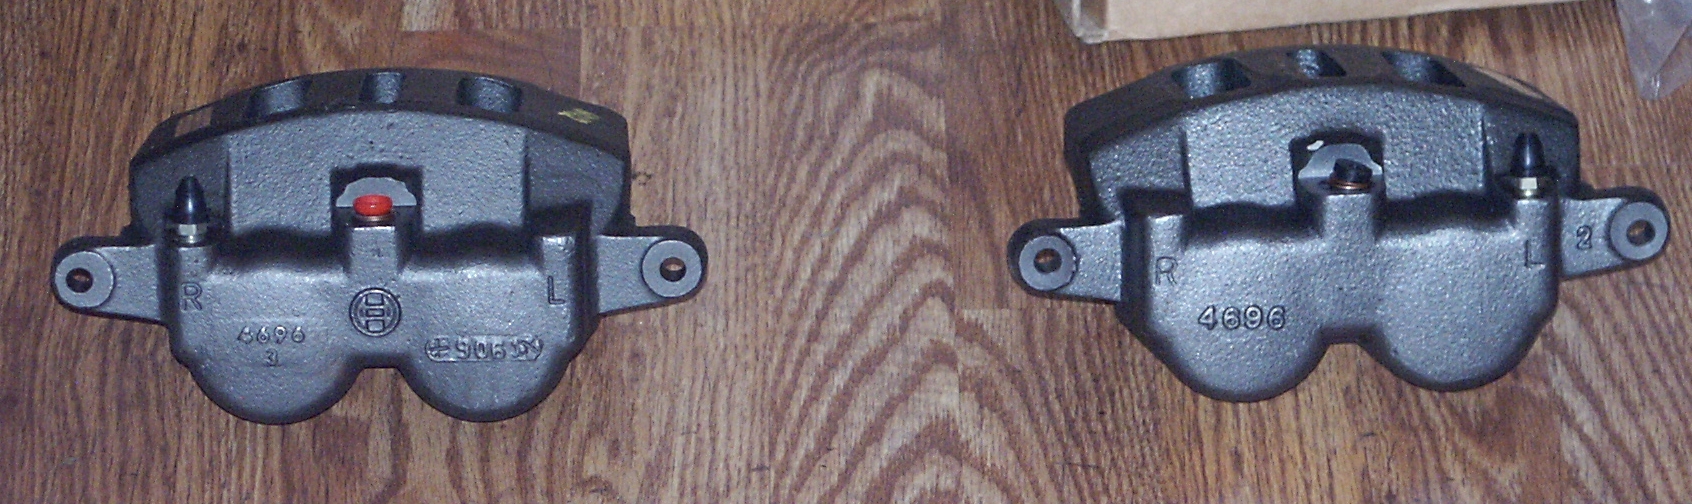
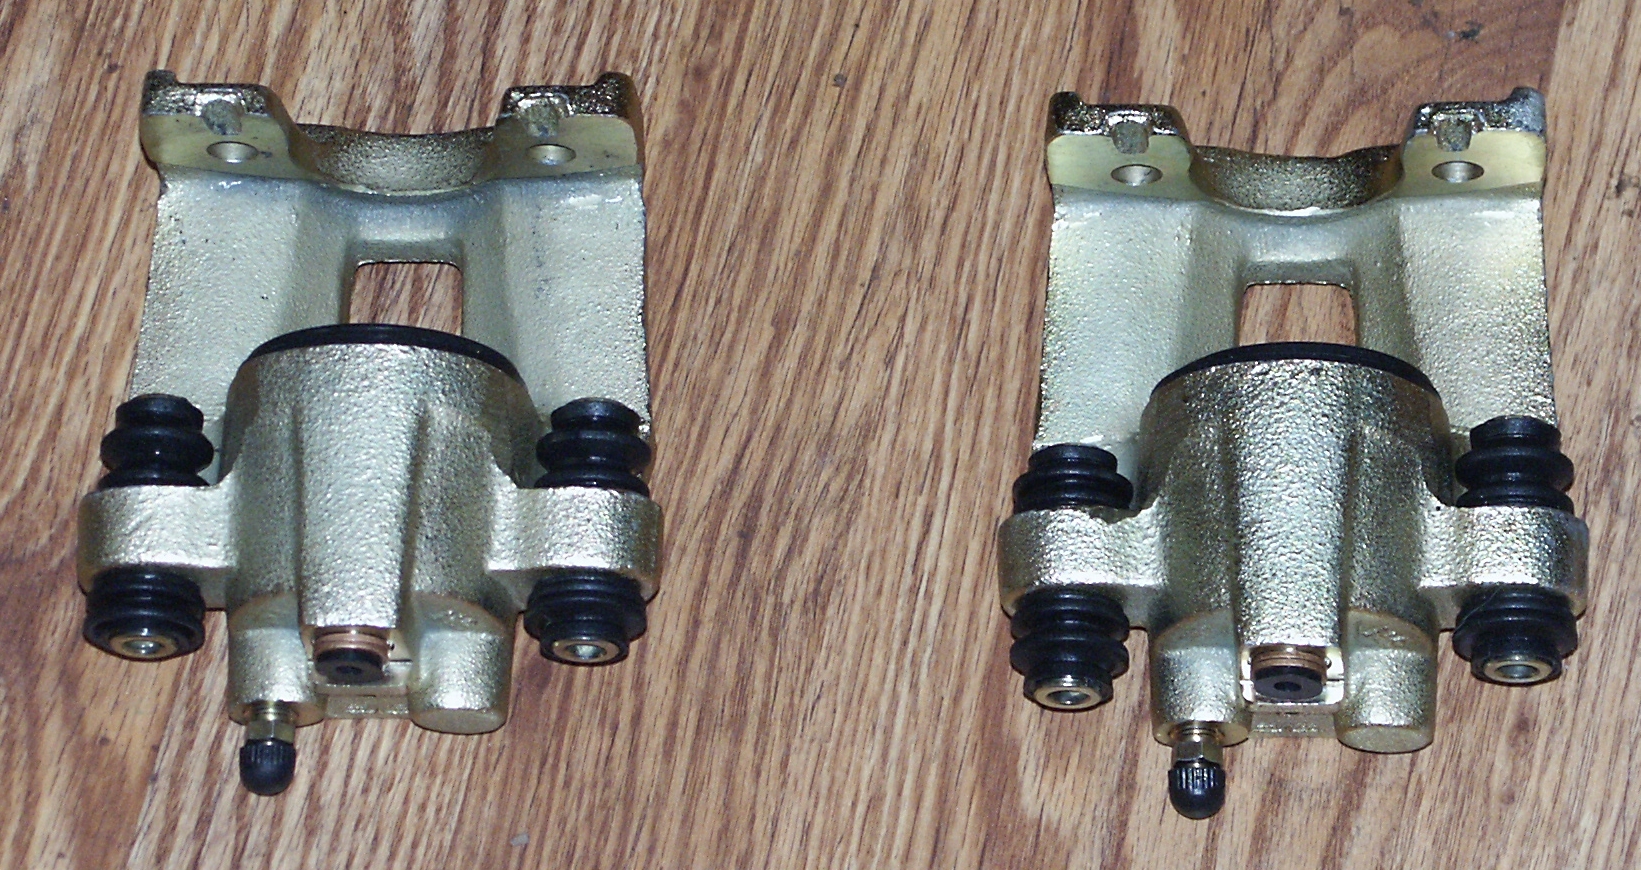
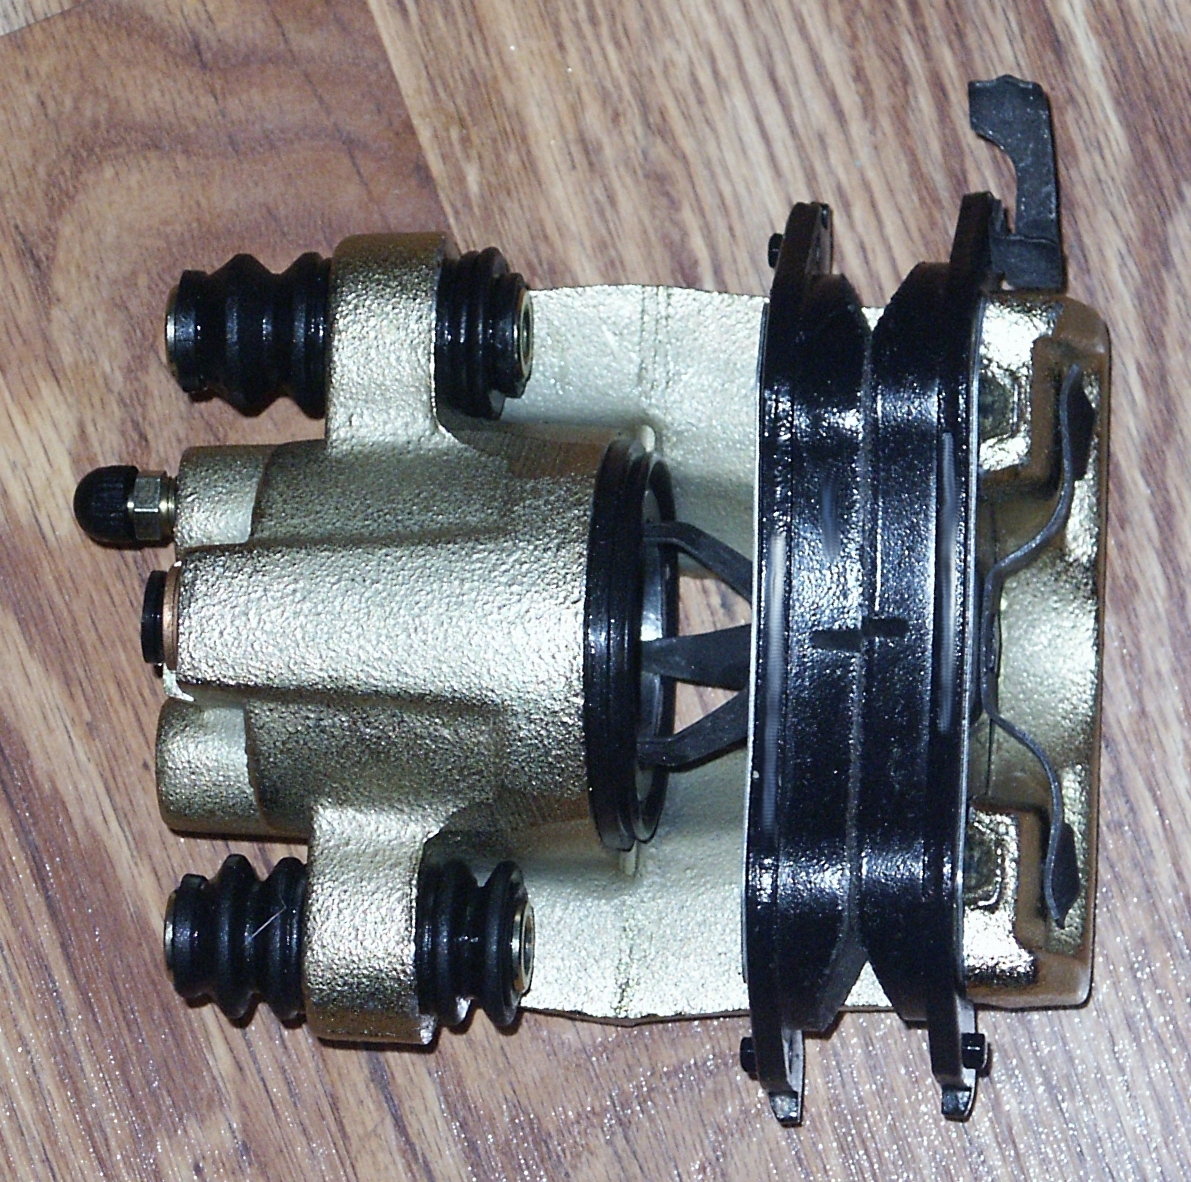
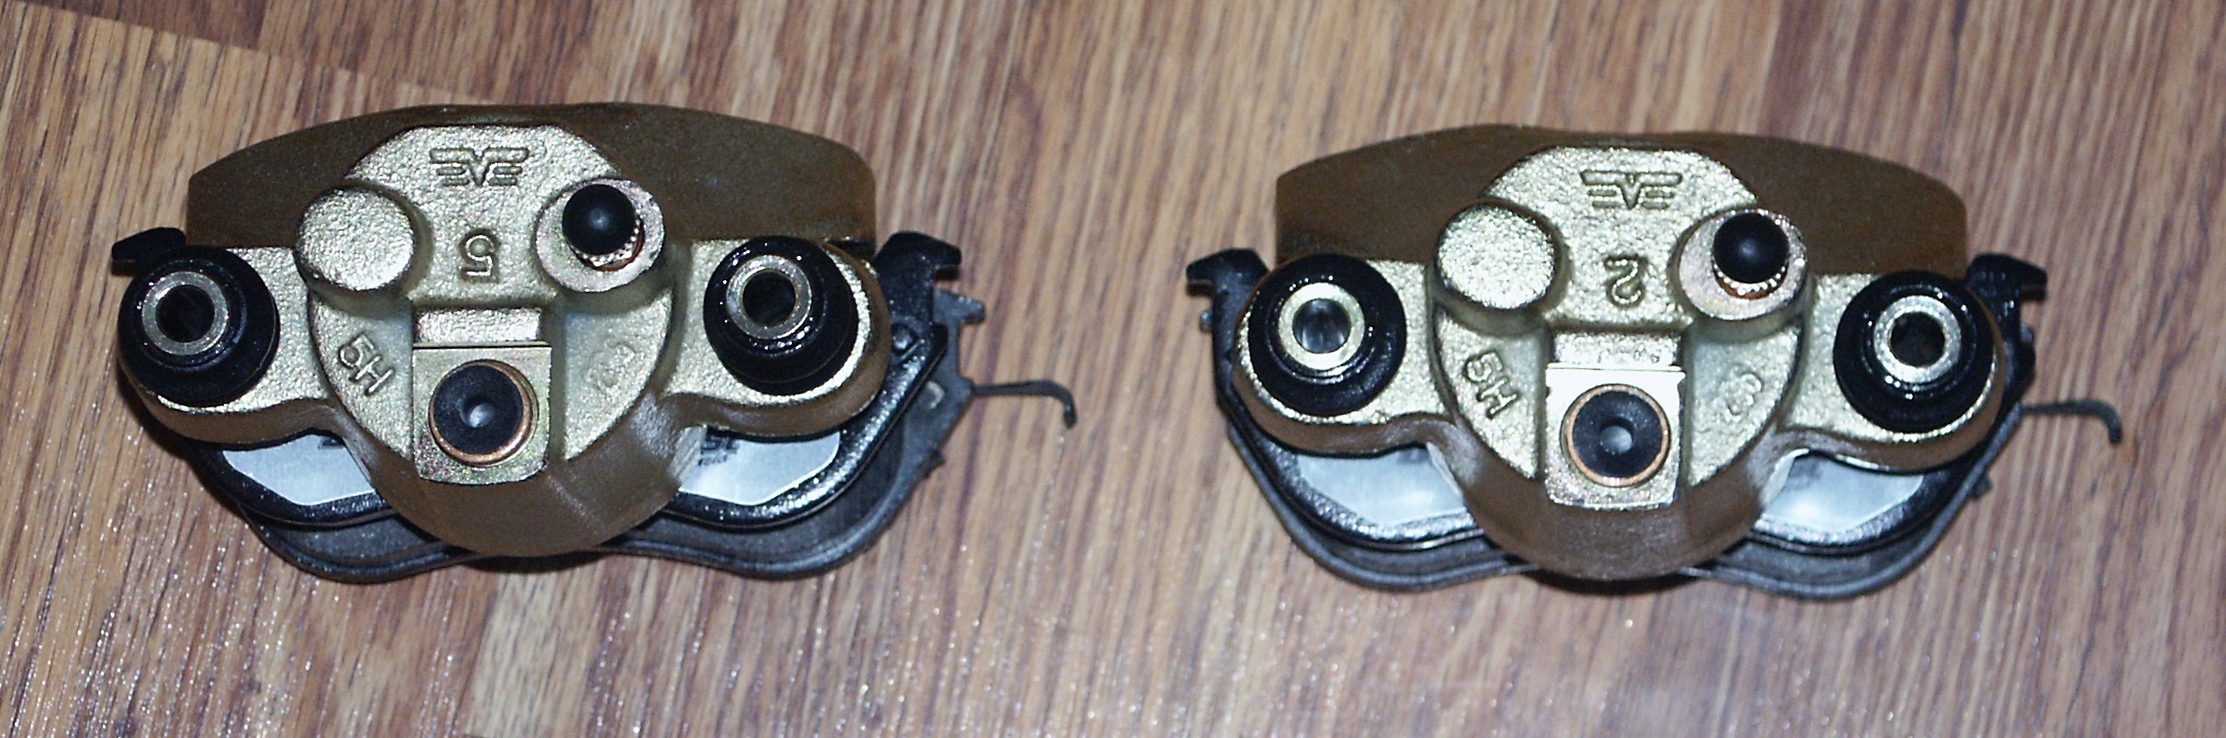
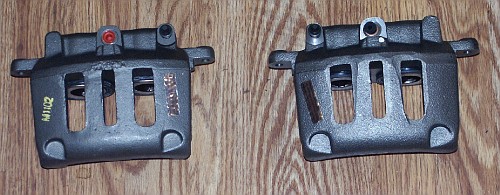
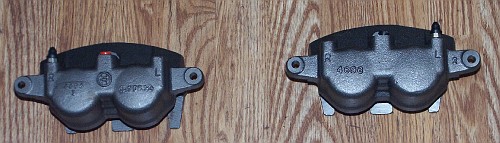
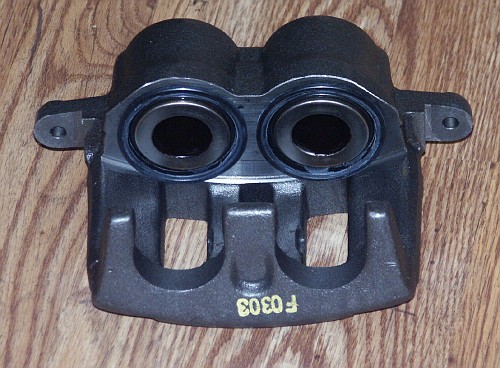
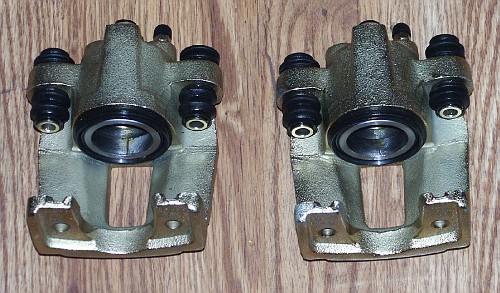
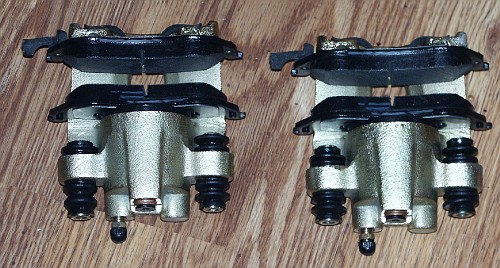
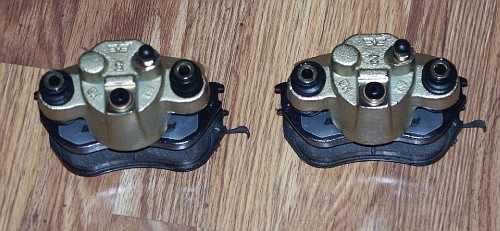
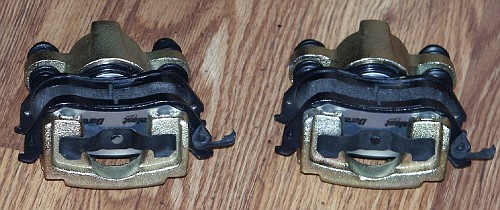
The front driver's side and front passenger's side brake calipers on
this car are nearly identical except for the location of the bleeder
valve. A passenger's front brake caliper will install onto the driver's
side of the car, and vise versa. But you won't be able to properly
bleed the brakes due to air rising into an area that doesn't have a
bleeder valve.
Click here to view a marketing brochure about ford motorcraft brake
parts.

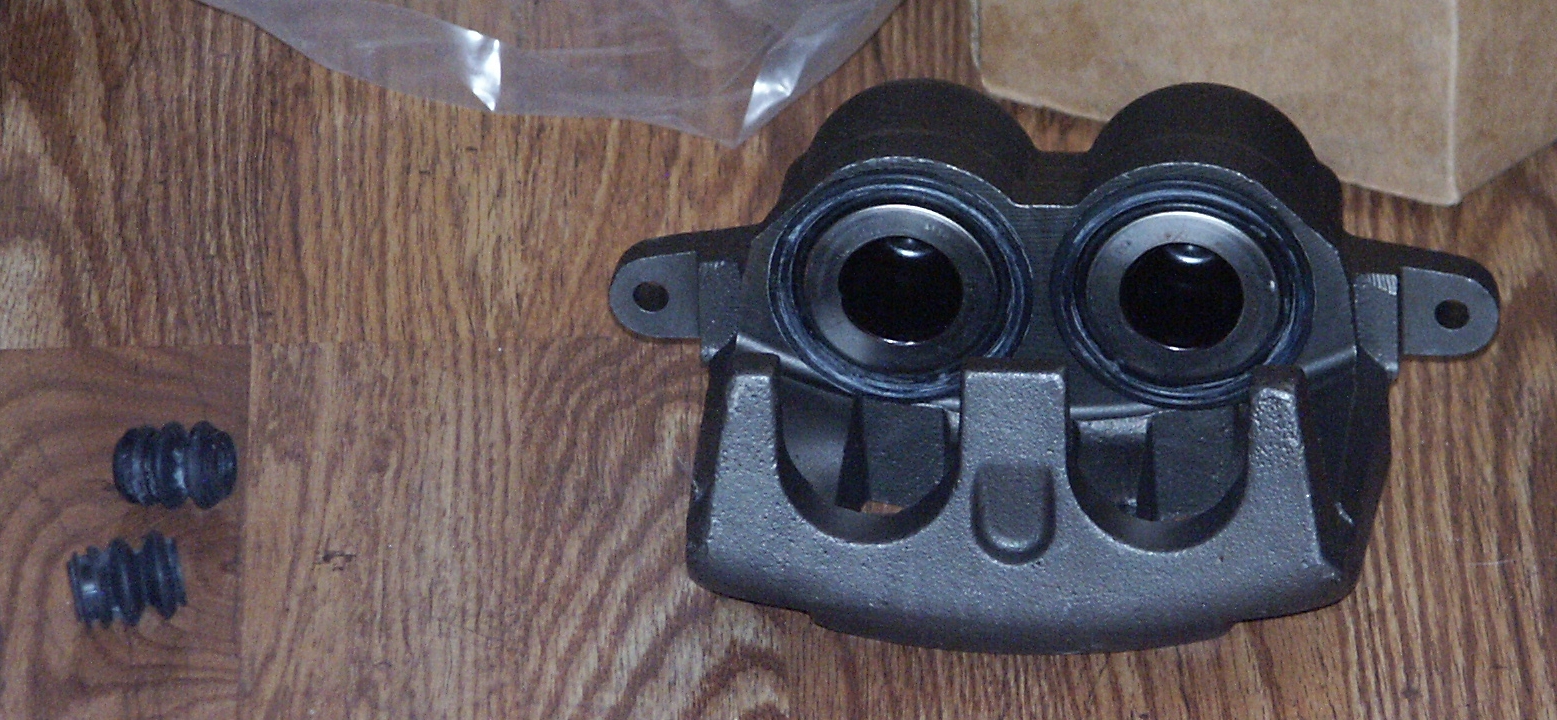
The two rubber boots are to replace the existing caliper slider boots
on your car. You will also need some dielectric grease to insert inside
the caliper slide mechanism to keep out water that would corrode metal
parts.
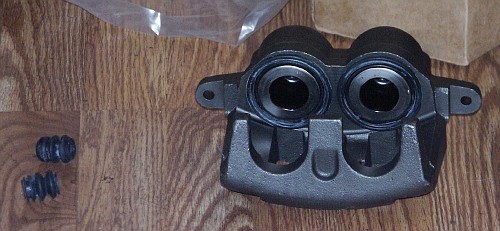

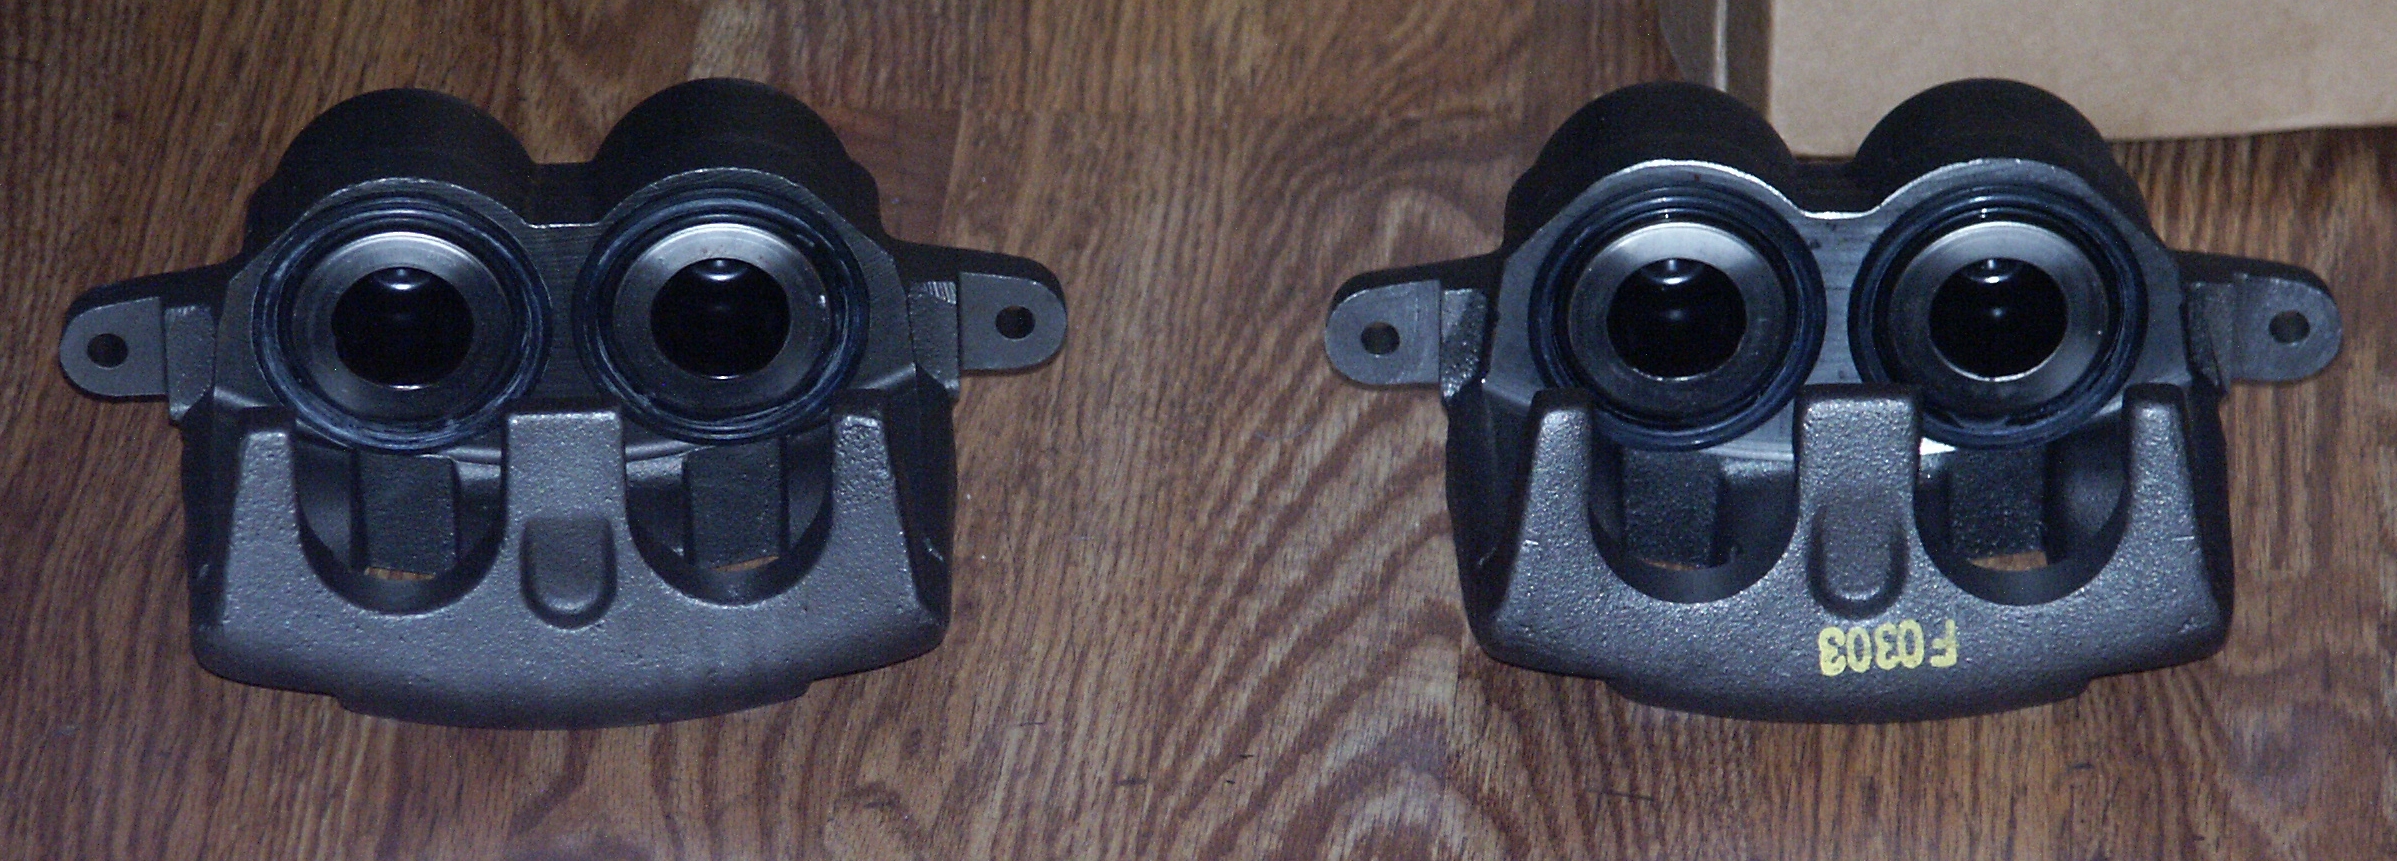
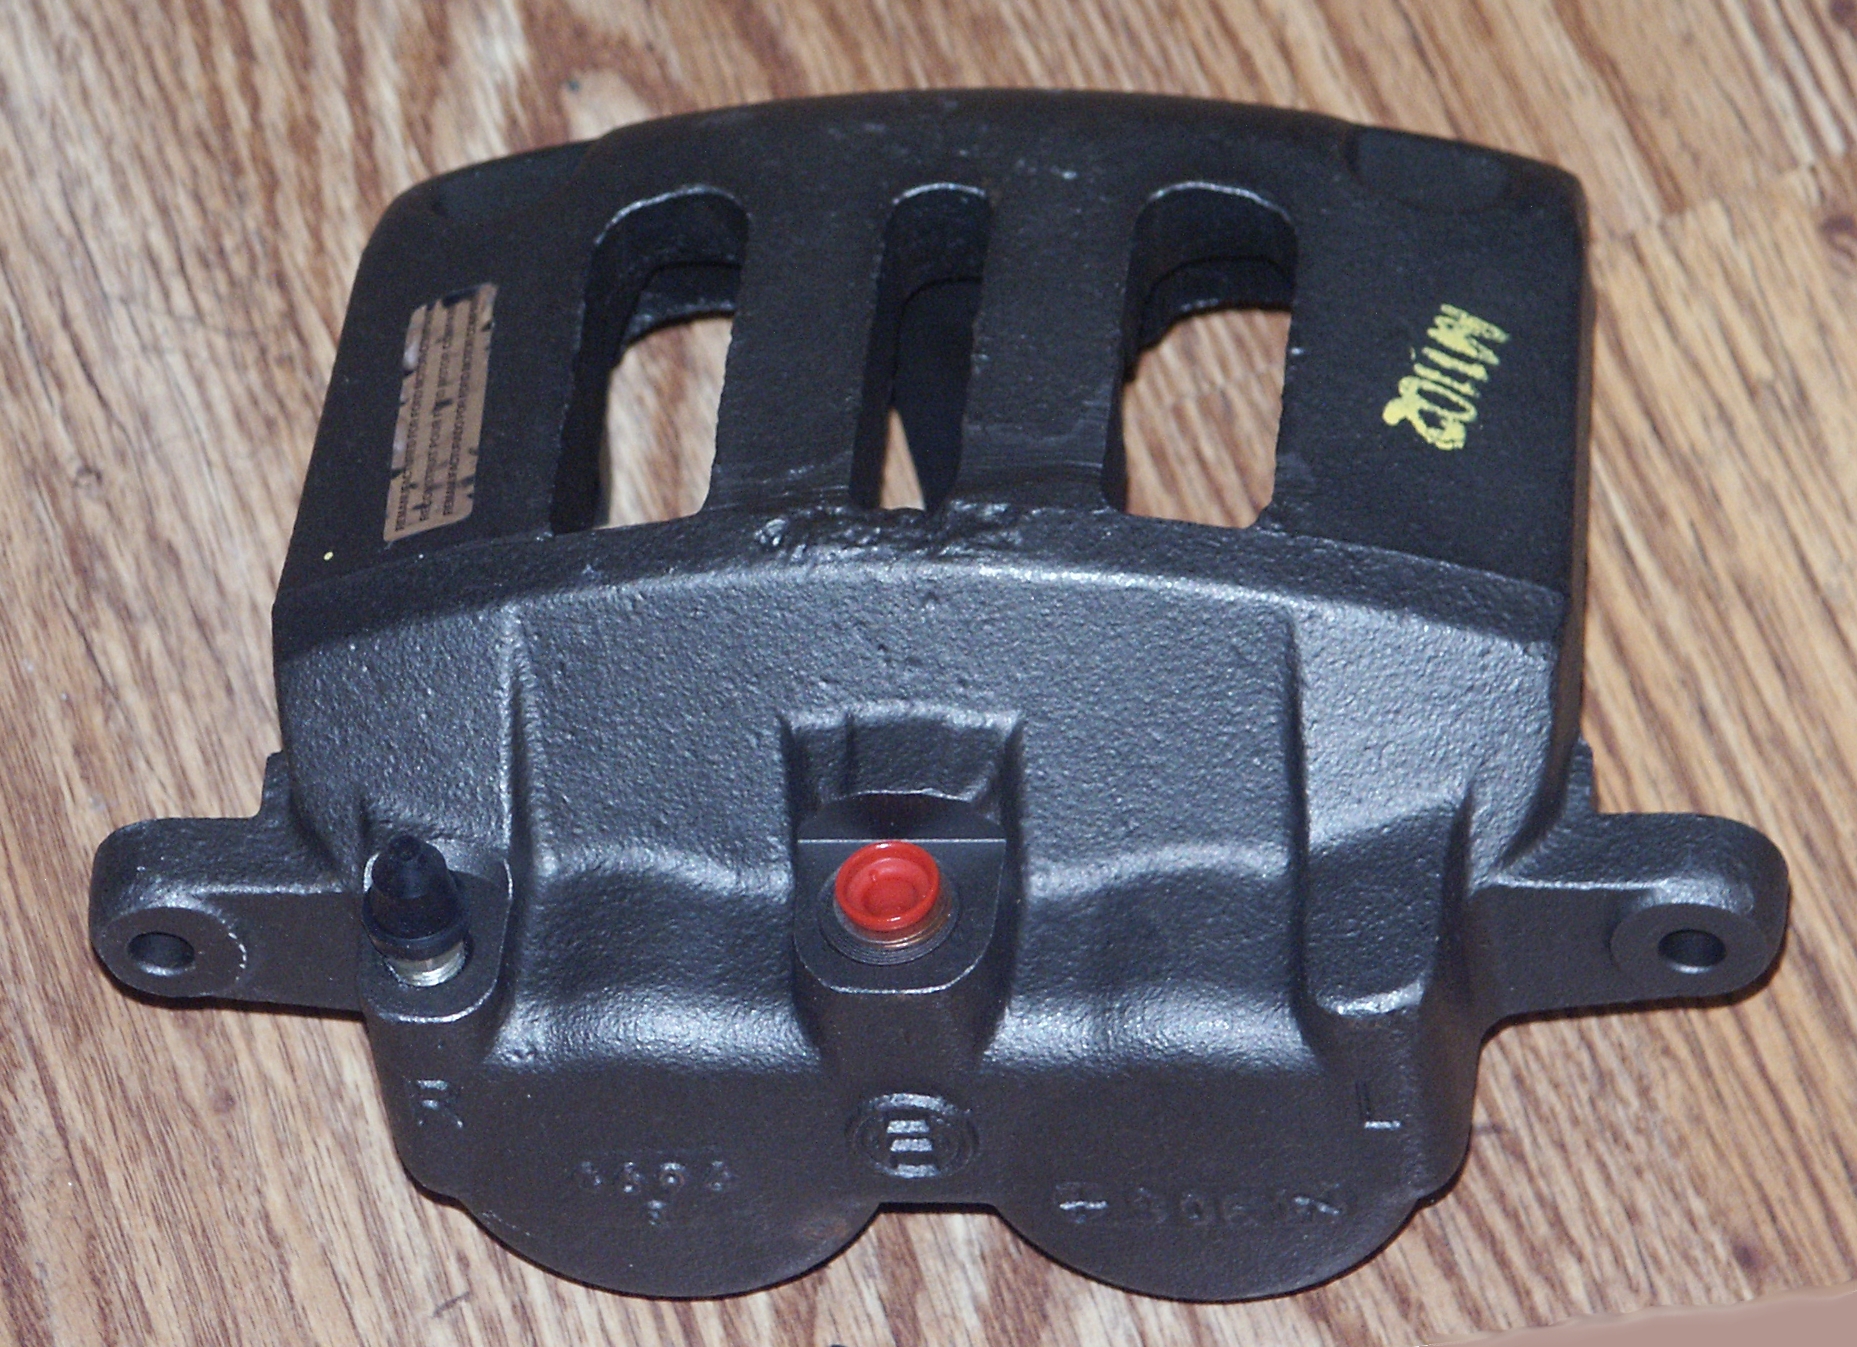
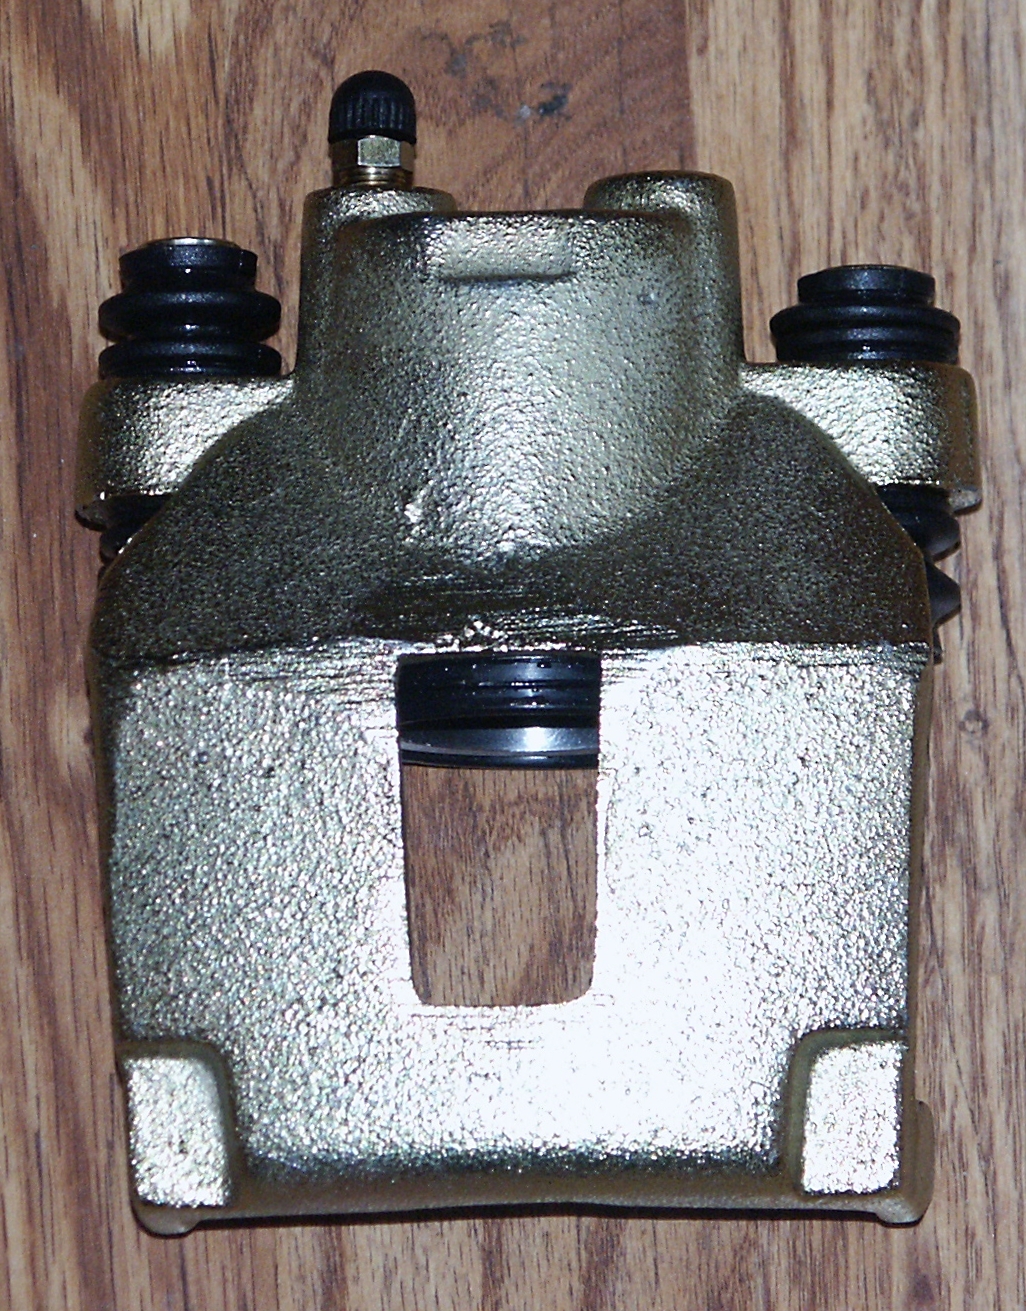
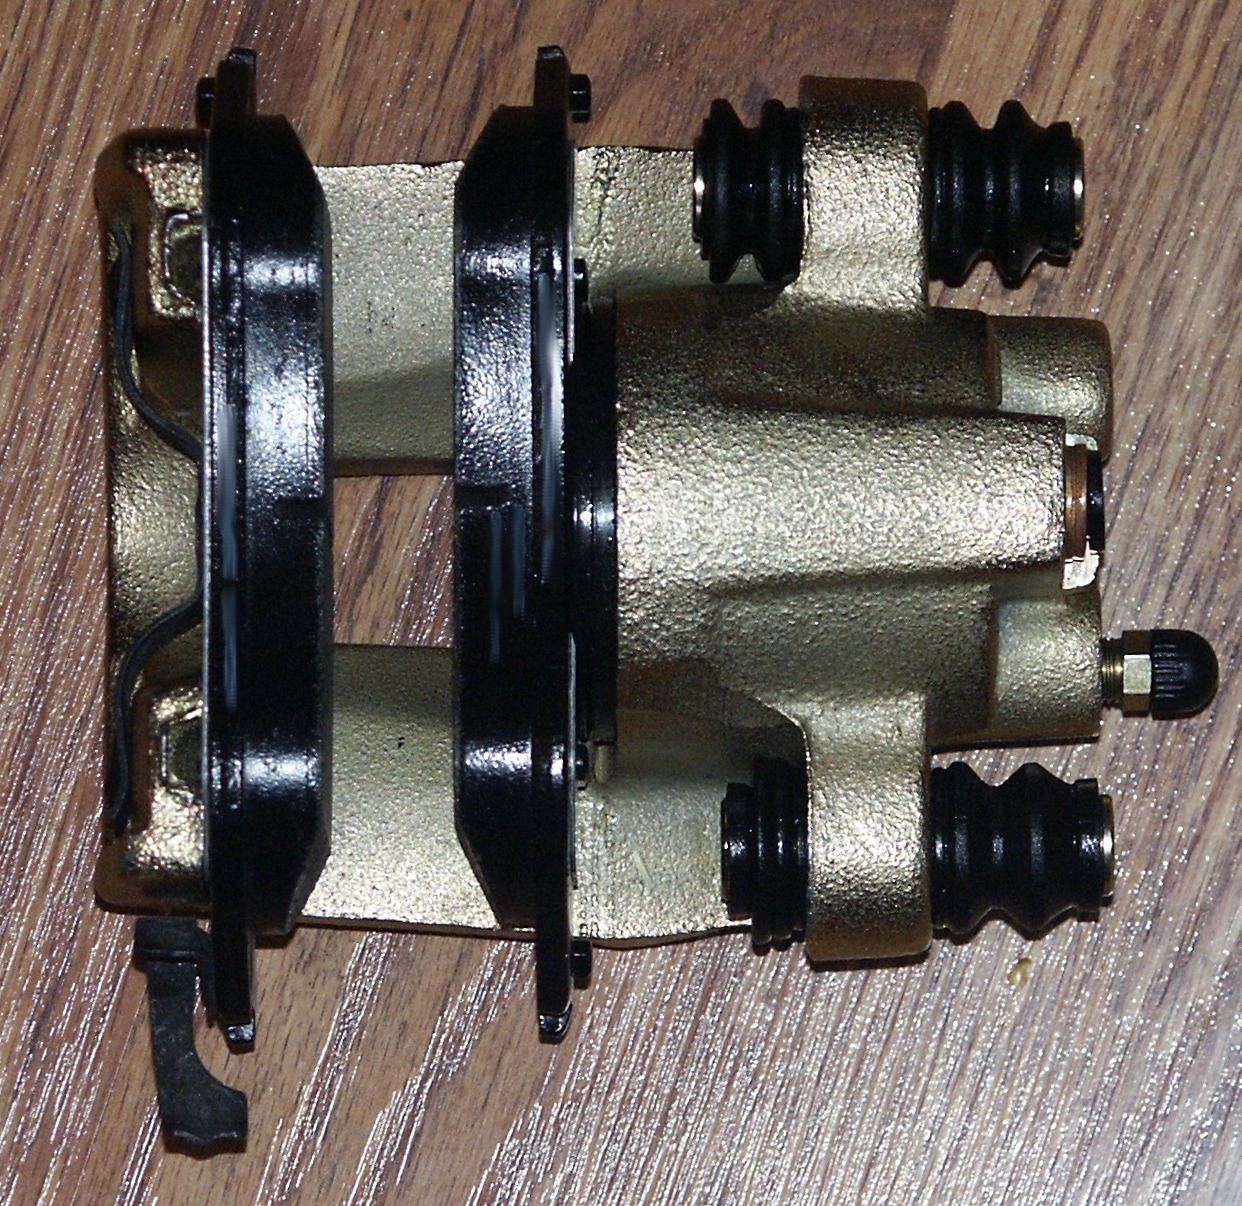
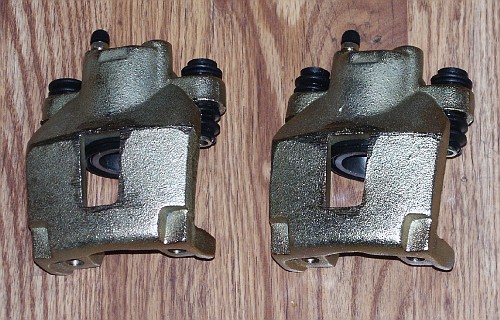
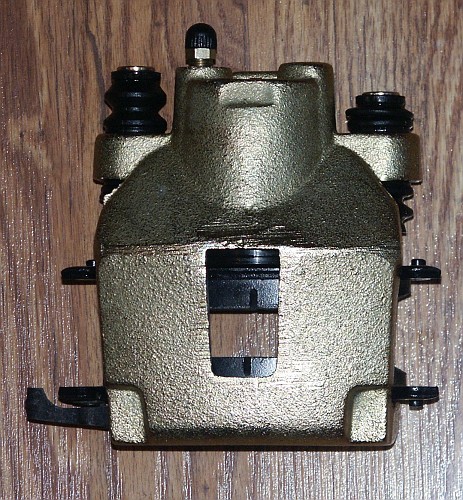
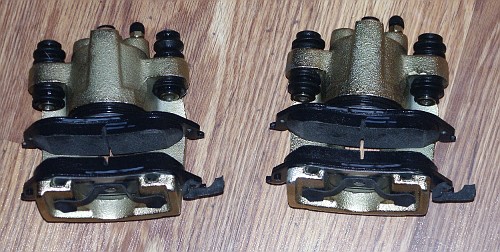
Here's the other brake caliper


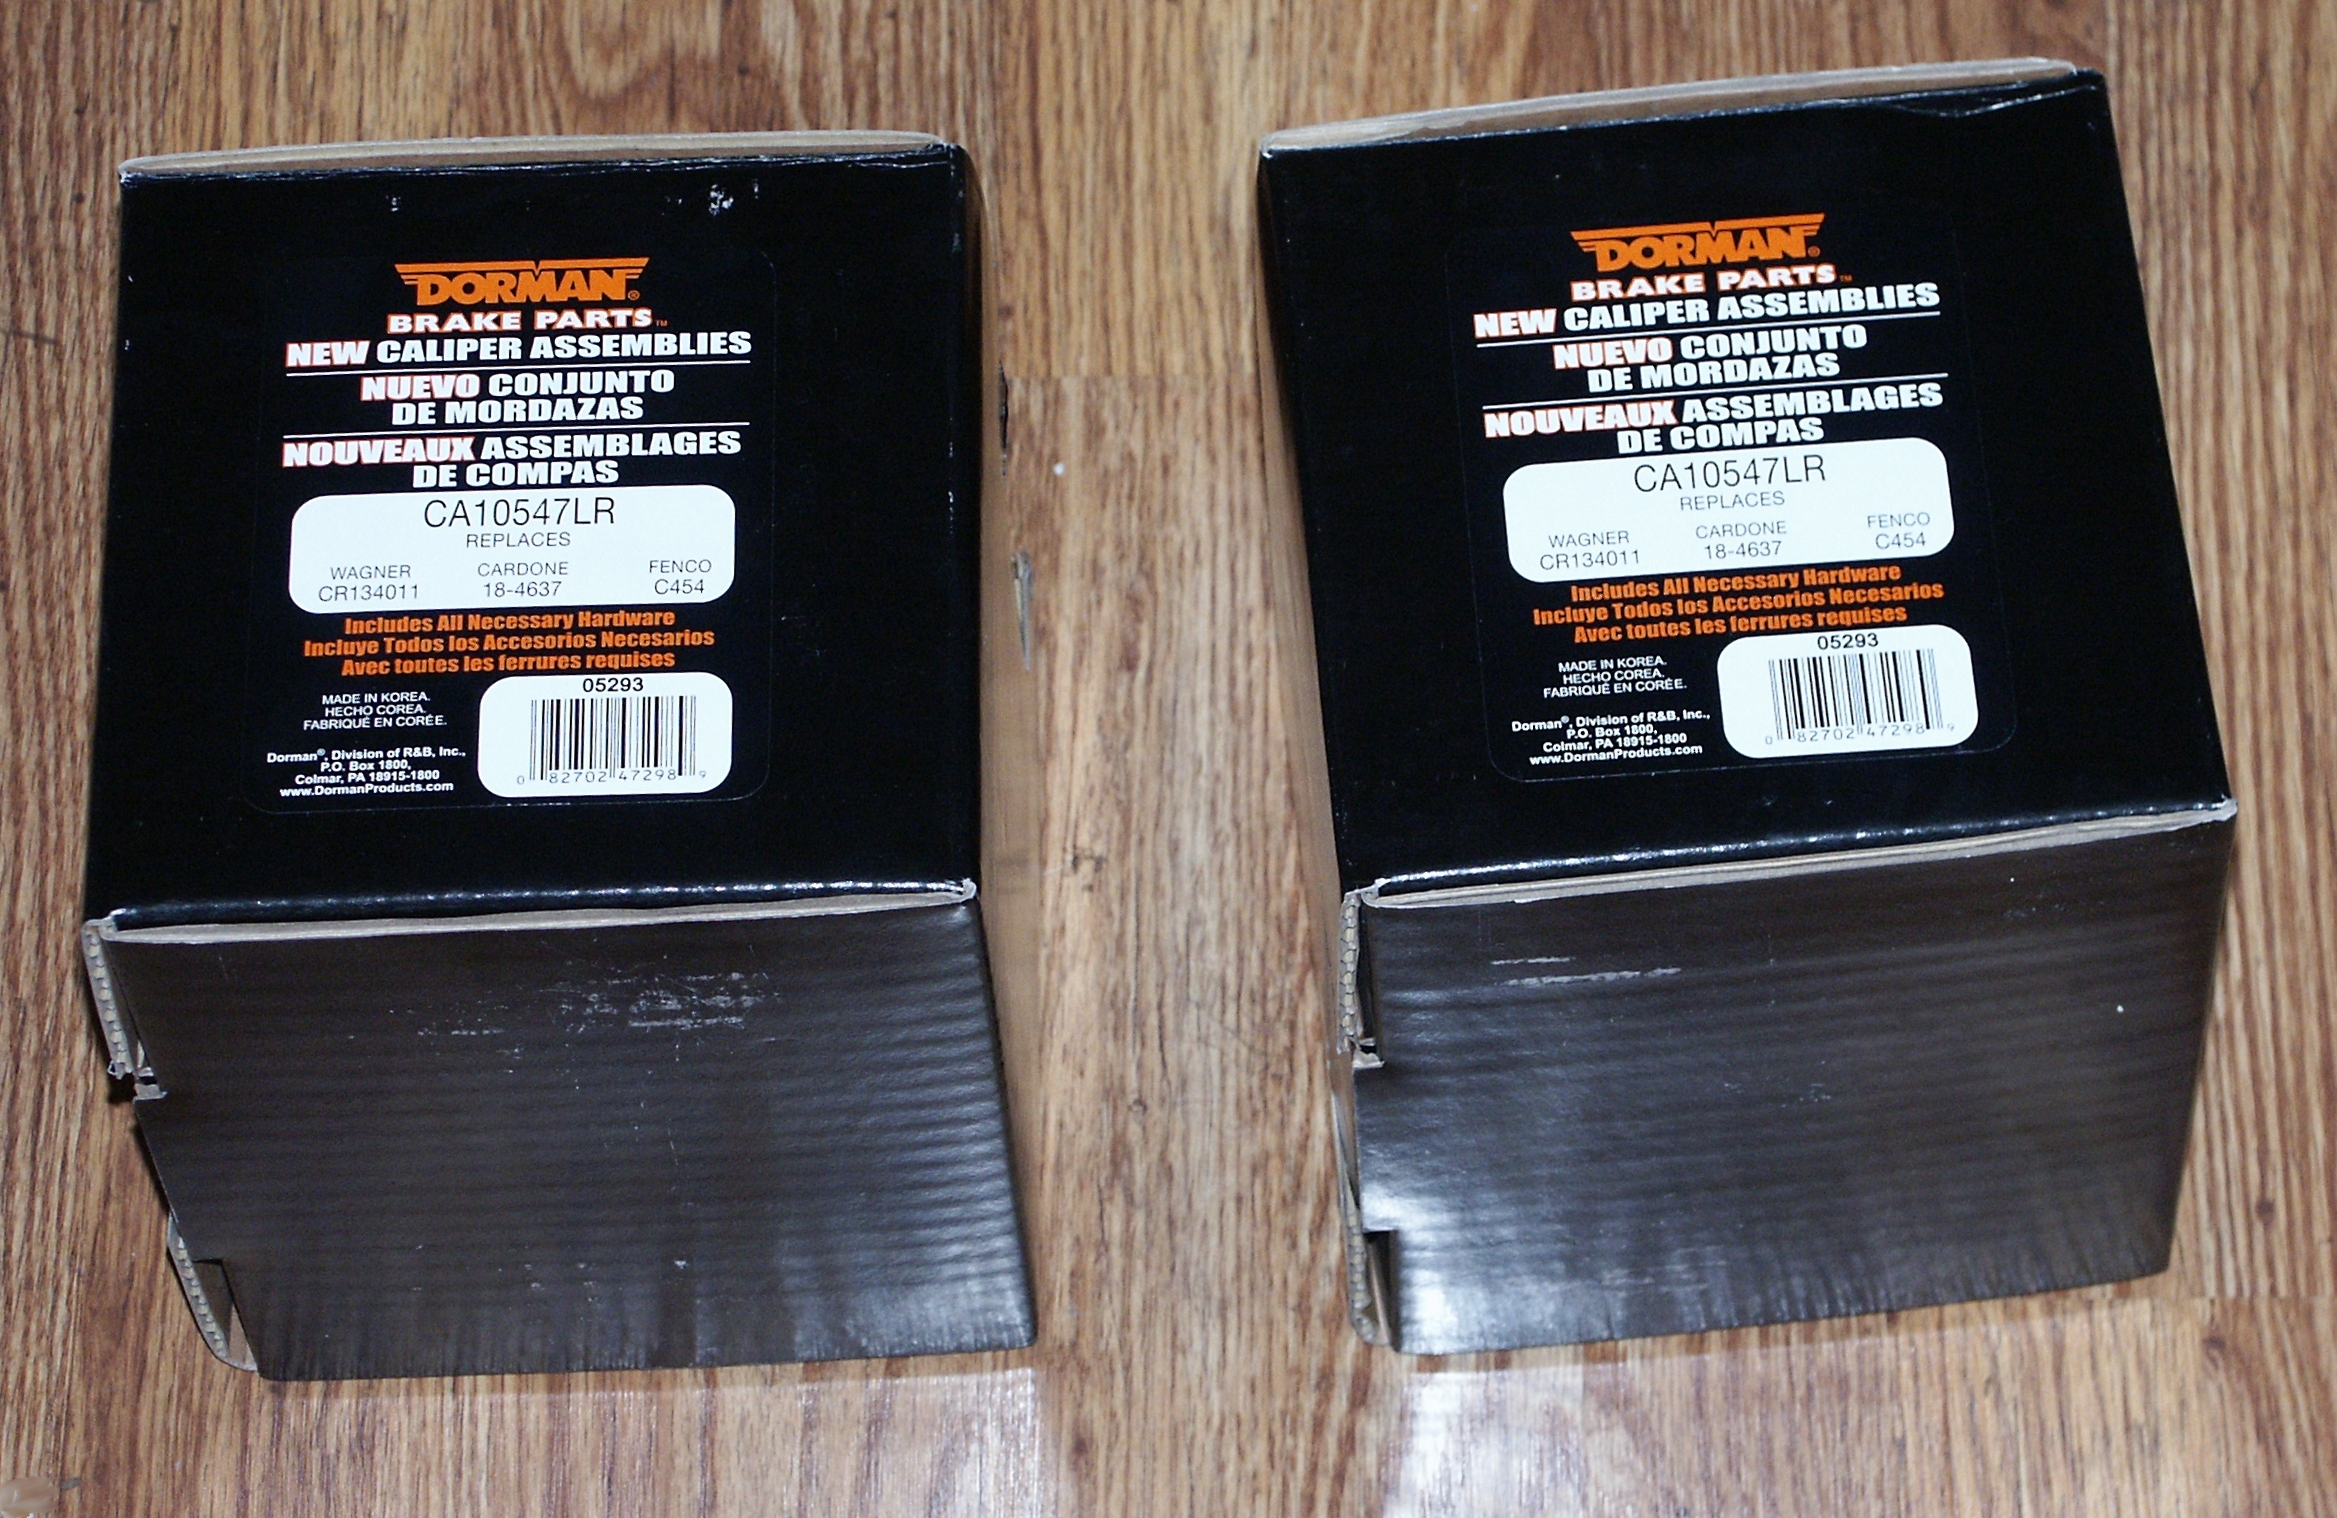
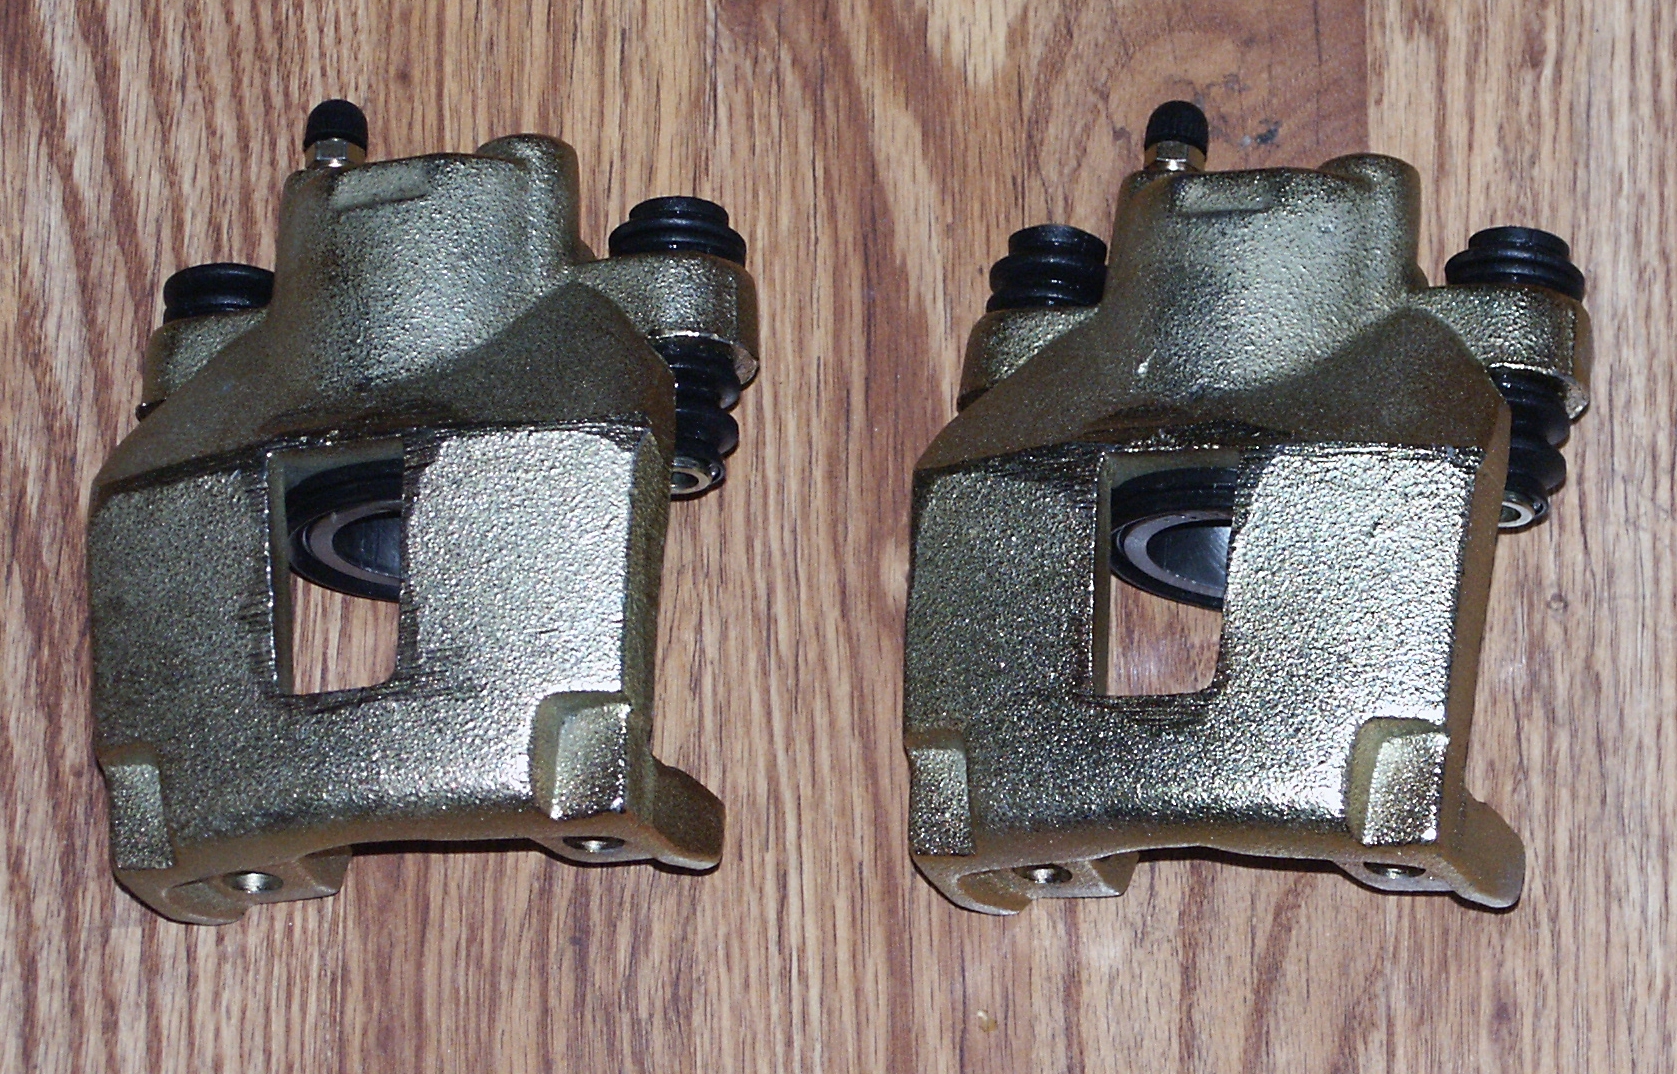
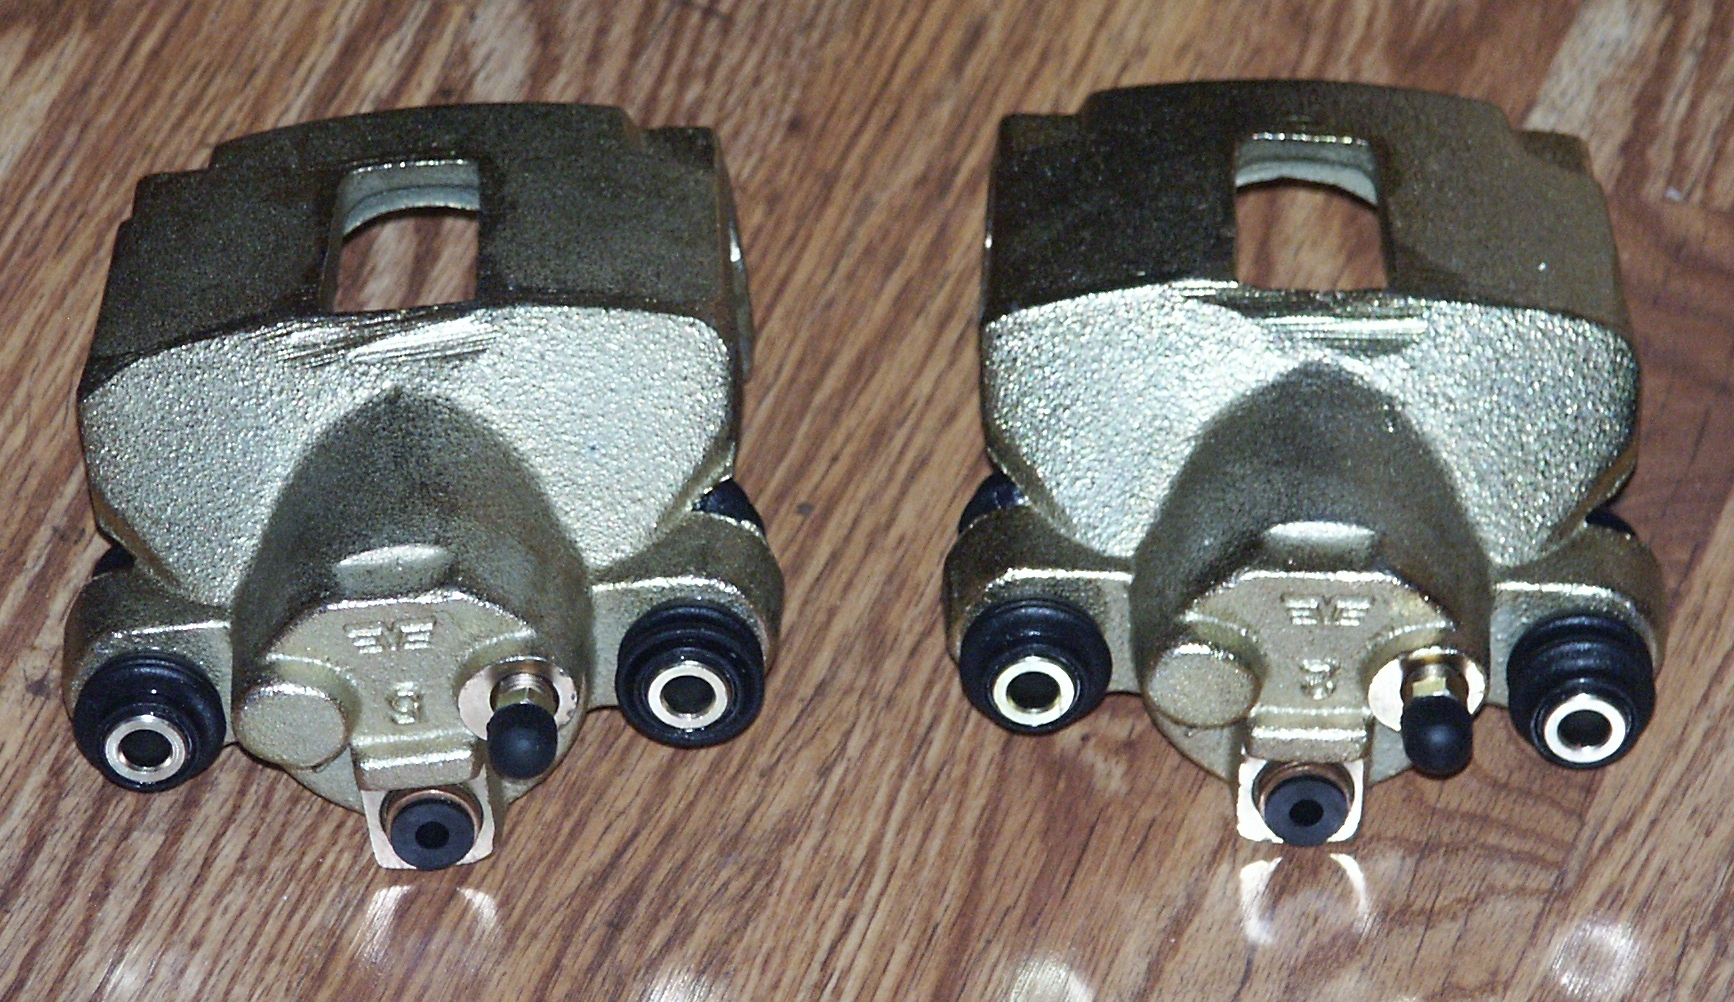
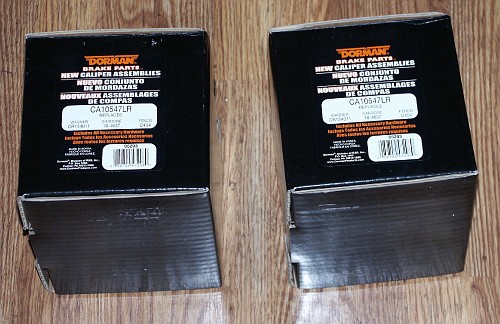
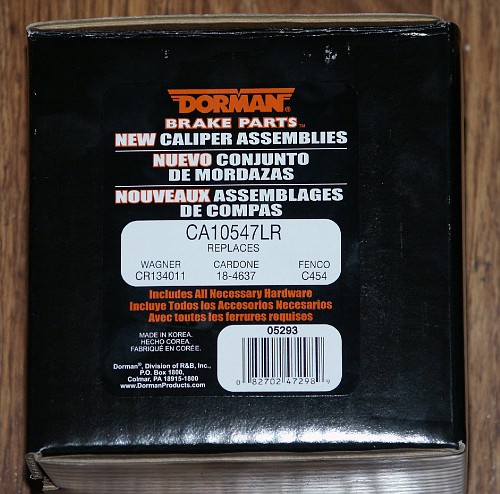
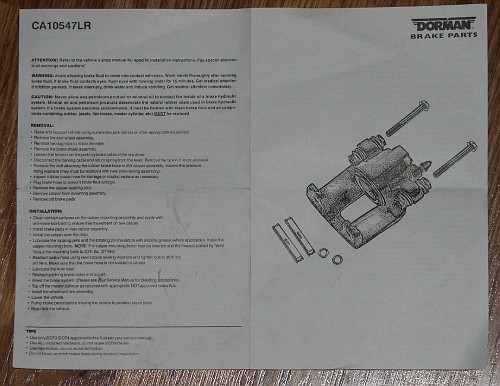
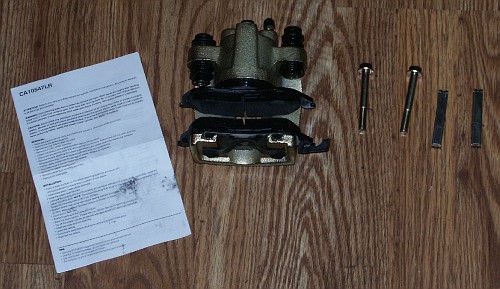
A pair of semi-loaded dorman CA10547LR calipers were acquired for the
rear brakes. In the rear, the driver's side of the car uses the same
brake caliper as the passenger's side of the car. So two identical
brake calipers are needed for the rear.
Click here to view a
marketing brochure about brake calipers from dorman.
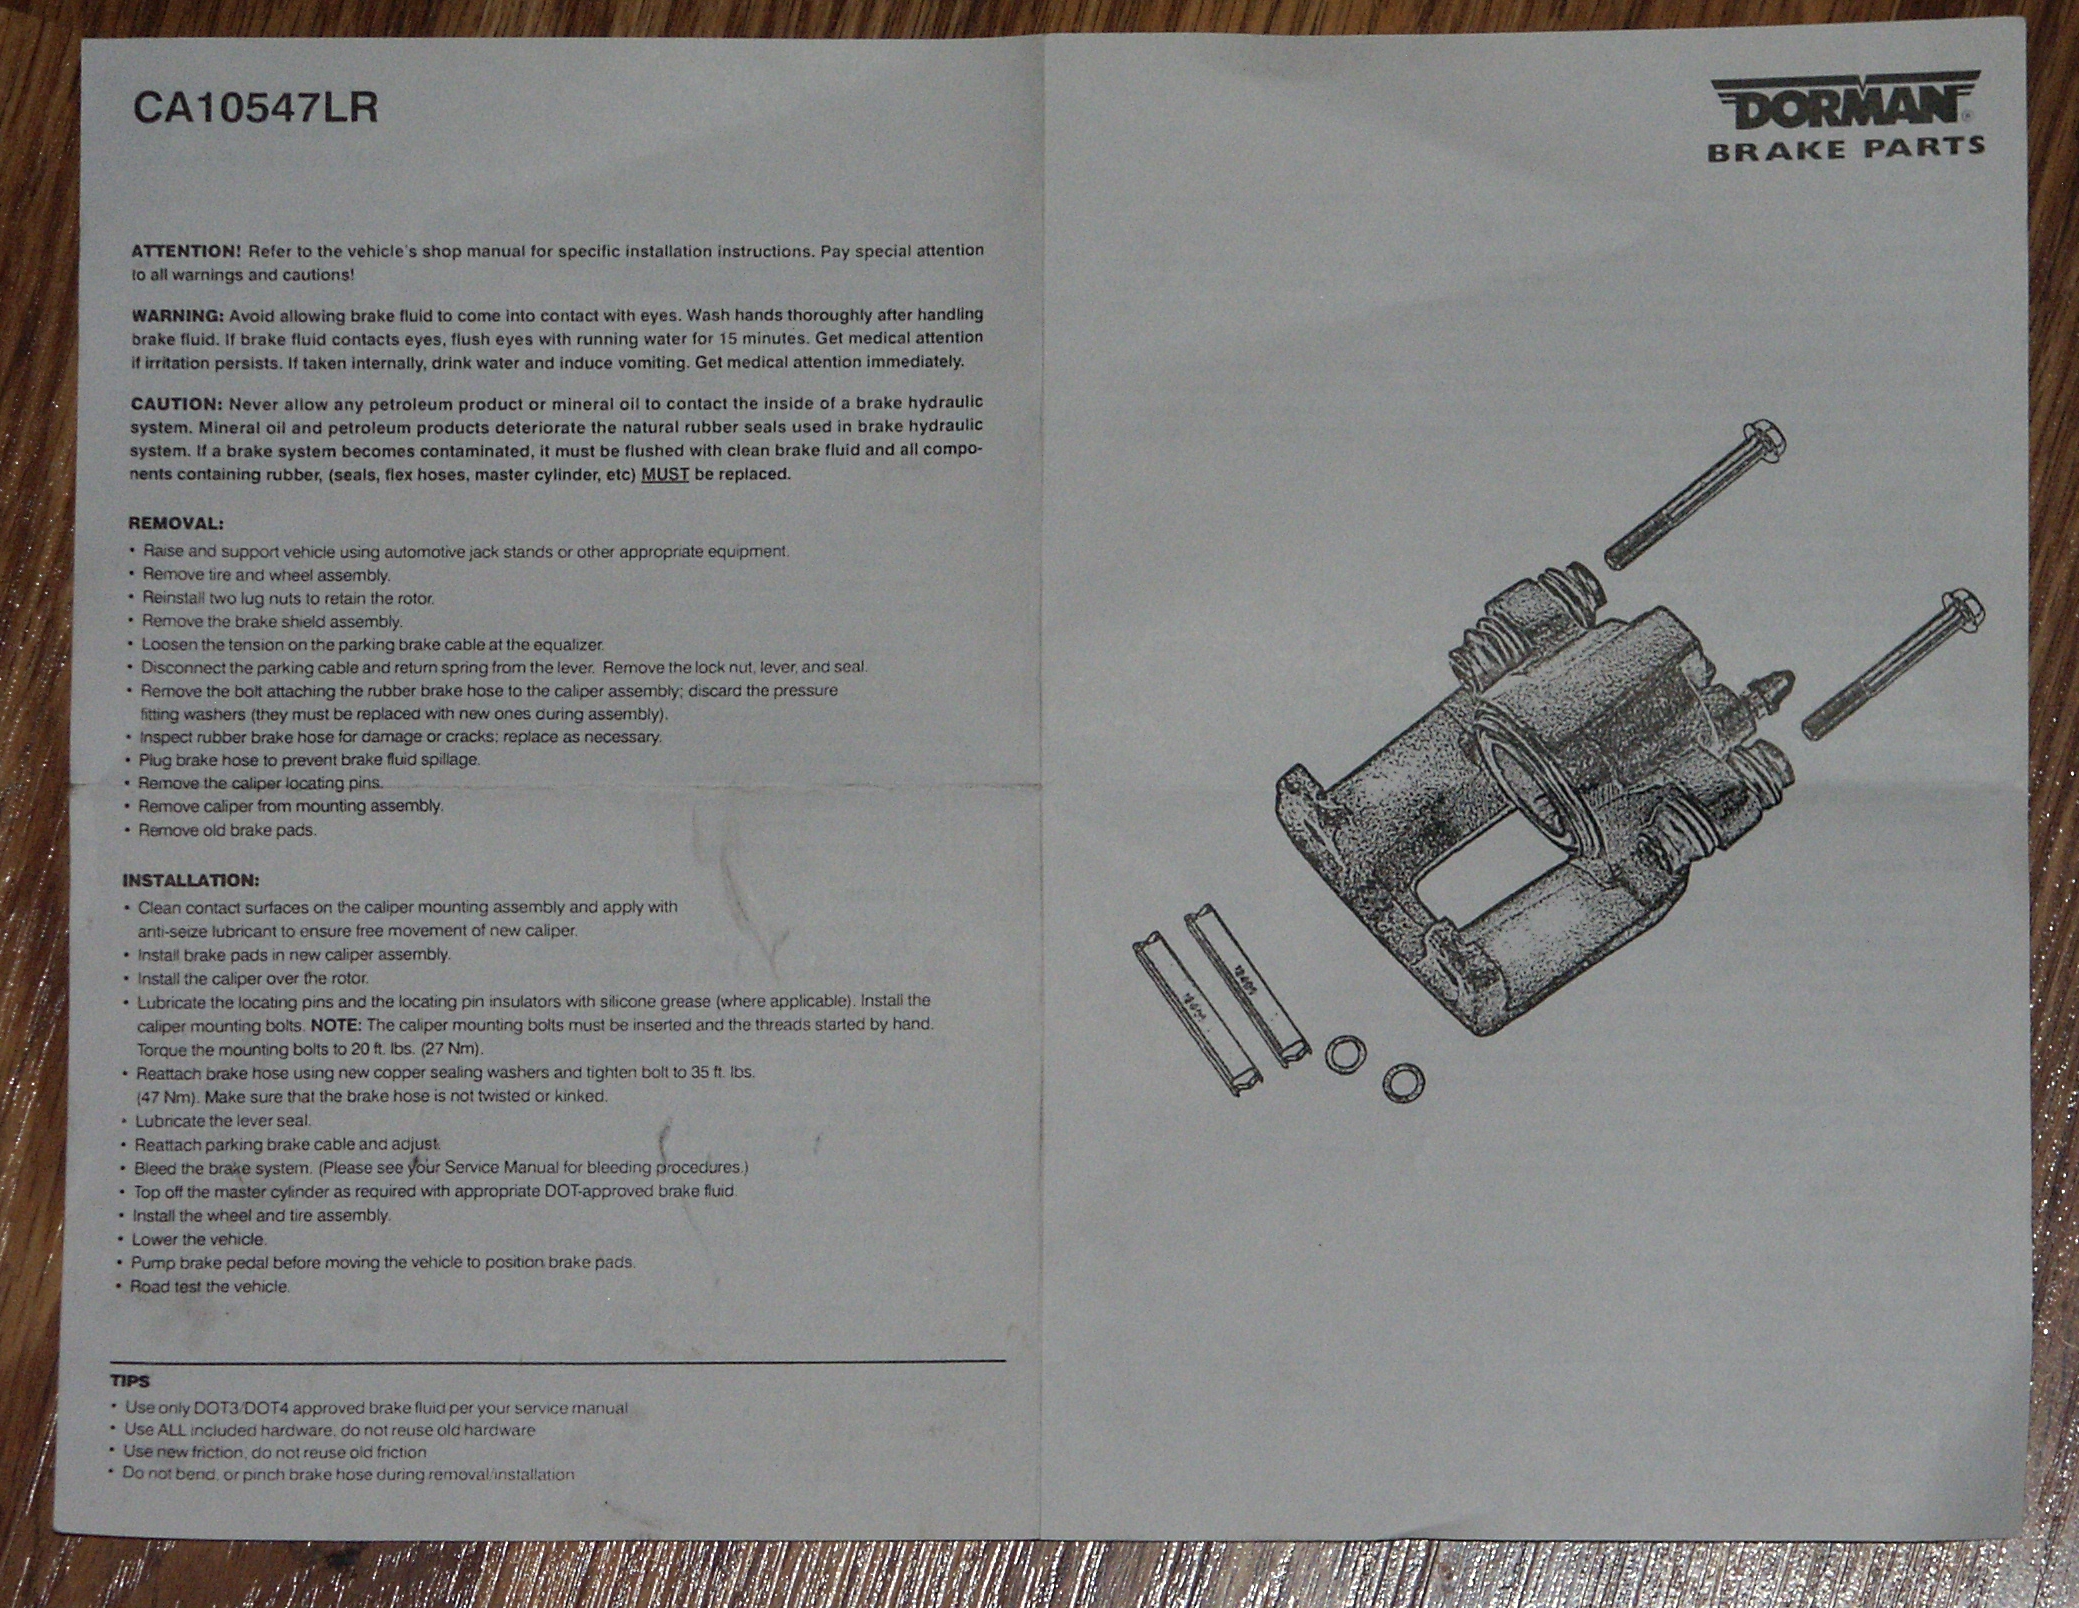
The instruction sheet that was included with the caliper kit
You can install calipers with metal pistons onto a car that originally
came
with phenolic plastic caliper pistons or vise versa as long as you
install brake pads
with the appropriatetly sized rosebud retaining clip. The mounting
hardware and hydraulic flex
hoses are the same on cars with
phenolic & with metal rear caliper pistons.
However, there are two different banjo bolts used between the two
different calipers. Rear calipers with phenolic pistons use a "fine
thread" M10x1.0 banjo bolt. Rear calipers with steel pistons use a
"coarse thread" M10x1.5 banjo bolt. The diameter of the banjo bolt hole
drilled in the two different calipers is the same, it's just the thread
pitch inside the banjo bolt hole that is different.
So,
to minimize the possible complications during rear caliper
installation, you might want to acquire a couple new banjo bolts
ahead of time and make sure that they fit properly into your new rear
brake
calipers.


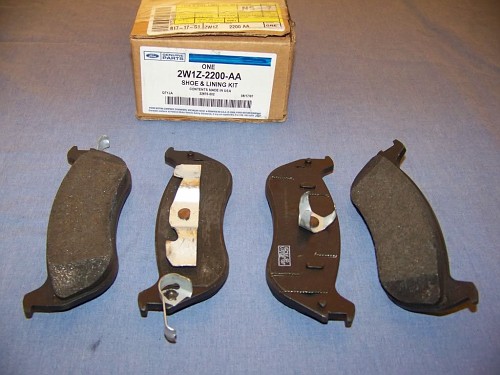
Note that the new rear brake calipers being installed use brake pads
with the large 1-3/4" rosebud clips. Here is a picture of a 2001 crown
victoria with rear calipers that accept the small 1" rosebud clip brake
pads.
(Picture courtesy of Chevyguy on
www.crownvic.net)
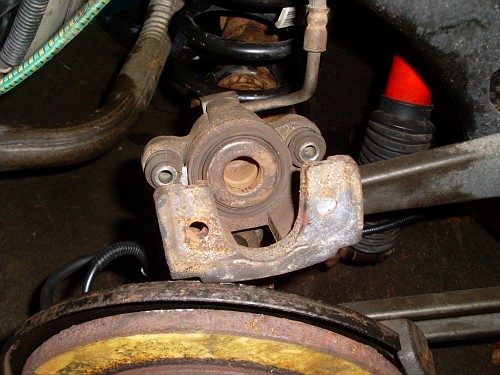

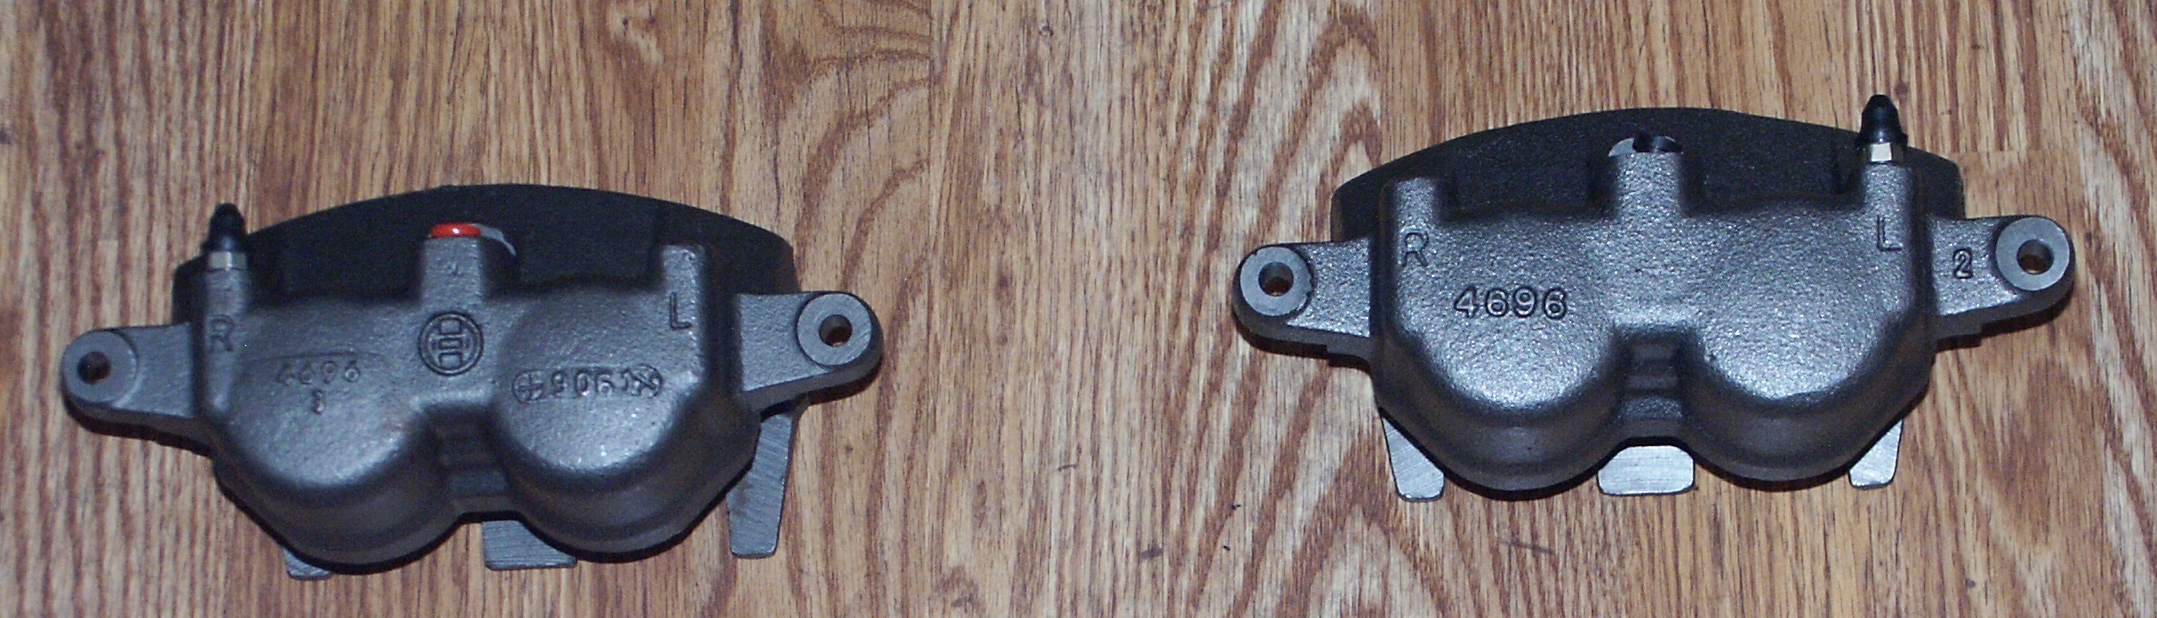
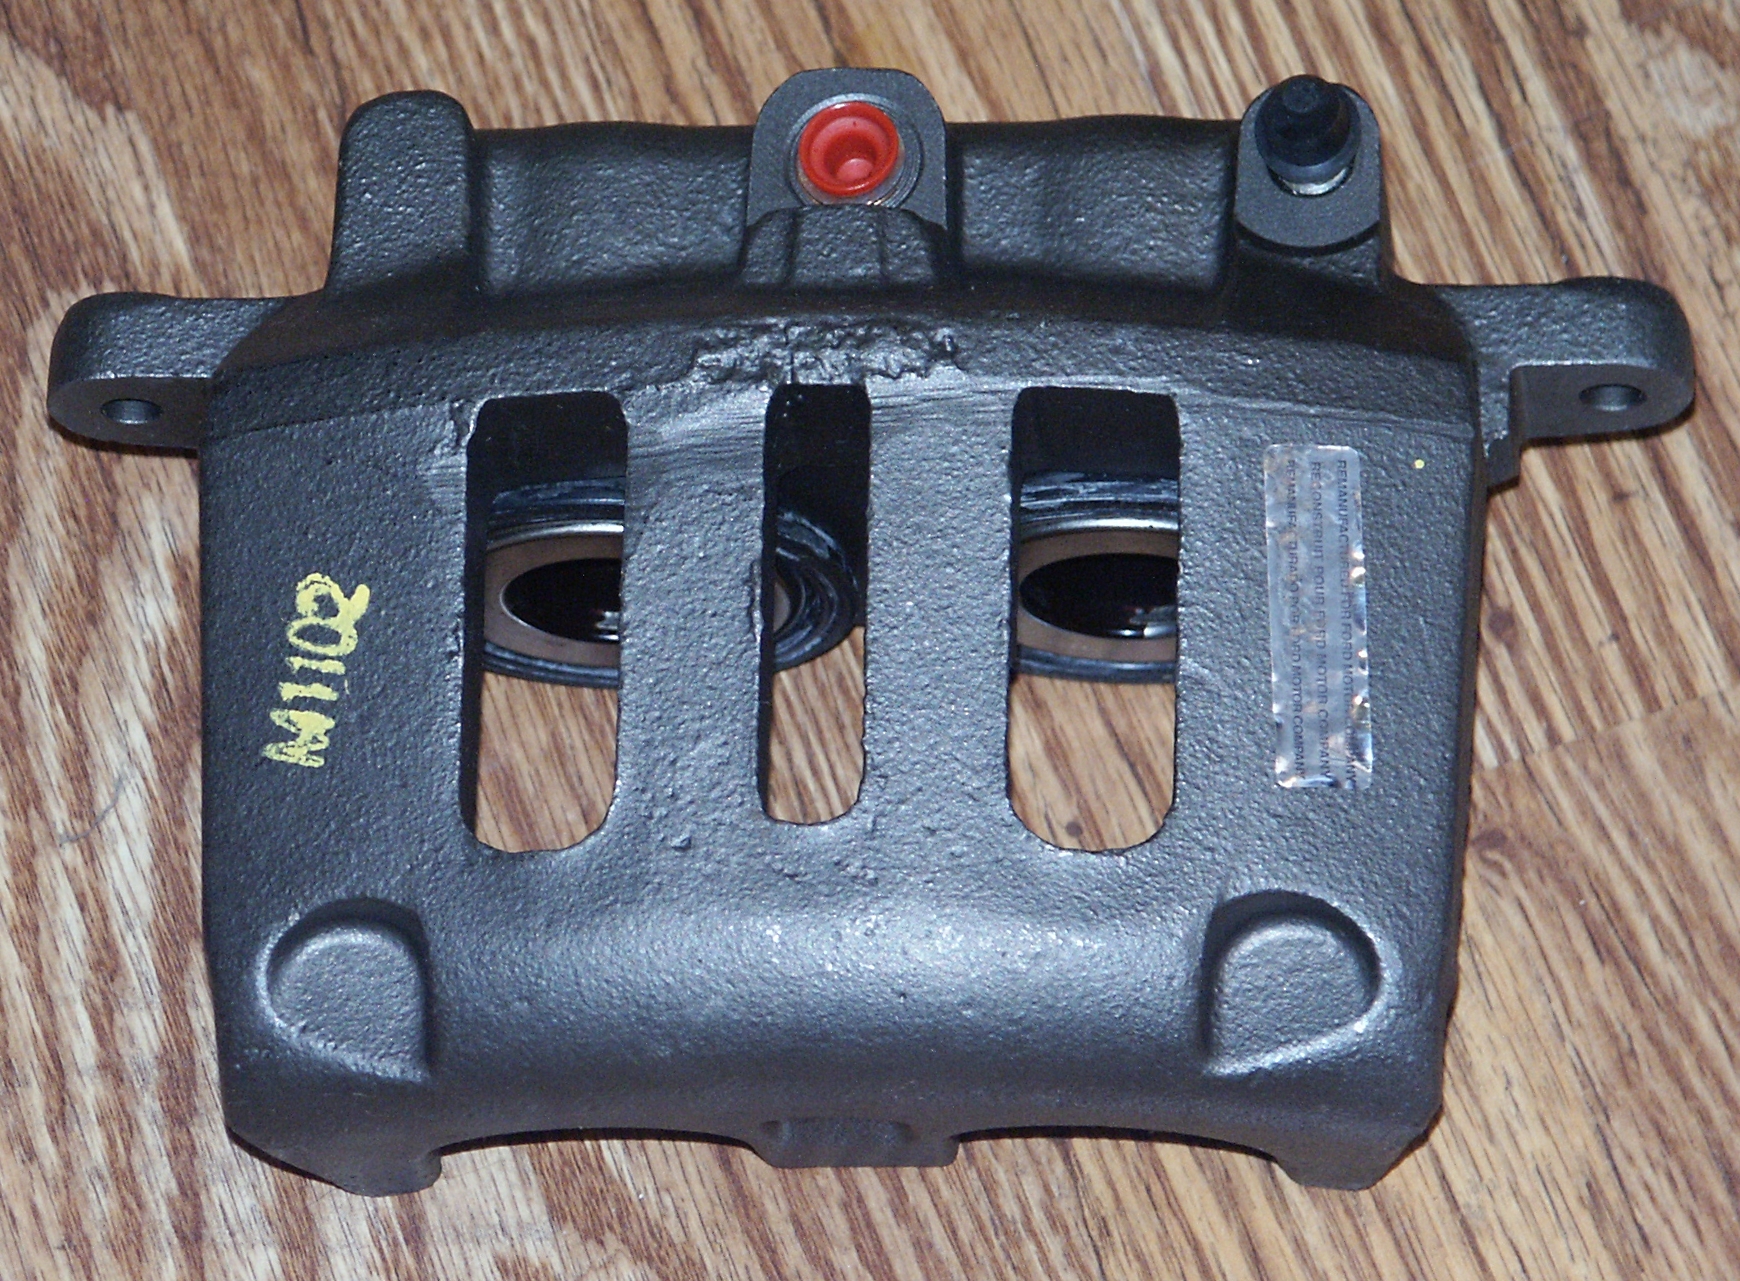
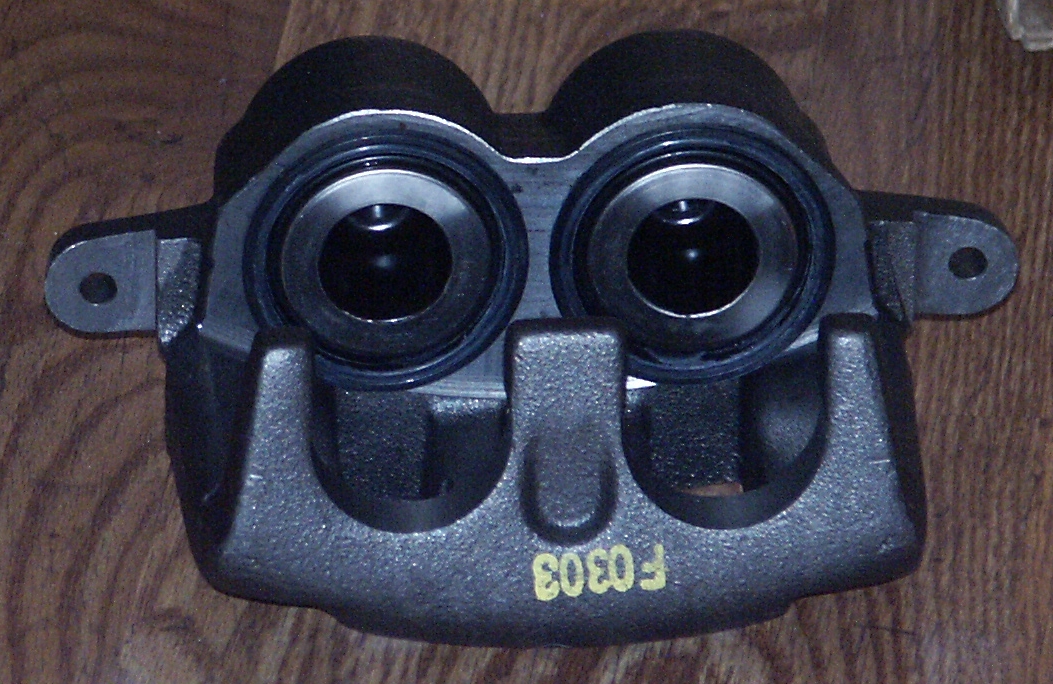
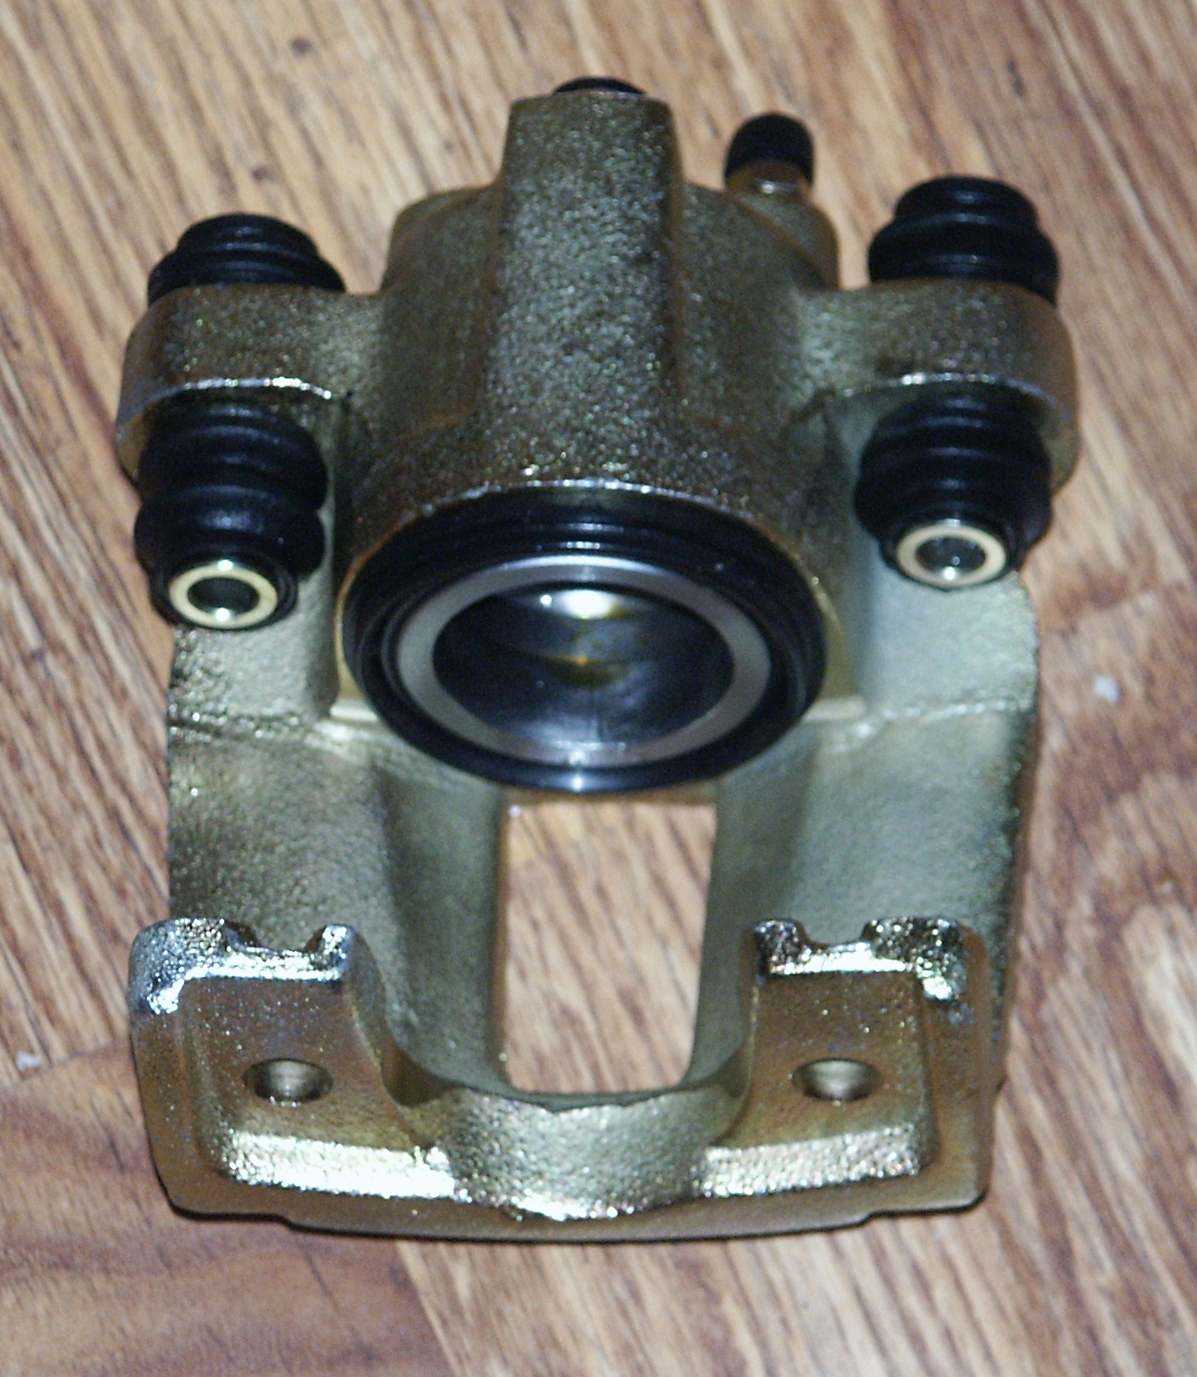
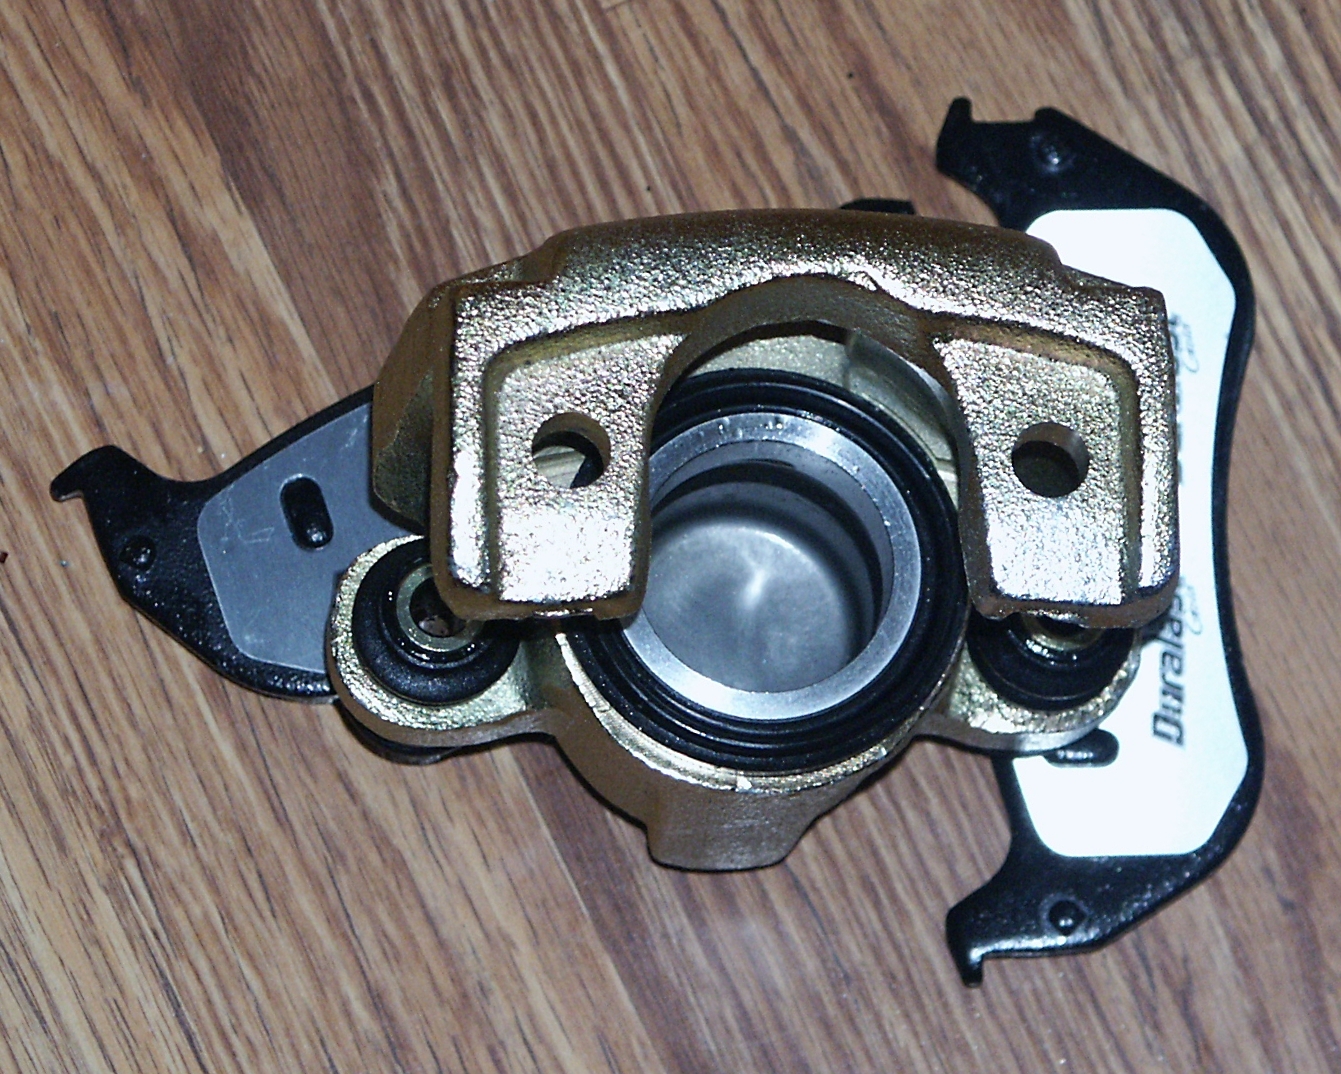
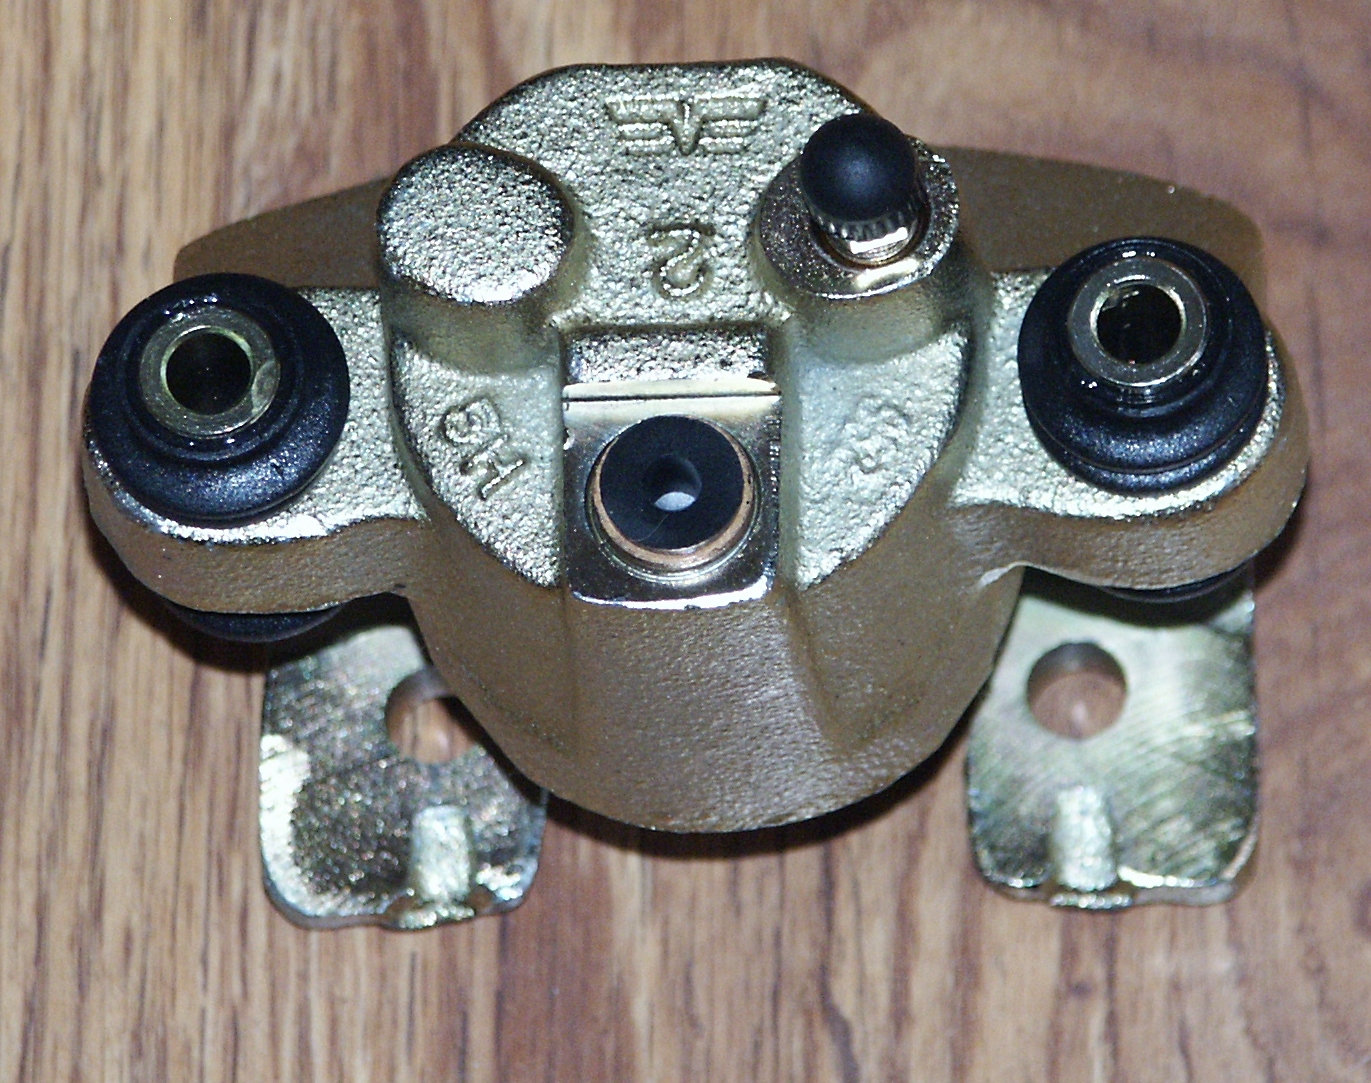
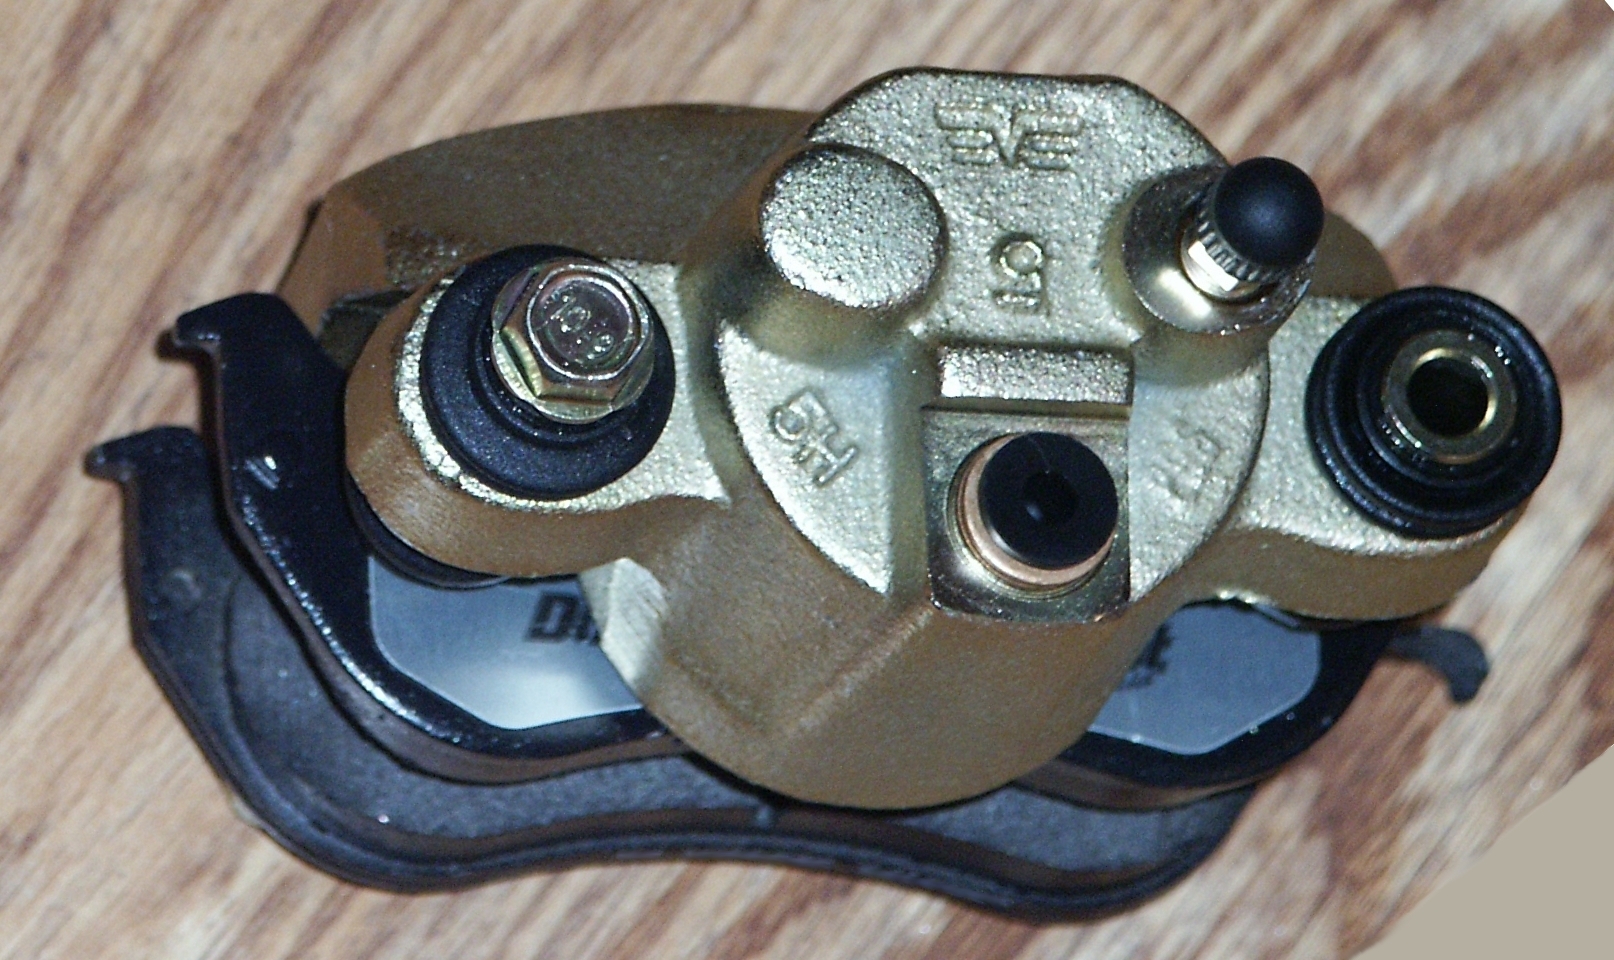
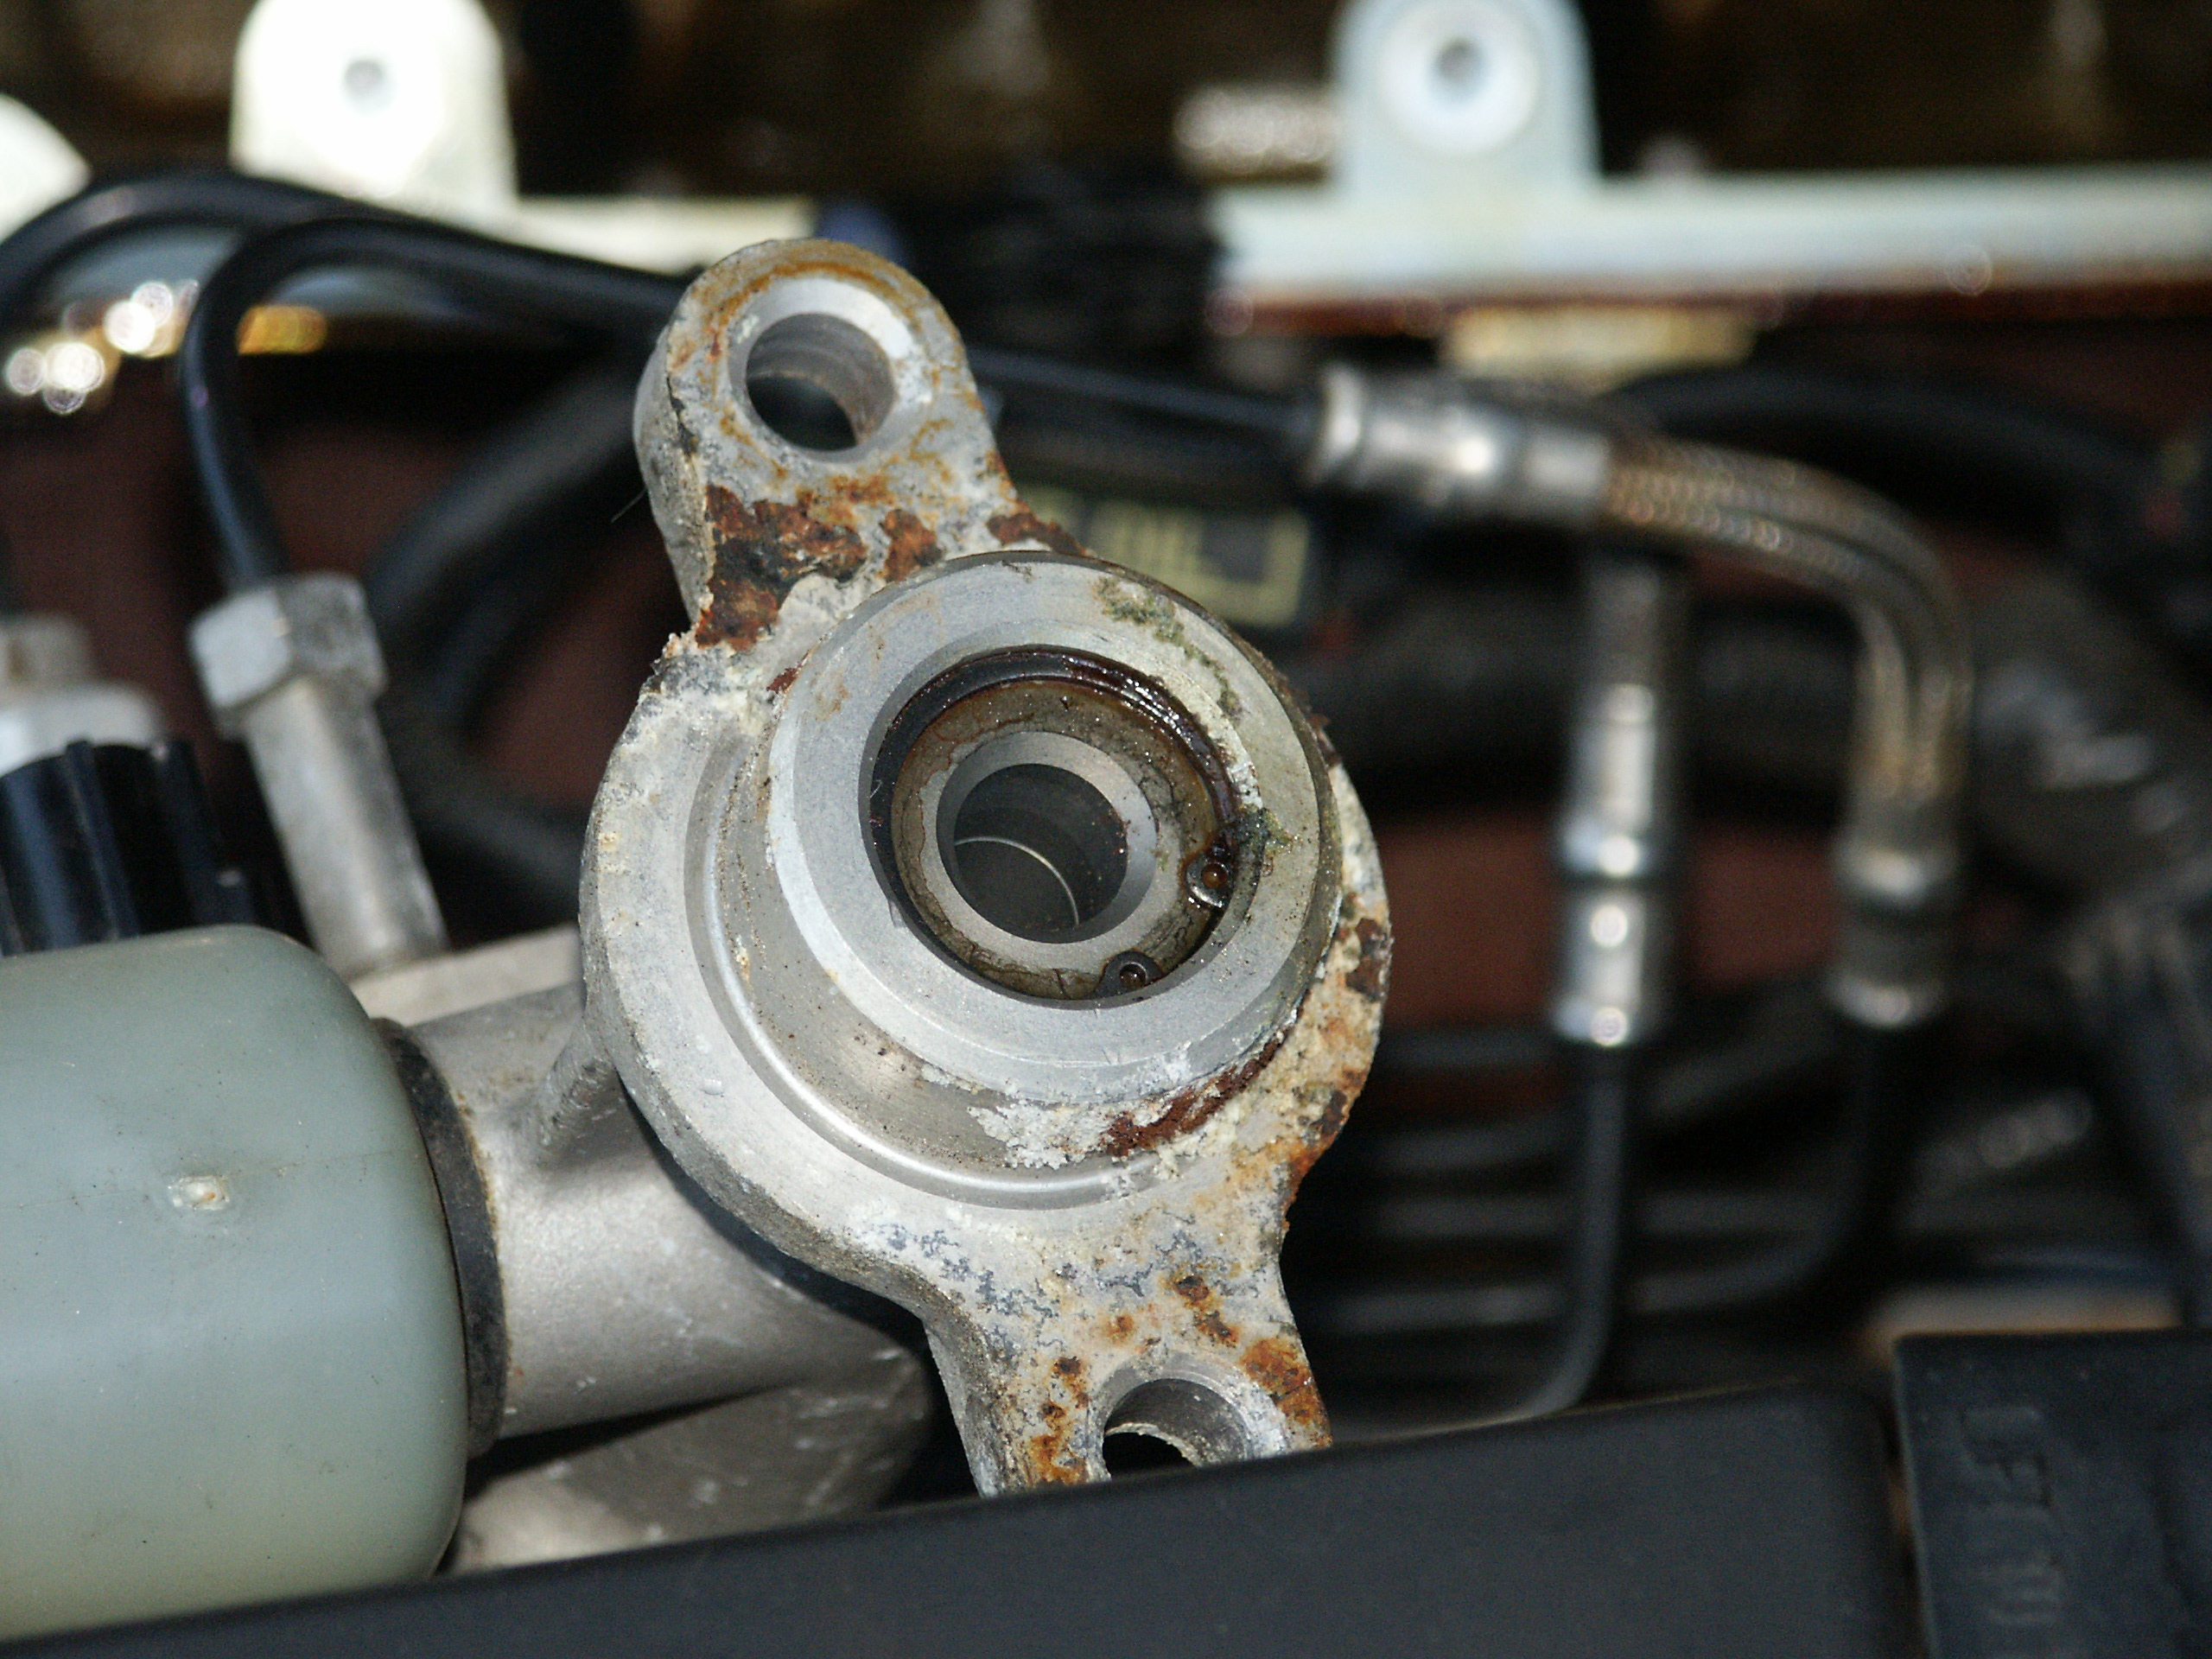
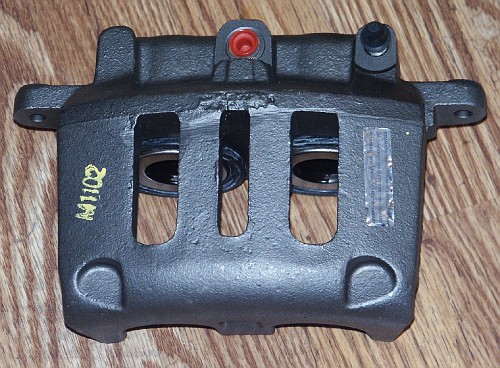
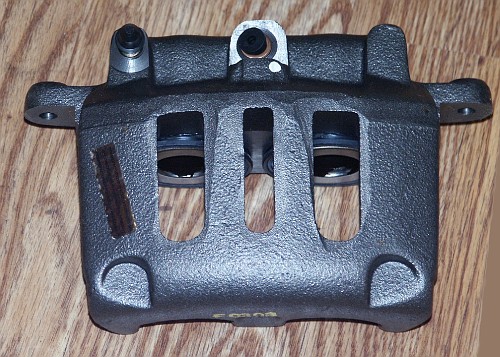
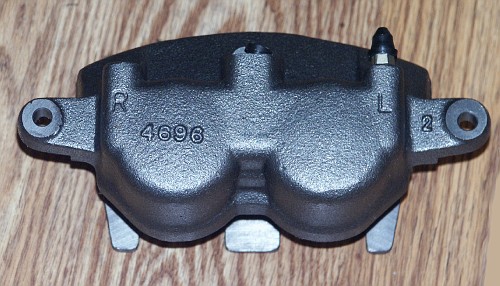
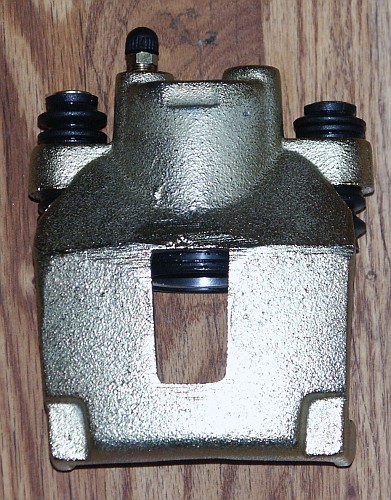
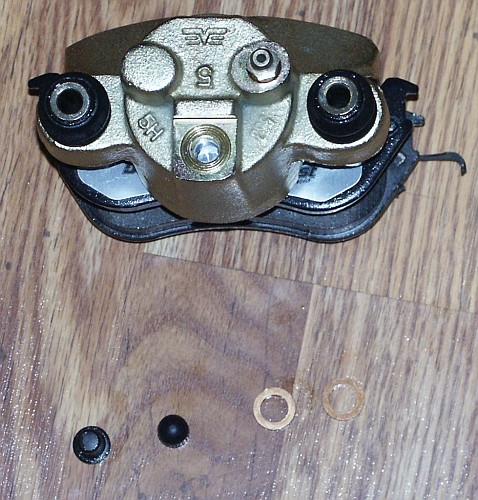
Here's where the brake flex hose would attach. And also where the brake
bleeder is located.

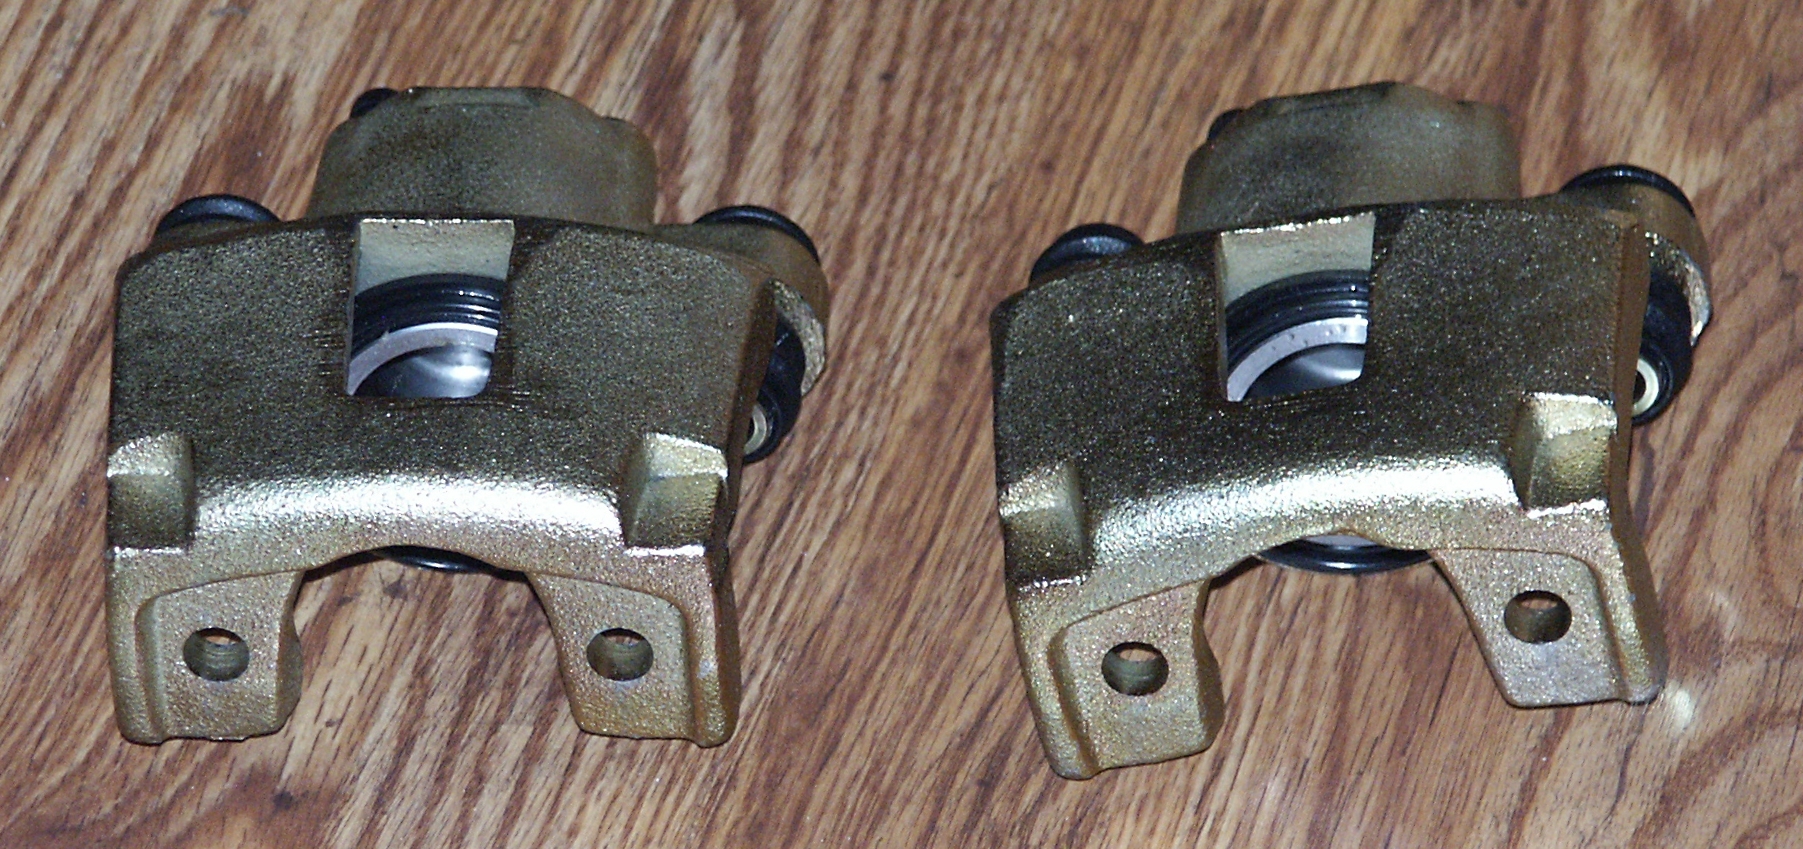
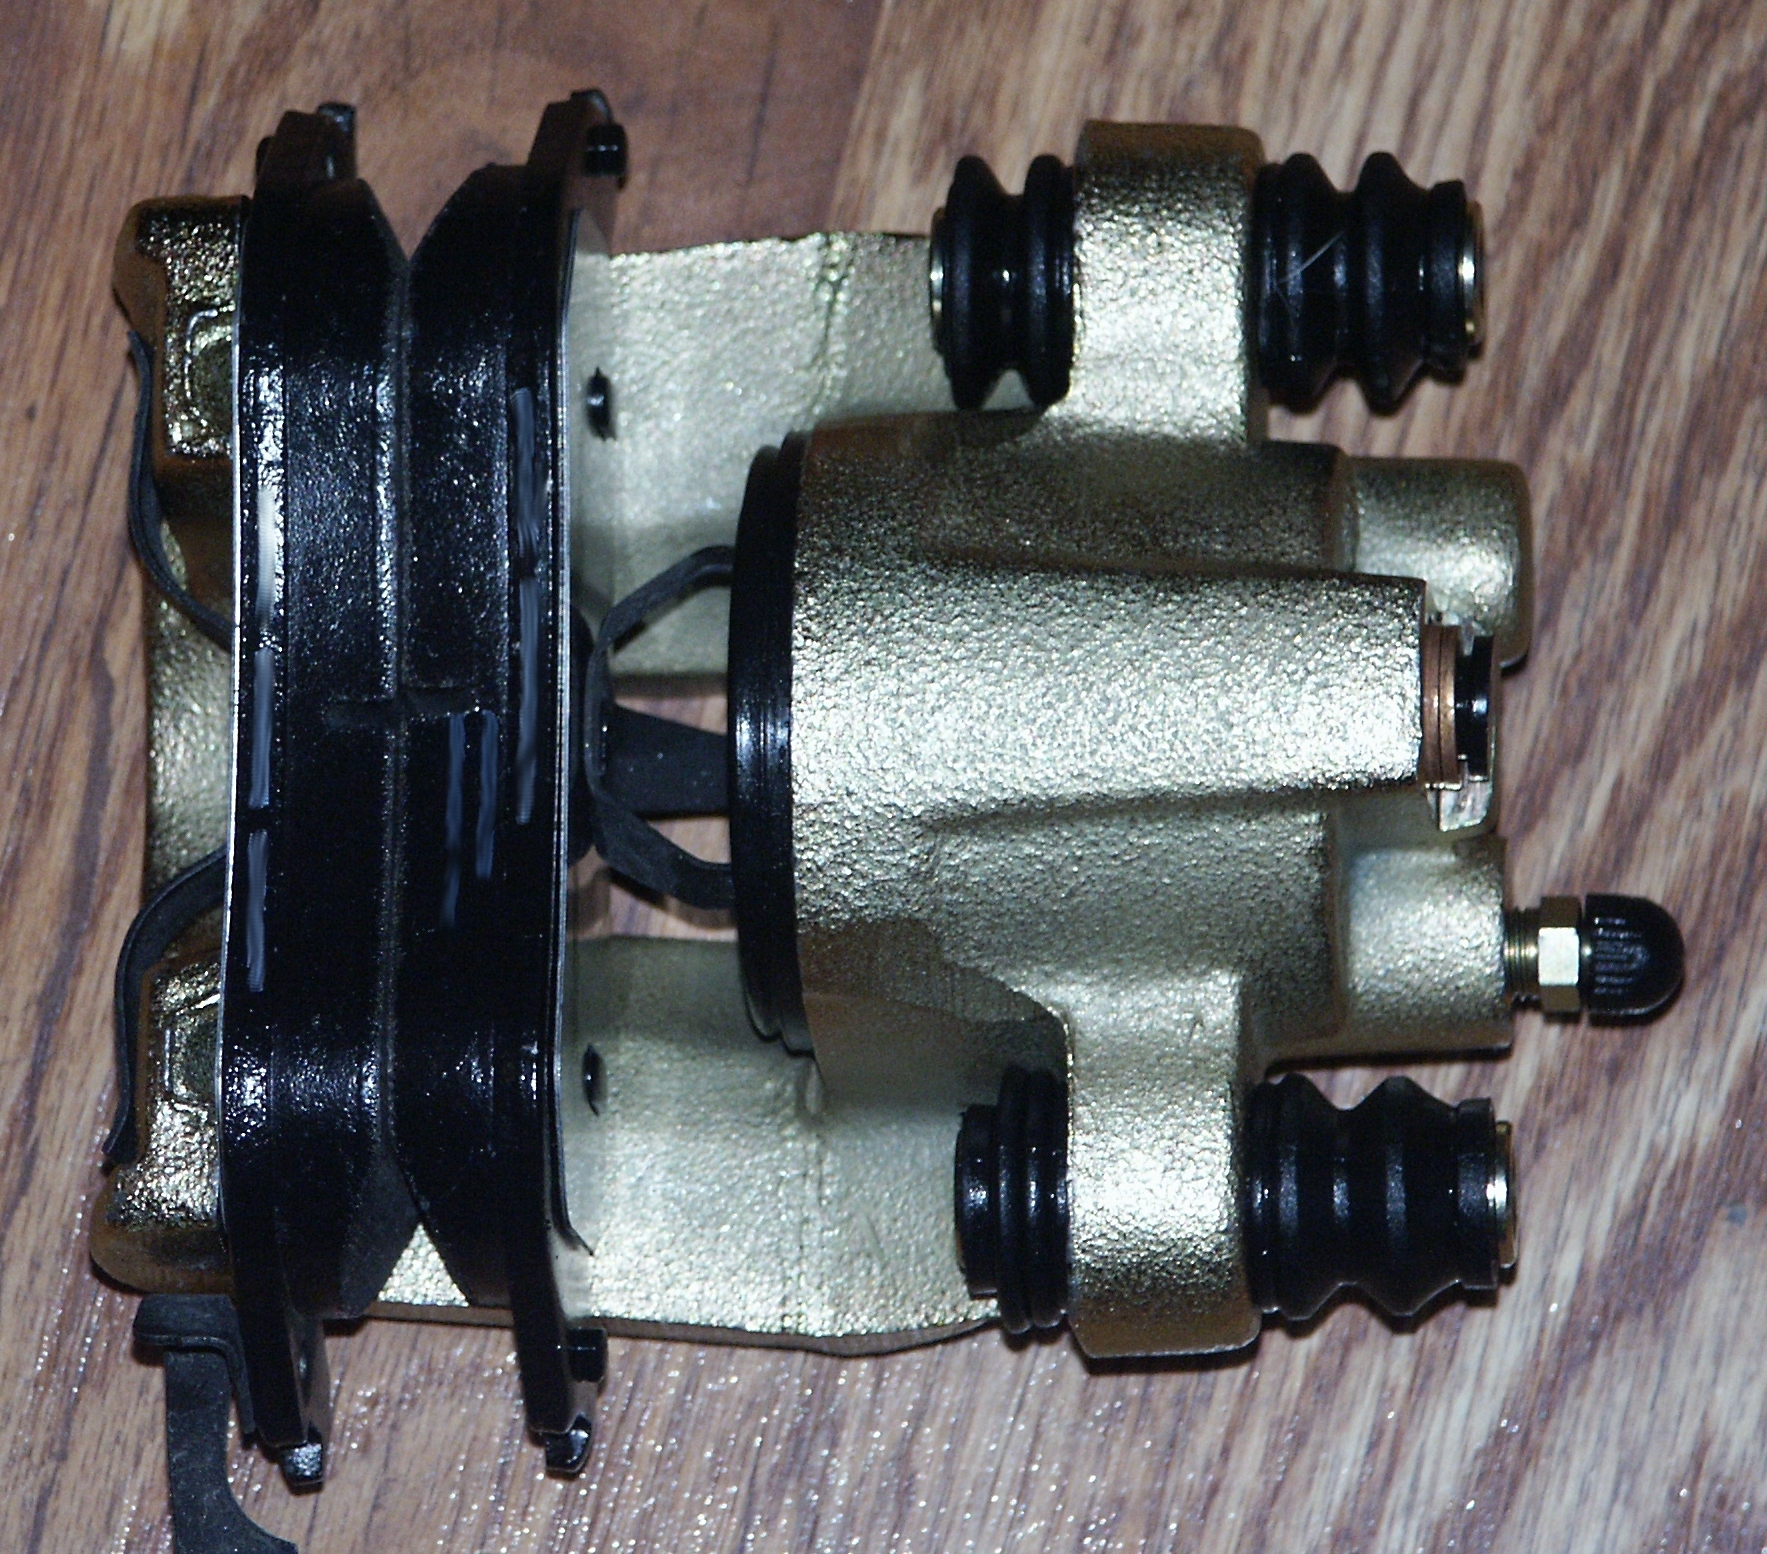
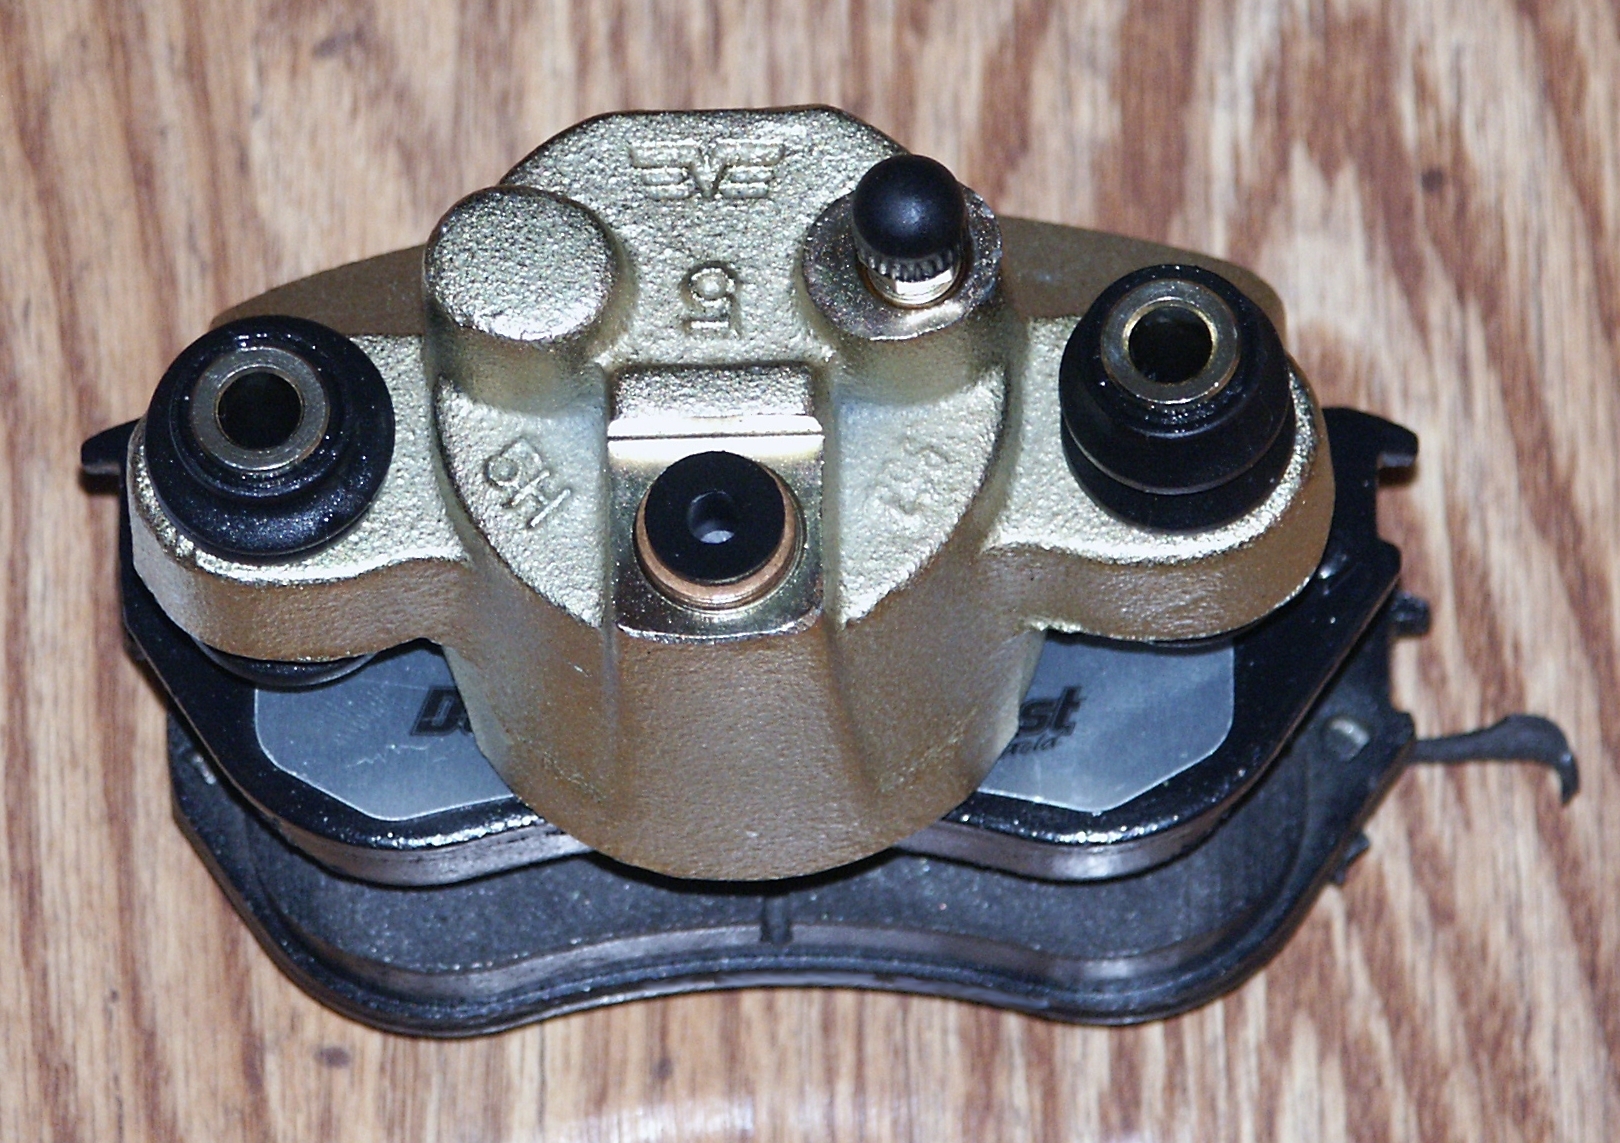
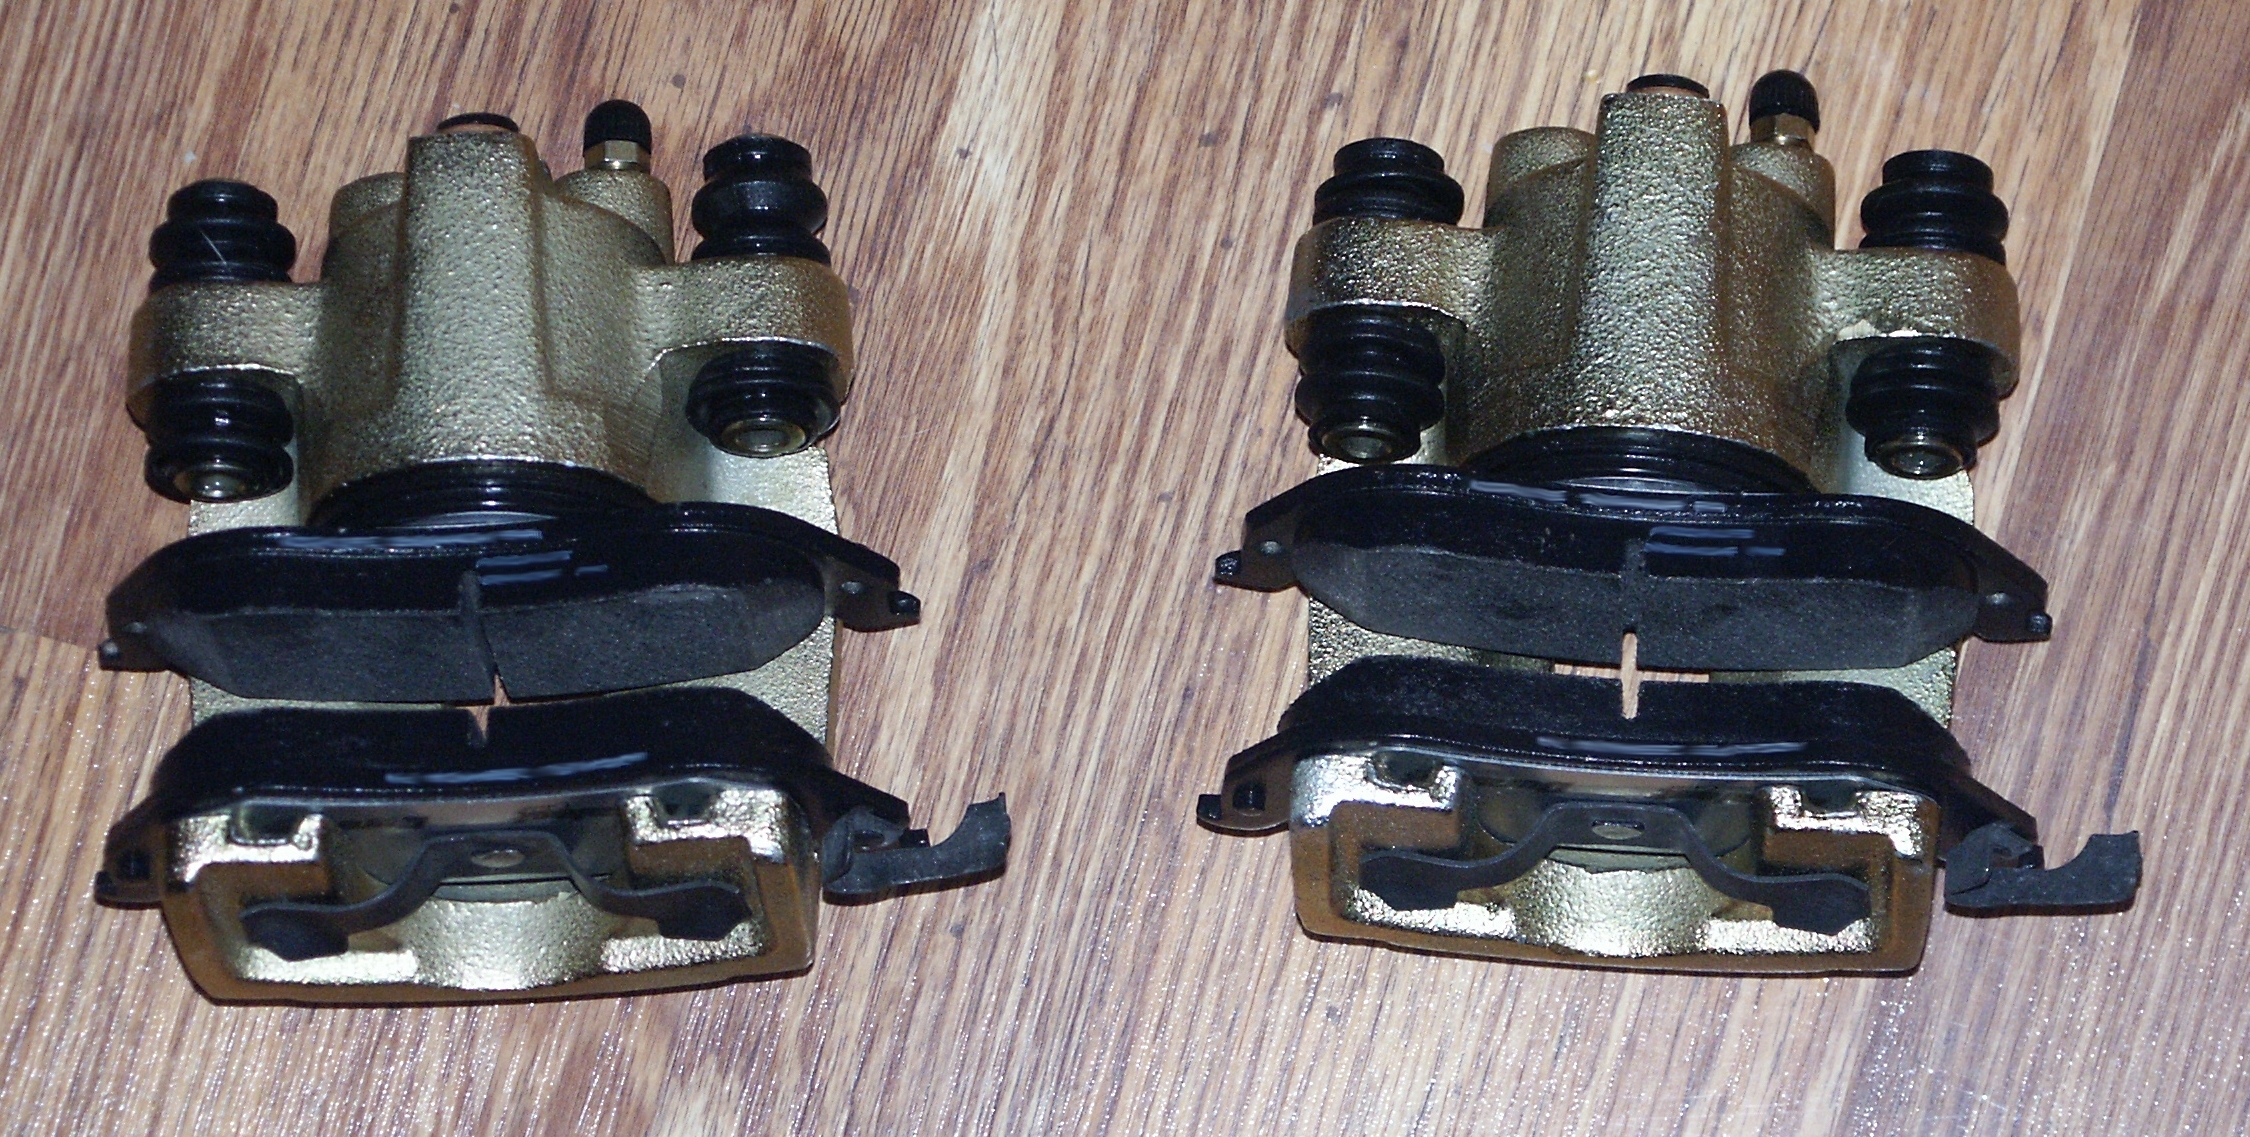
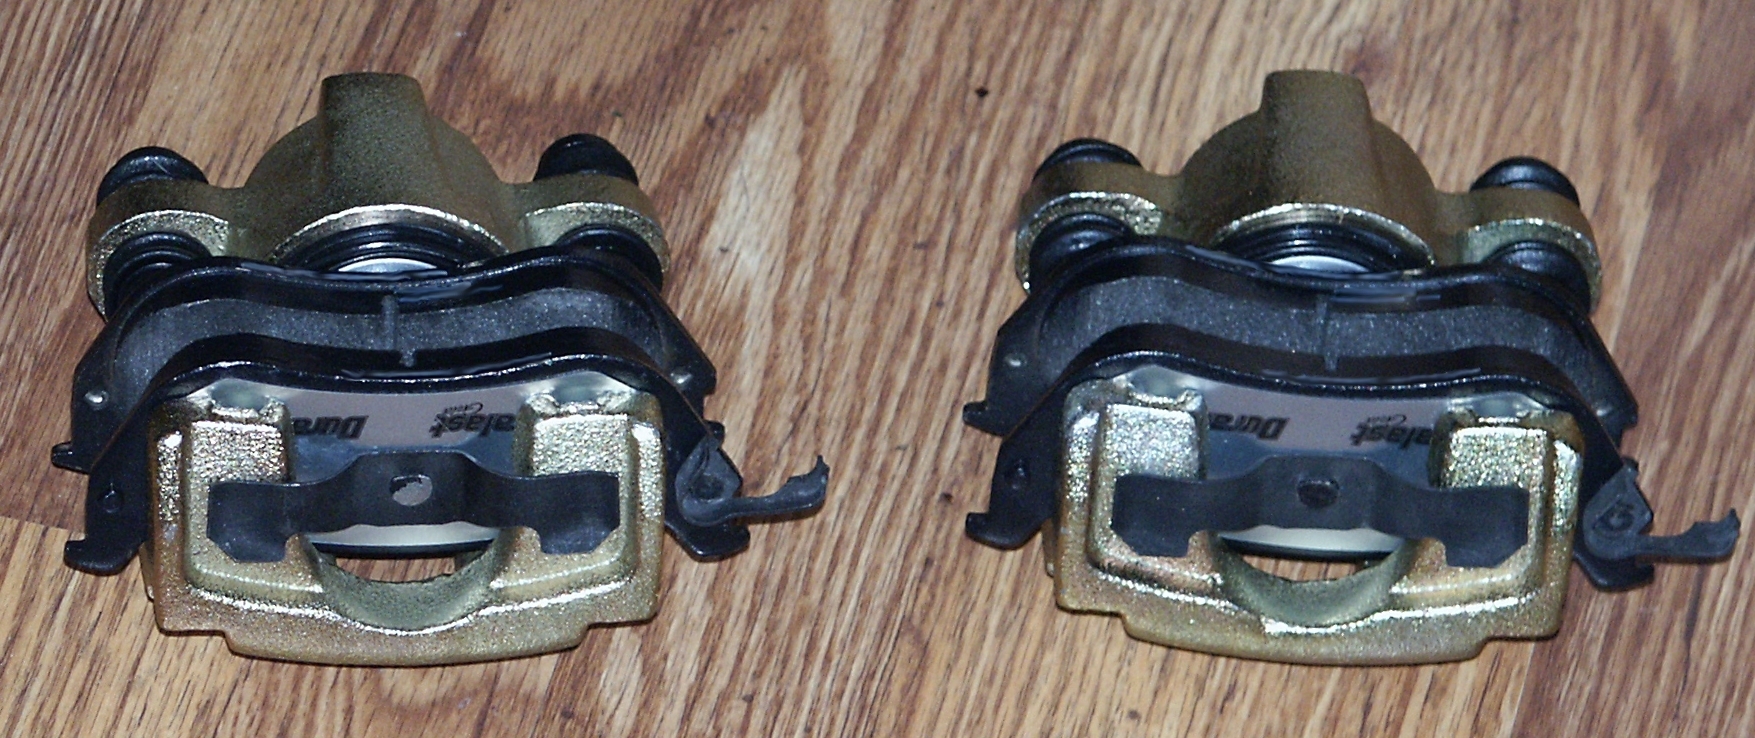
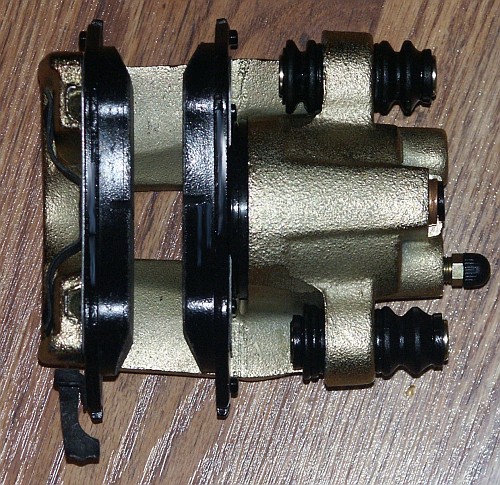
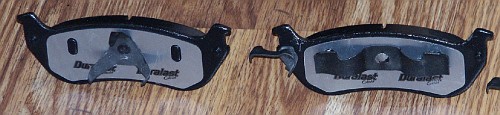
To install brake pads, first insert the pad that clips onto the piston


There is insufficent space to install new brake pads into the caliper
if the outside pad is first inserted


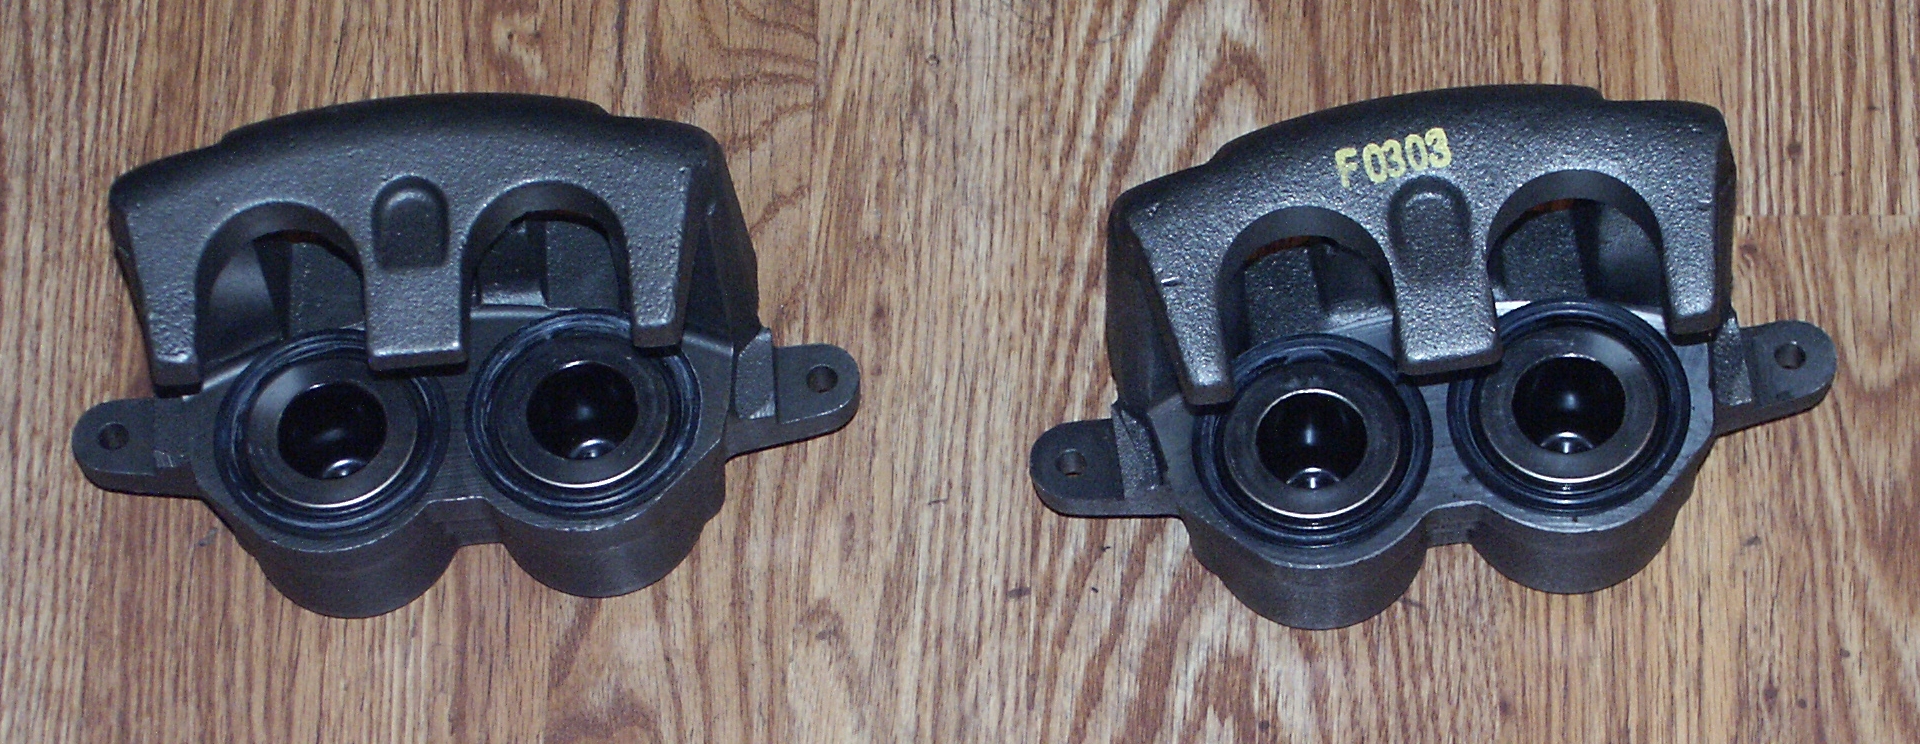
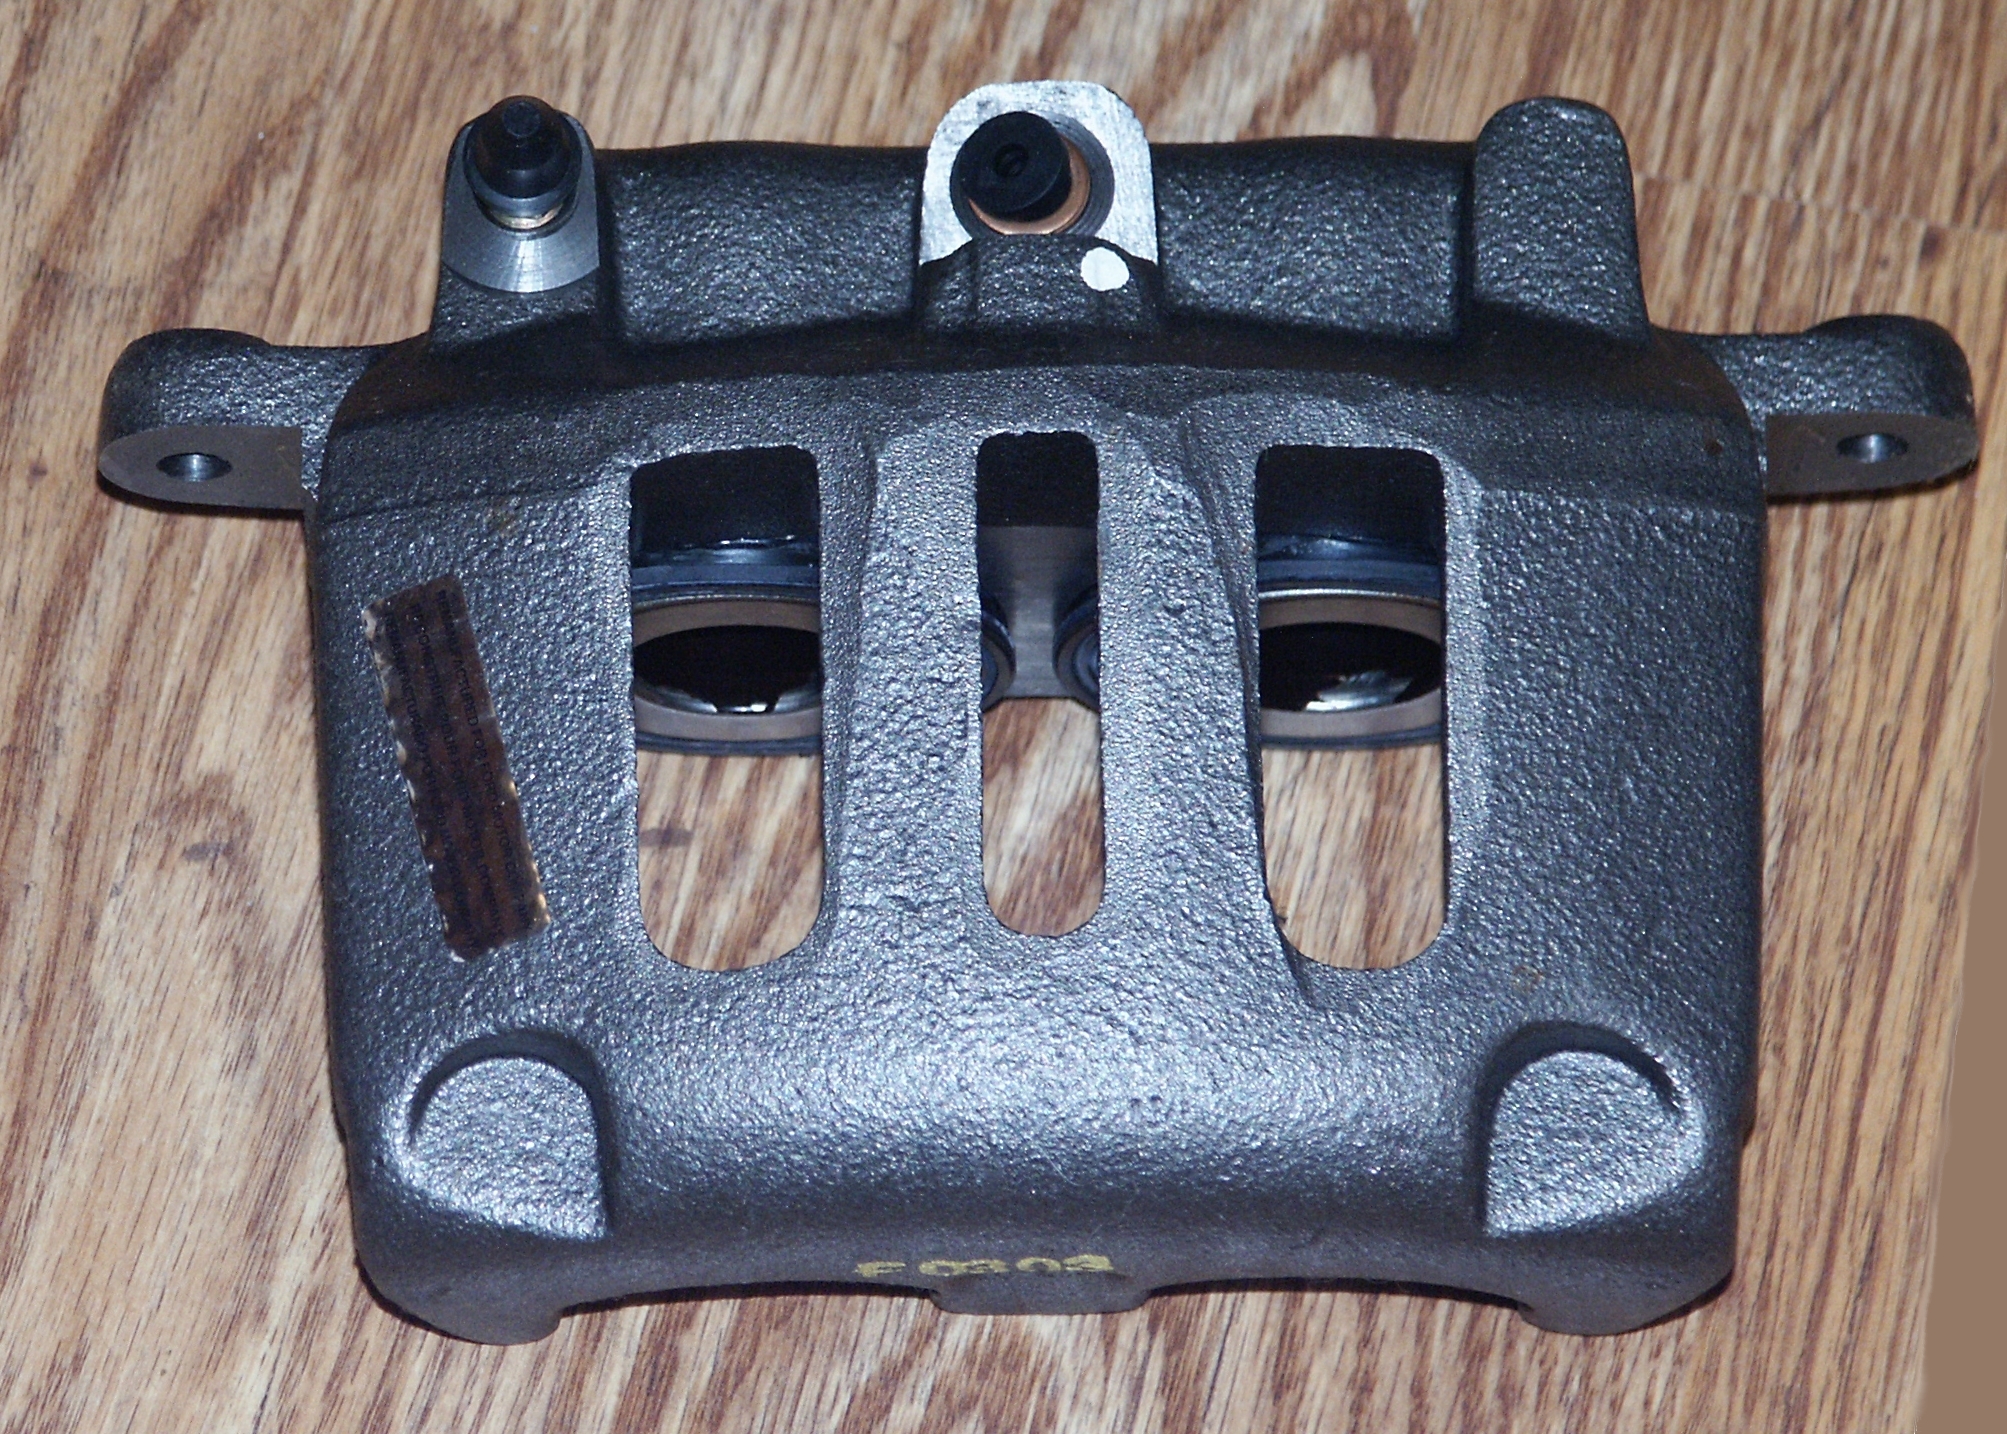
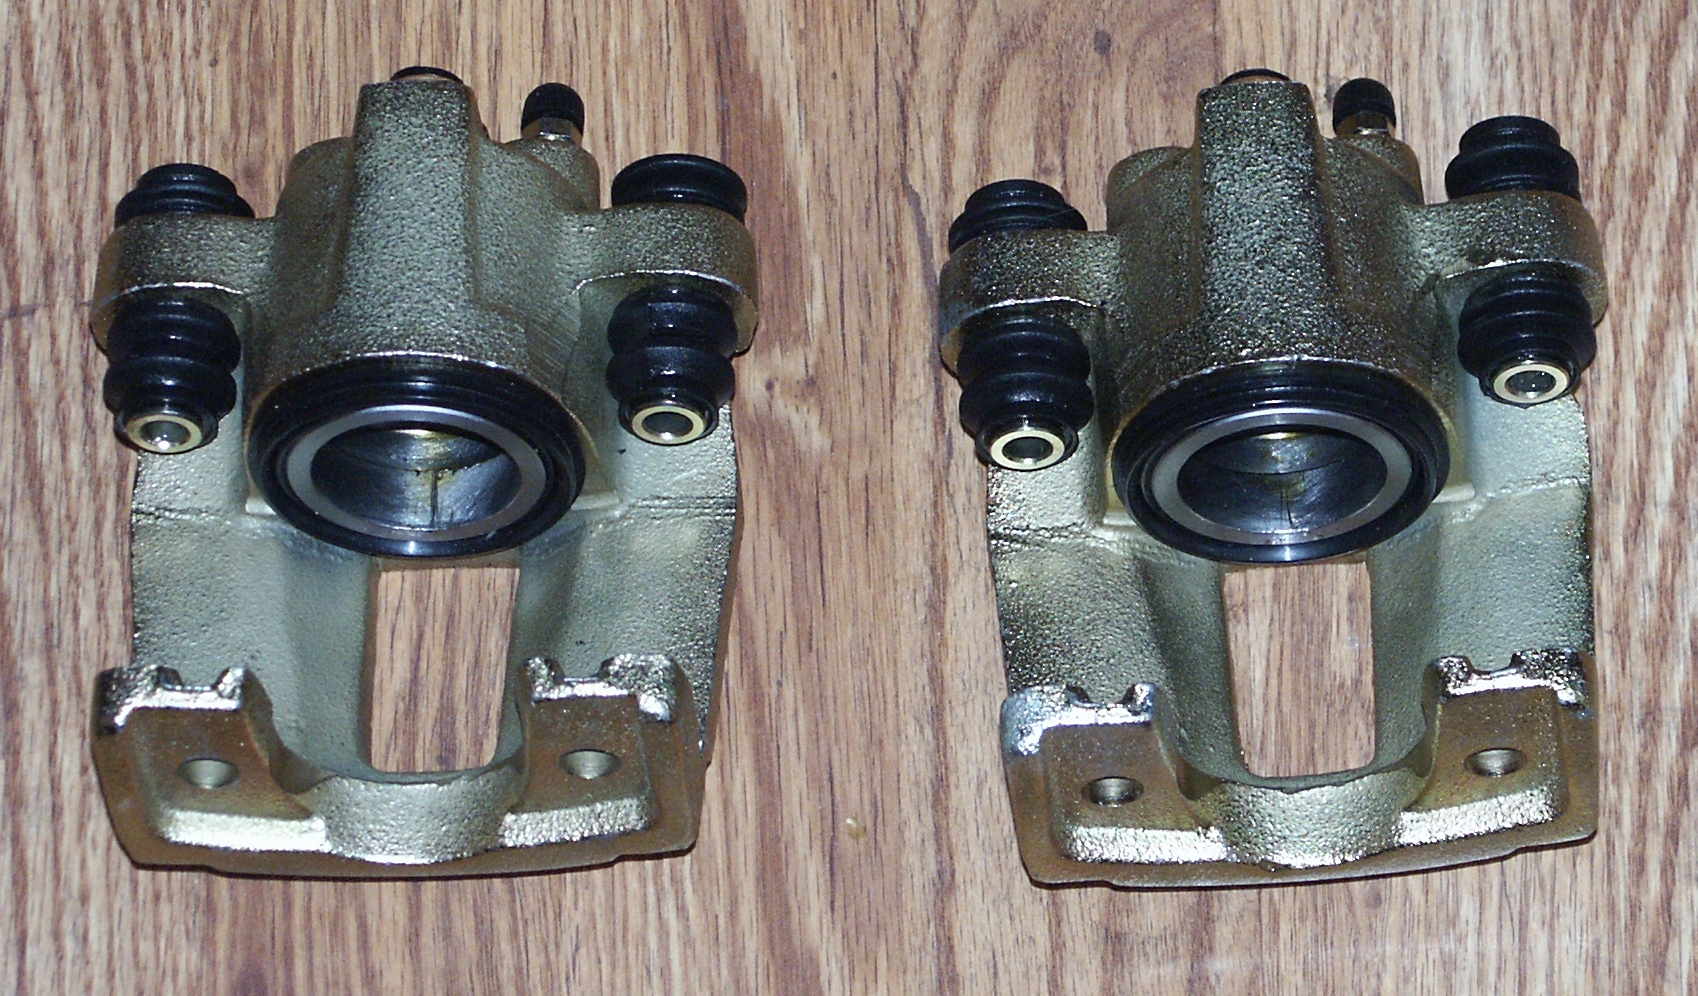
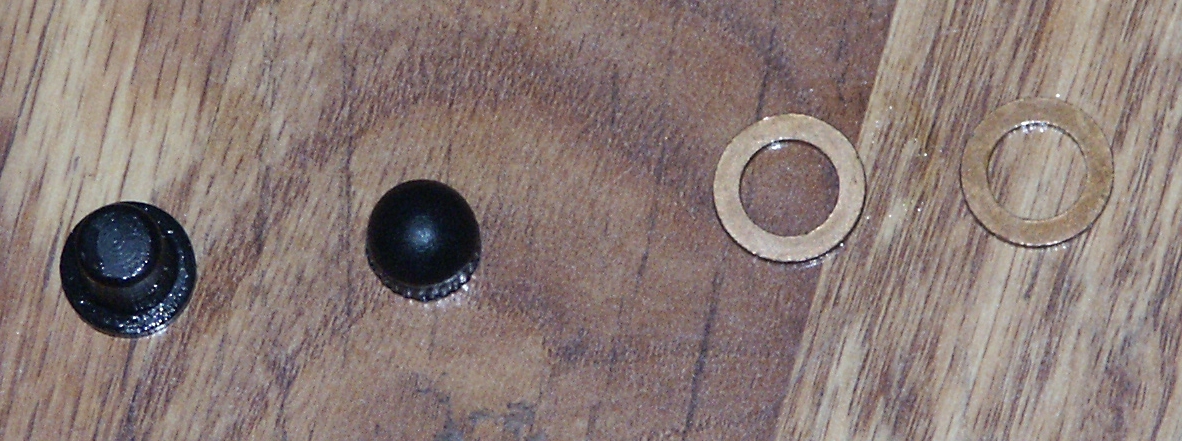
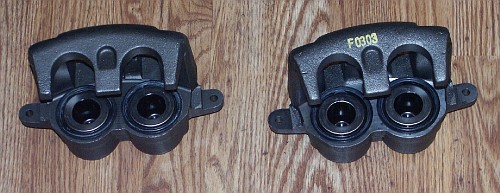
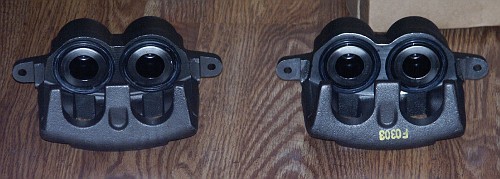
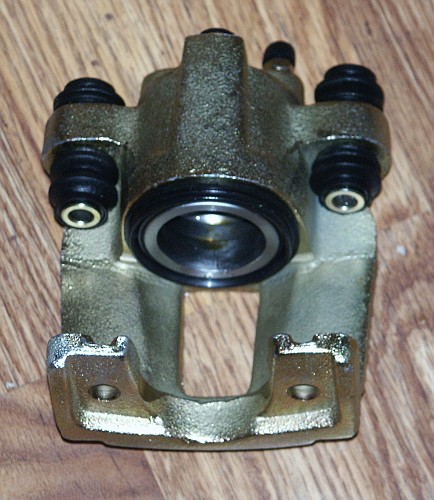
To help keep brake caliper internal parts from rusting, the brake hose
connection point on the caliper has a rubber plug with grease inserted
into it. Also, the copper crush washers are placed on this plug so that
they do not get lost during transit.
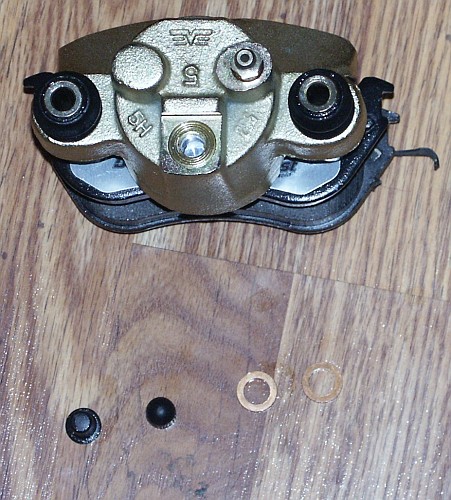
The silver colored dot inside the brake hose connection hole is the
back of the caliper piston
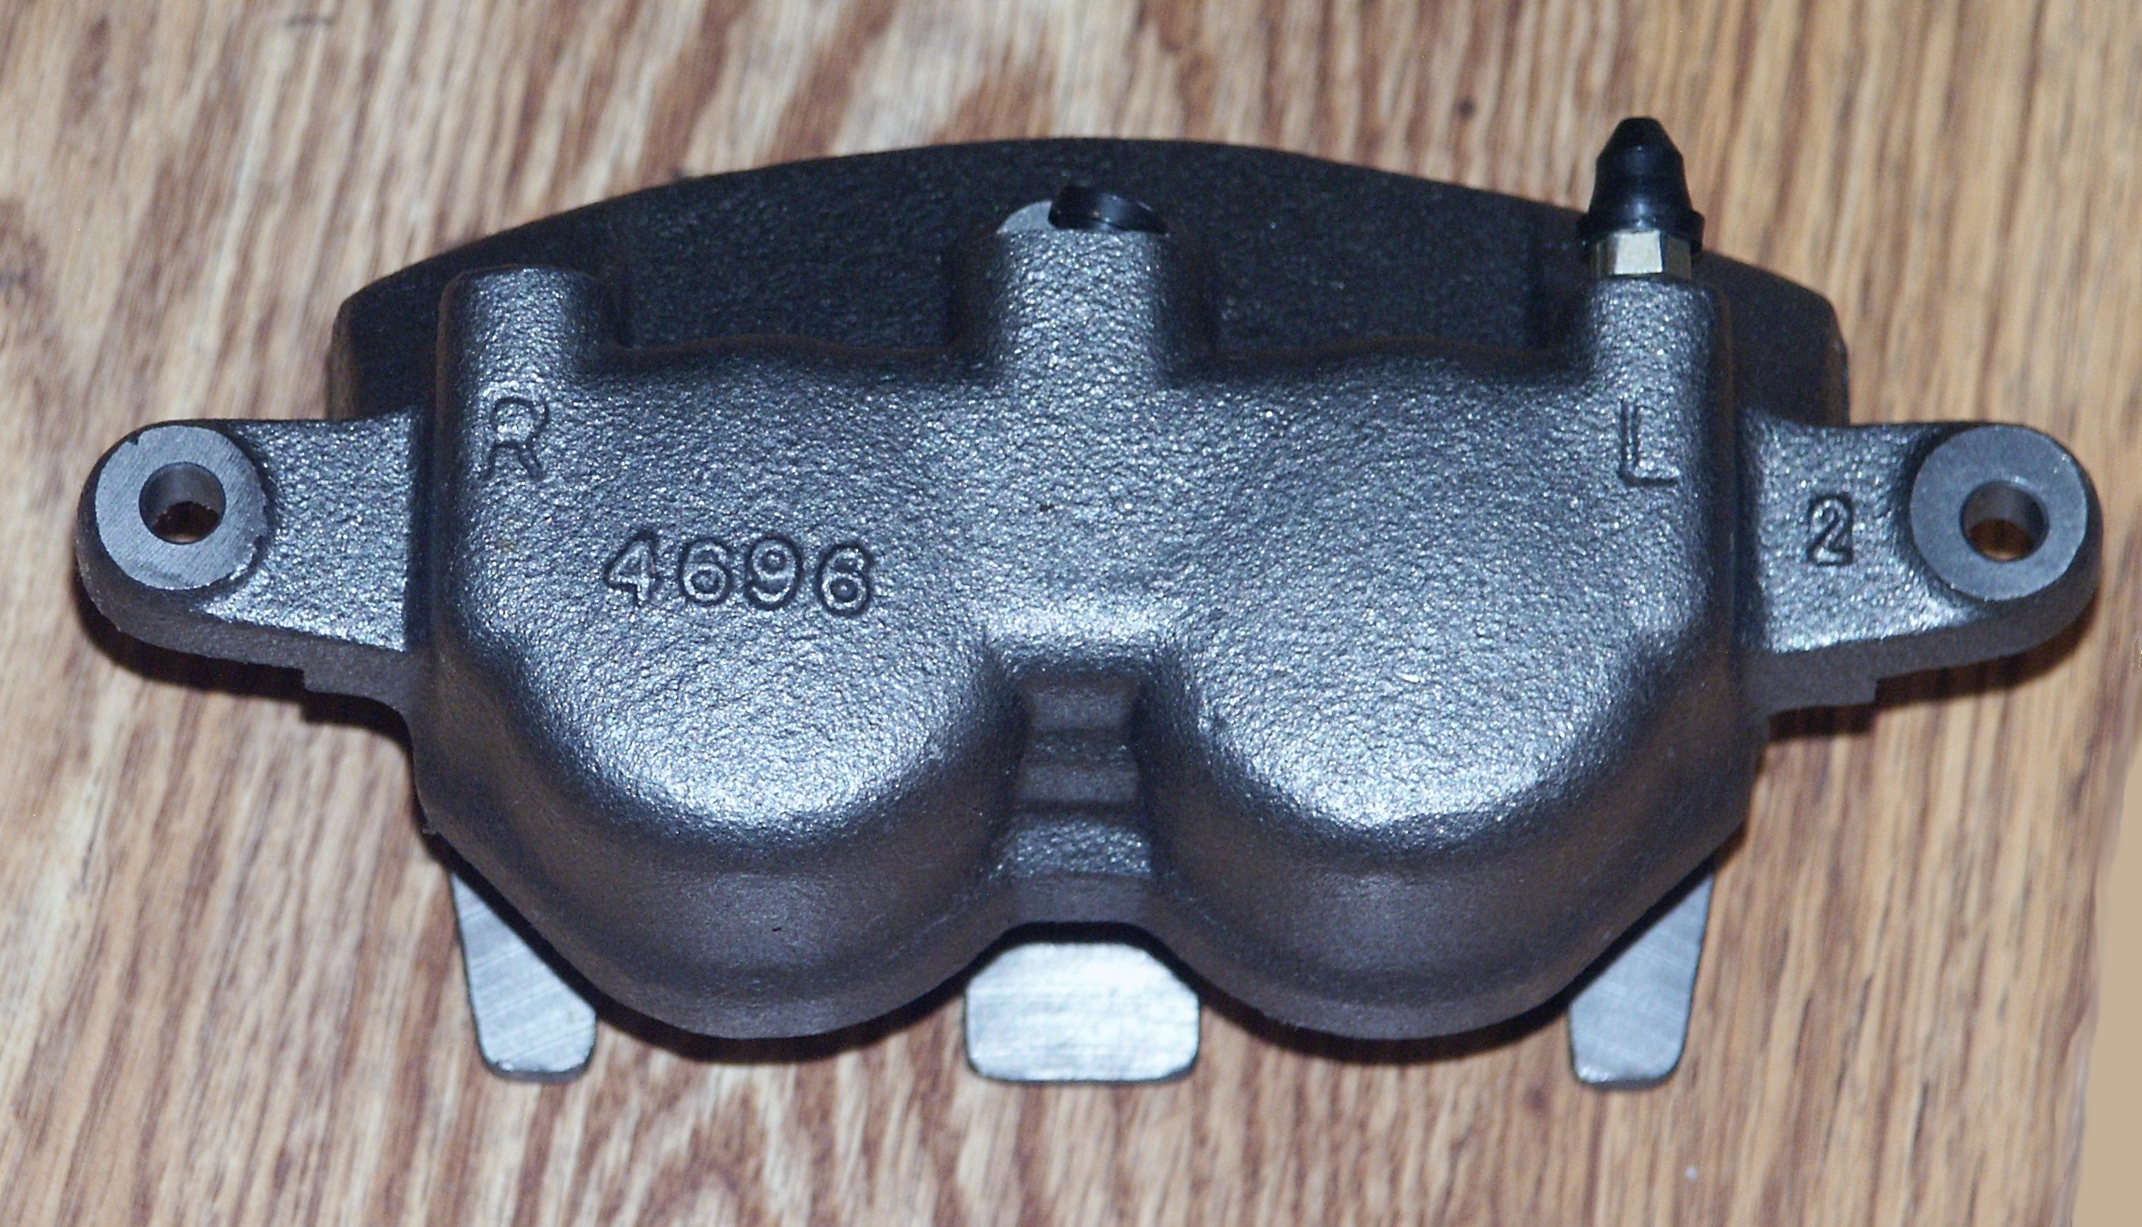
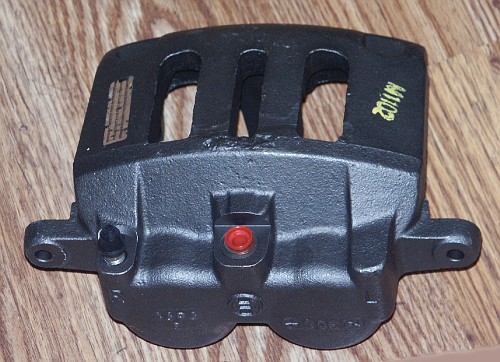
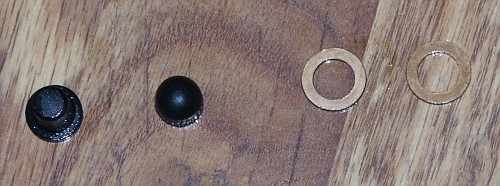
Here's a closeup of the brake bleeder cover, the temporary plug for the
hose connection hole, and the two banjo bolt washers
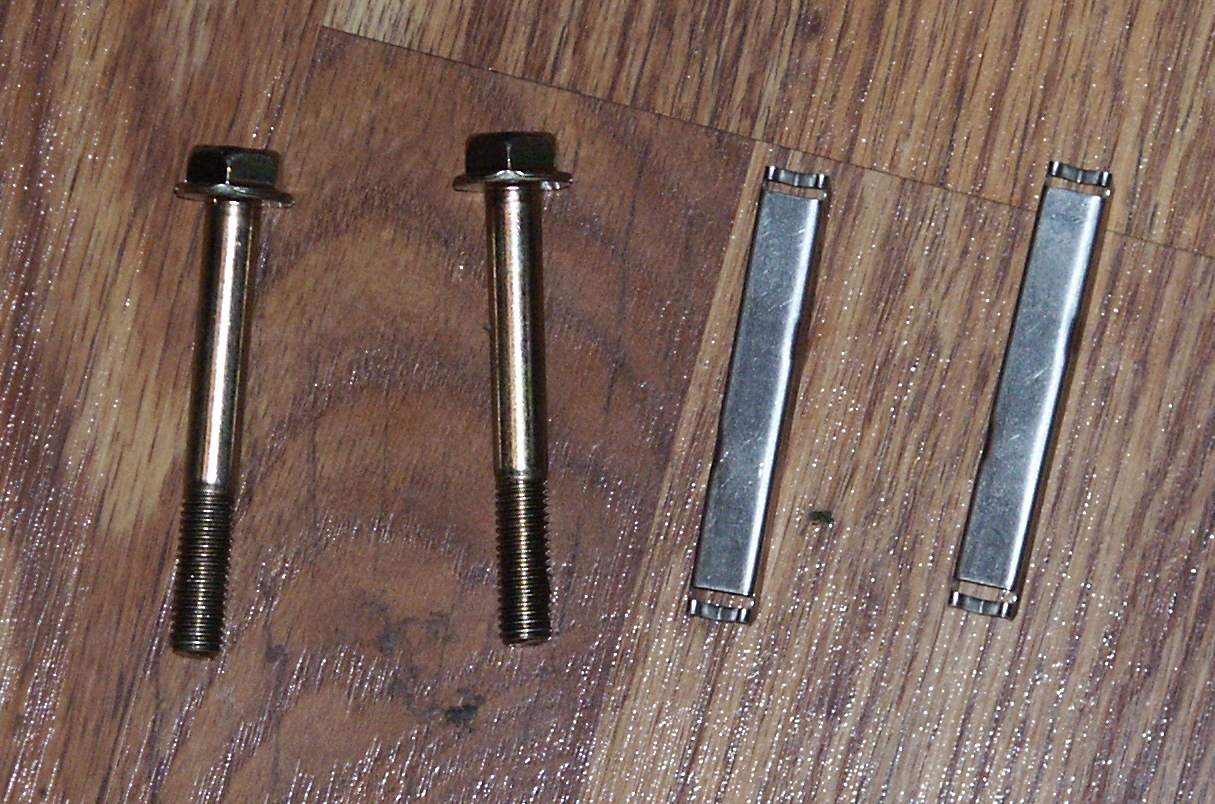
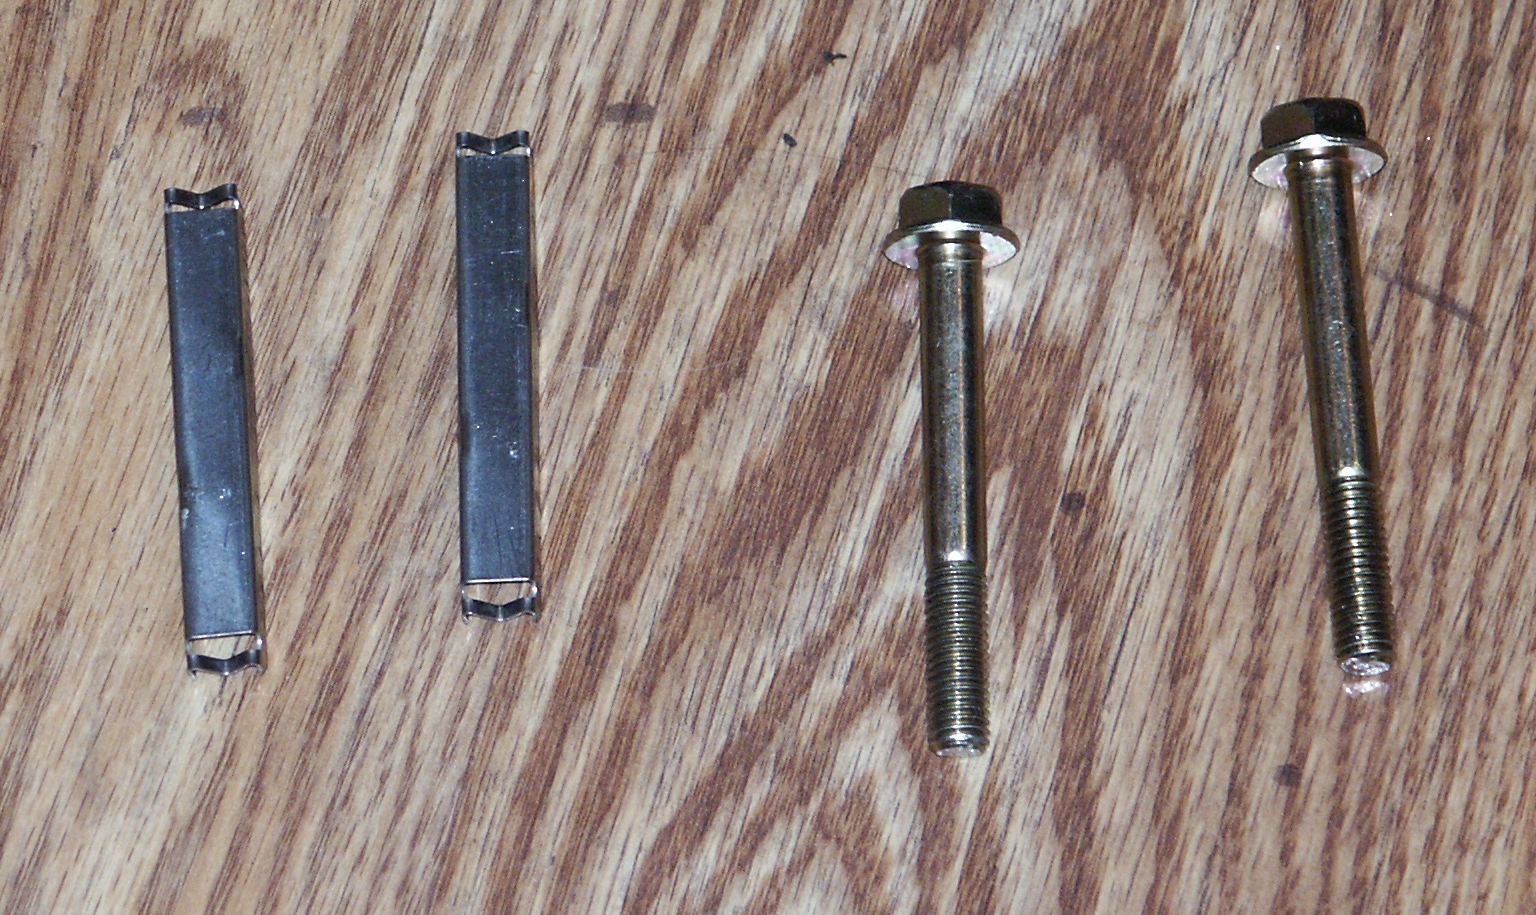
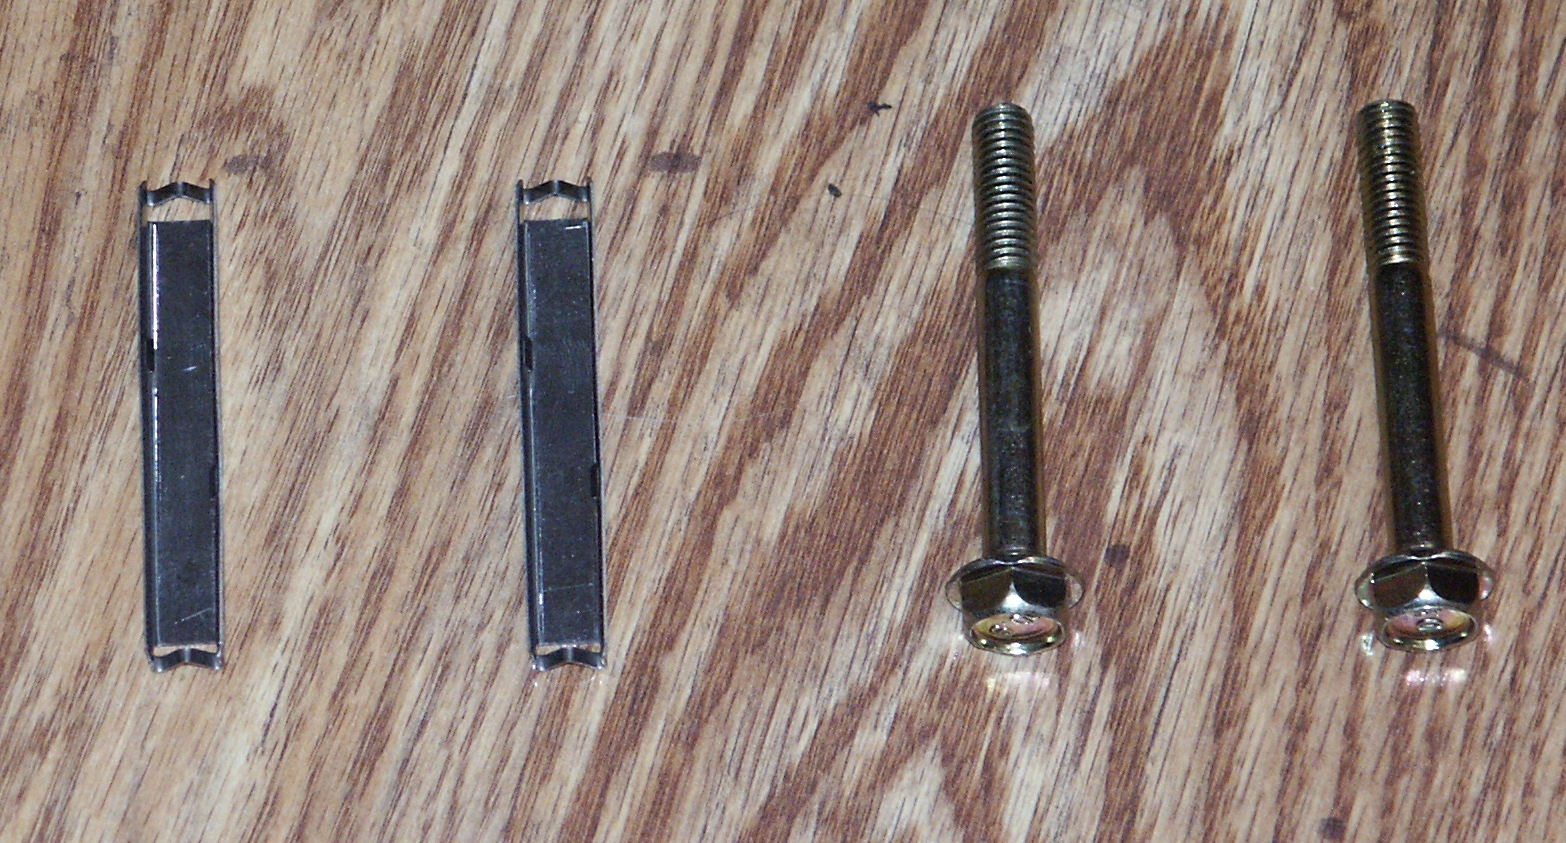
These semi-loaded calipers came with new slider hardware too.
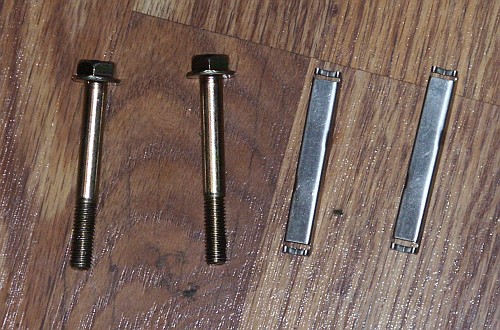
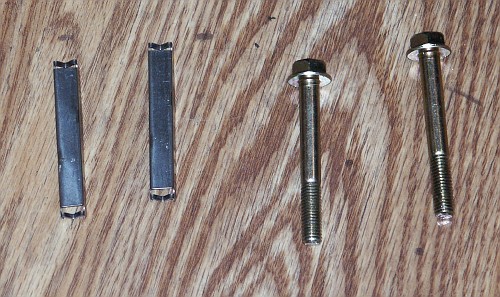
The replacement bolts have 13mm head. The original equipment bolts on
the 1998 crownvic had 10mm heads.
Some crownvics use rear caliper slider bolts with inverted torx heads
instead too.
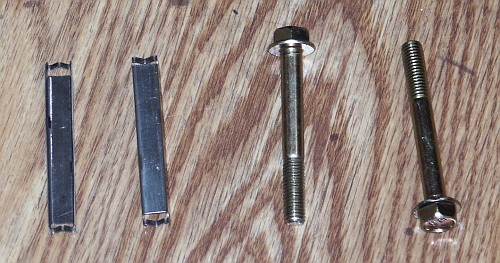
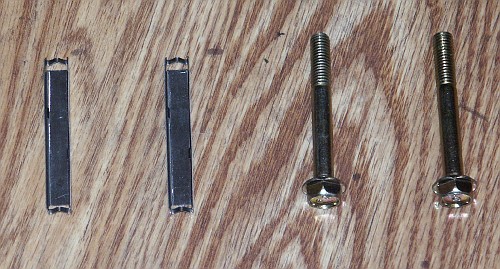
The bolts are 10.9 hardness grade

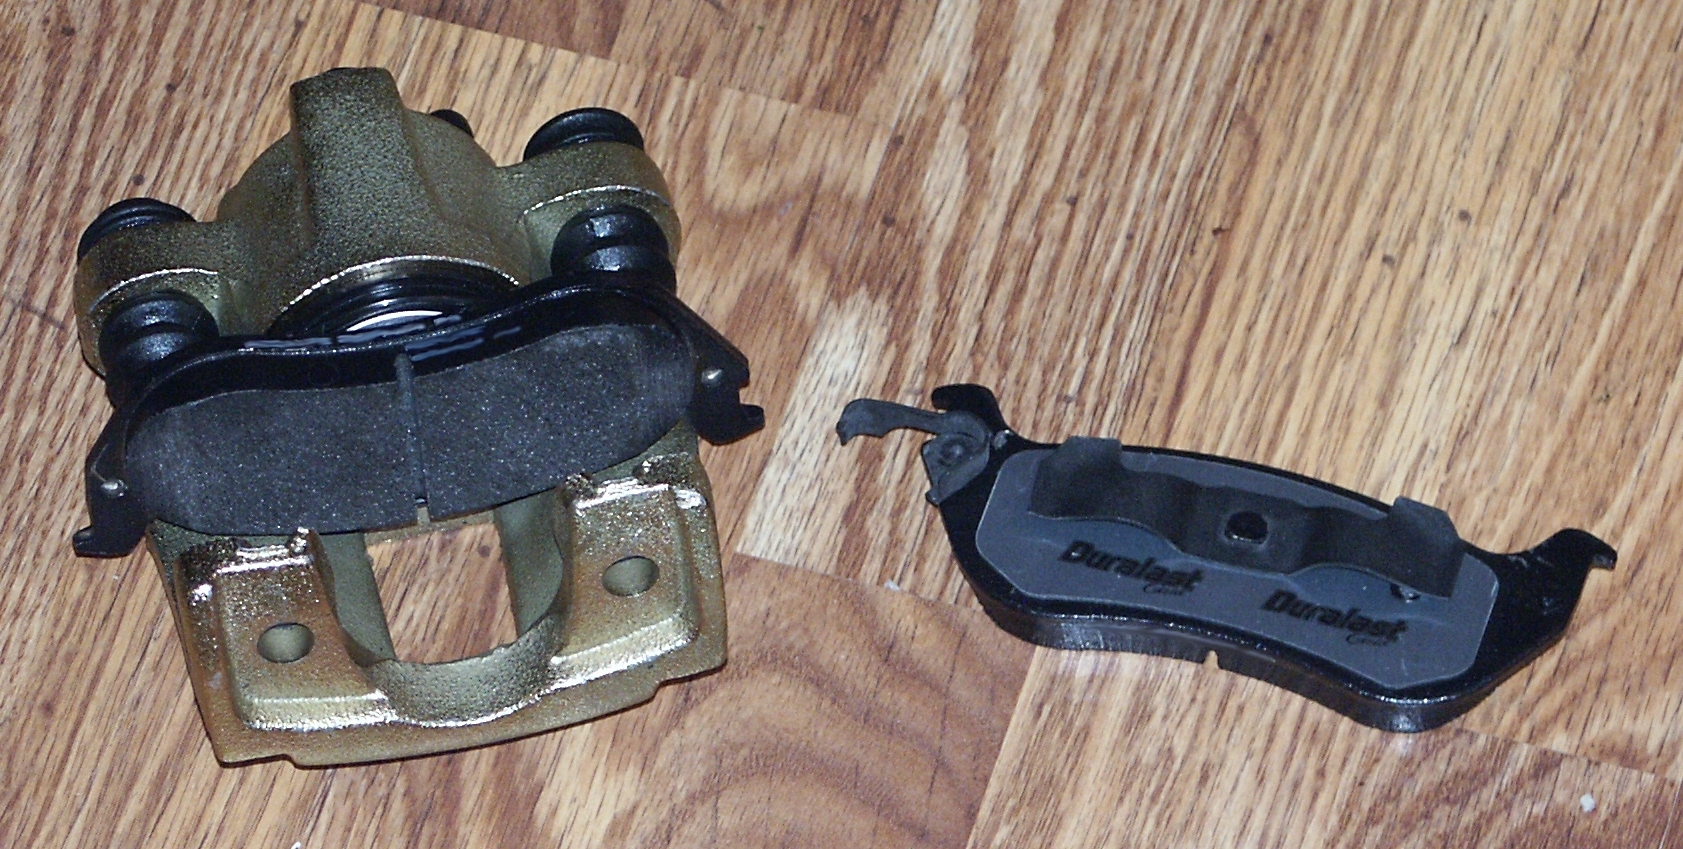
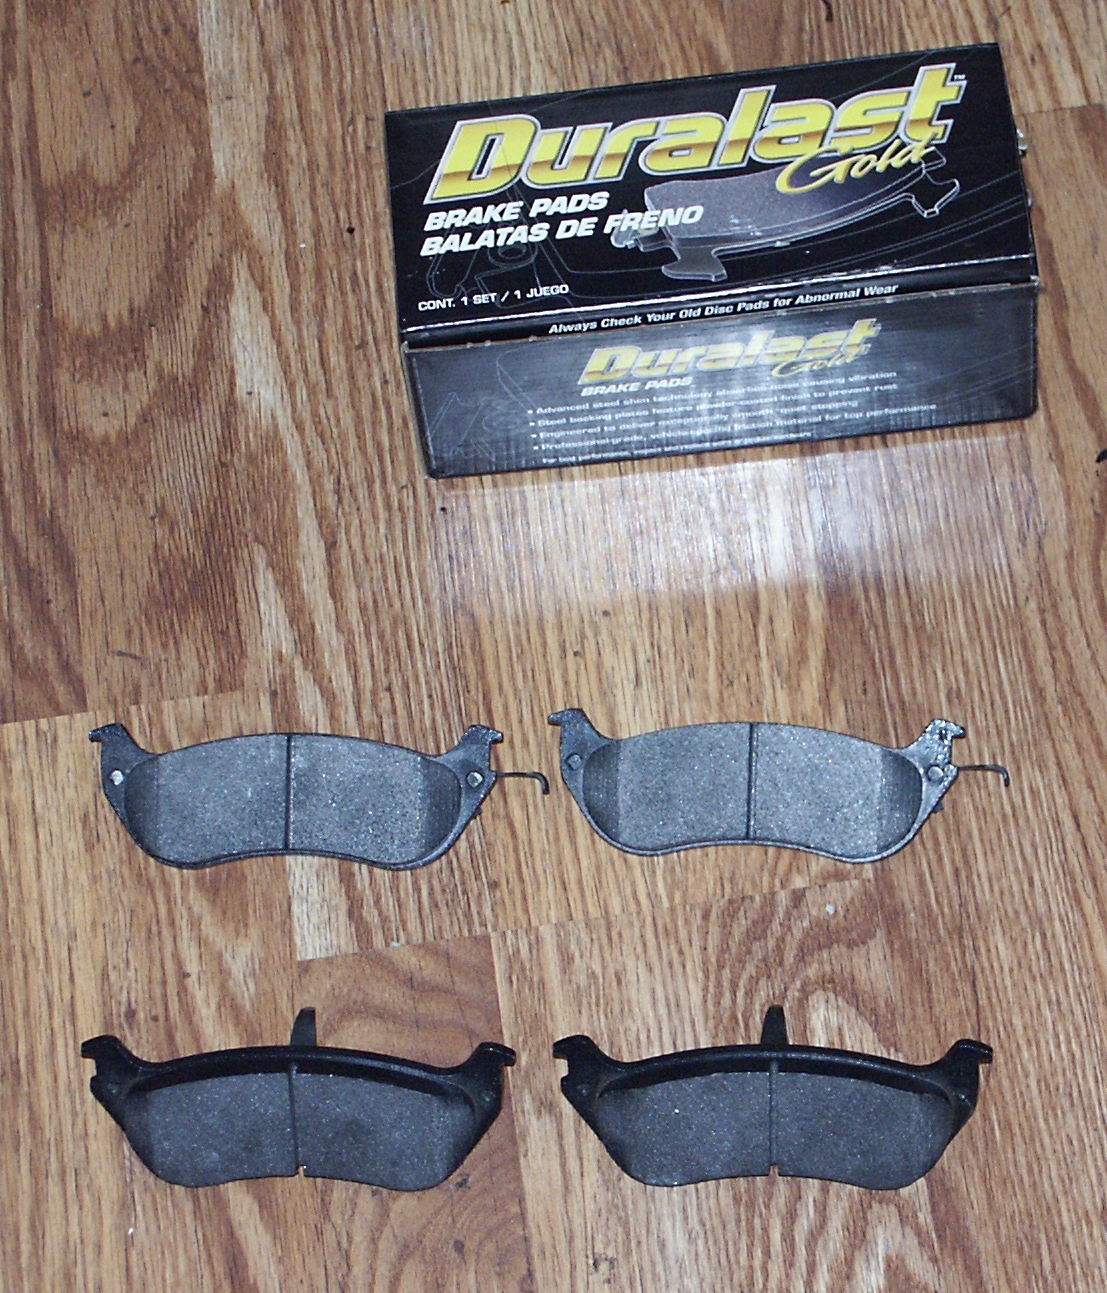
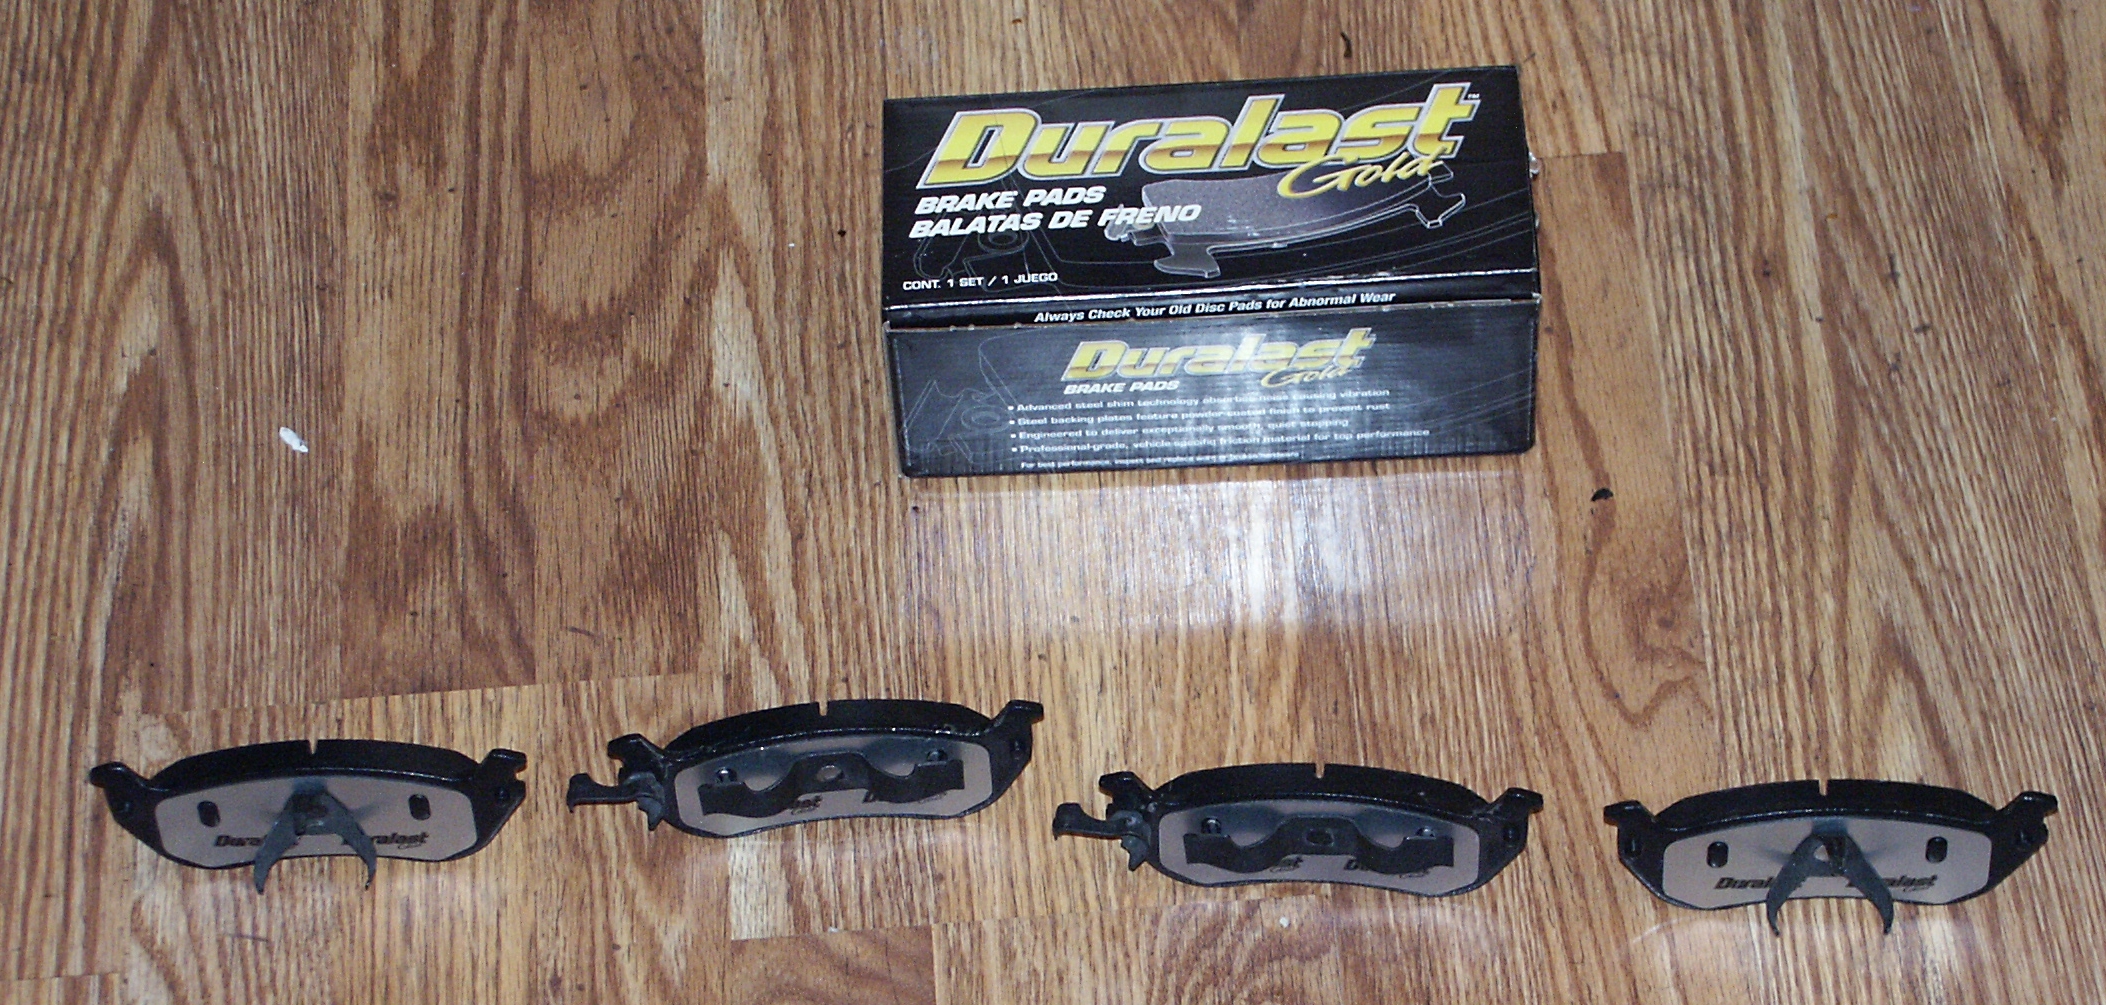
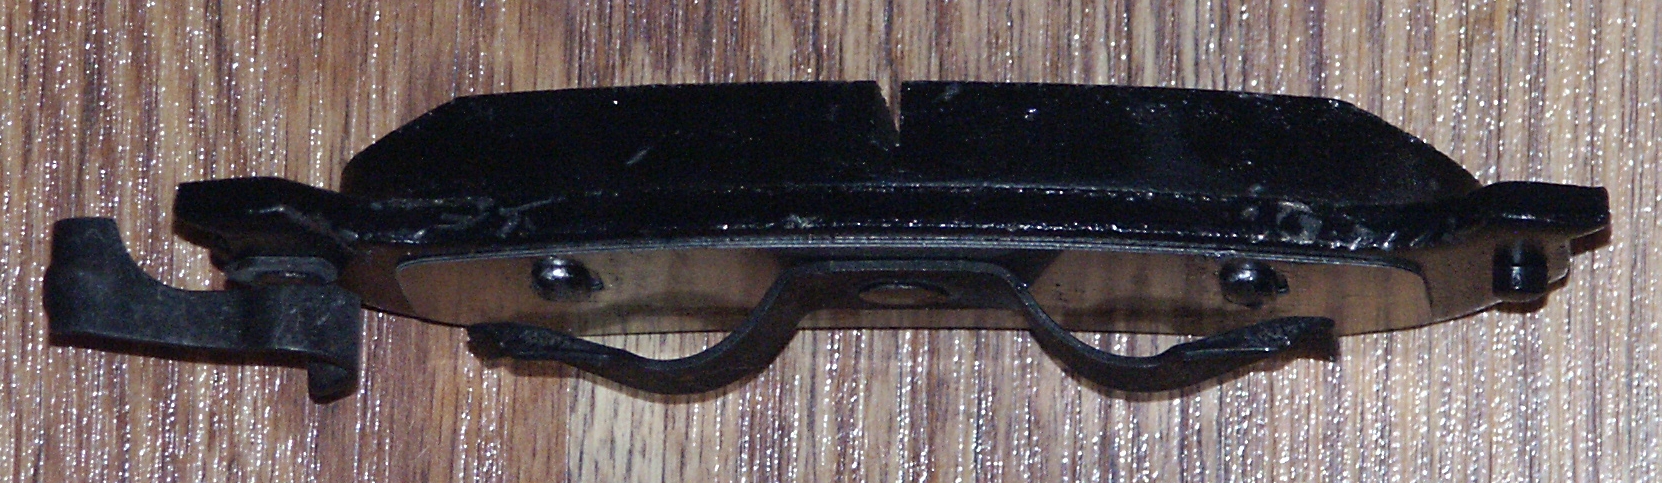
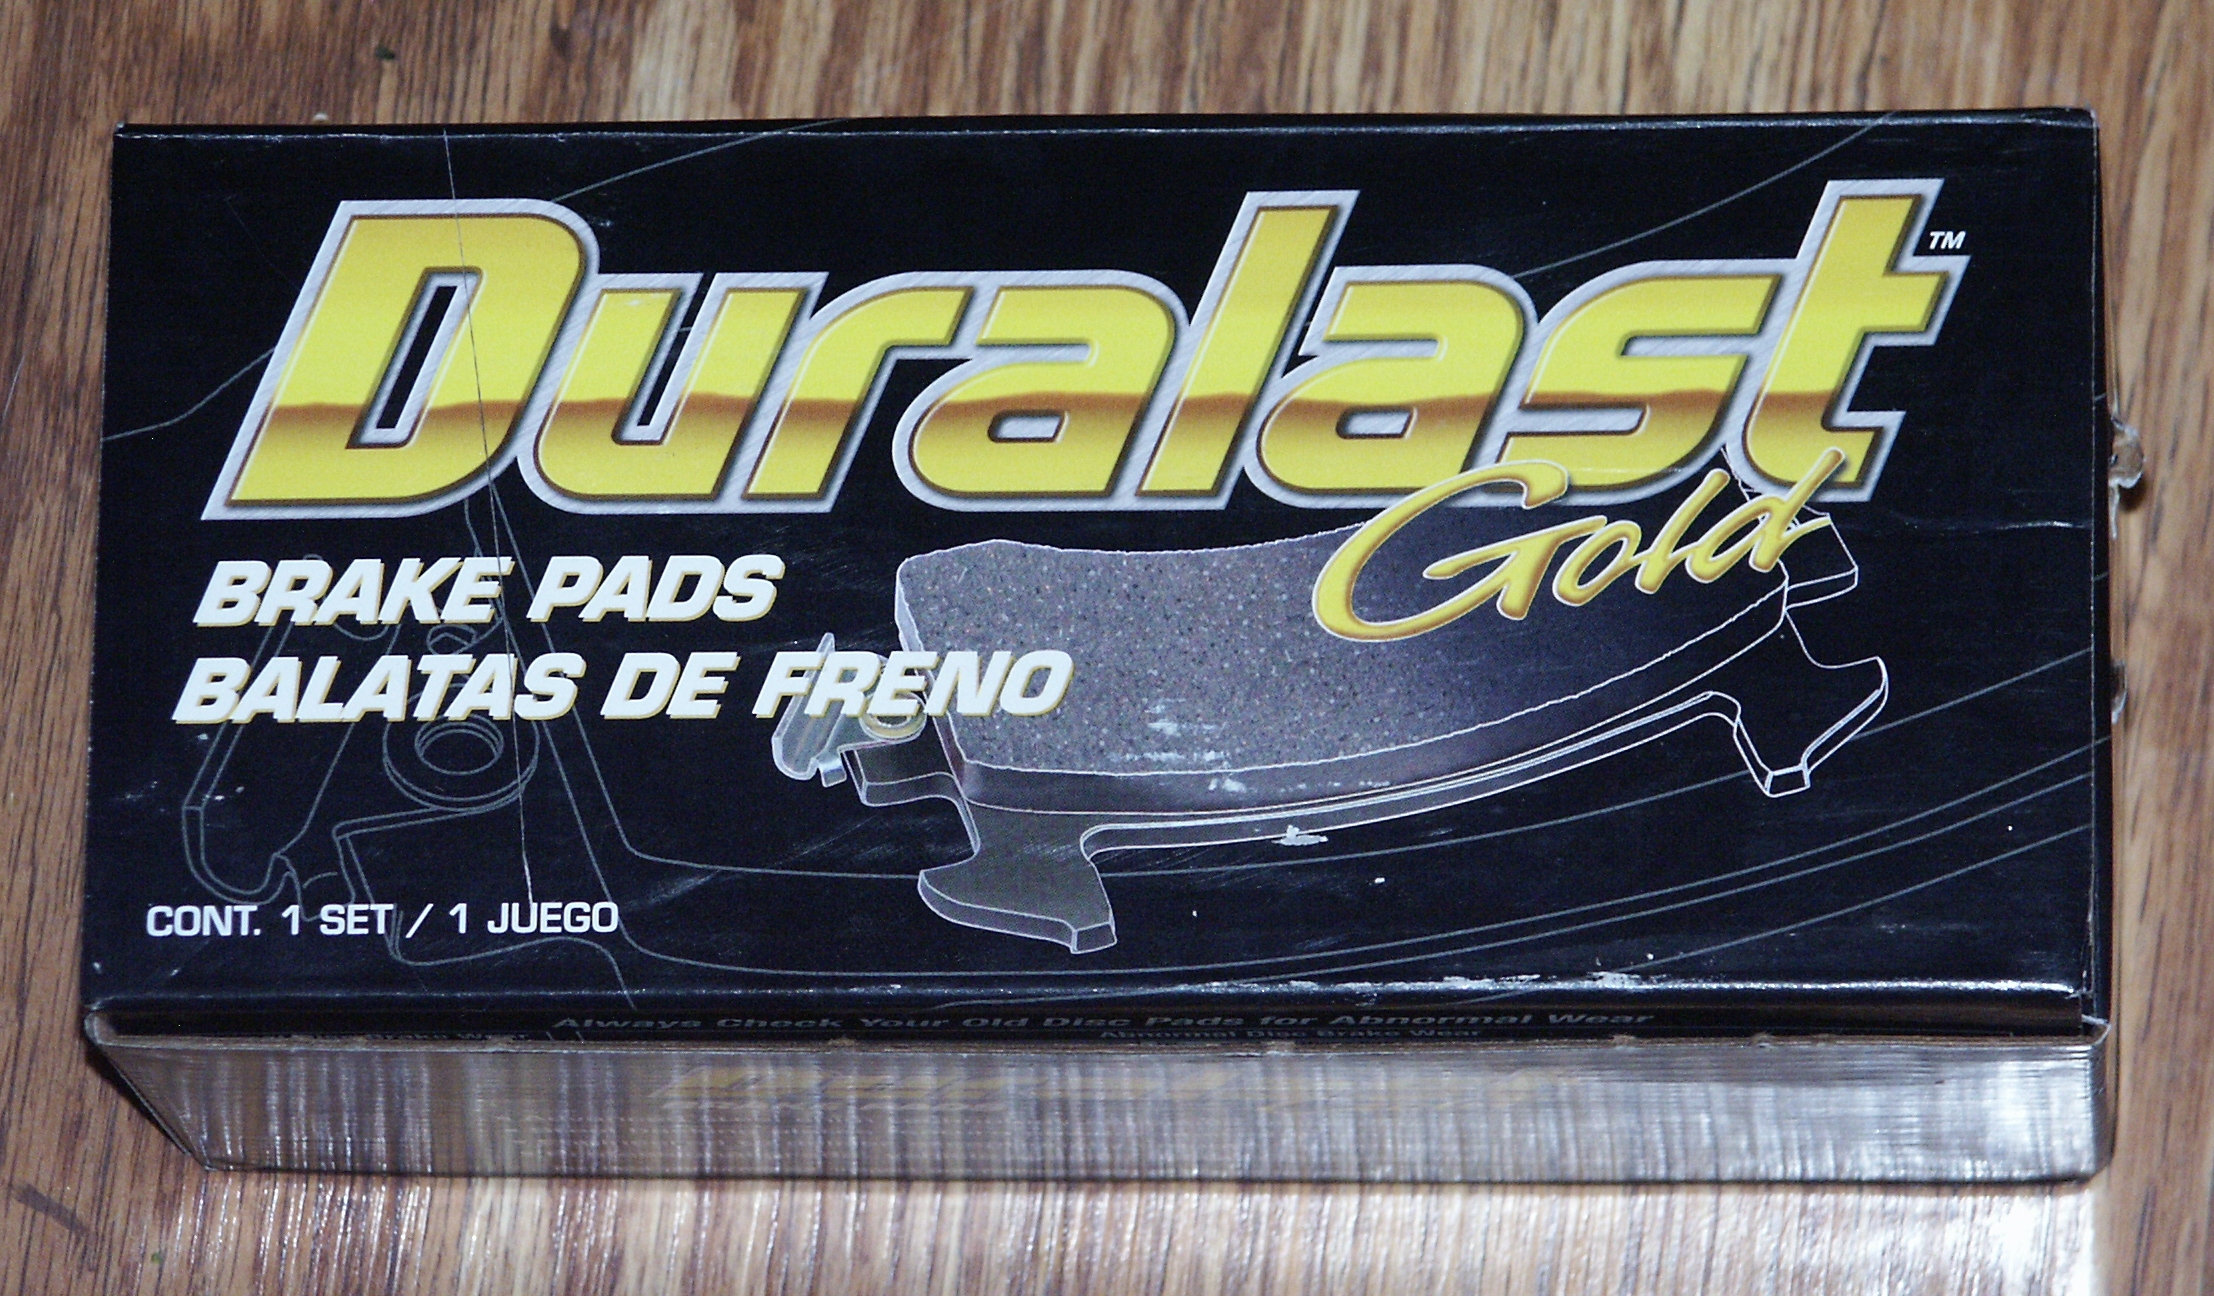
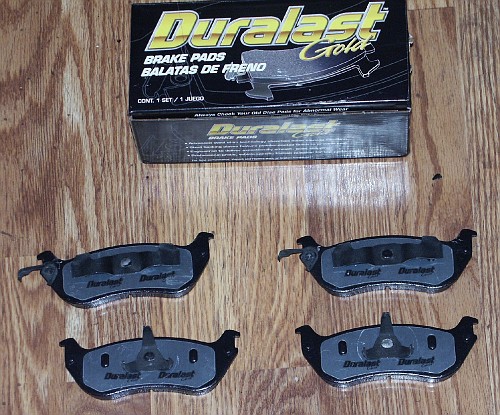
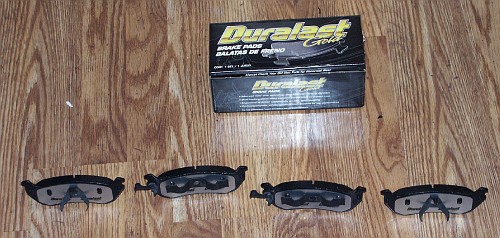
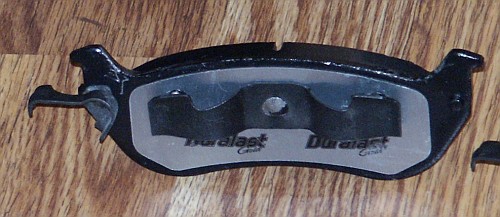
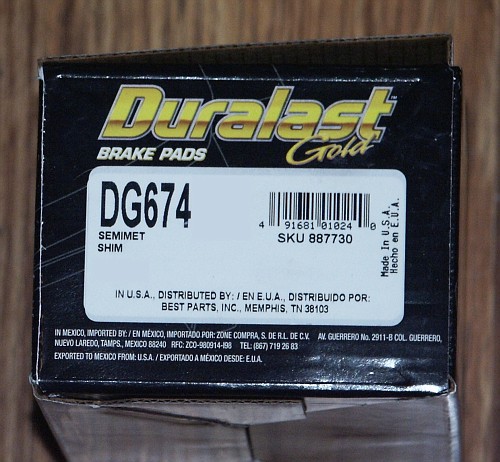
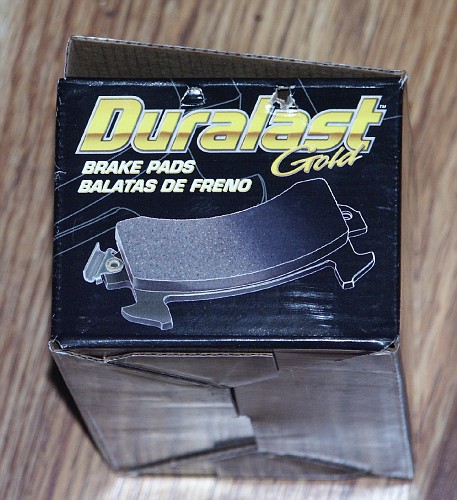
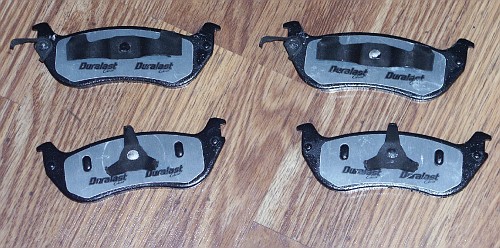
The semi-loaded rear calipers did not include new brake pads. So a pair
of duralast semi-metallic brake pads was acquired from autozone.
Autozone carries a lifetime warranty on brake pads, and they probably
do not intend for people to keep their cars for several years like some
of us do.
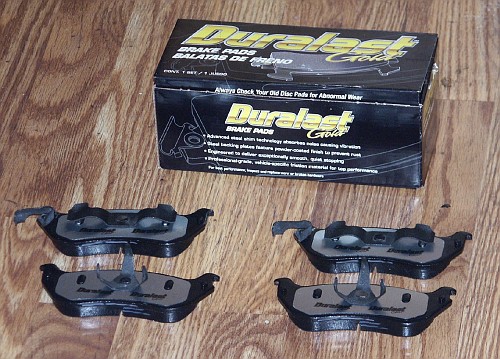
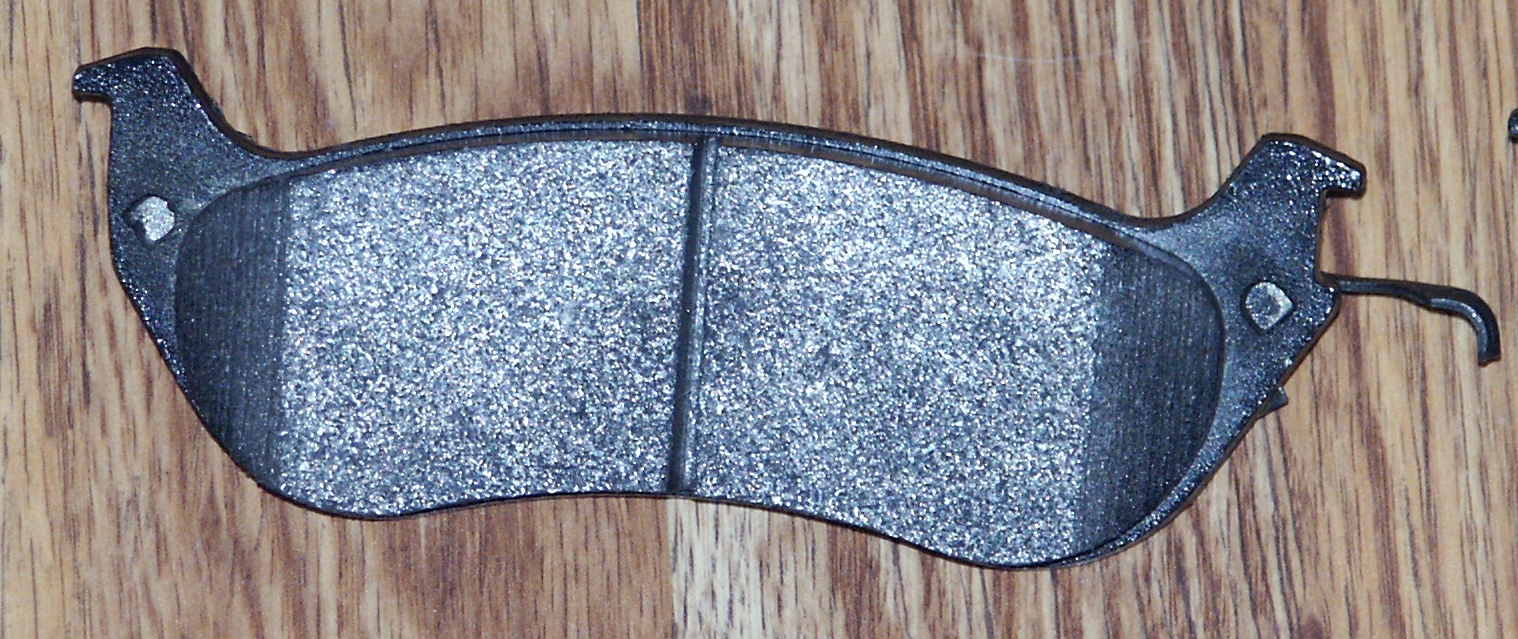
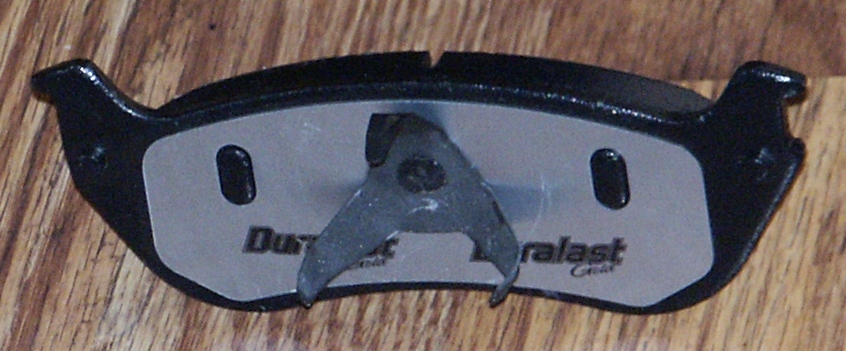
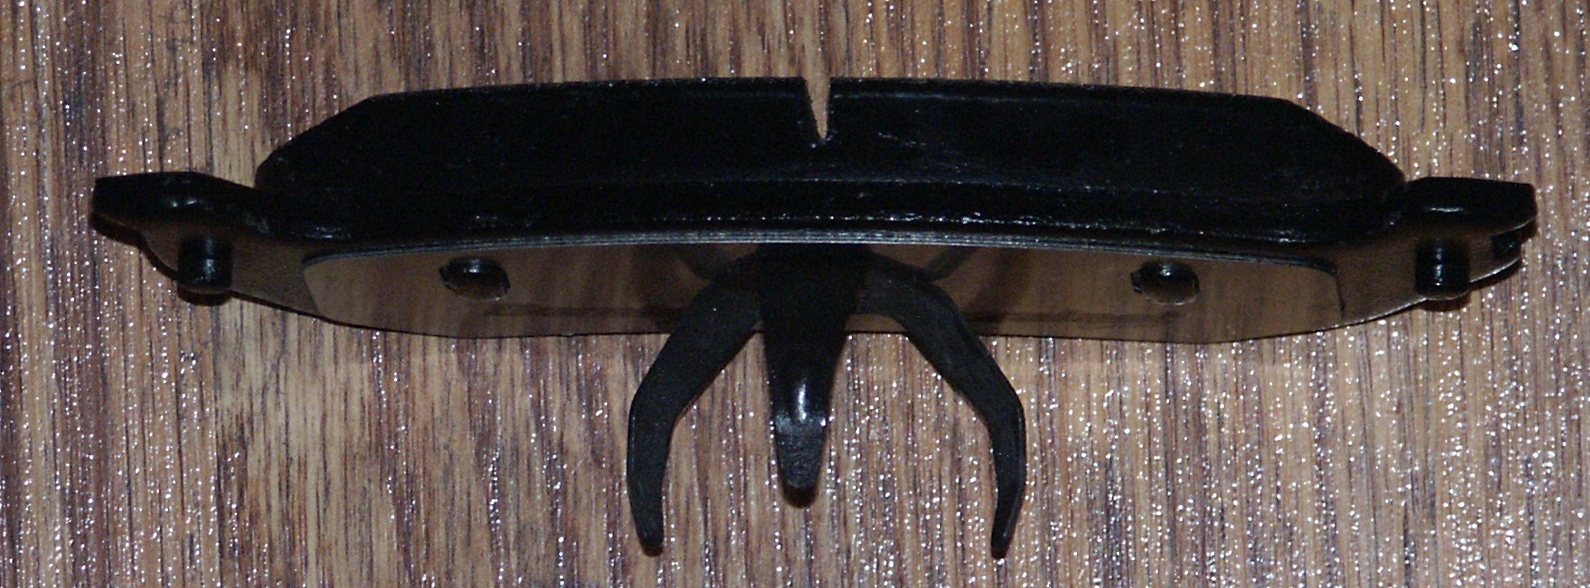
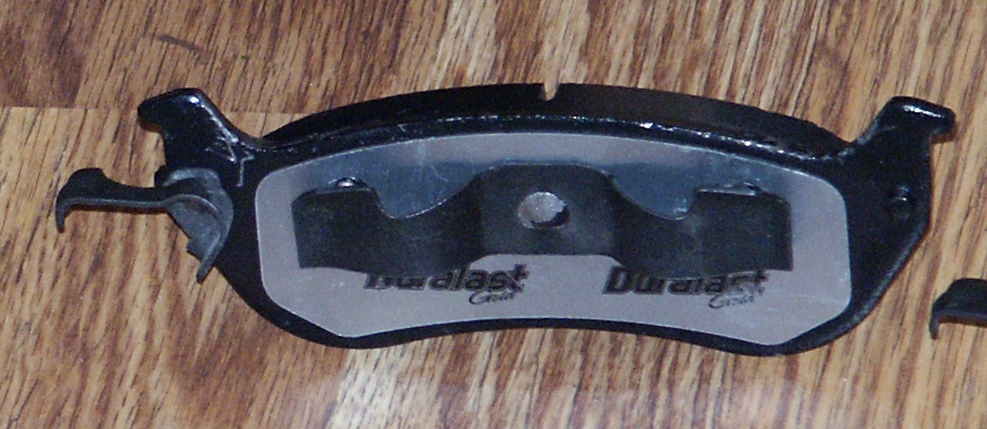
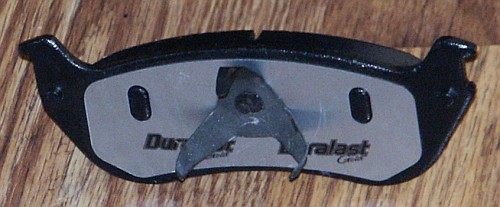
These pads use the large 1.75" rosebud piston retaining clip
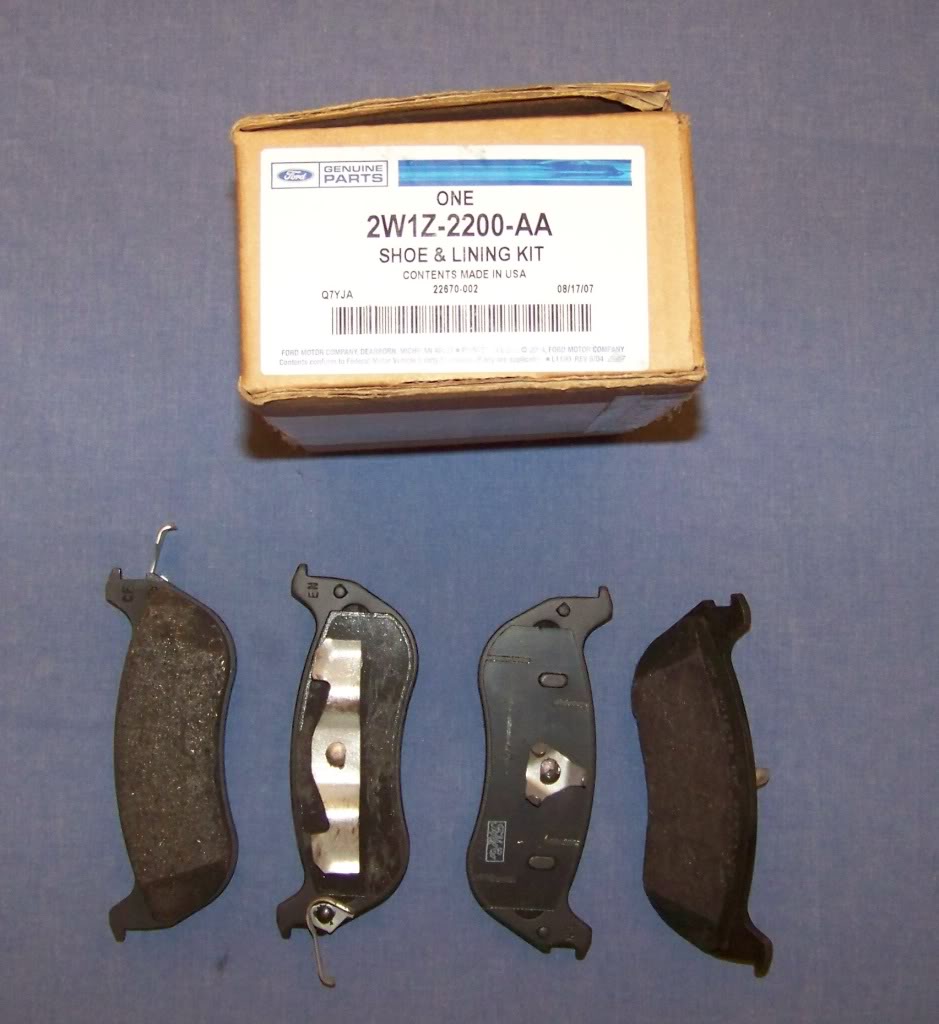
Here are a couple pictures of crown victoria rear brake pads with the
small
1.00" rosebud piston clip for comparison
(Picture courtesy of larryo340 on
www.crownvic.net)
(Picture courtesy of larryo340 on
www.crownvic.net)


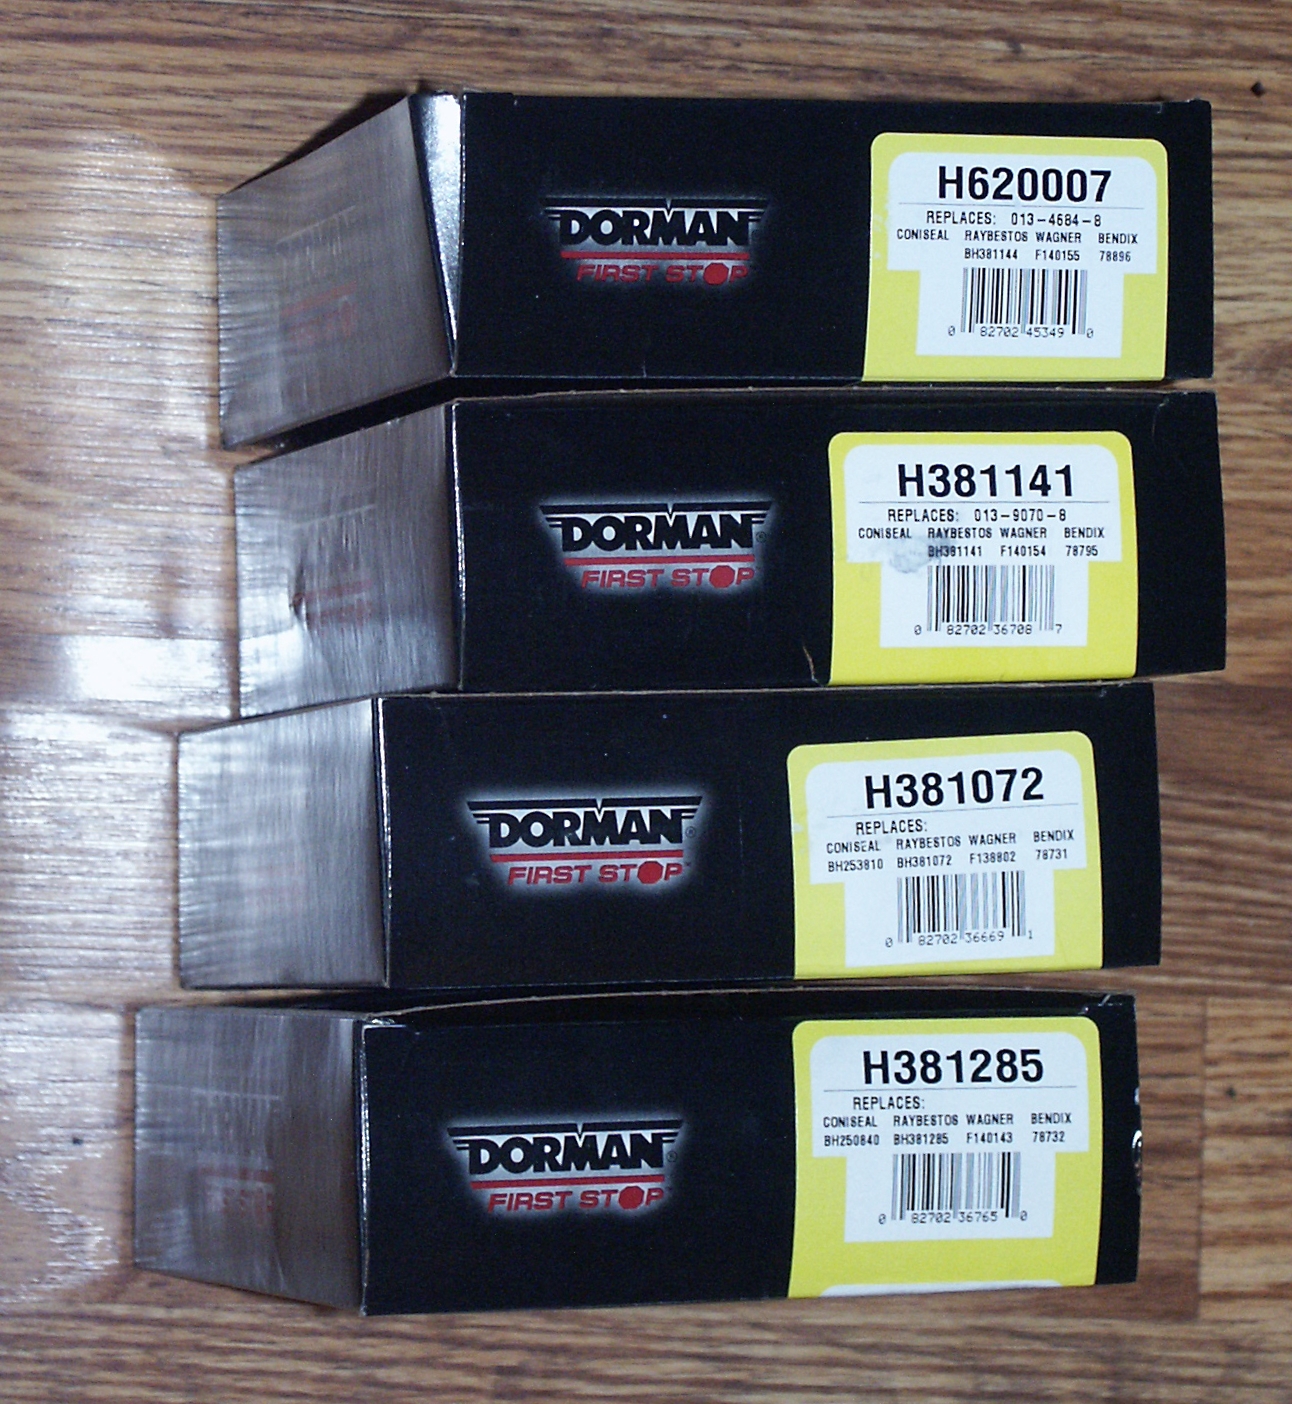
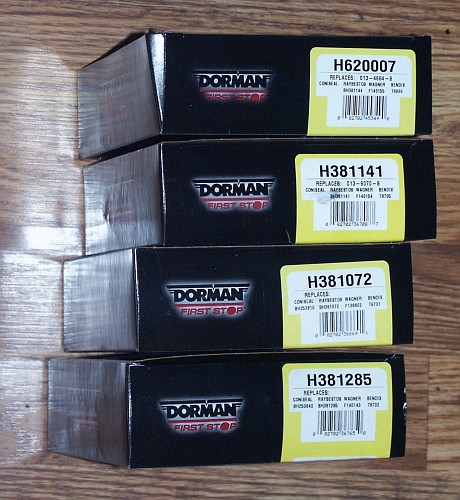
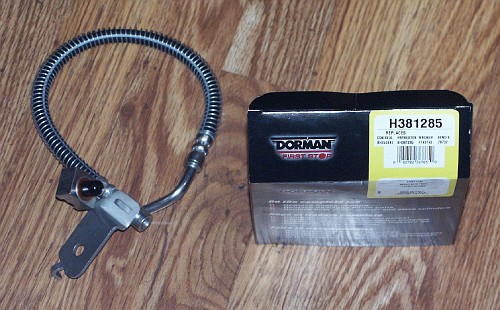
Next part of the project is to acquire 4 new brake flex hoses.
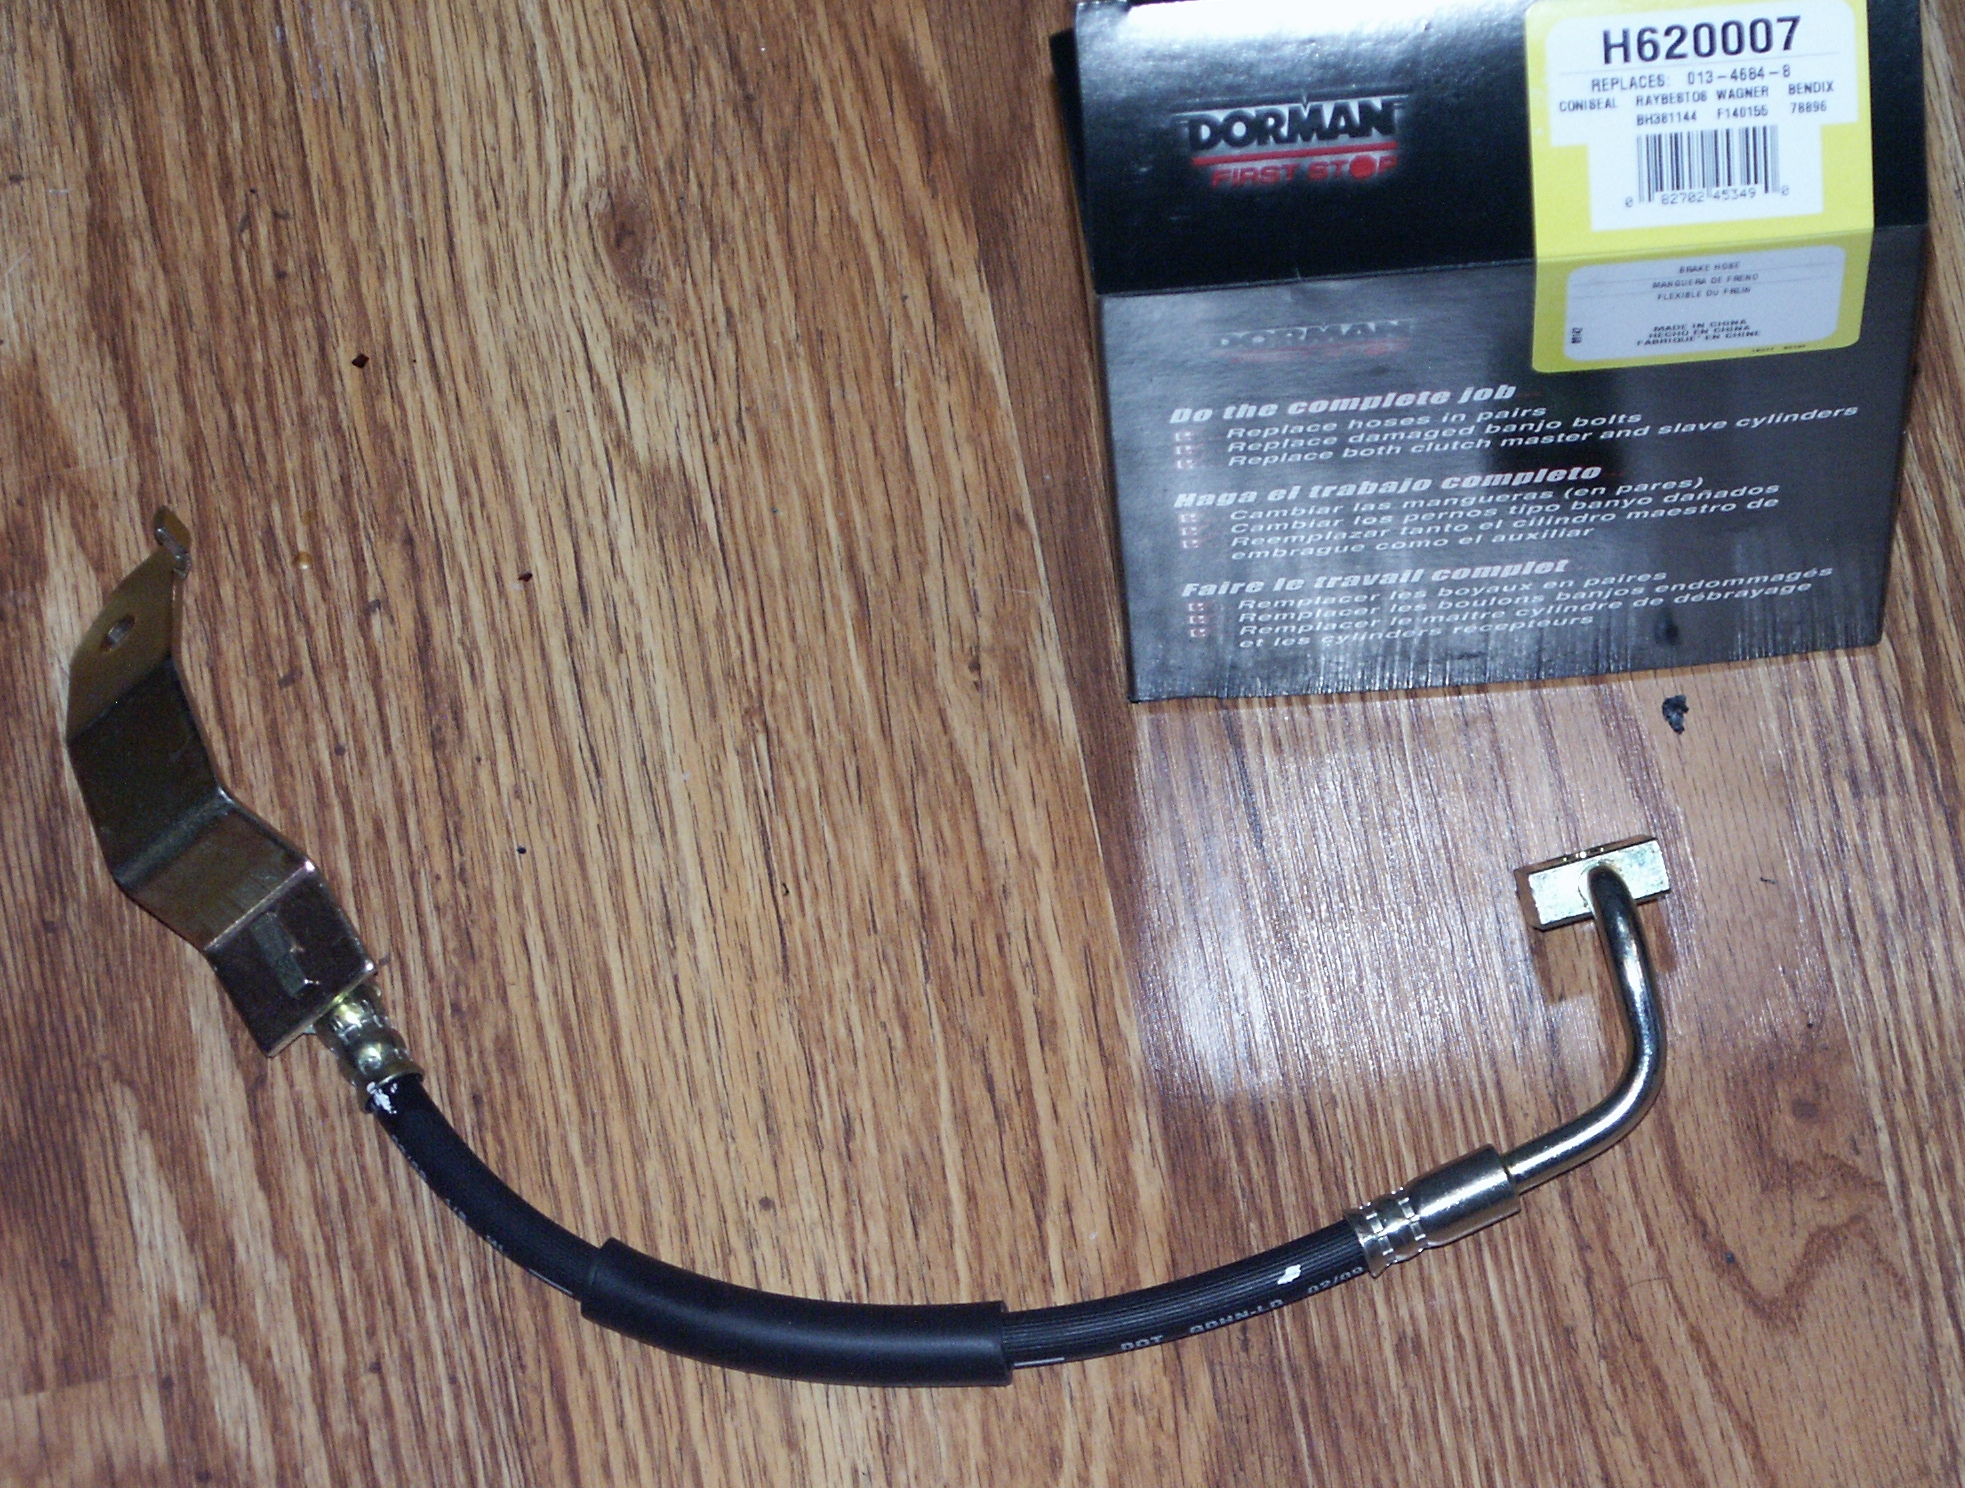
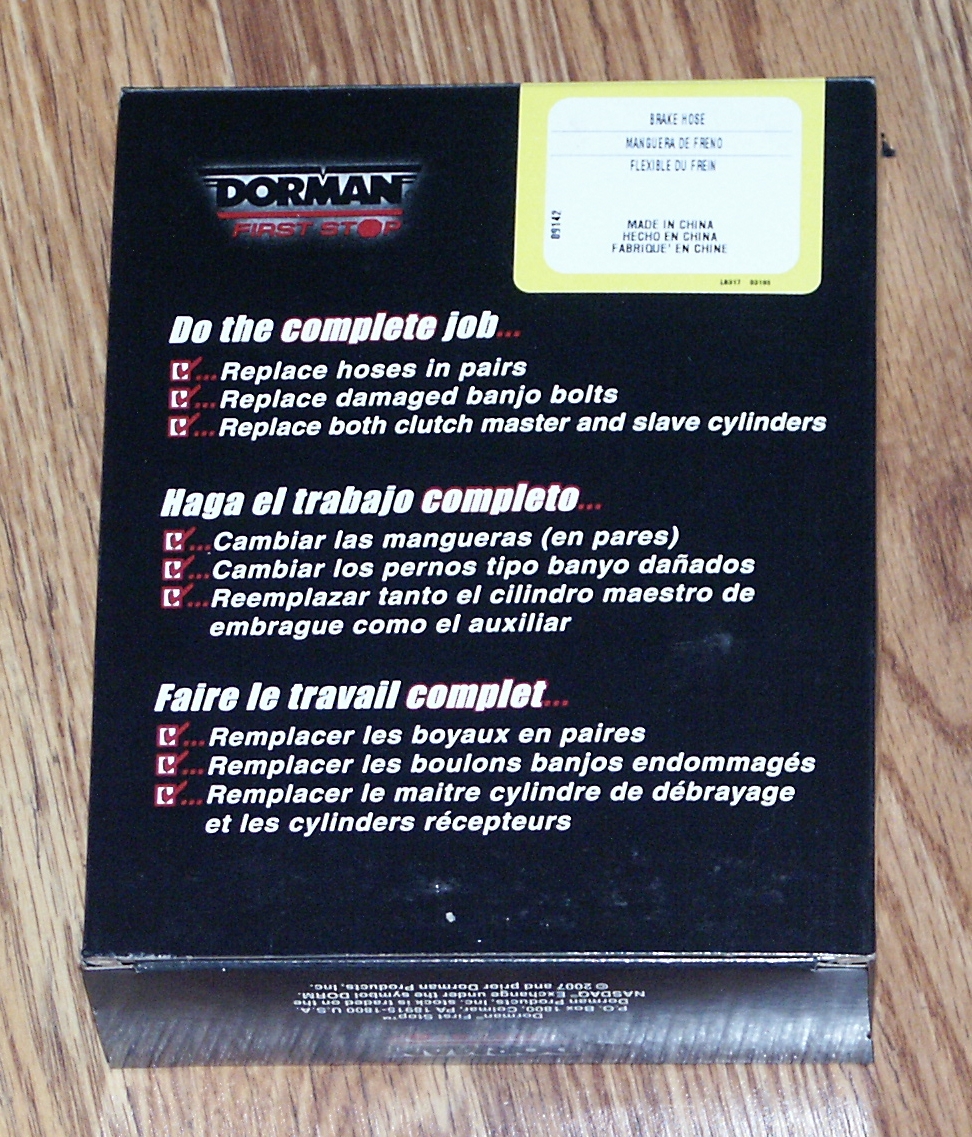
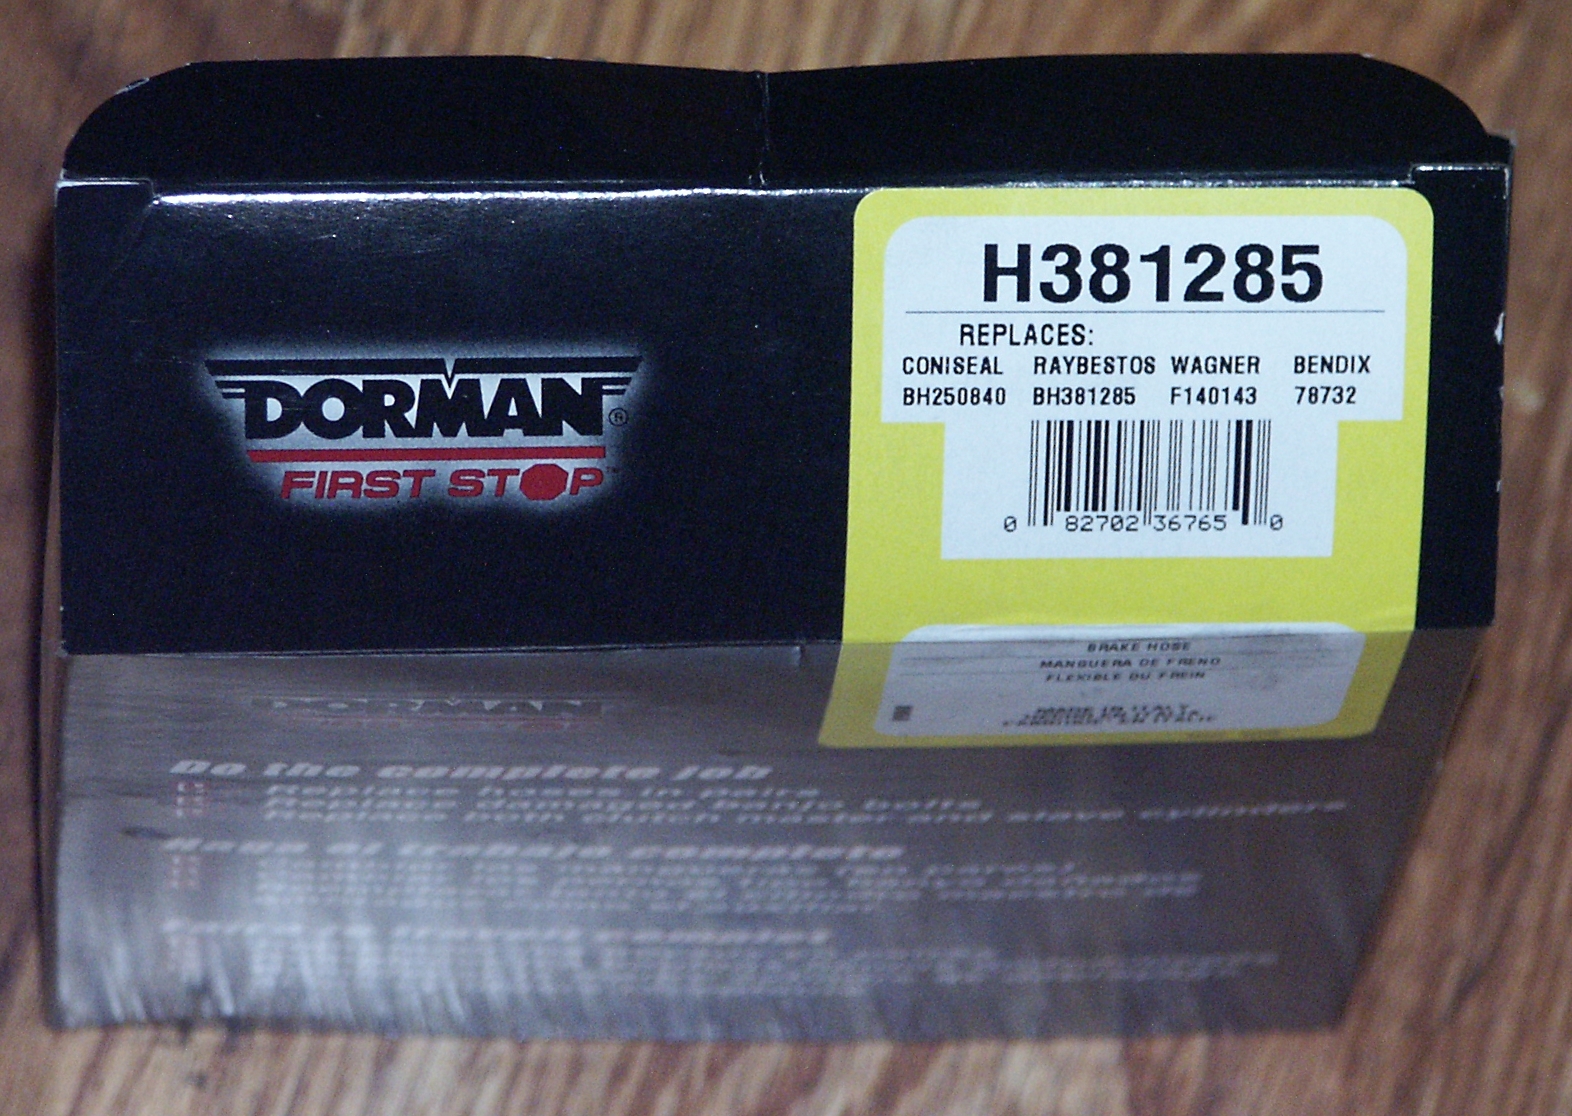
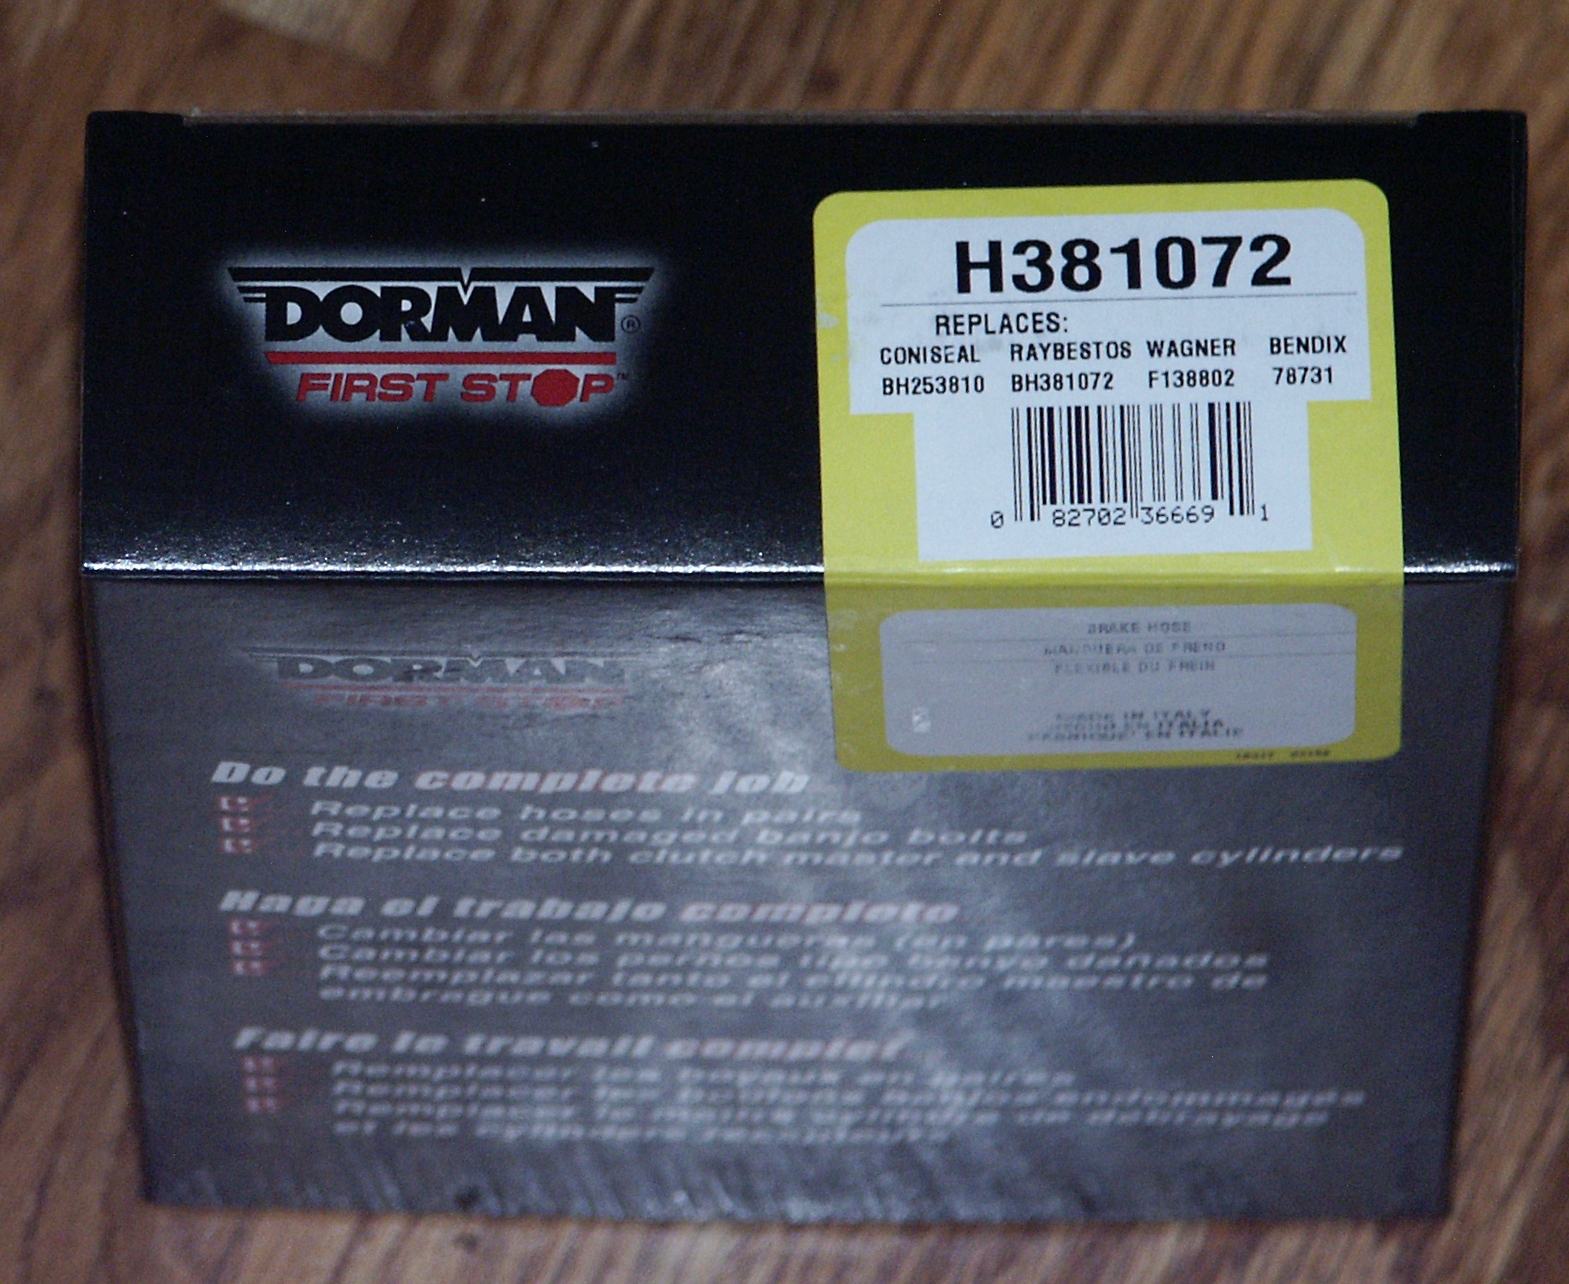
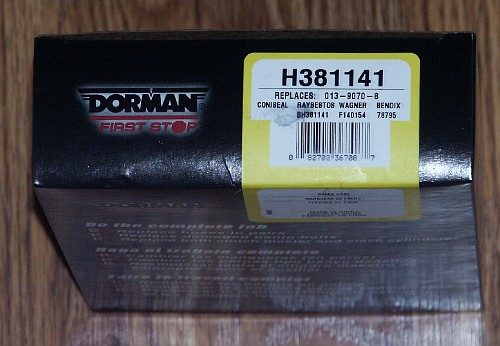
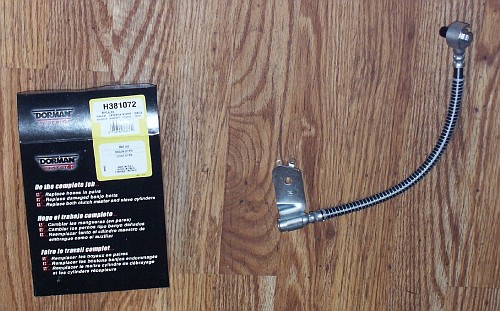
For this car, aftermarket dorman brake hoses were used. Part numbers:
H620007 H381141 H381072 H381285
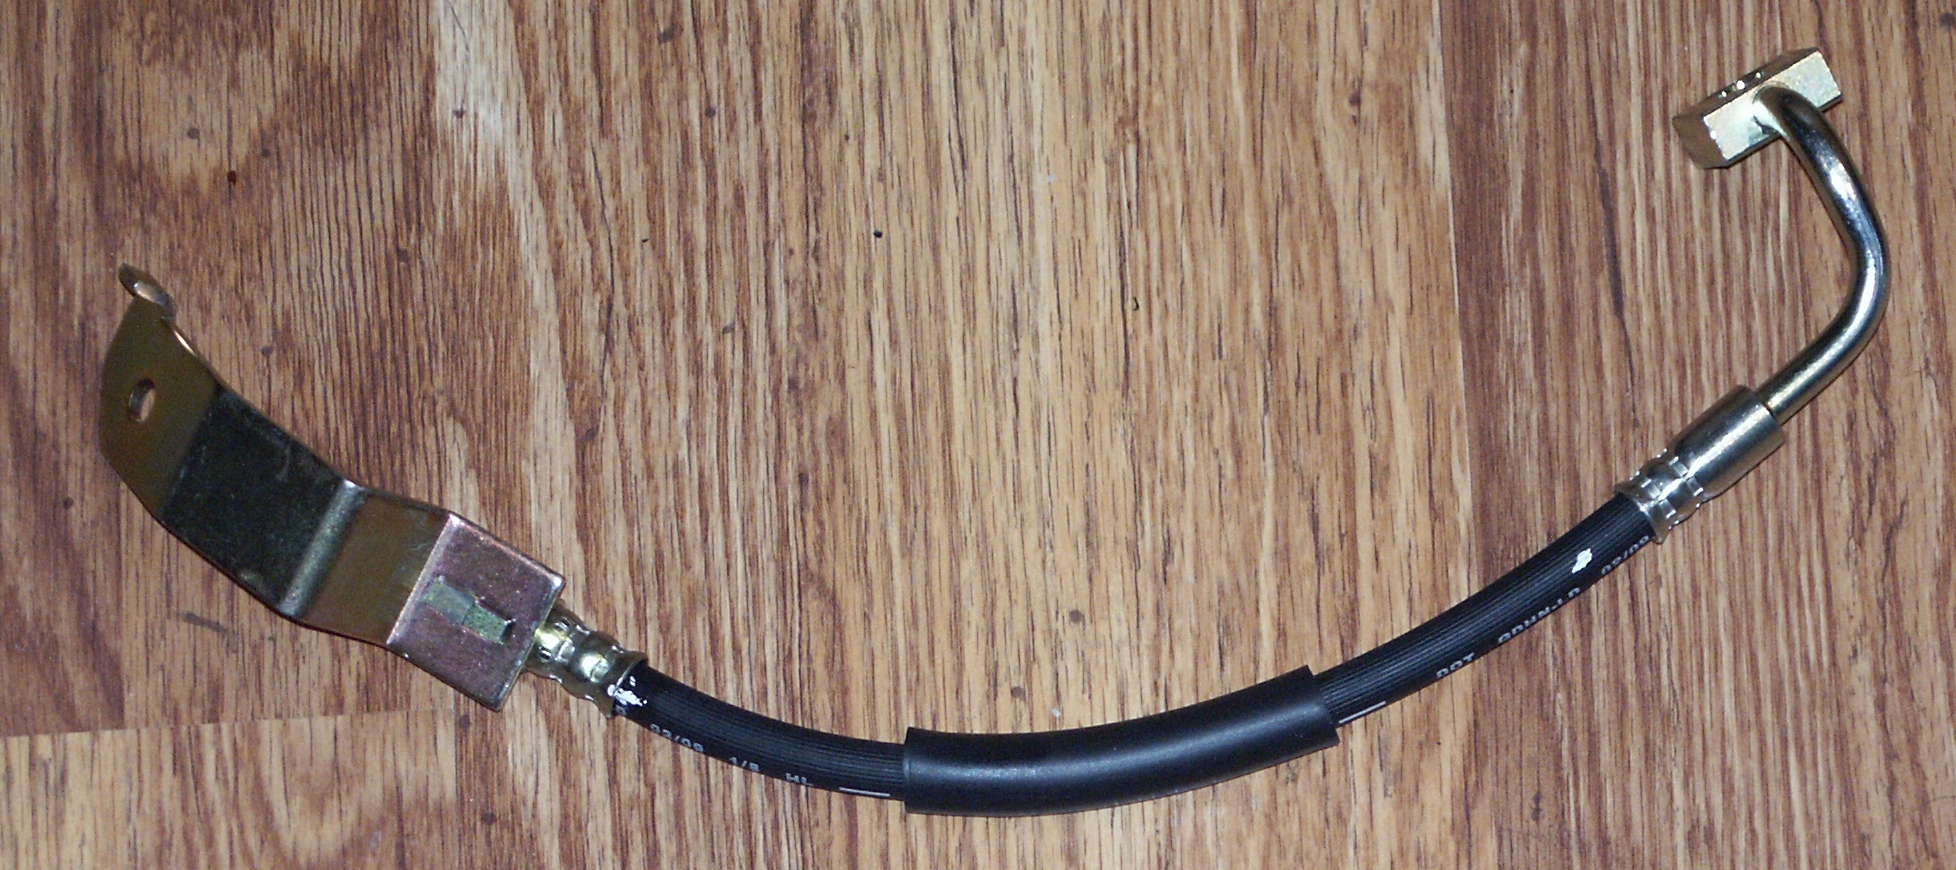
The front hoses


The rear hoses


Now that all of the needed parts have been acquired, it's time to begin
the installation
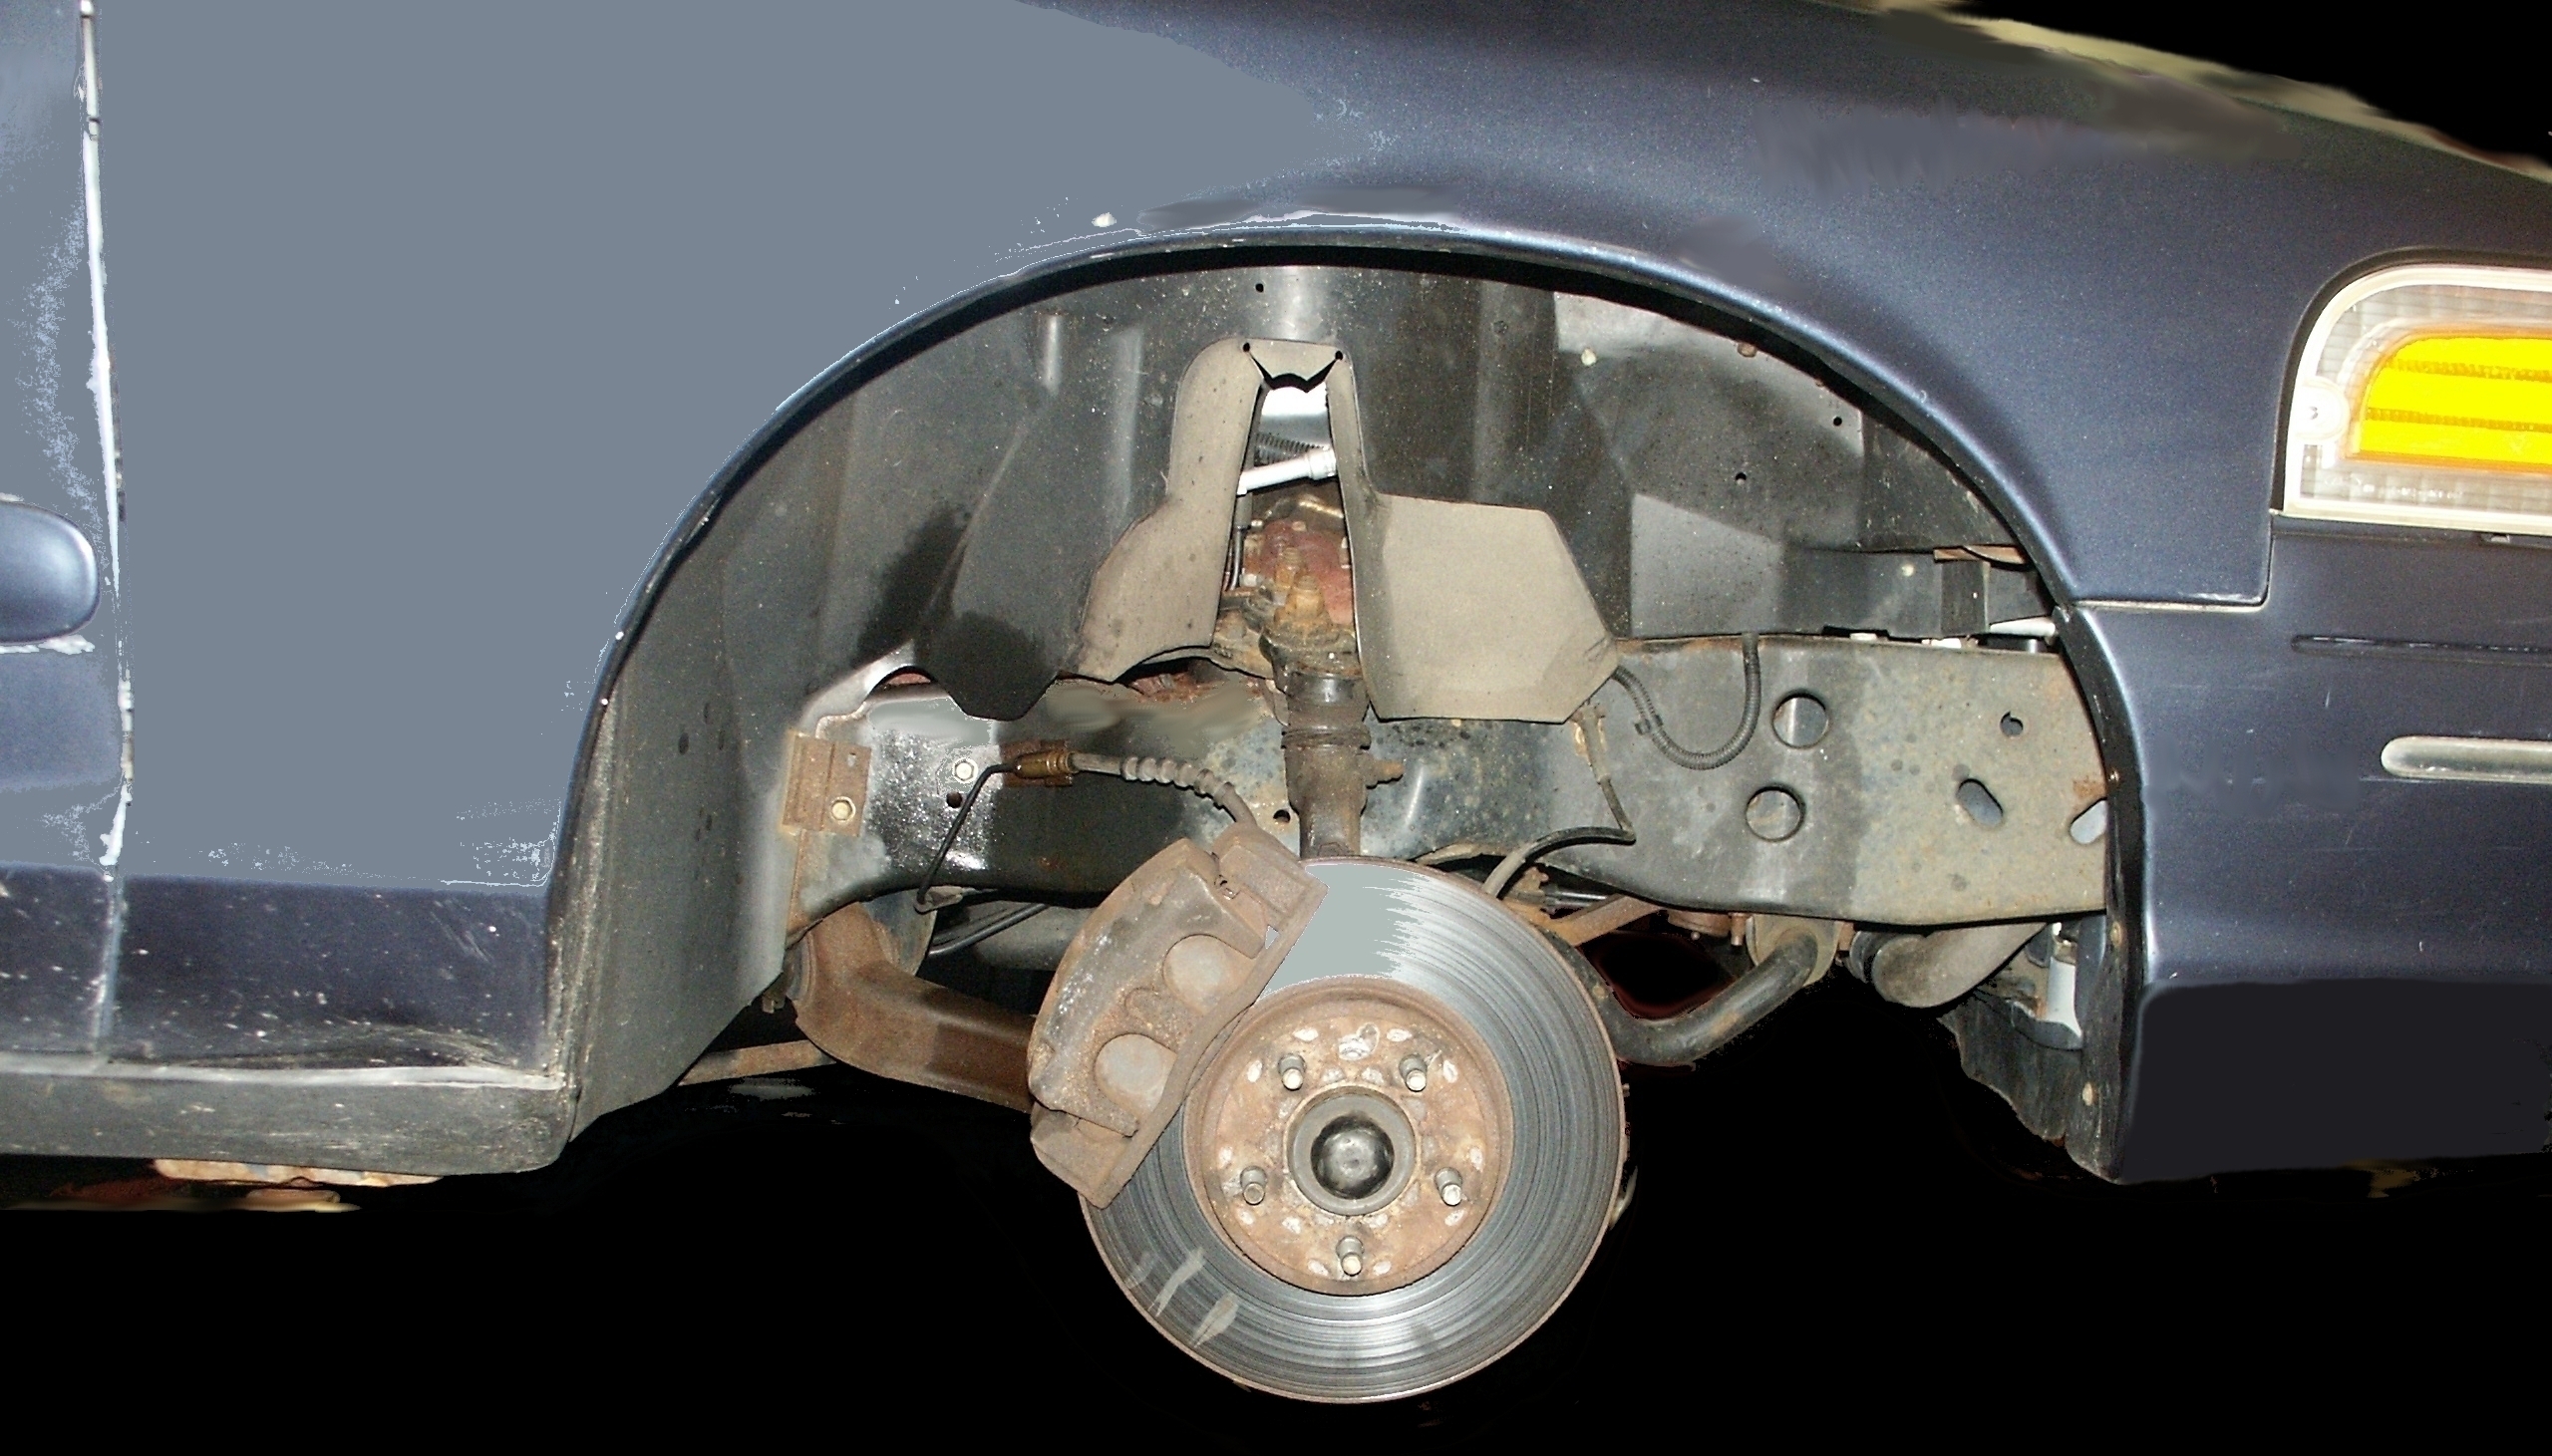
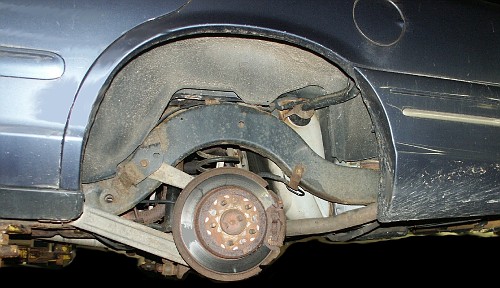
First support the vehicle under the frame and remove the wheels.
Next print out a copy of this chart to
identify which dorman brake hose goes where. Similar brake hose
application charts for raybestos and wagner are also avaliable.
Rear driver's side
Rear passenger's side

Front passenger's side

Front driver's side

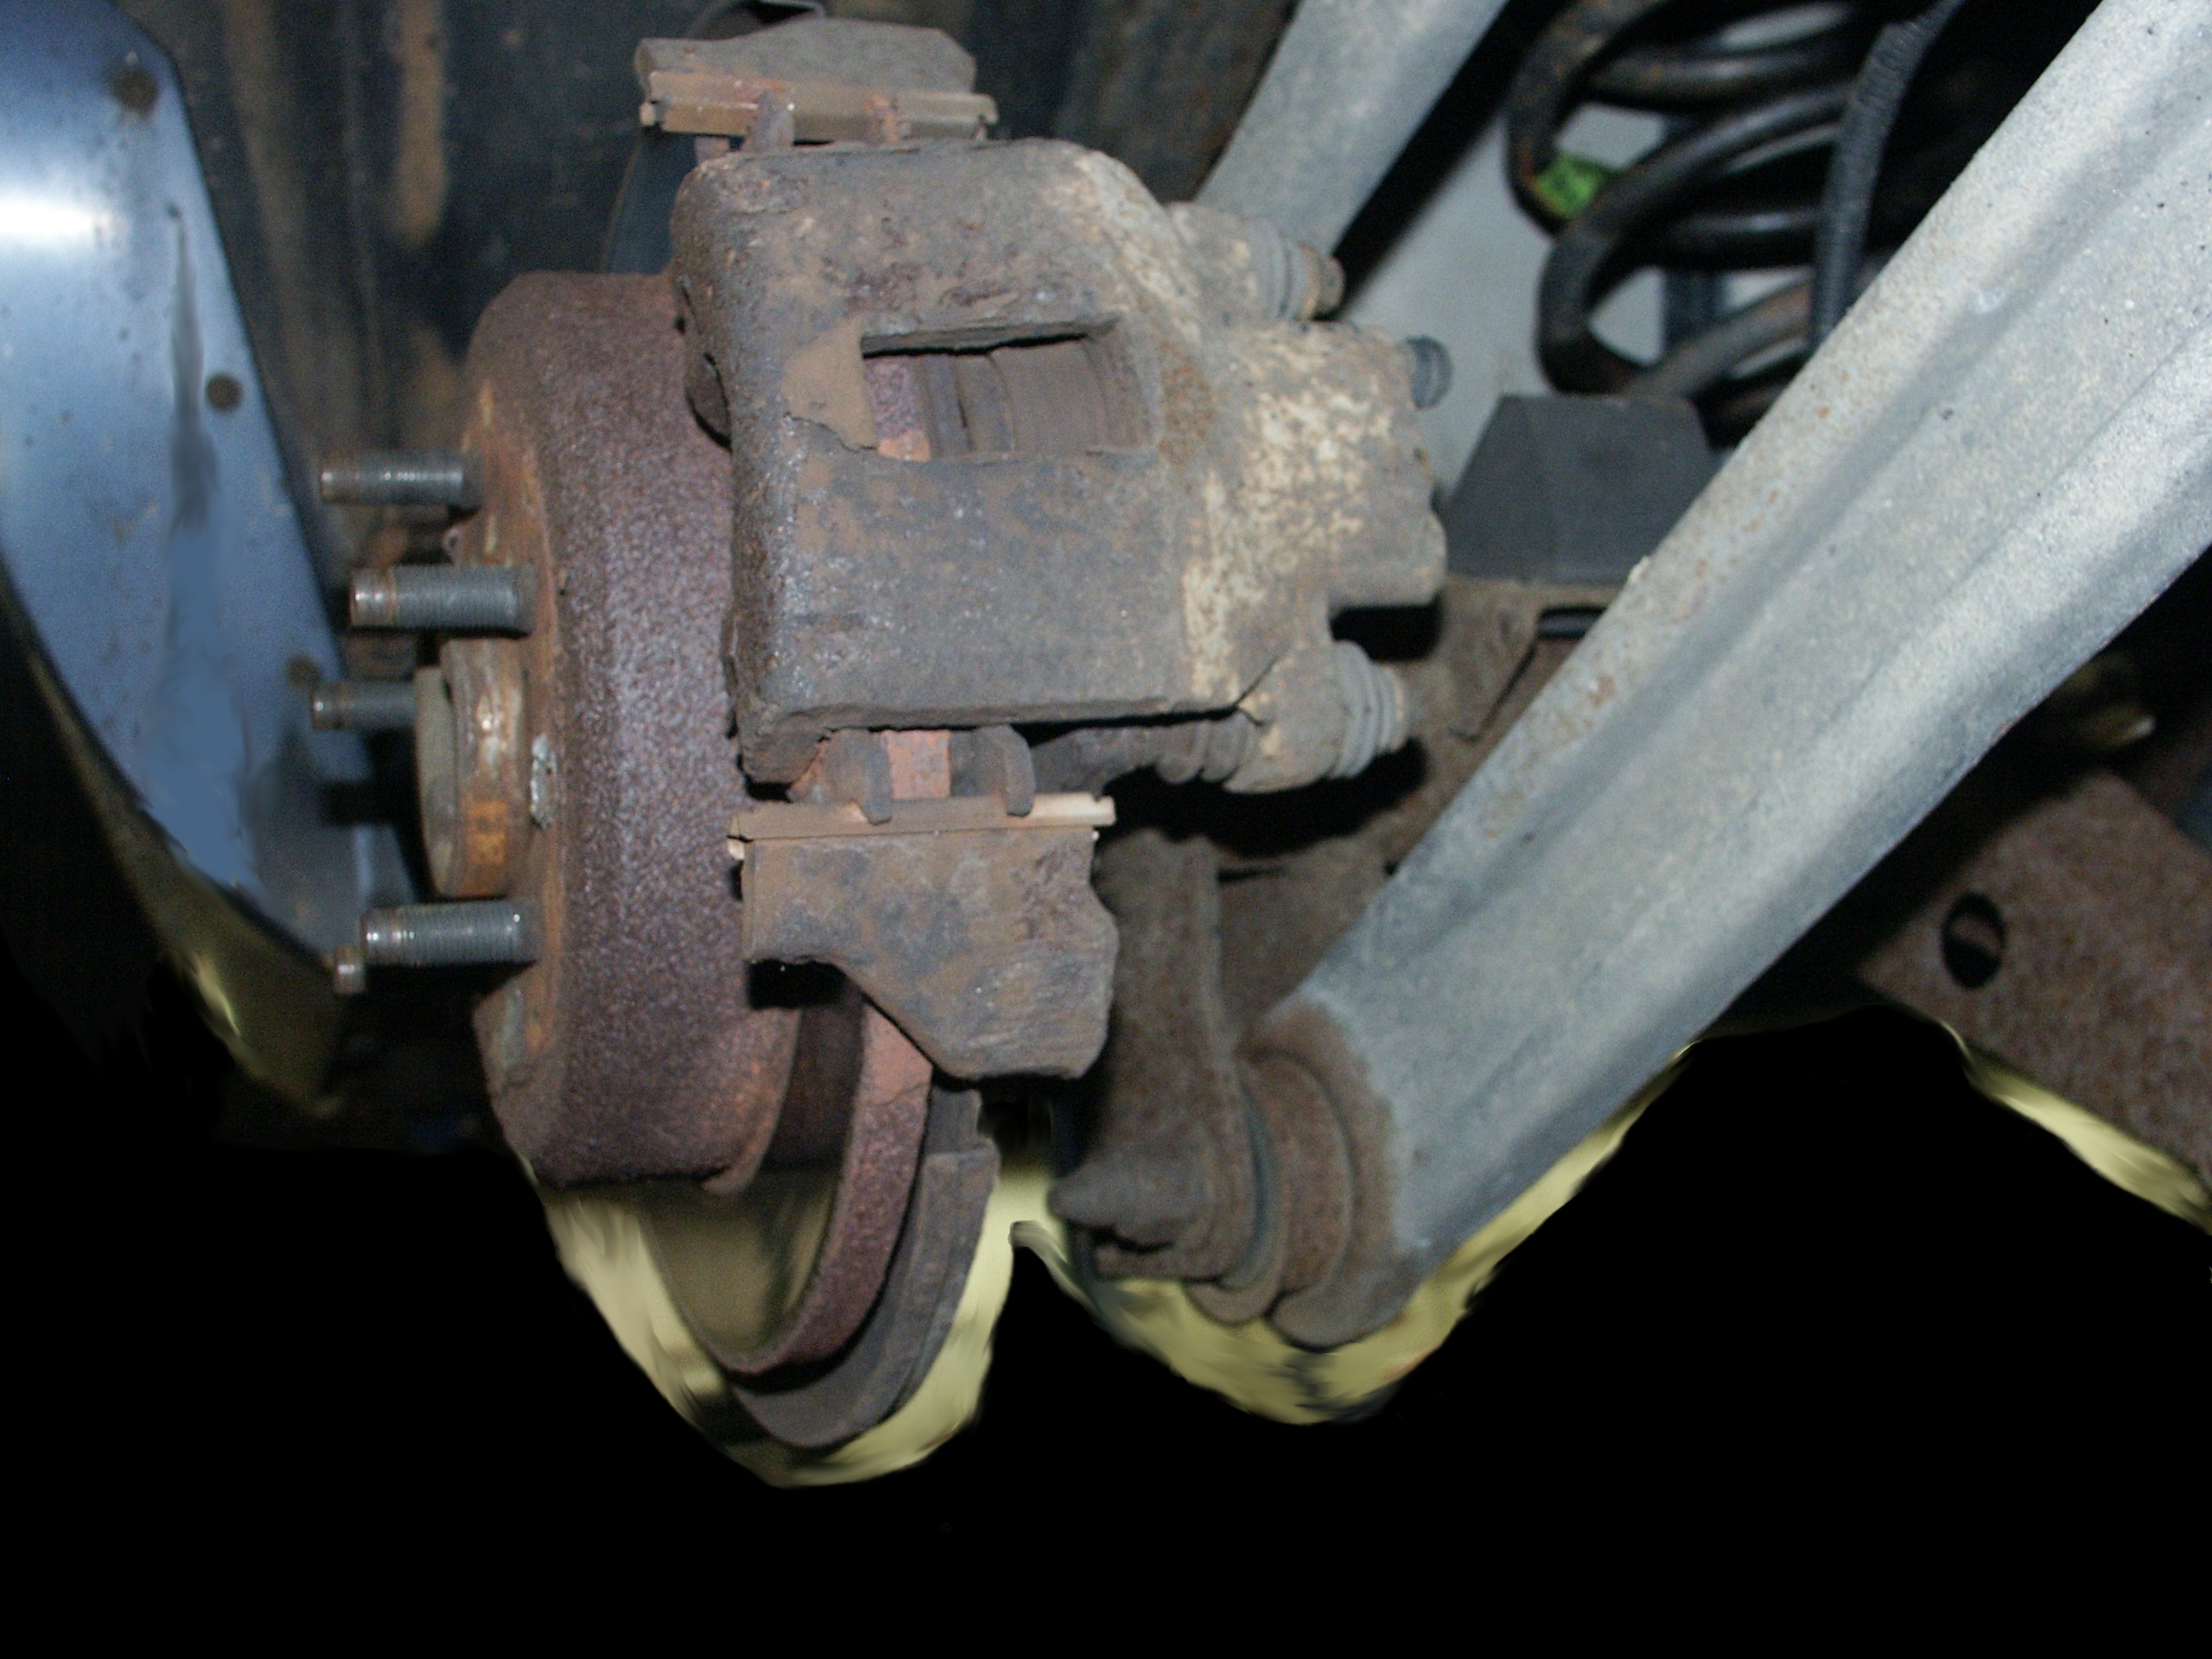
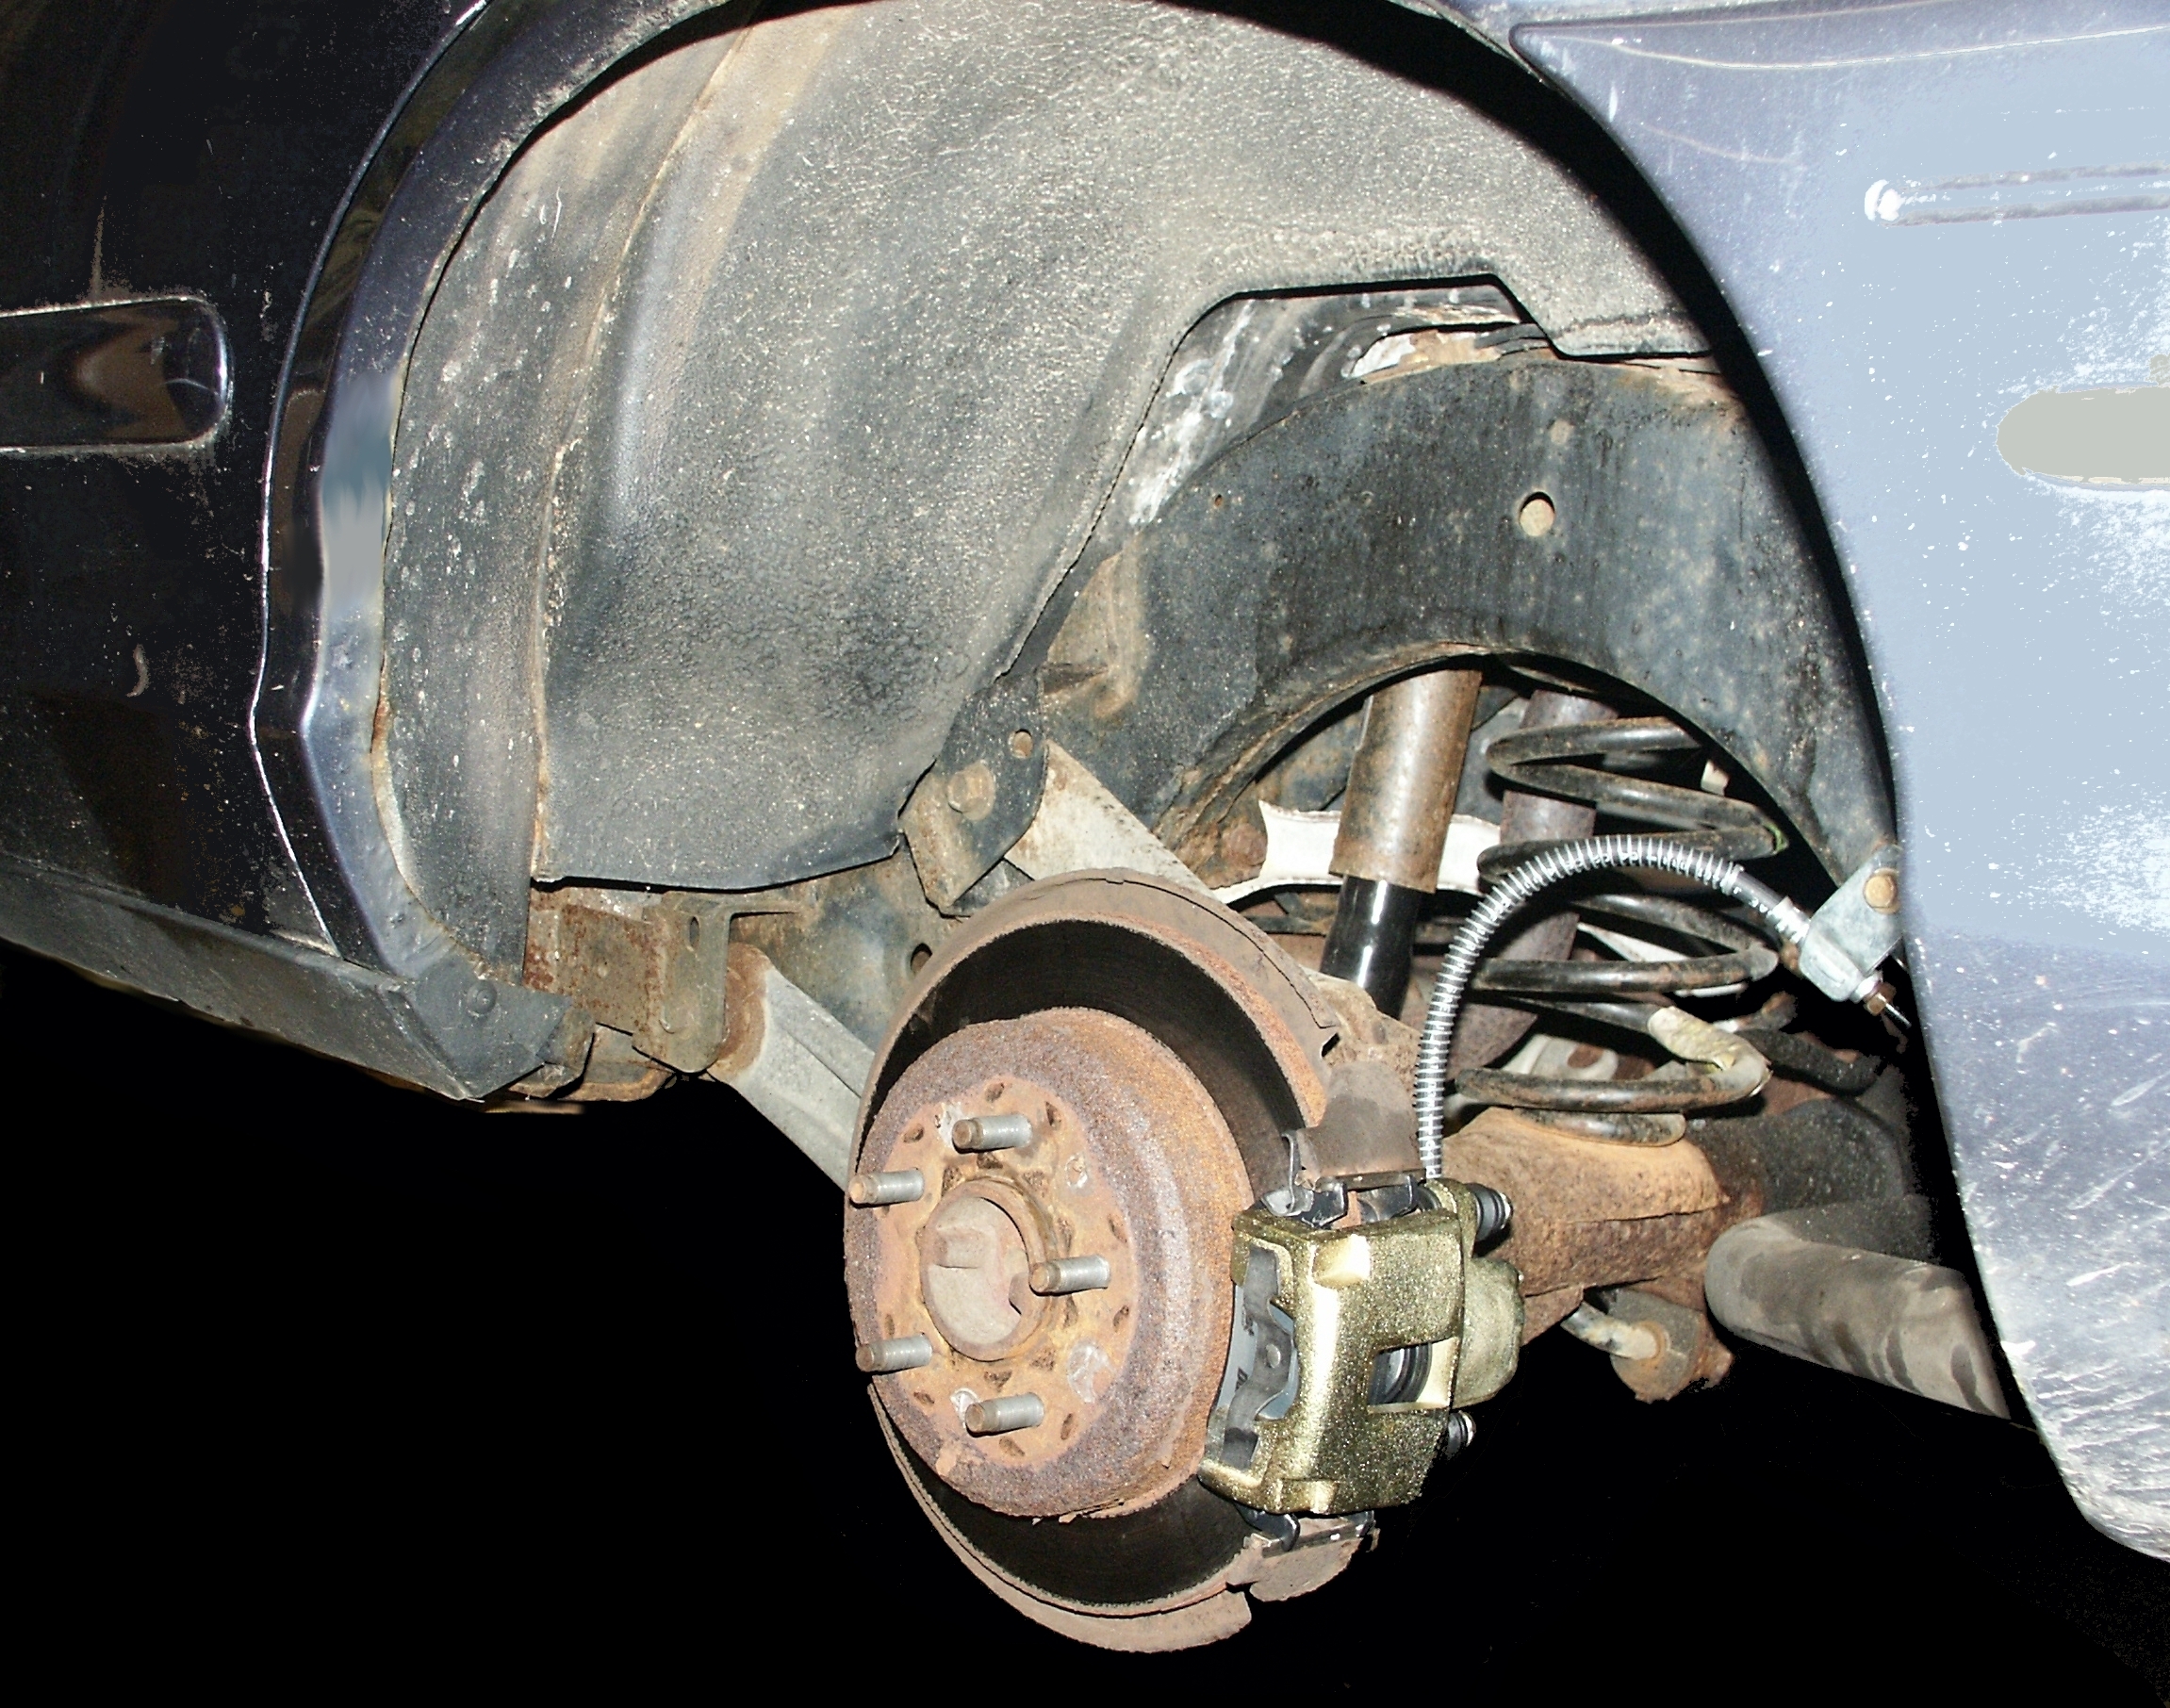
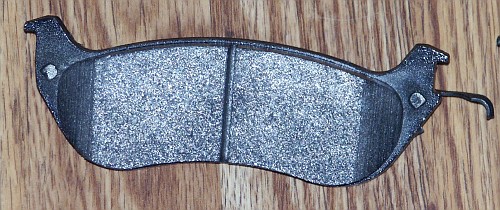
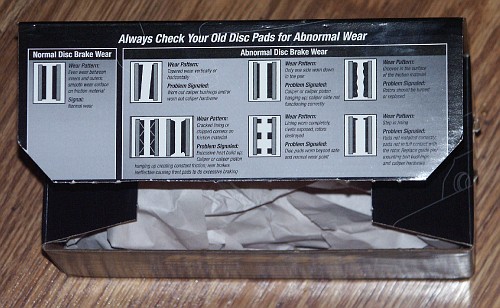
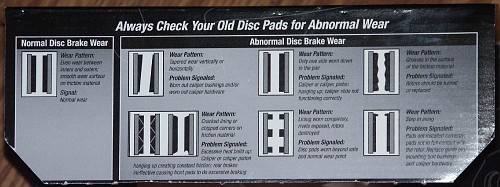
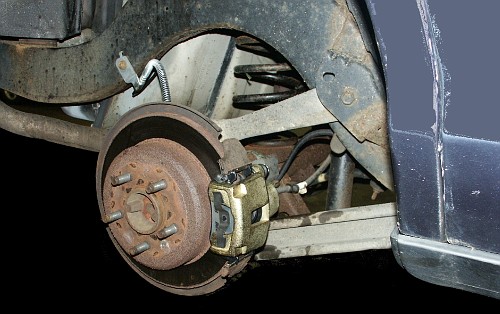
The rear pads on this car are really worn and badly in need of
replacement
New sliding hardware is going to be installed on the rear calipers,
although the current hardware was in serviceable condition and not
really in need of replacement.
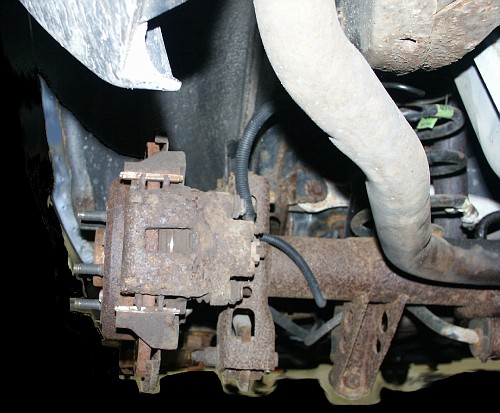
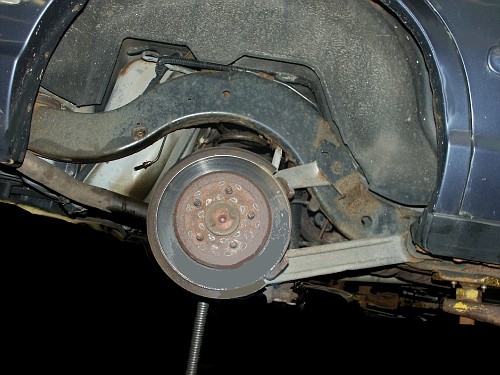
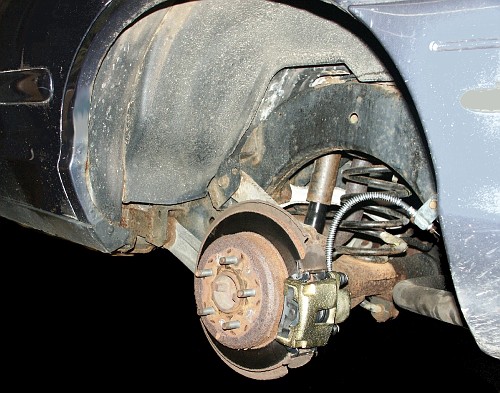
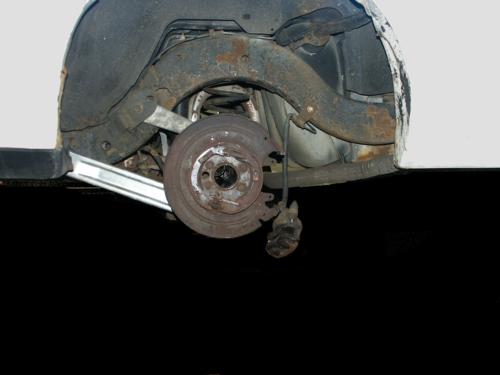
You will have to jack up the rear axle some on the passenger's side of
the car in order to get the caliper retaining bolts out. This picture
was taken at an angle and does not accuratetly reflect the limited
clearance in between the watts rear lower control arm and the brake
caliper bolt.

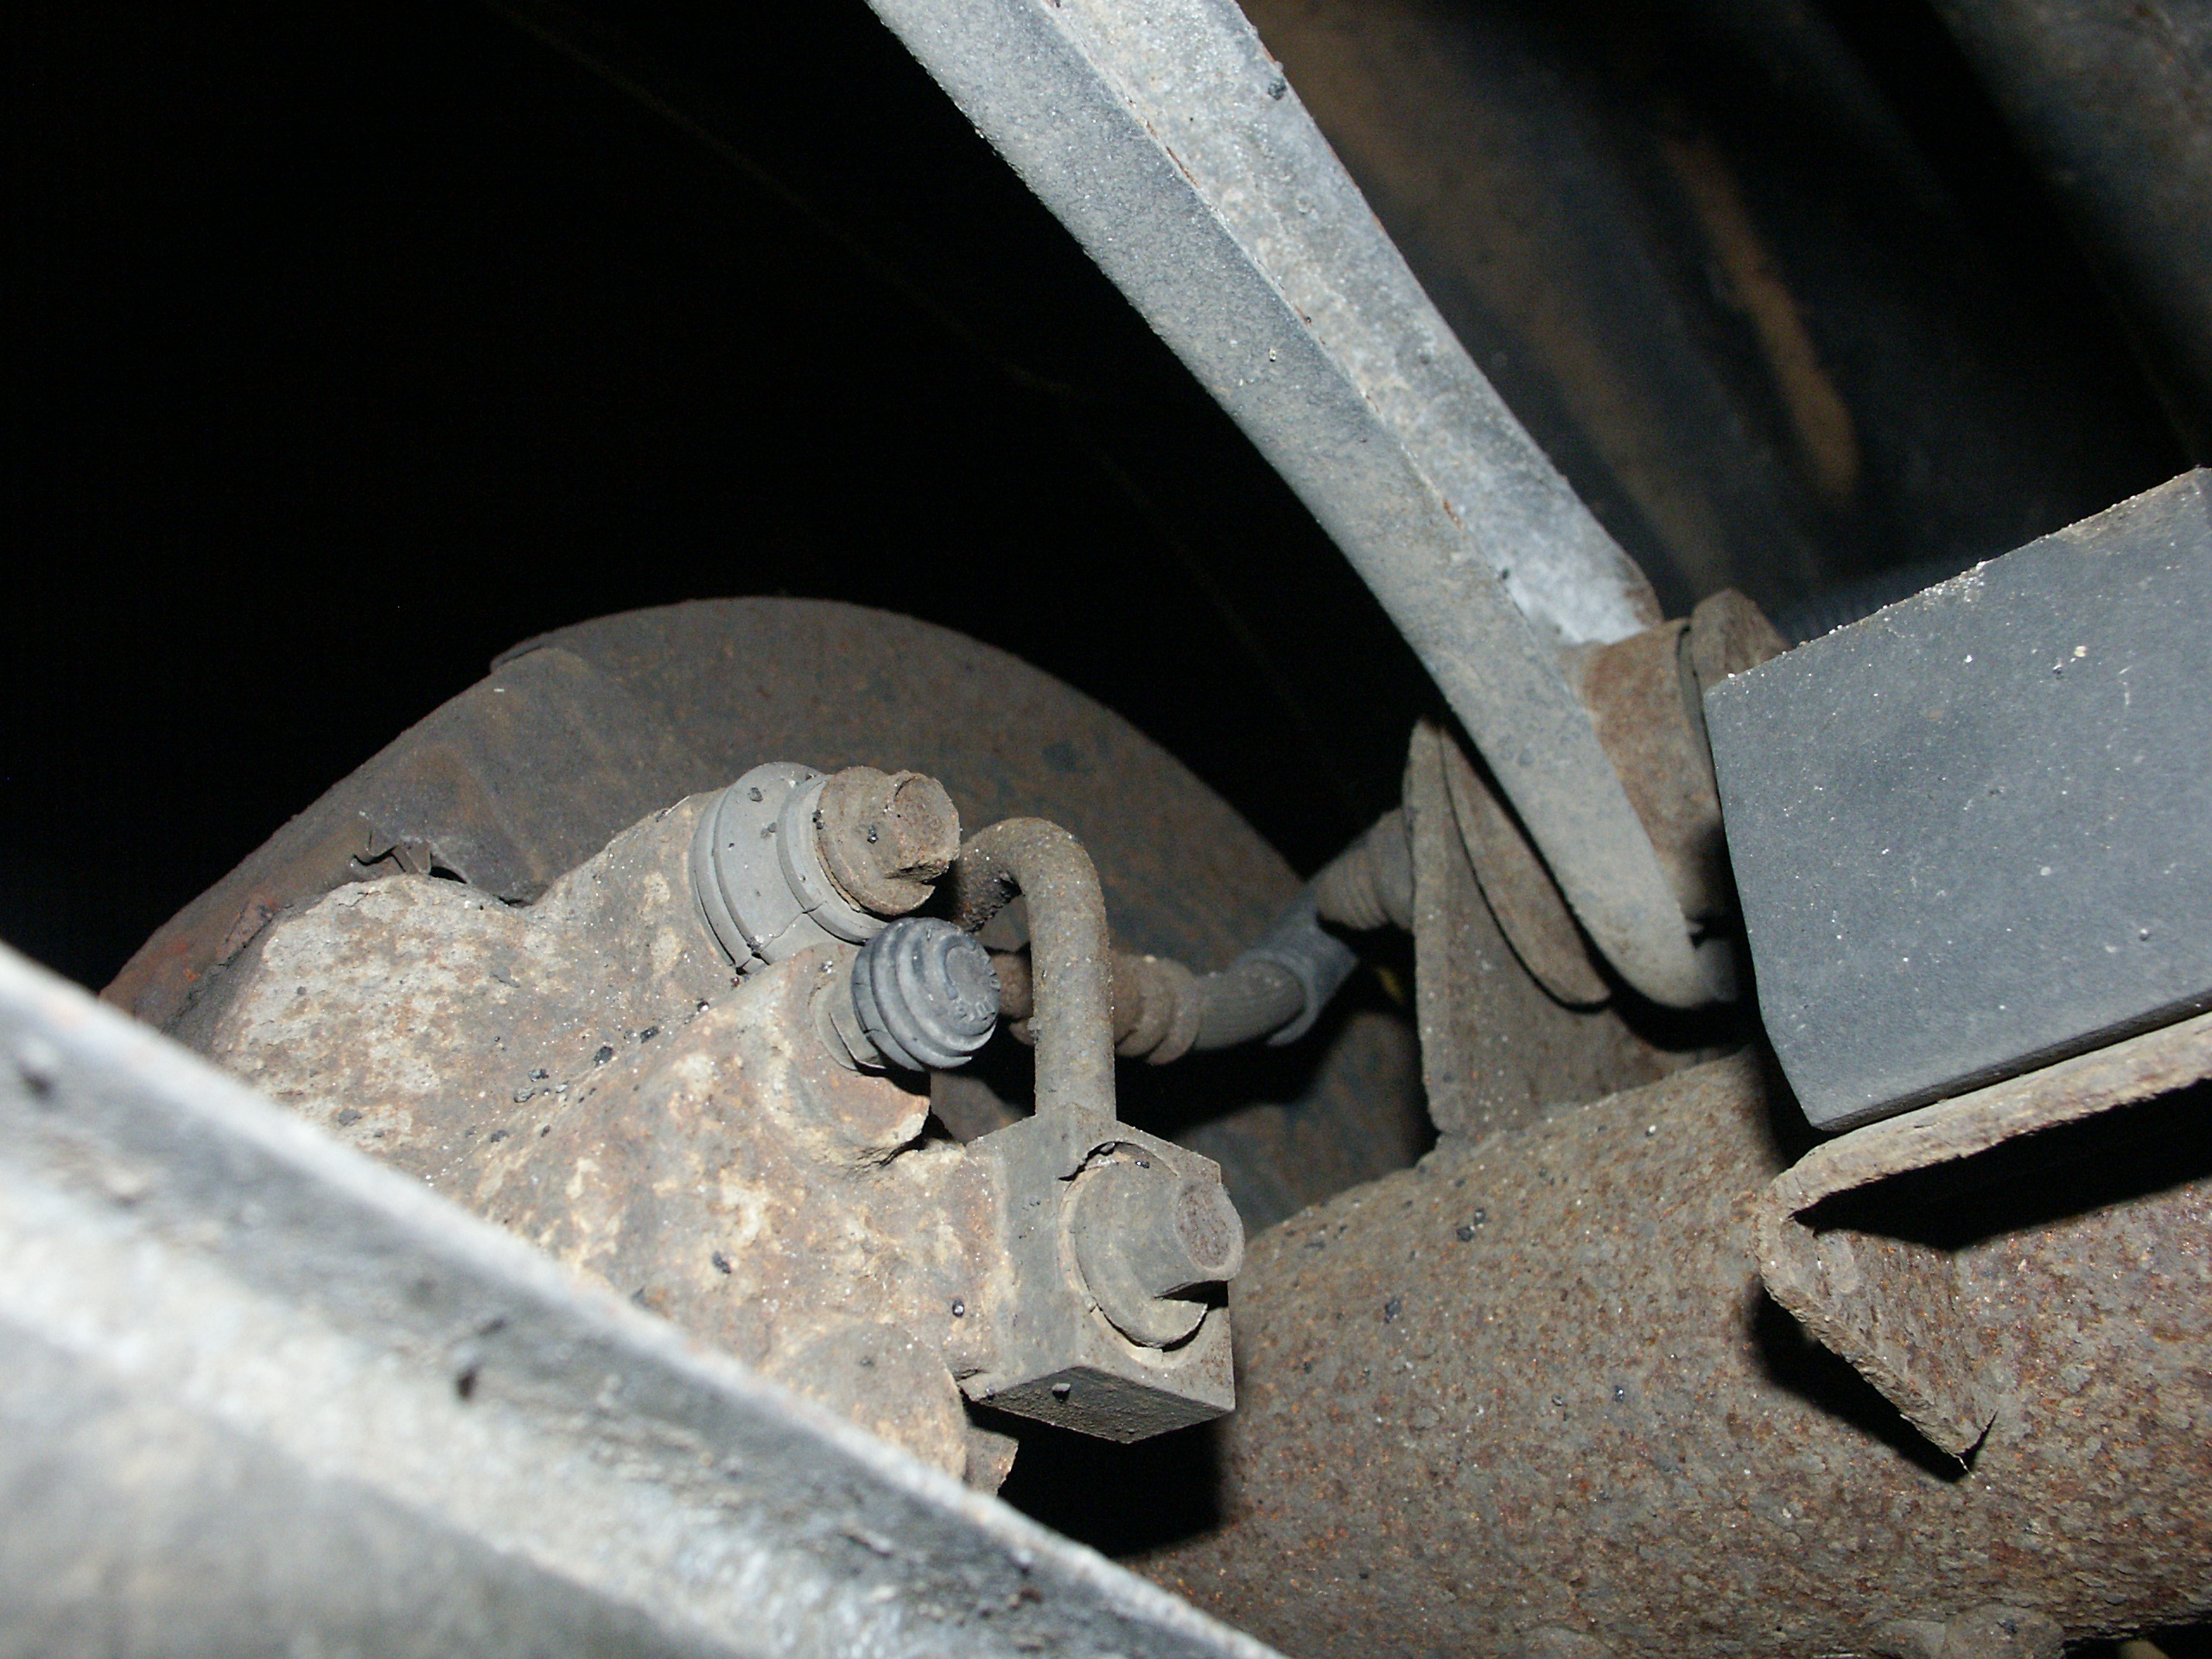
For the brake line->brake hose junctions, you'll want to use a 13mm
flare nut wrench. And you'll also want to use a pair of pliers or
adjustable wrench to hold the brake hose->frame bracket stationary.
In this particular case, the brake line fitting seperated from the hose
connection block without damage. But if the nut twists the metal line,
you will likely end up cutting the damaged metal line with a tubing
cutter and then splicing in a new section of metal brake line. Note
that the fitting on the end of the brake line is a metric bubble flare
rather than a 45 degree double flare like you'll find on some older
cars.

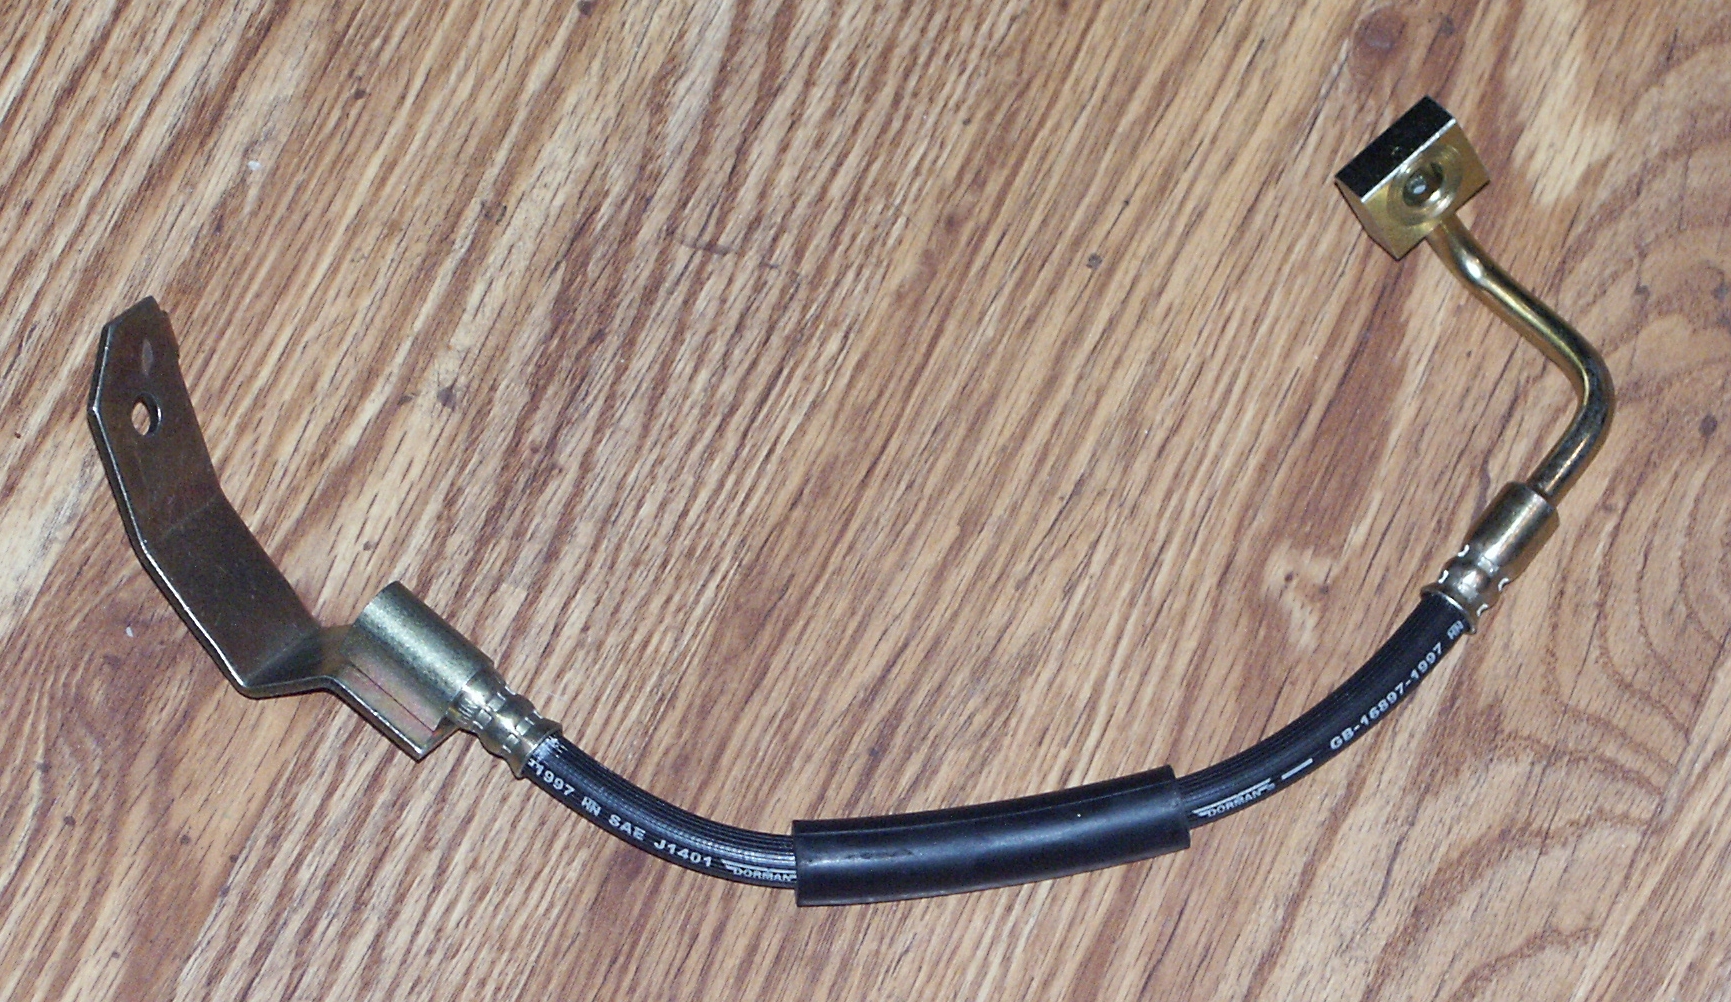
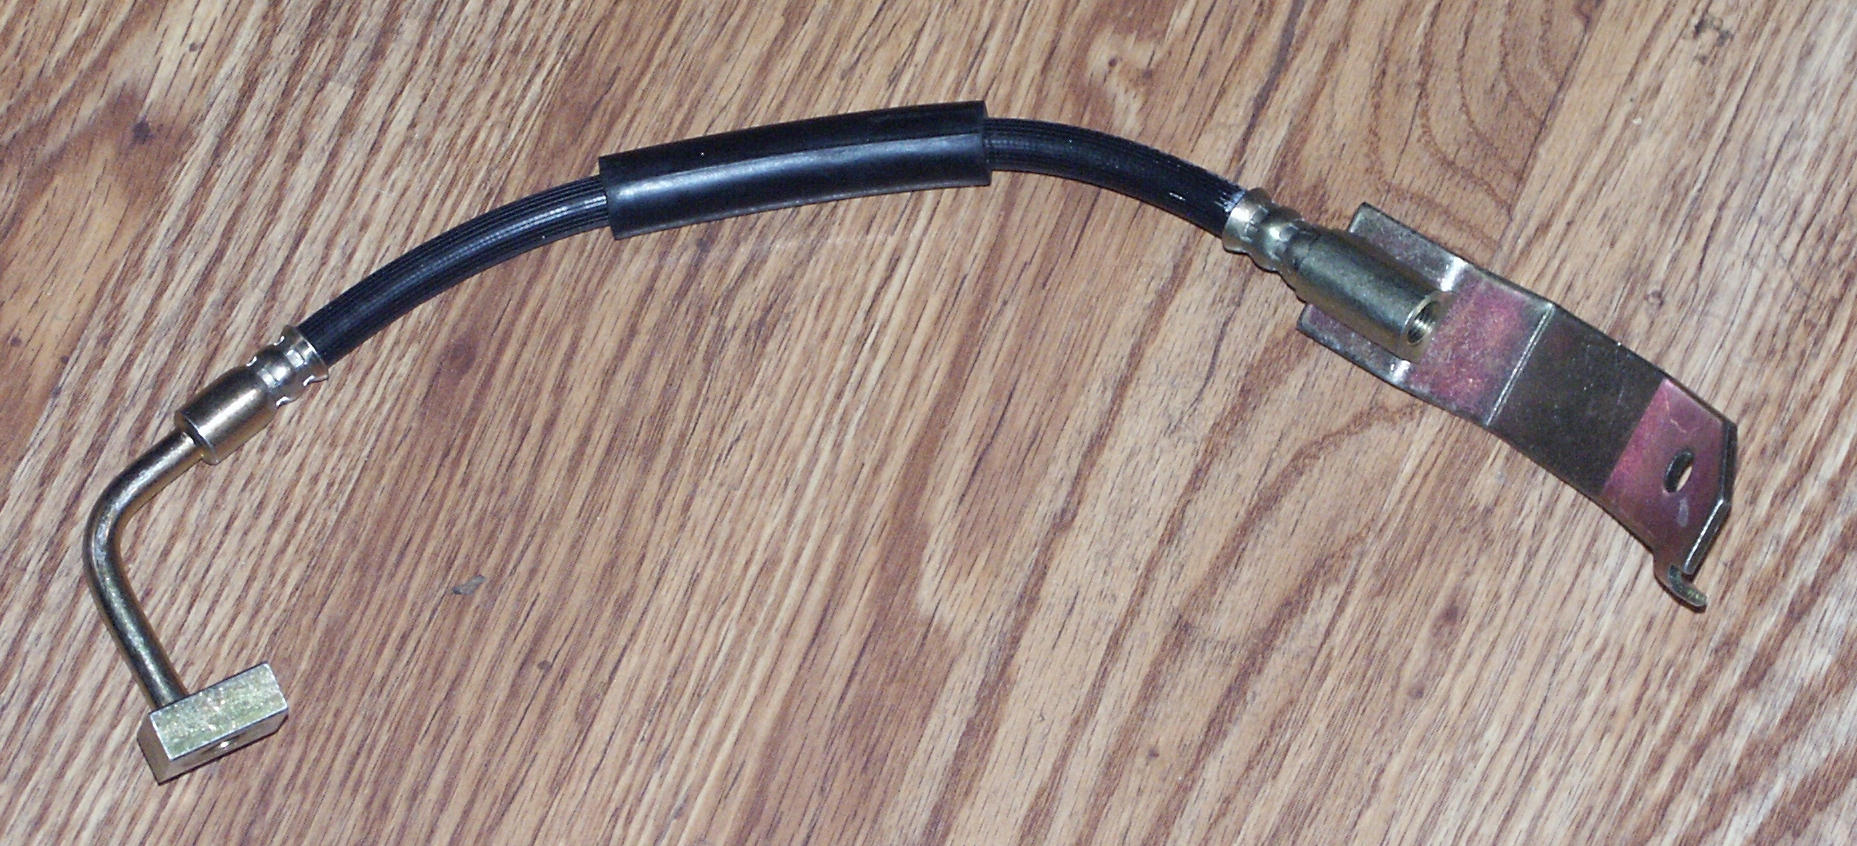
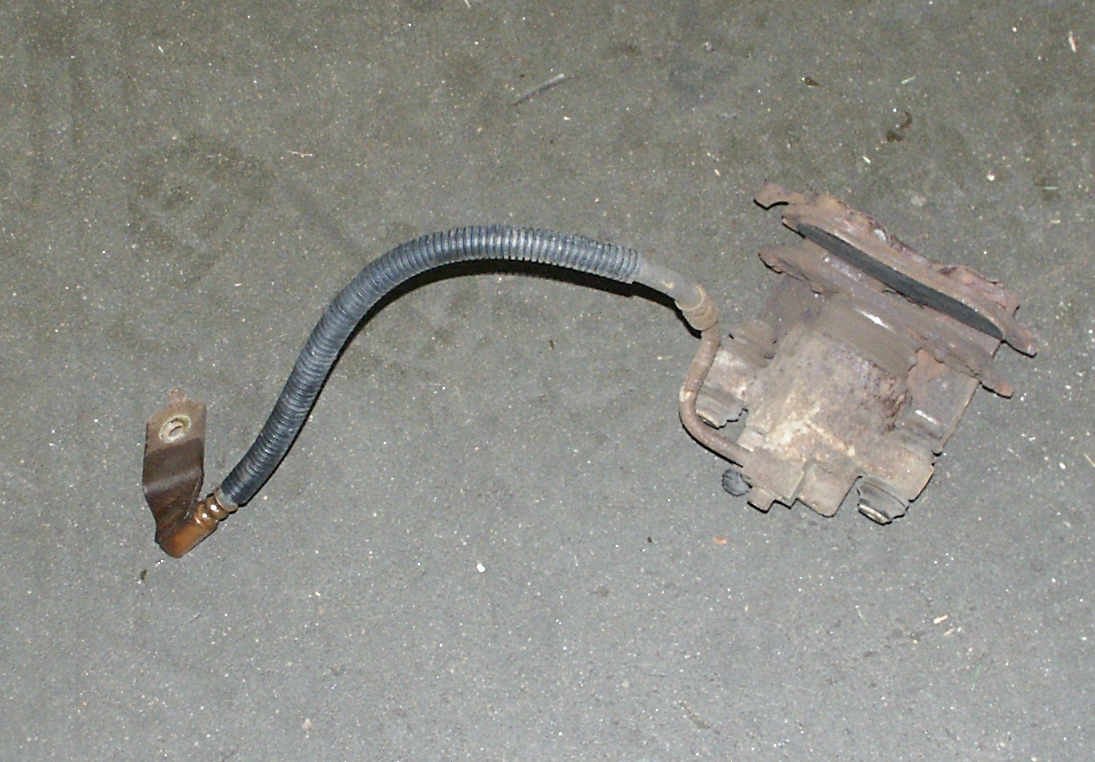
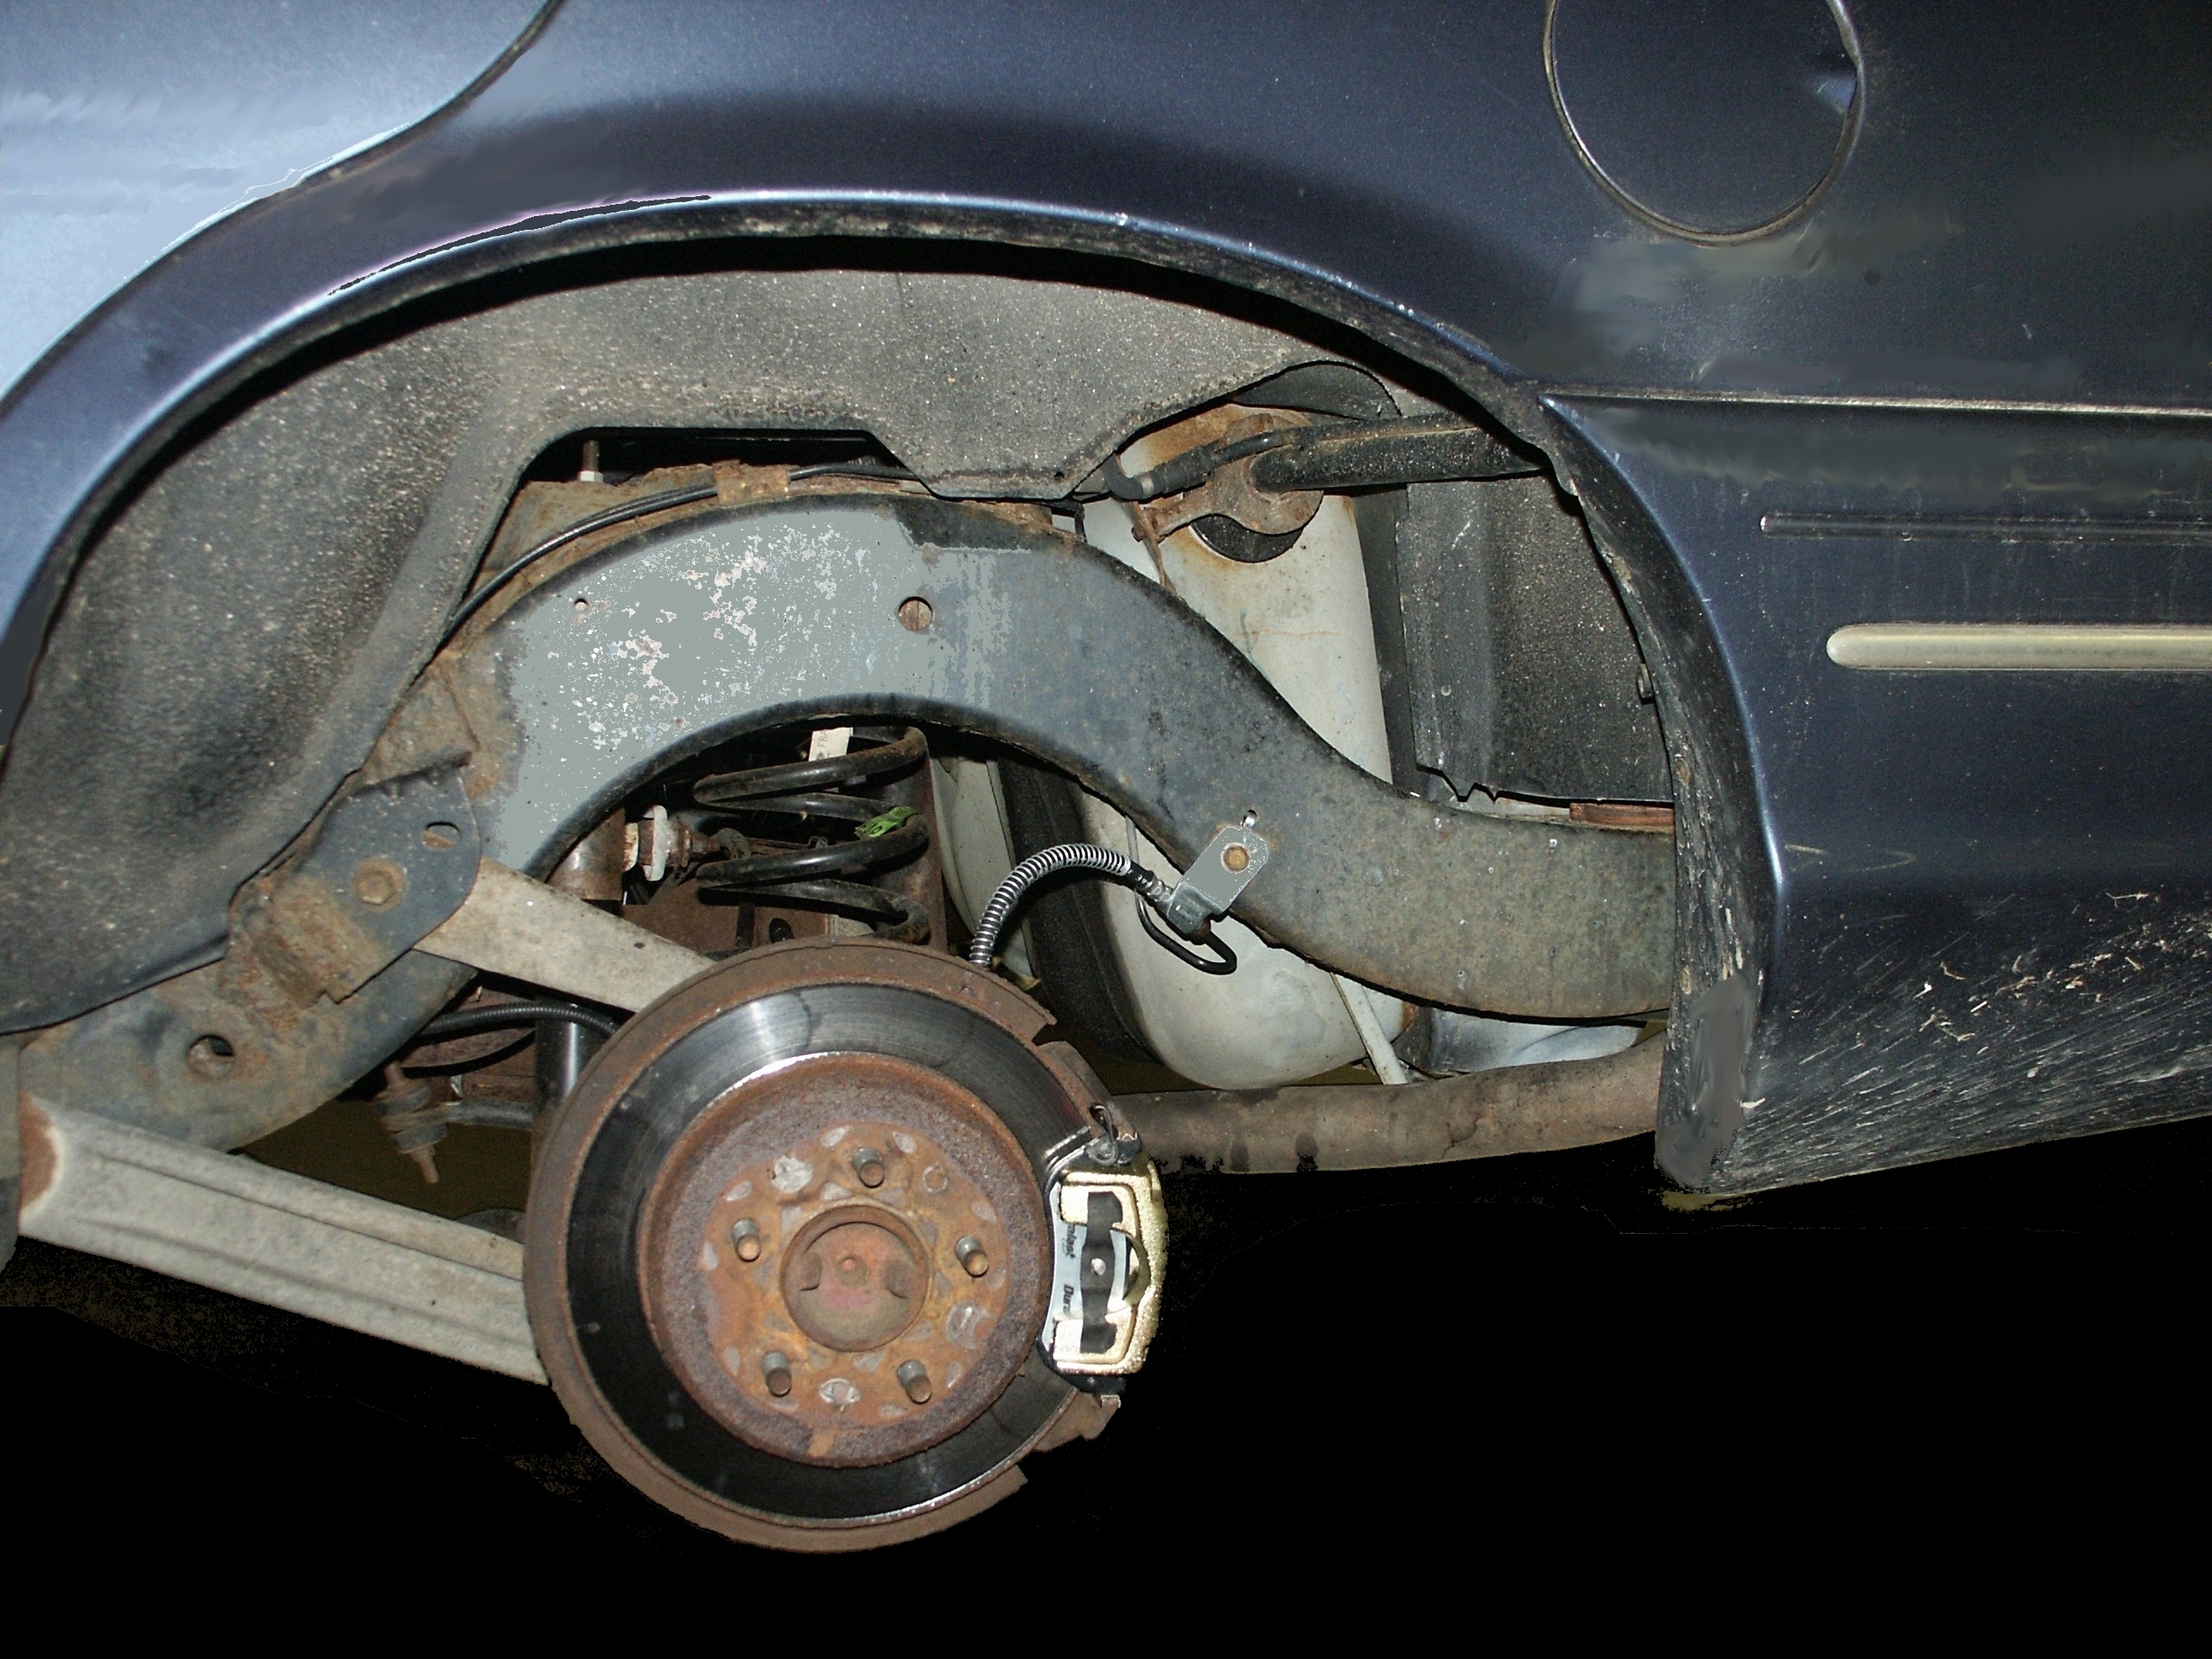
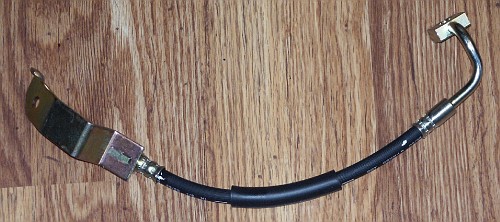
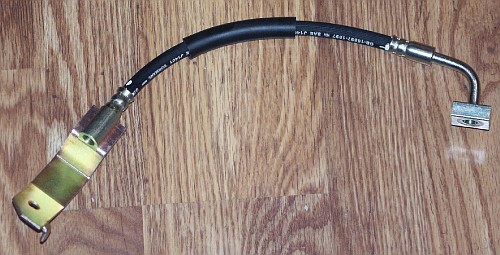
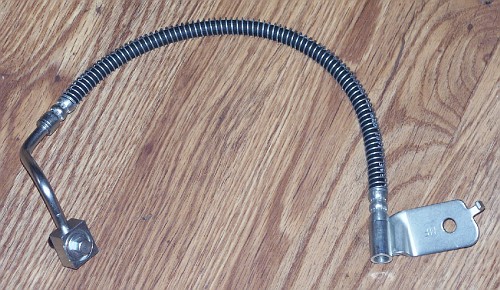
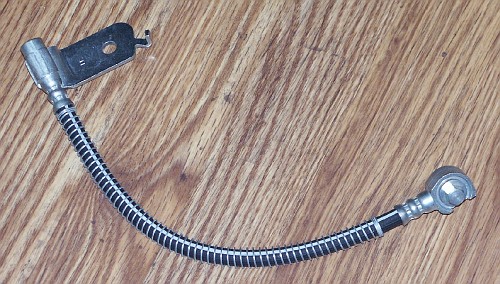
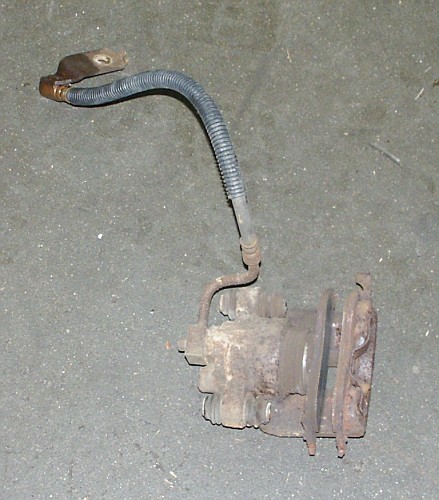
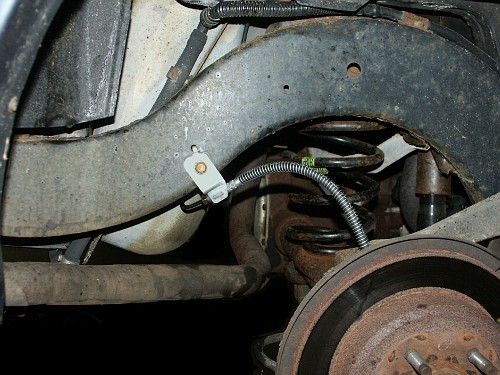
Here's a closeup of the rear brake hose with the oddball curvature to
it. This design is needed to pass around the watts upper control arm
fastener.

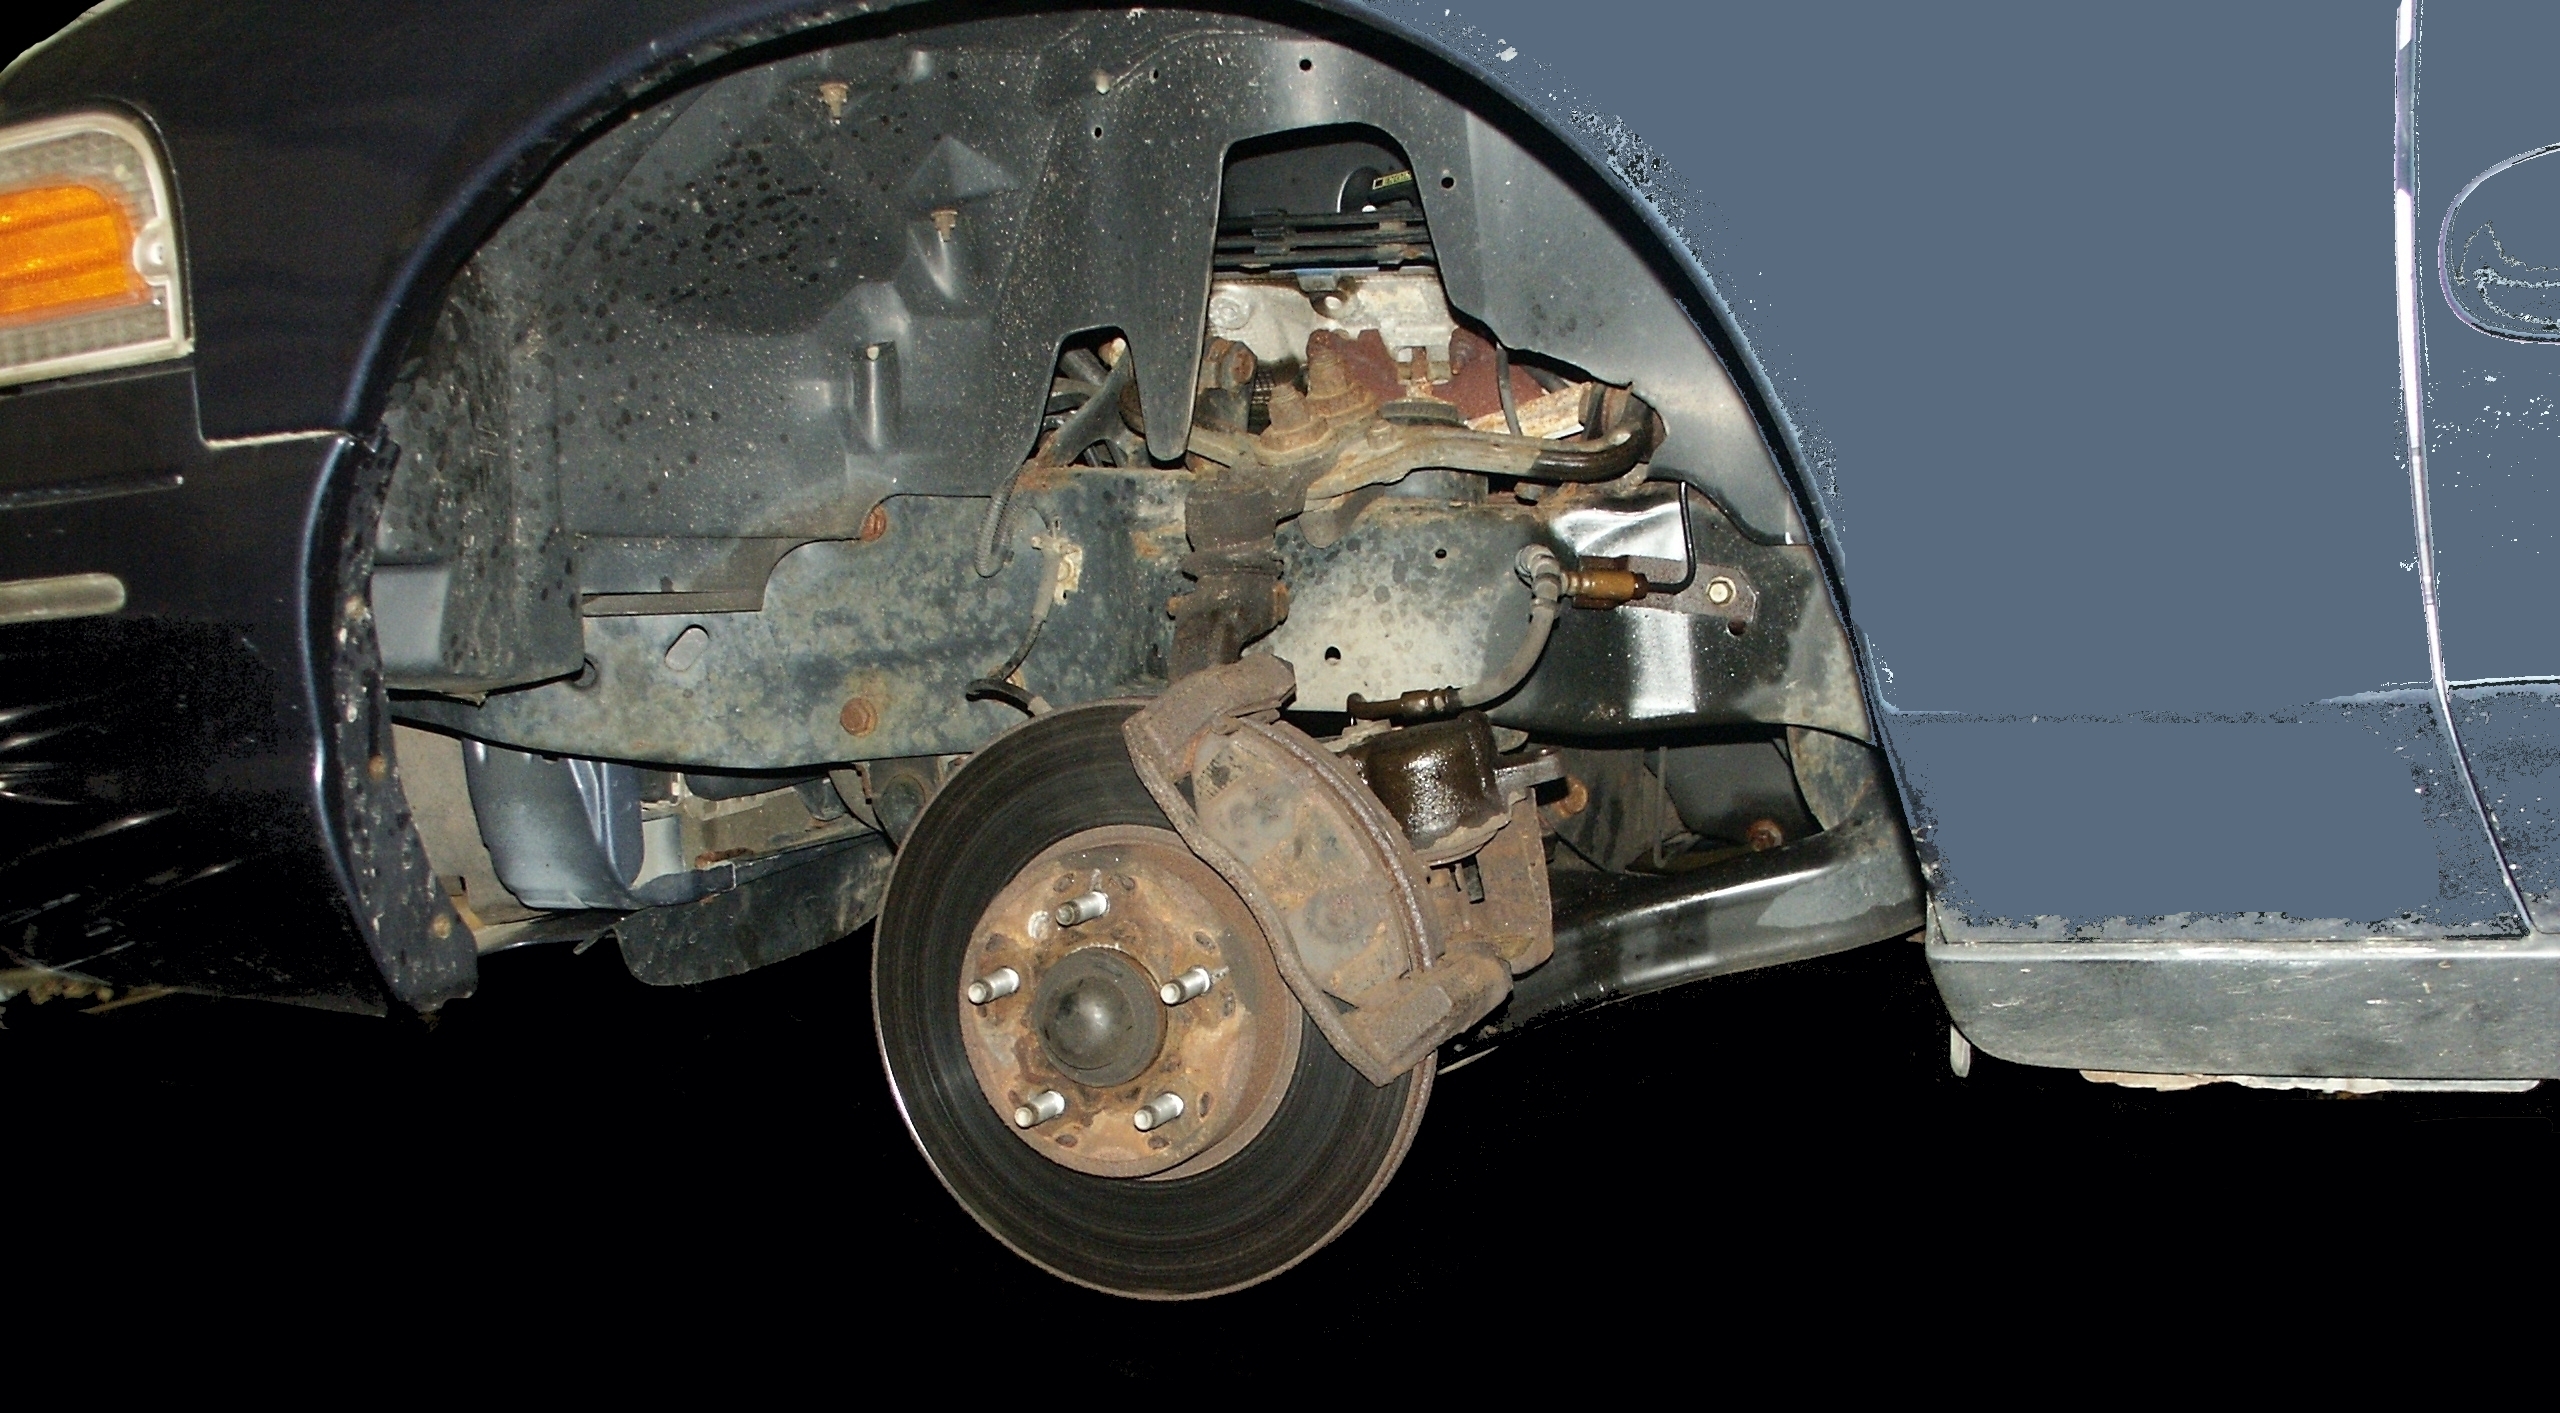
The rear brake pads on this side are really worn down too.

Brake fluid eats paint off of metal. So be careful where the brake
fluid drips after the caliper and hose are removed.
Note the muffler jack being used to raise the rear axle assembly
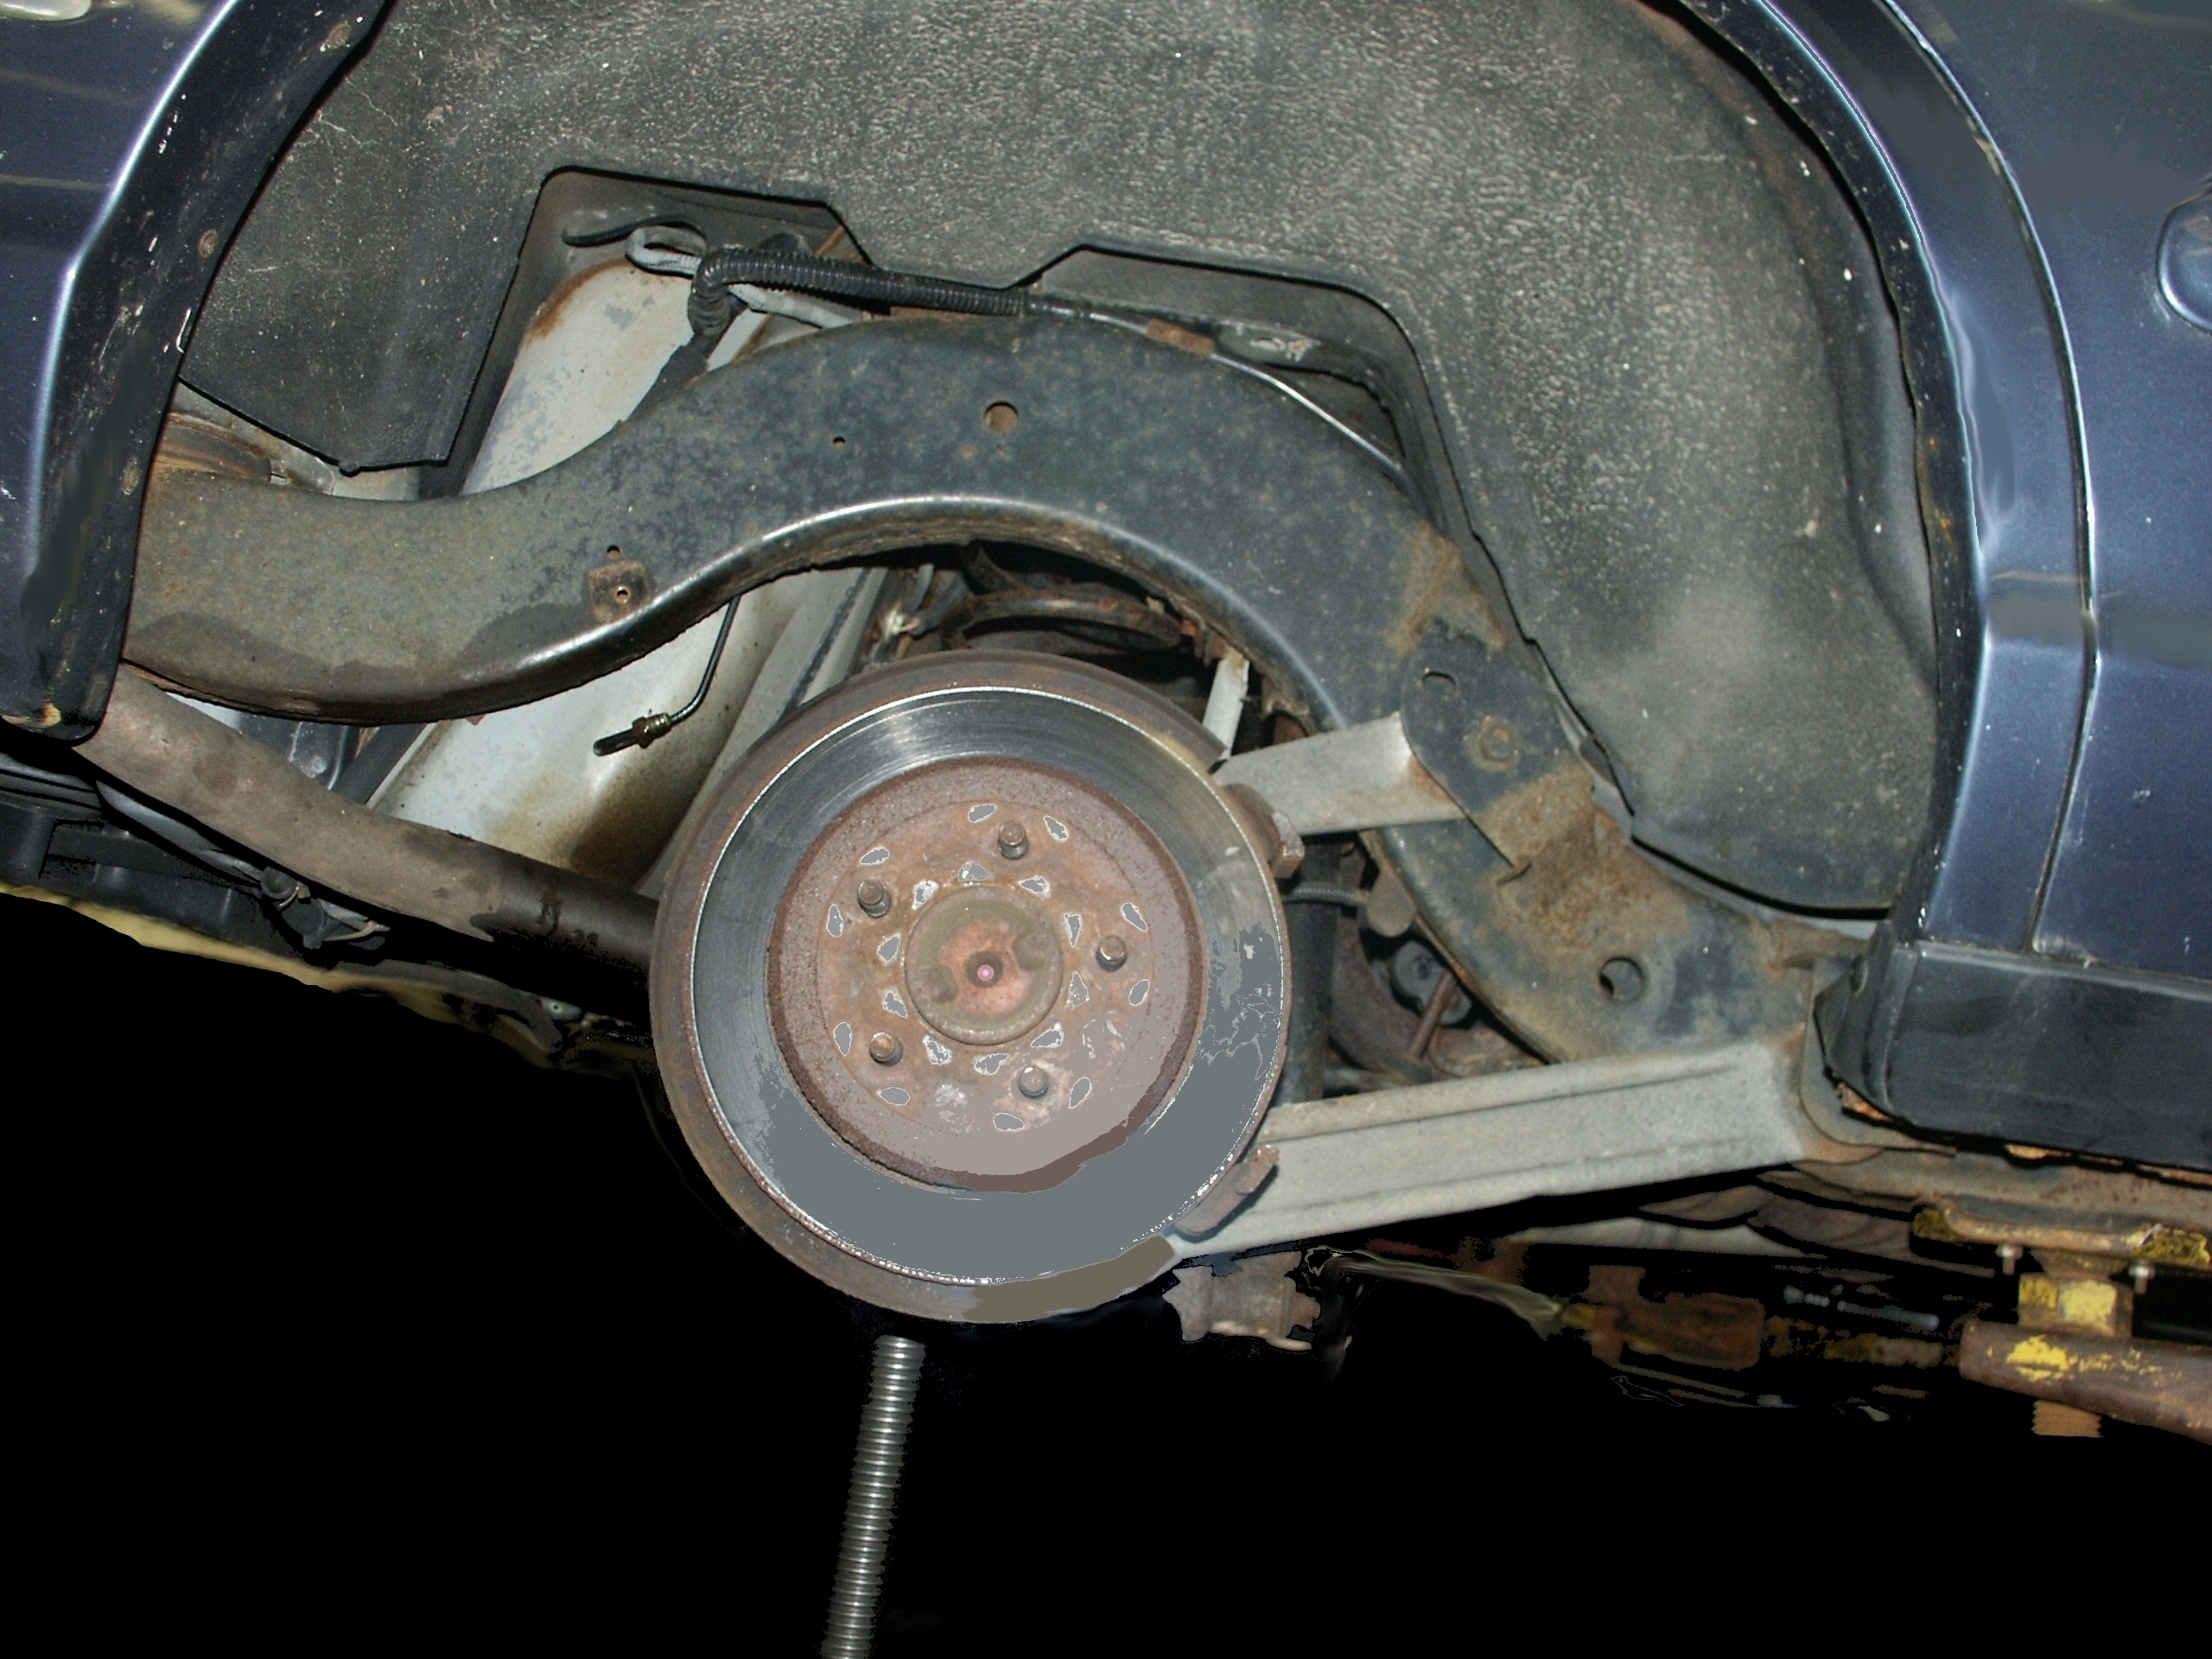
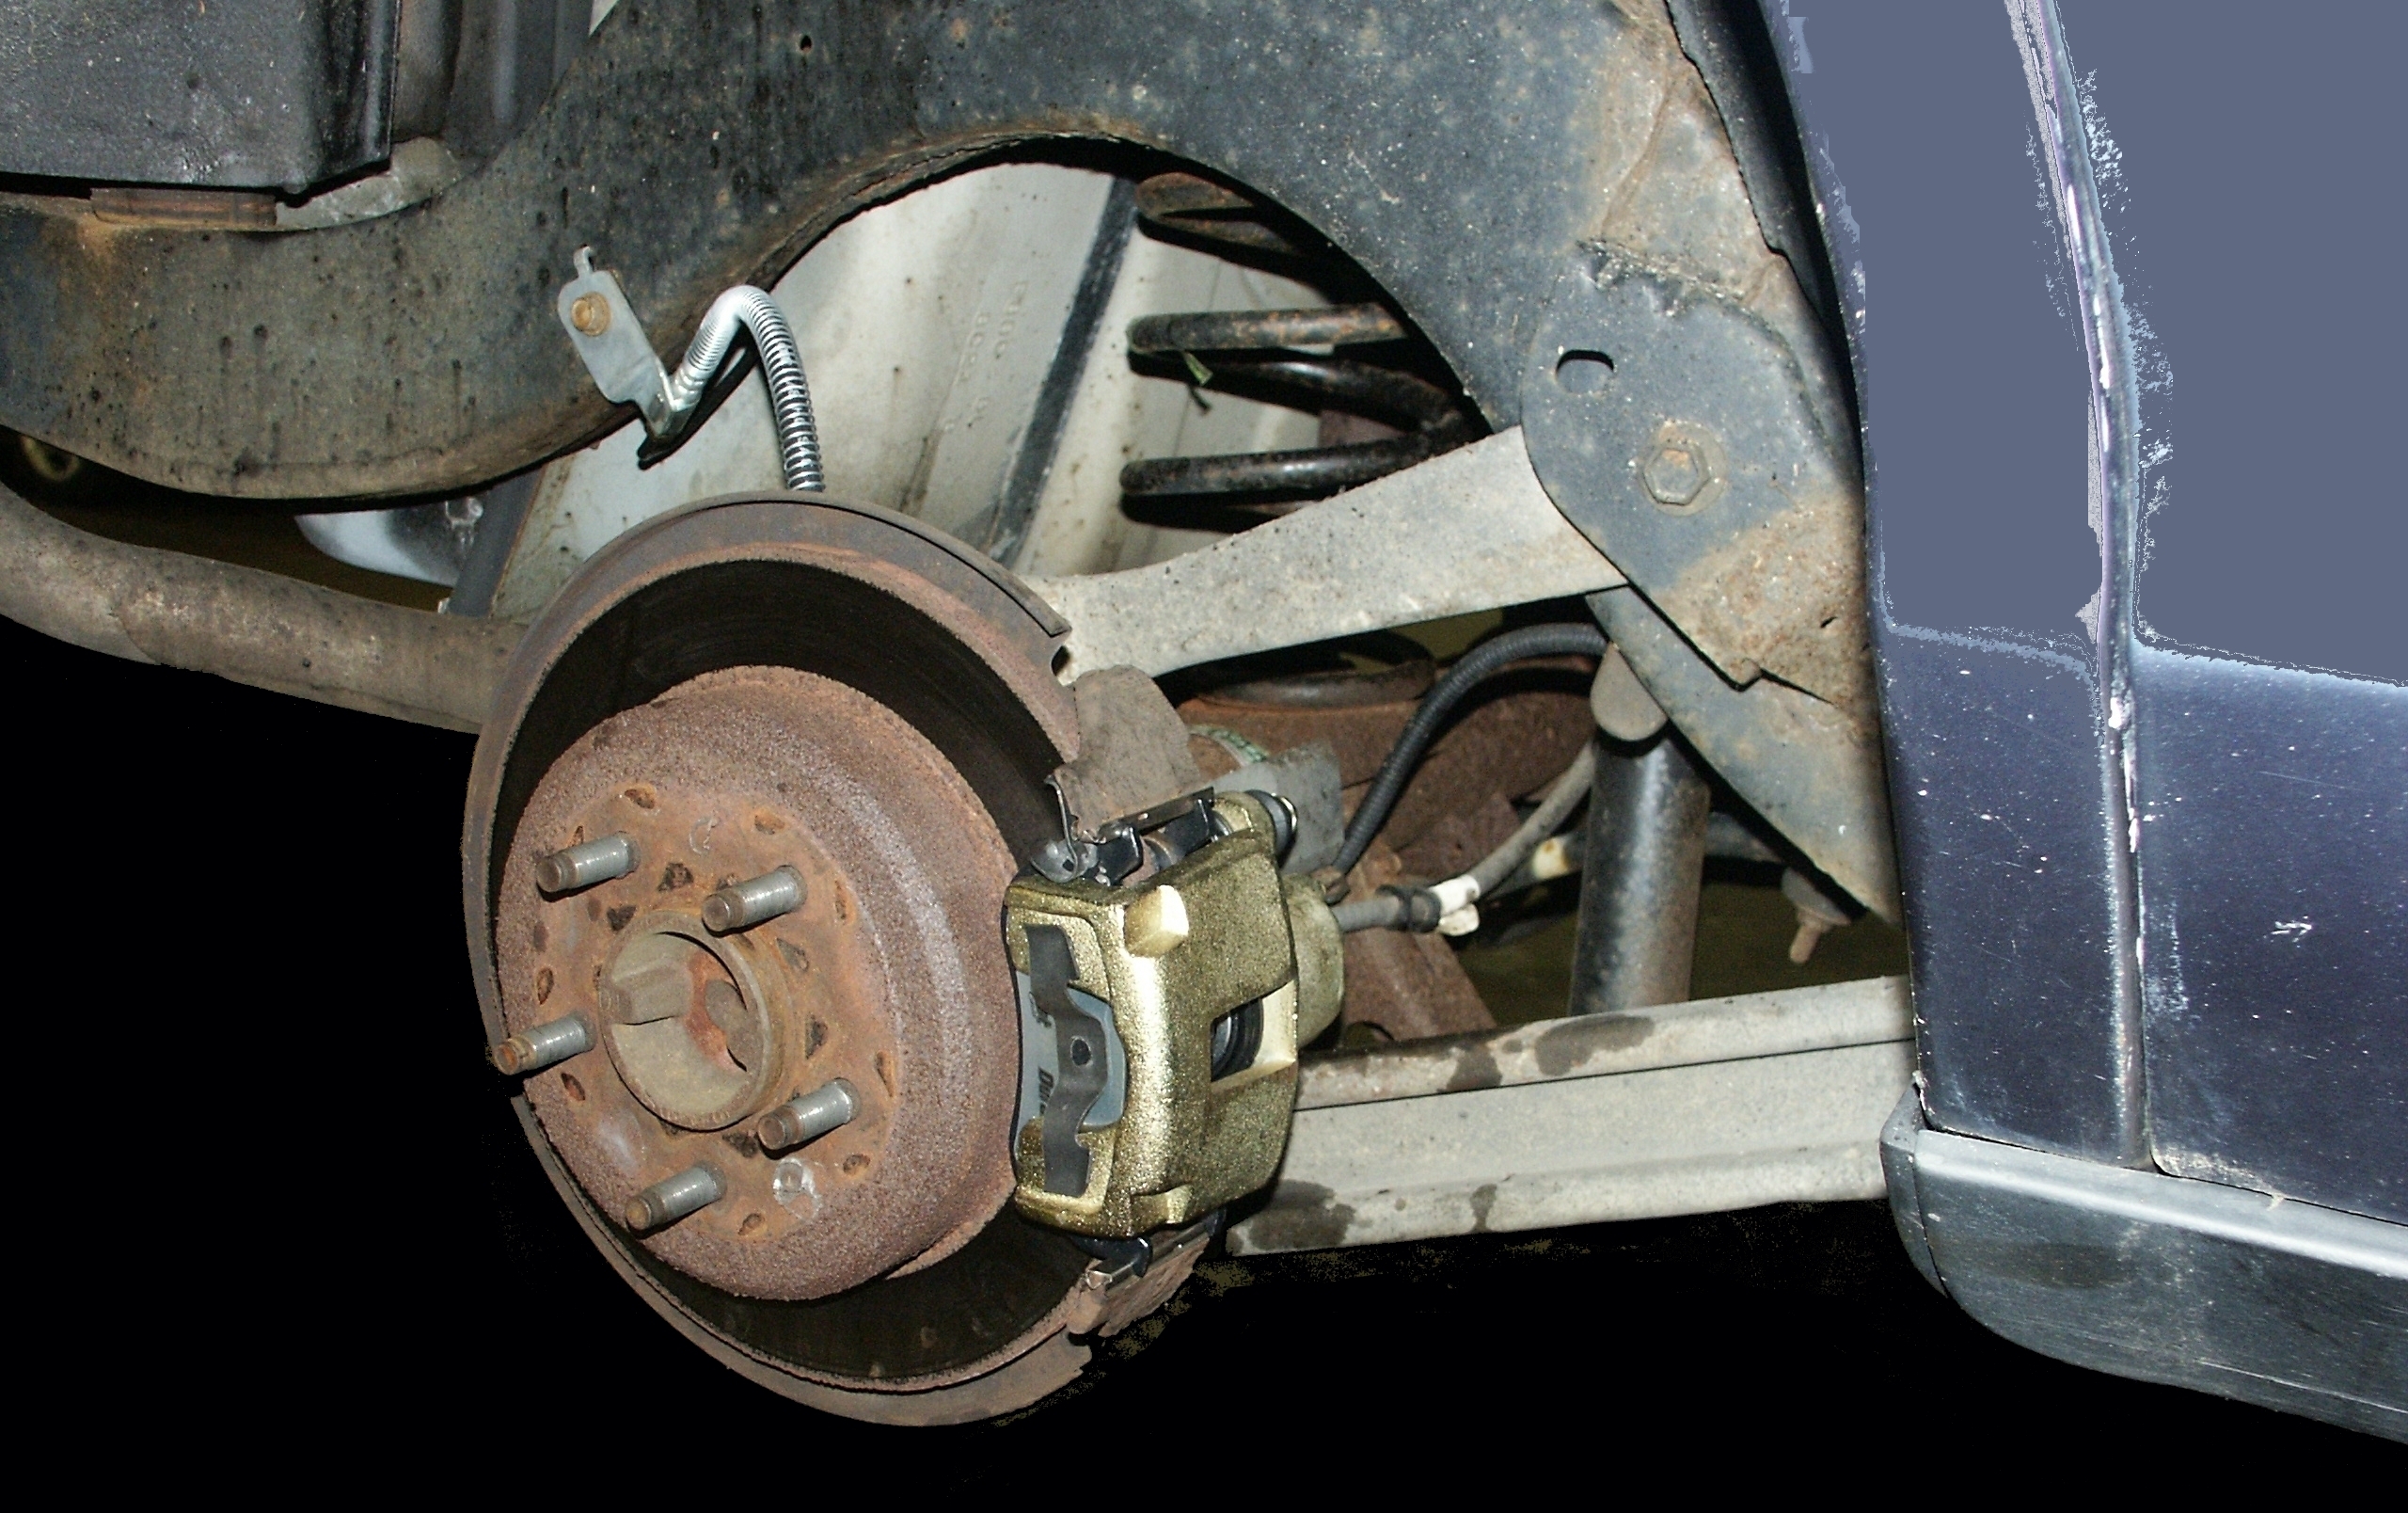
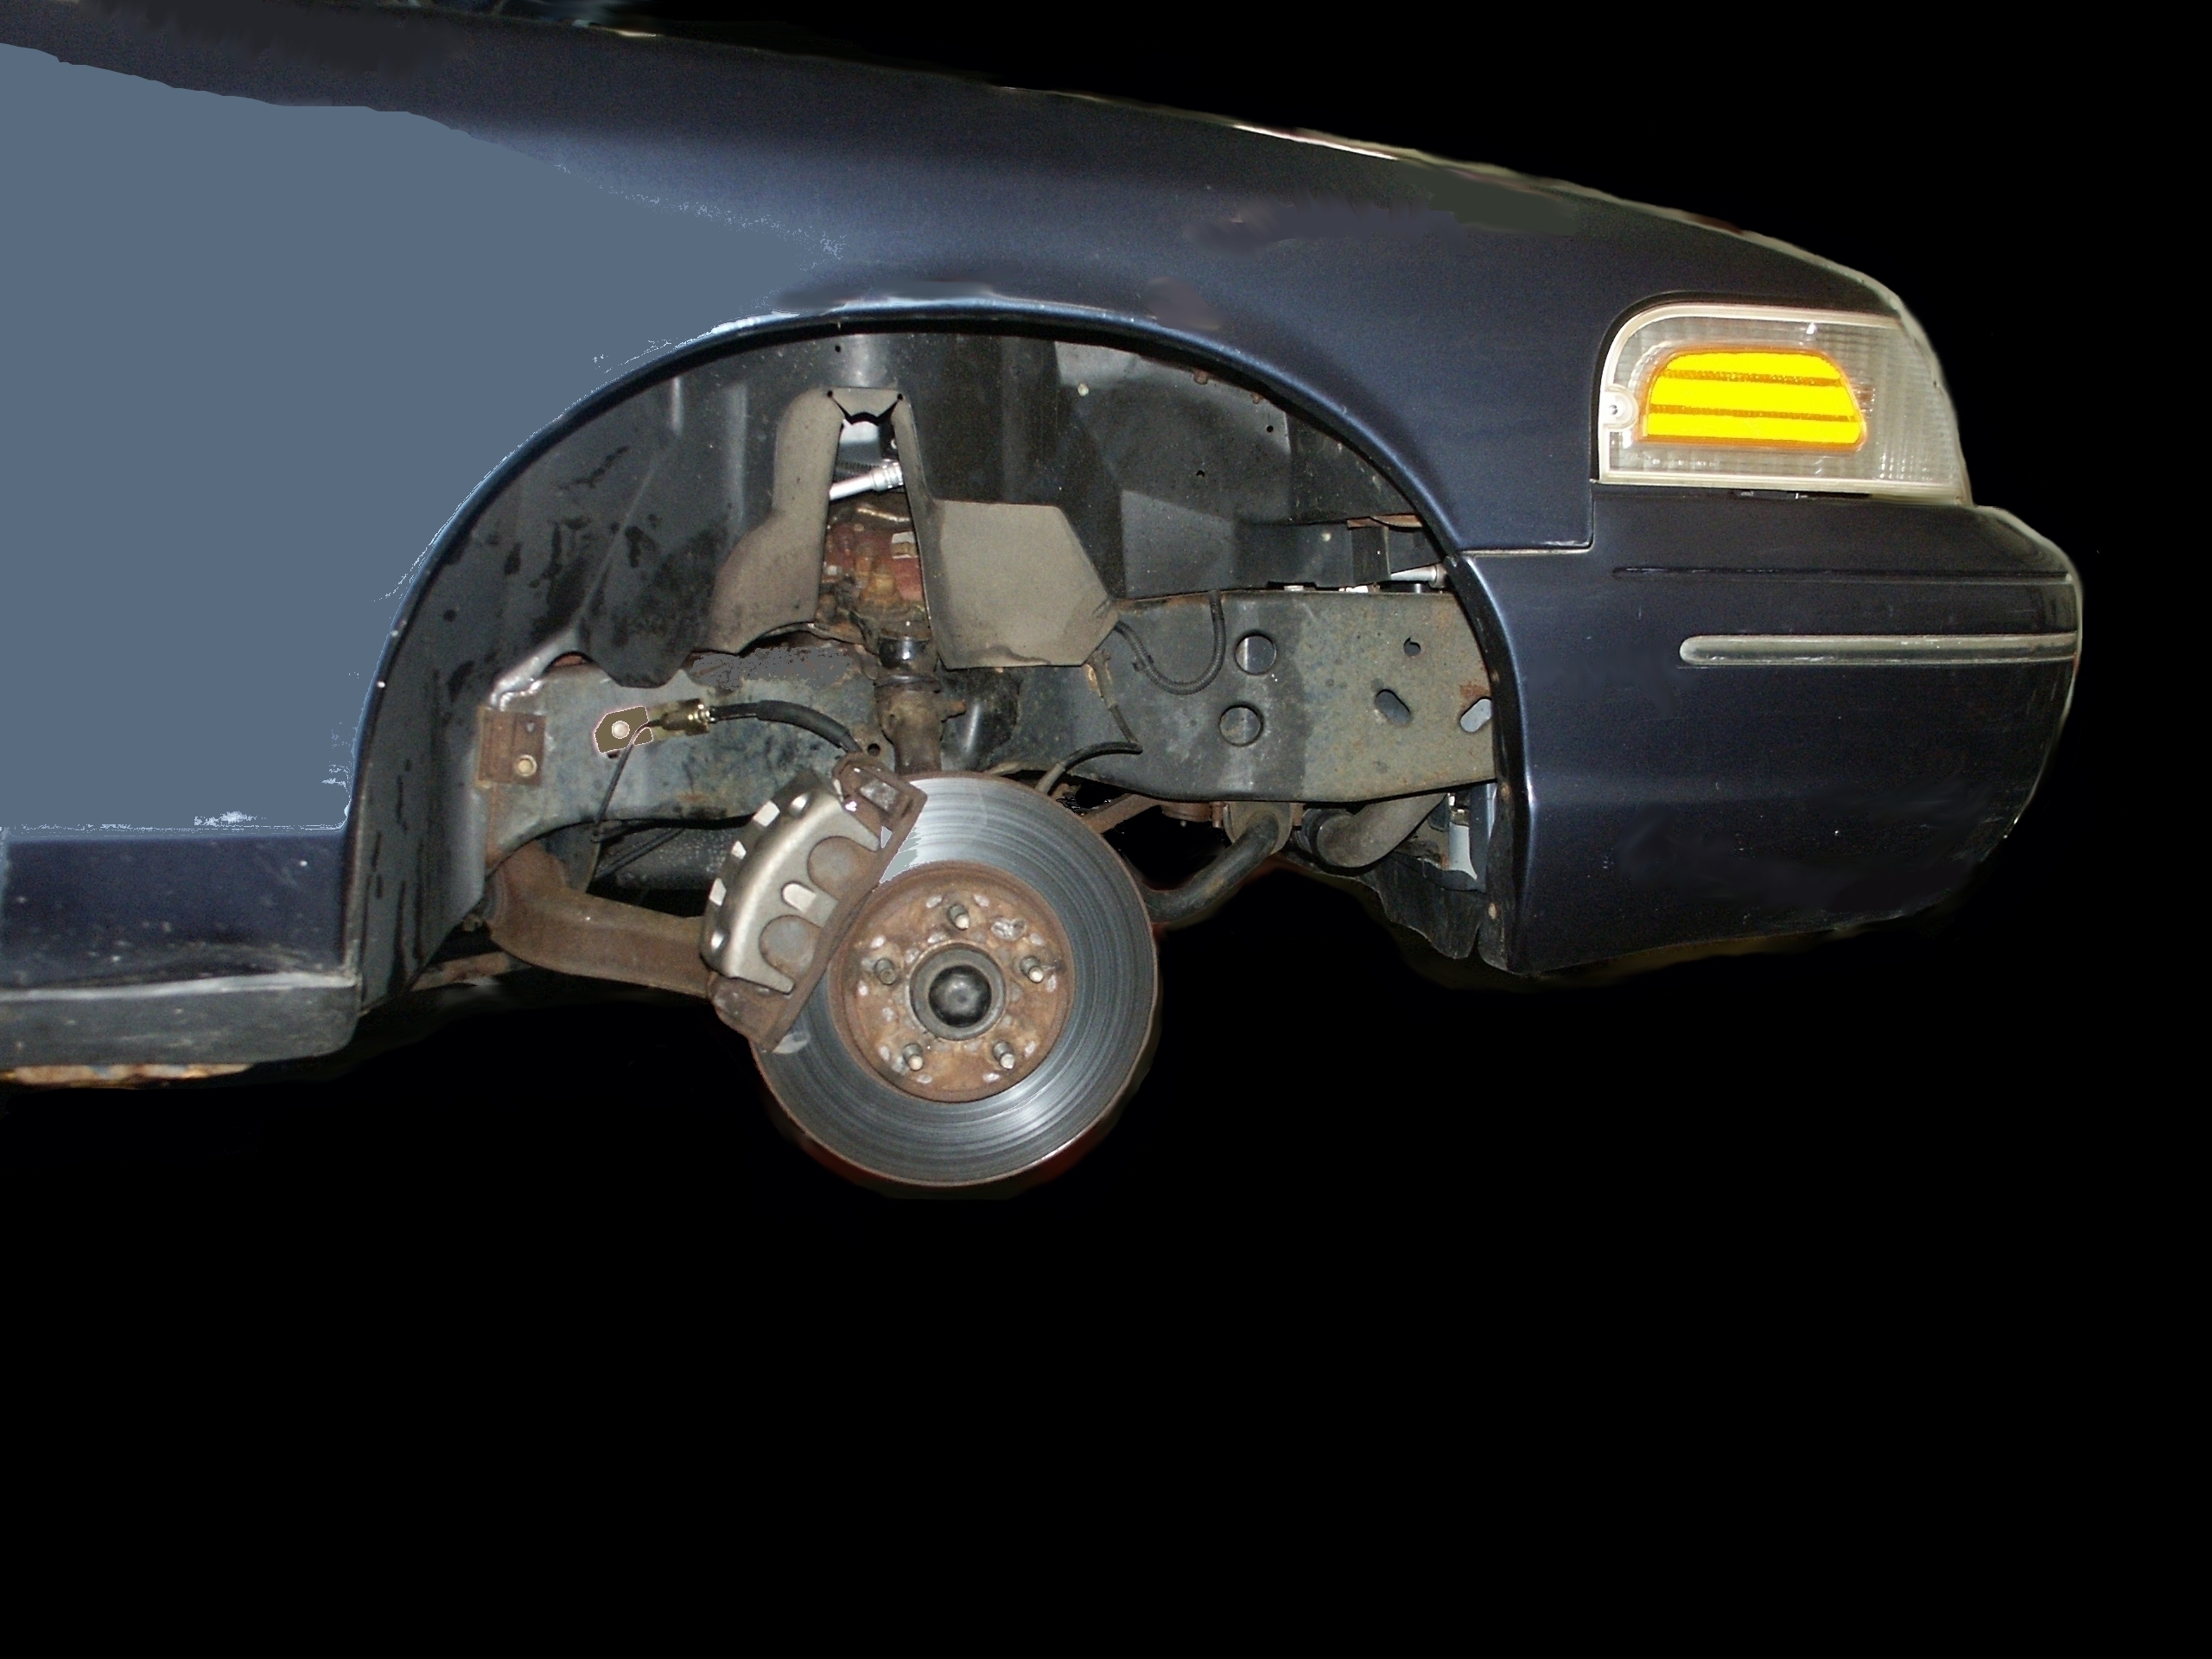
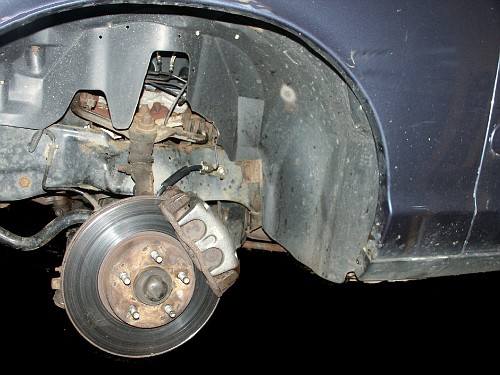
The new caliper can now be installed

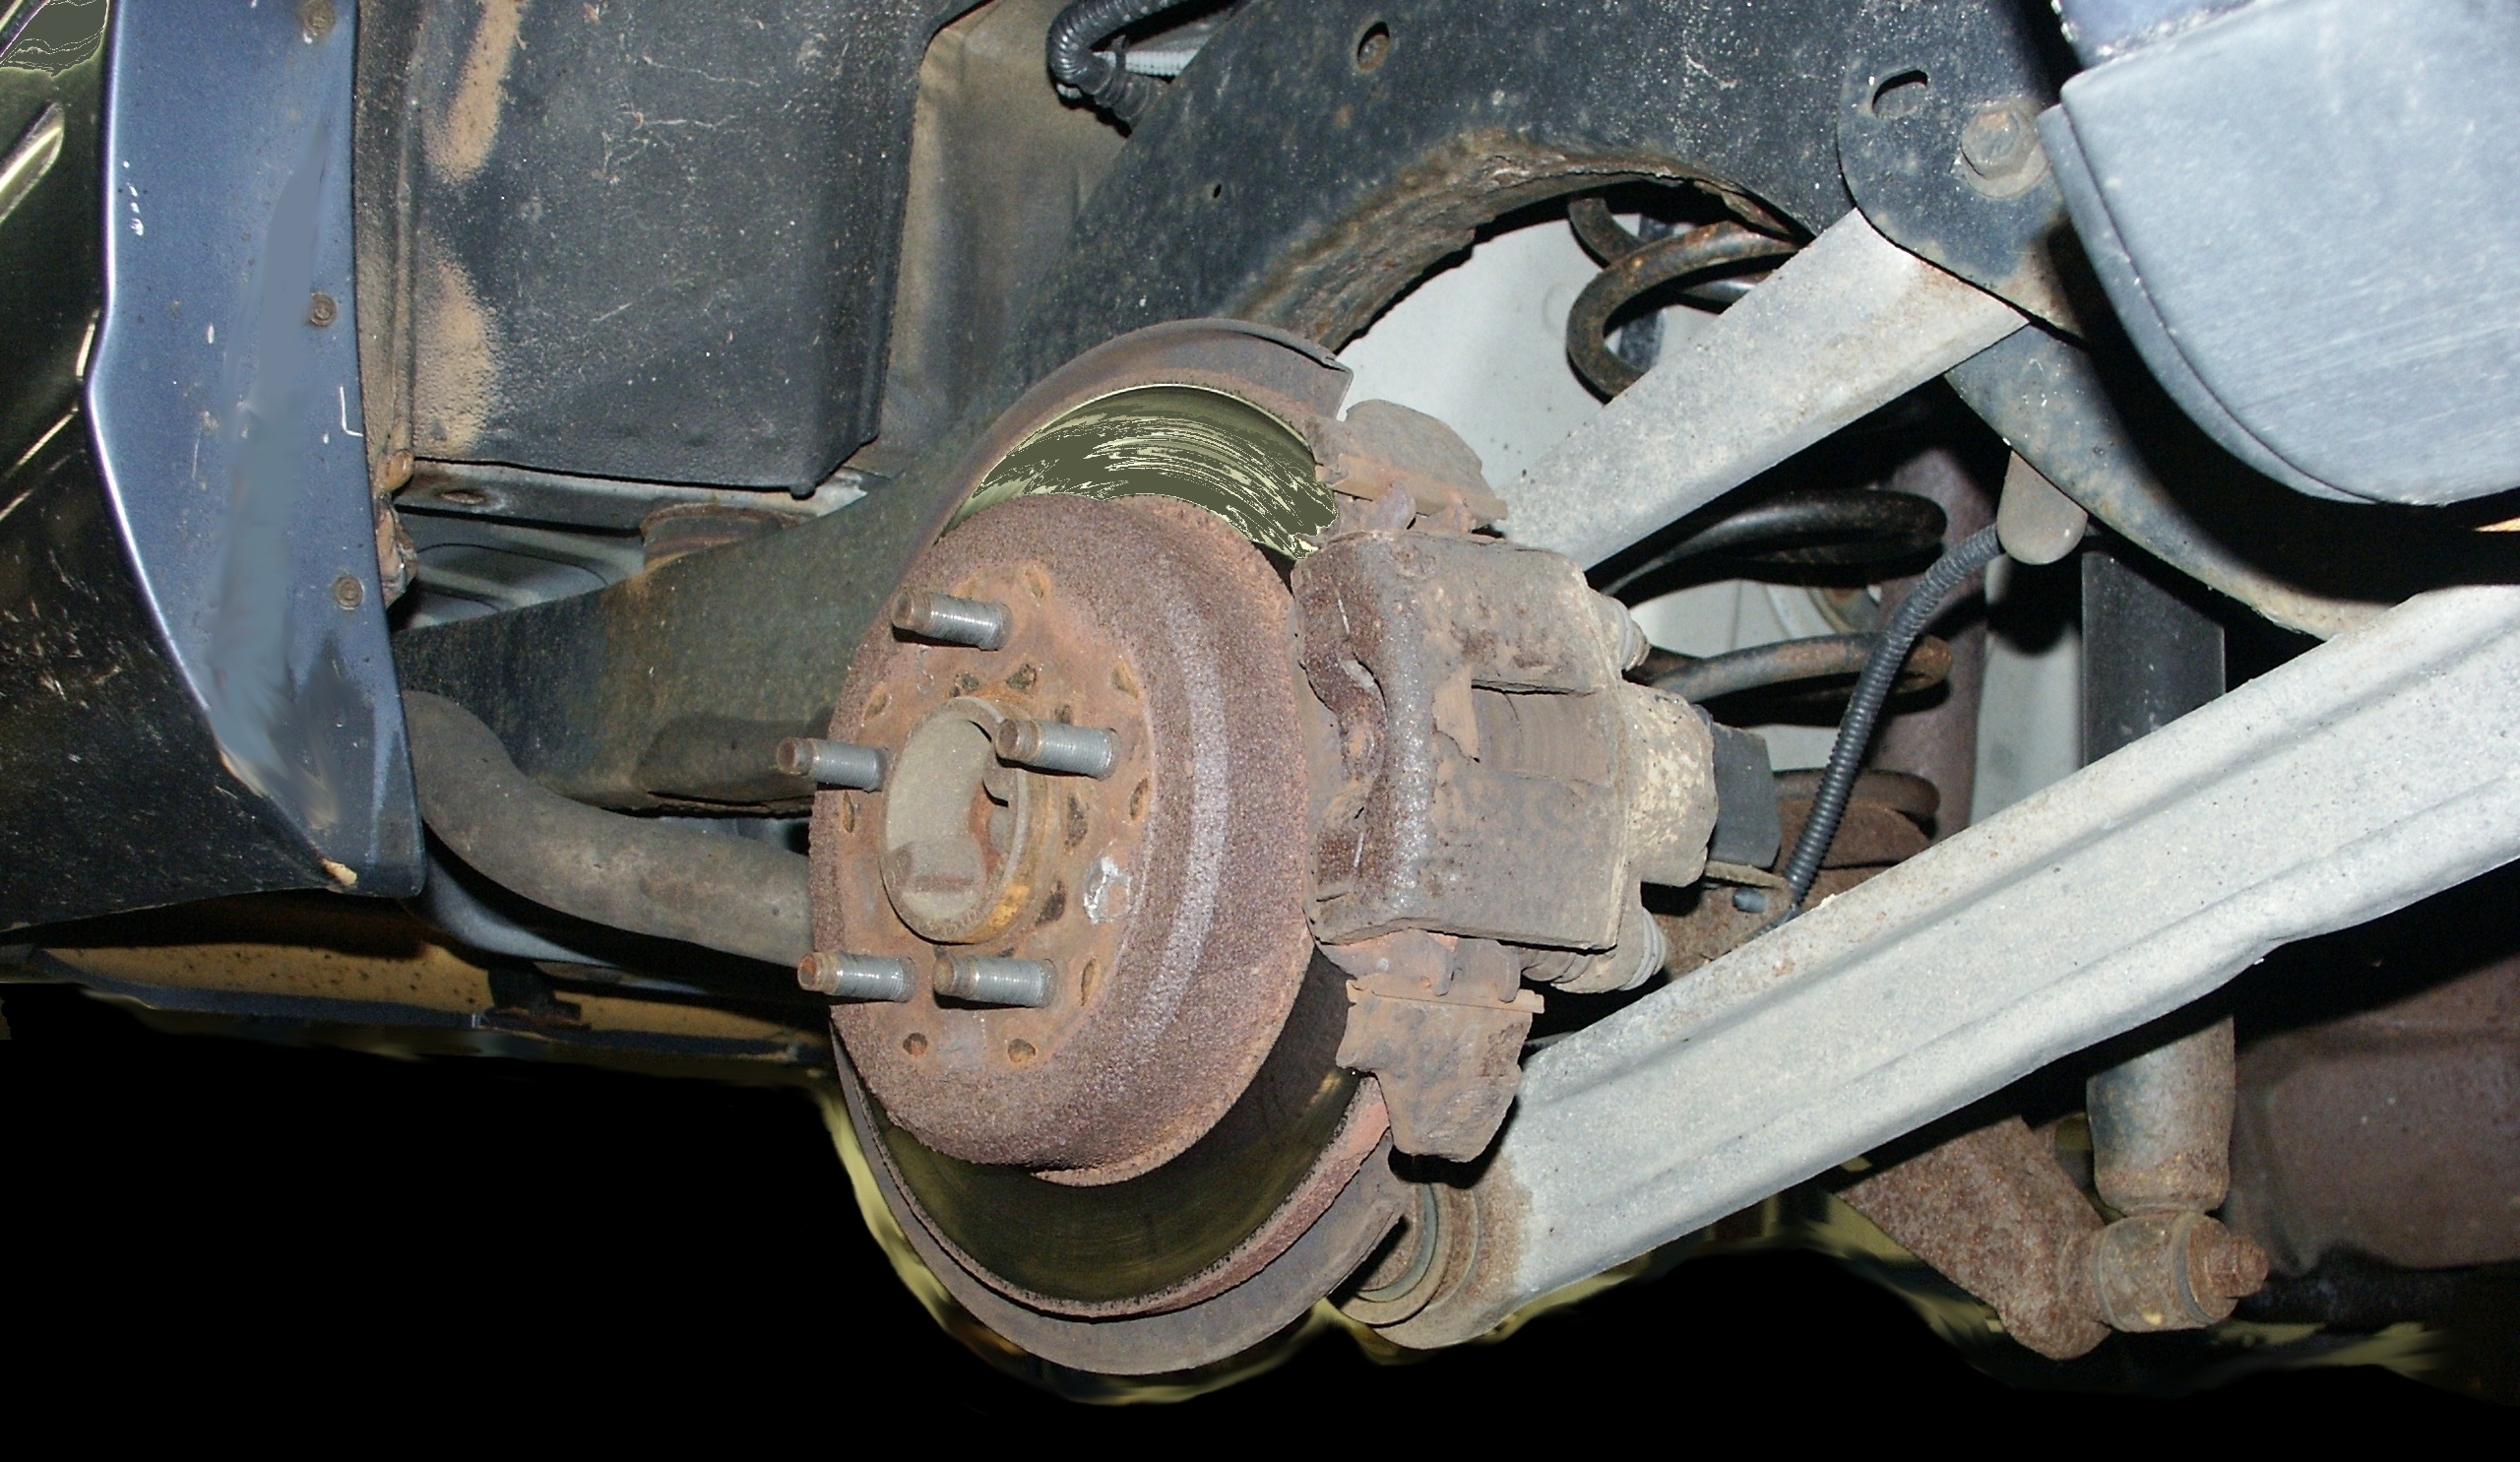
The rear brake rotors on this car are solid. Starting in 2003, vented
rear rotors were used.
Now it's time to install the driver's side rear caliper
You do not have to jack the rear axle to install/remove the driver's
side rear brake caliper like you do on the passenger's side rear.

Now it's time to install the passenger's side front caliper

And the driver's side front caliper
Finally, all 4 new brake calipers and hoses have been installed. And
it's time to add fluid to the master cylinder reservoir and bleed the
hydraulic lines. Removing all 4 brake calipers from the car introduced
a
large quantity of air into the brake lines. I ended up running over a
liter of brake fluid through the system to get a firm pedal. And
fortunately, everything sealed up good and no brake fluid leaks where
the new parts connected.
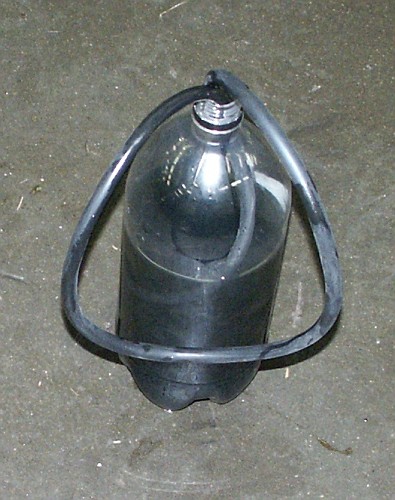
For bleeding purposes, an empty 2 liter bottle of soda and 3 feet of
vacuum hose were used. The fluid that came out was amber color with
noticeable black particles in circulation. But for some reason, the
picture shows the fluid as being solid pitch black.
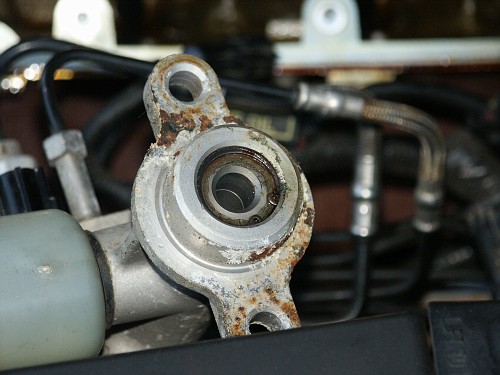
The next part of the project will be to install a new master cylinder
because the rear seal on the old one is leaking. But the seized brake
caliper bleeder issue had to be dealt with before the master cylinder
could be replaced.

Notes:
-1998 crown victorias could be ordered with 3 different brake options:
without antilock brakes (ABS), with 3-channel ABS without traction
control, with 4-channel ABS with traction control.
-on the 3 channel abs systems without traction control, the two front
brake hoses were fed individually from the antilock brake controller.
the rear brake calipers were fed with a single line to the back of the
car, and the hose connection split into two at the driver's side hose
assembly.
-on the 4 channel abs systems with traction control, each brake caliper
was fed individually from the antilock brake controller.
-on stripped down cars without abs, the master cylinder fed the drivers
side front brake hose which had an output port to feed the passenger's
front caliper hose. a single brake line was run to the rear which
connected to the driver's side rear brake hose, the metal portion of
the brake hose had an output port which fed the passenger's side rear
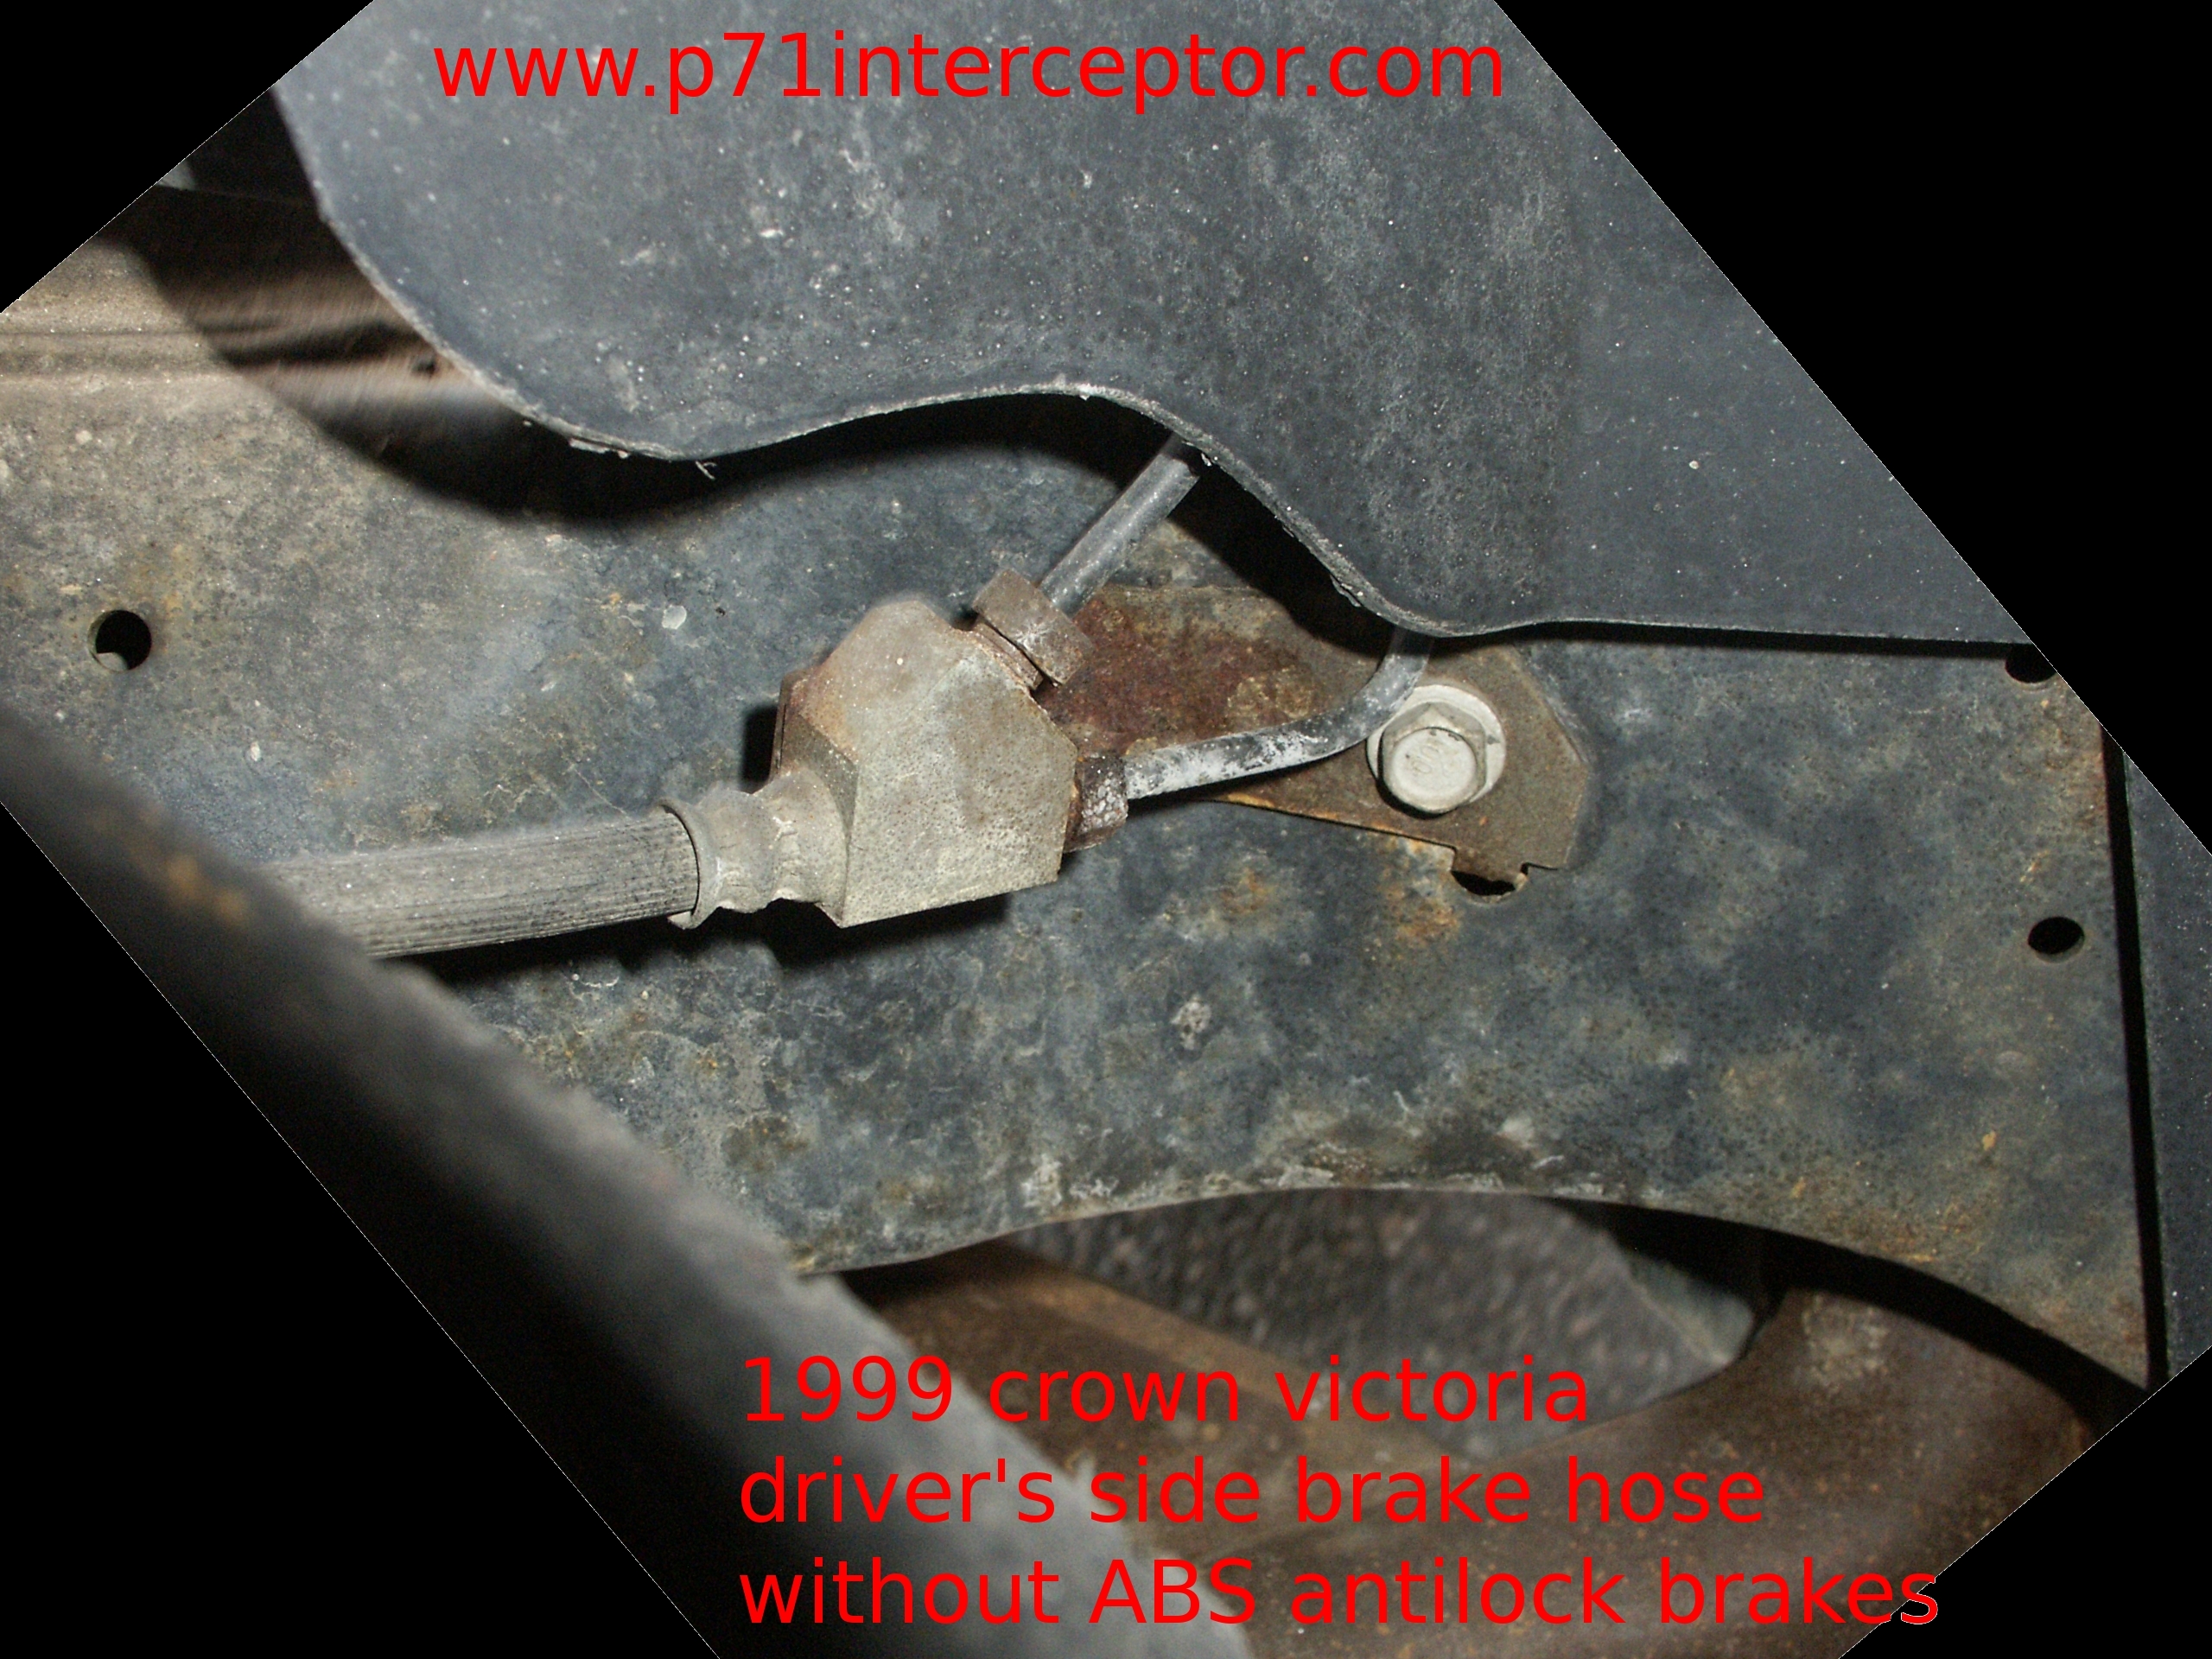
caliper hose. see below for a picture of the front brake hose for 98-02
crownvics without abs.
-obtaining the proper brake hoses for a 1998 crown victoria can be
confusing and some parts store counter employees might order you the
incorrect hoses for your car. so make sure to visually compare your new
hoses with the old ones that are currently installed on your car before
beginning this project.
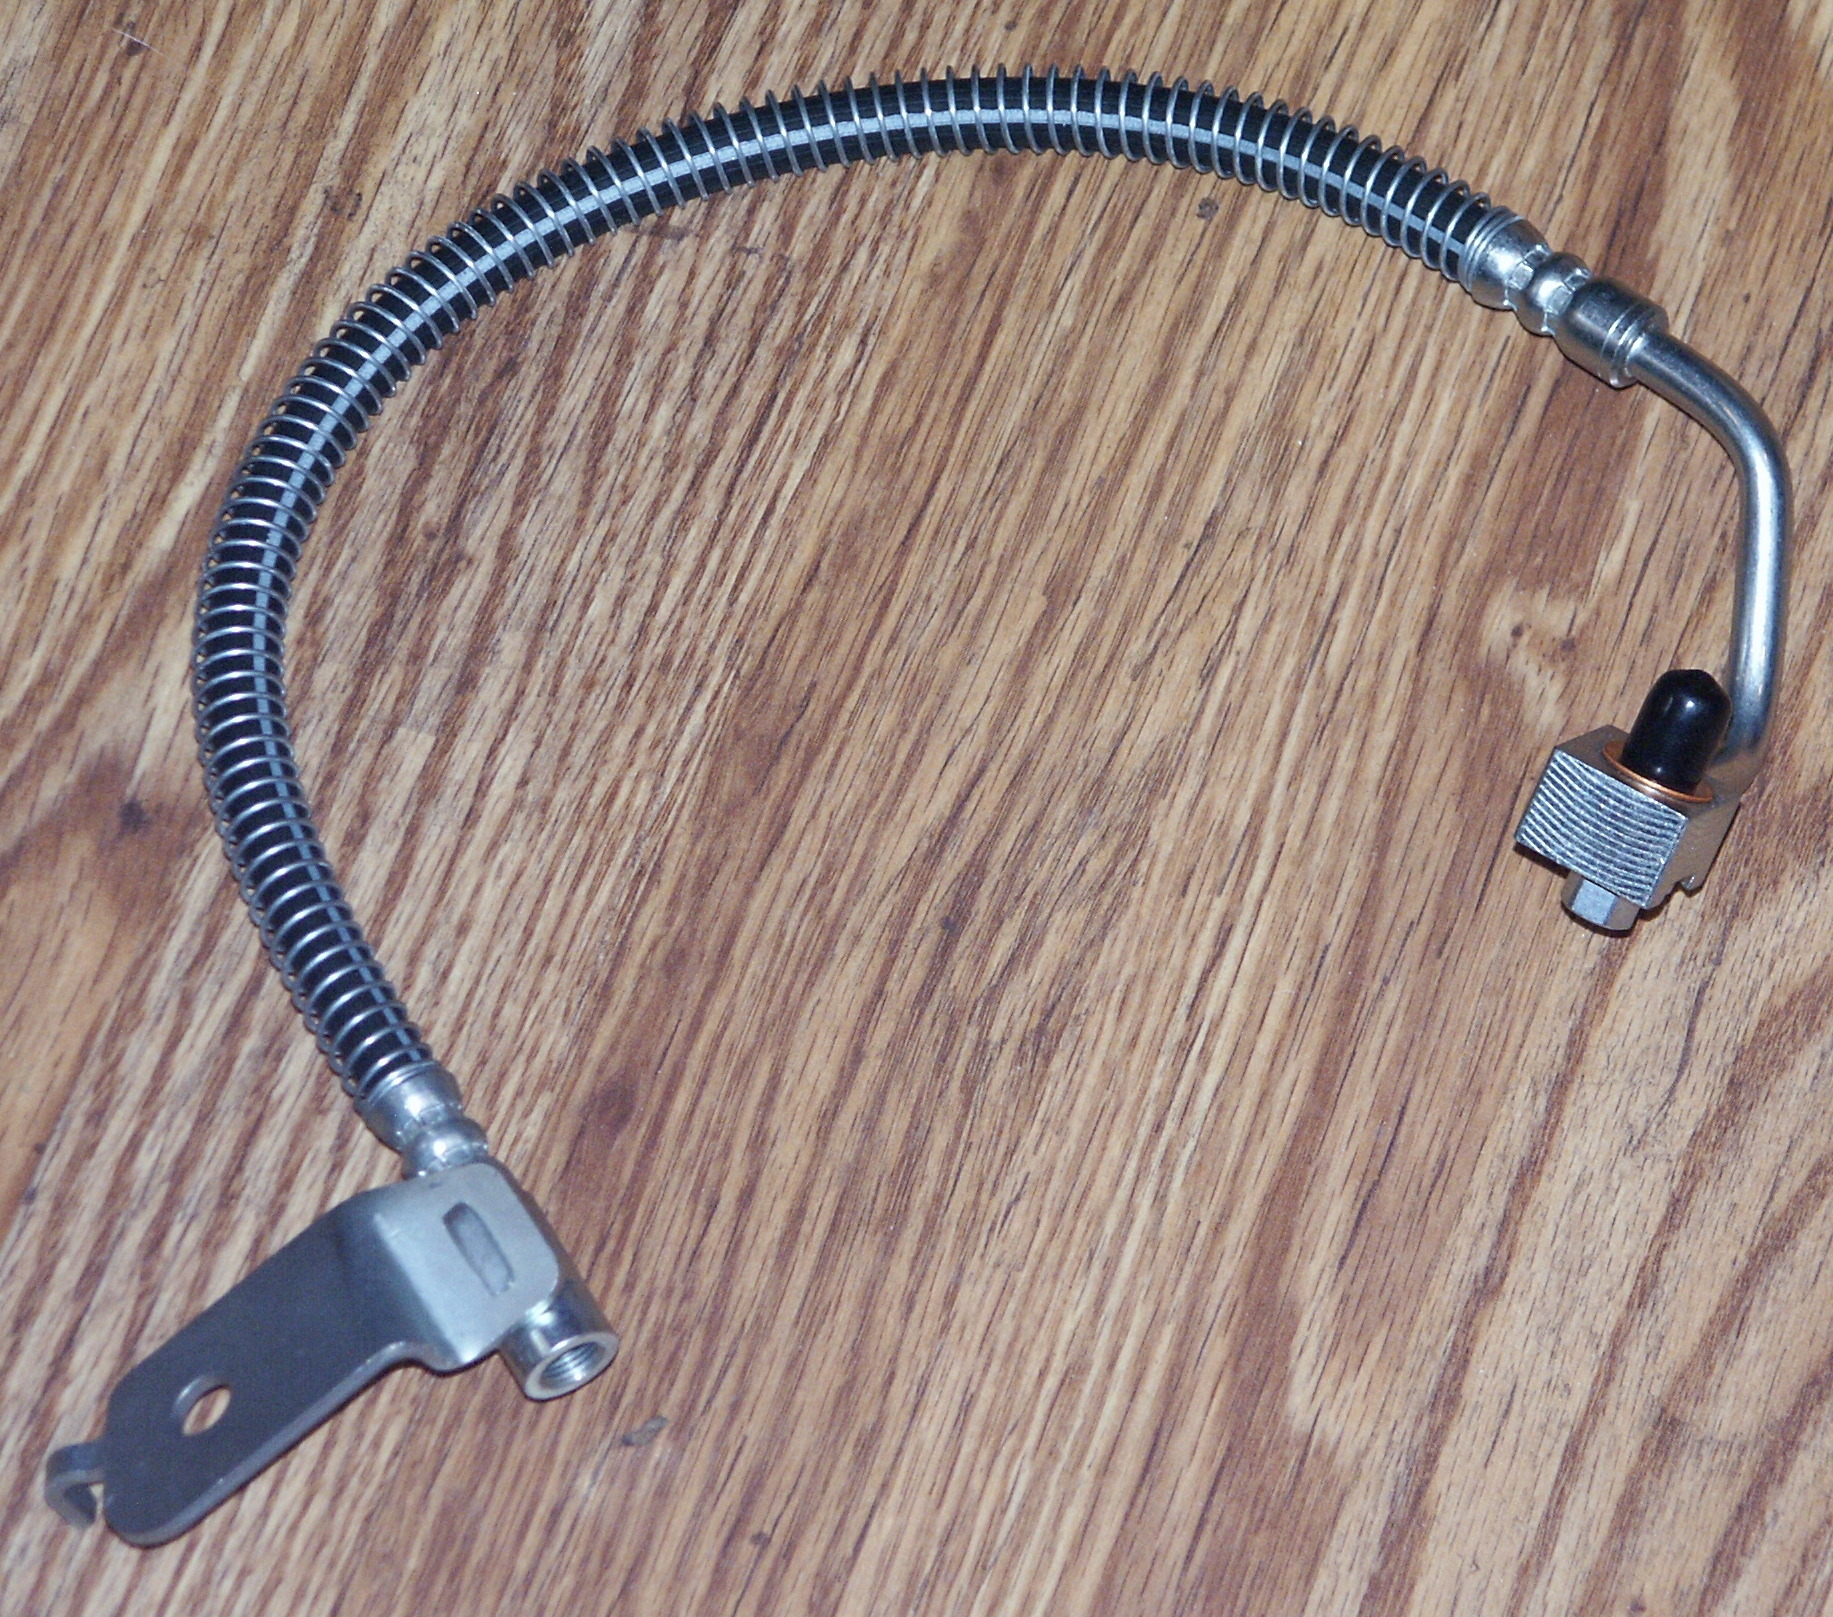
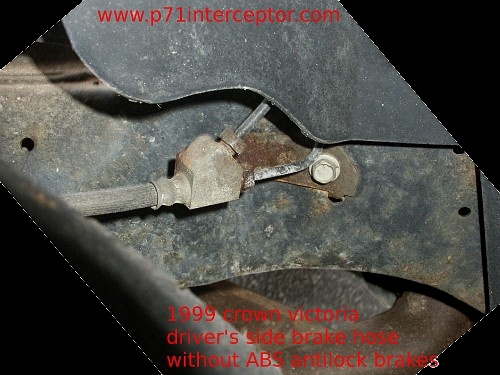
Here is the driver's side front brake hose used on 1998-2002 crownvics
without antilock brakes. Take note of the two ports on the metal
portion.
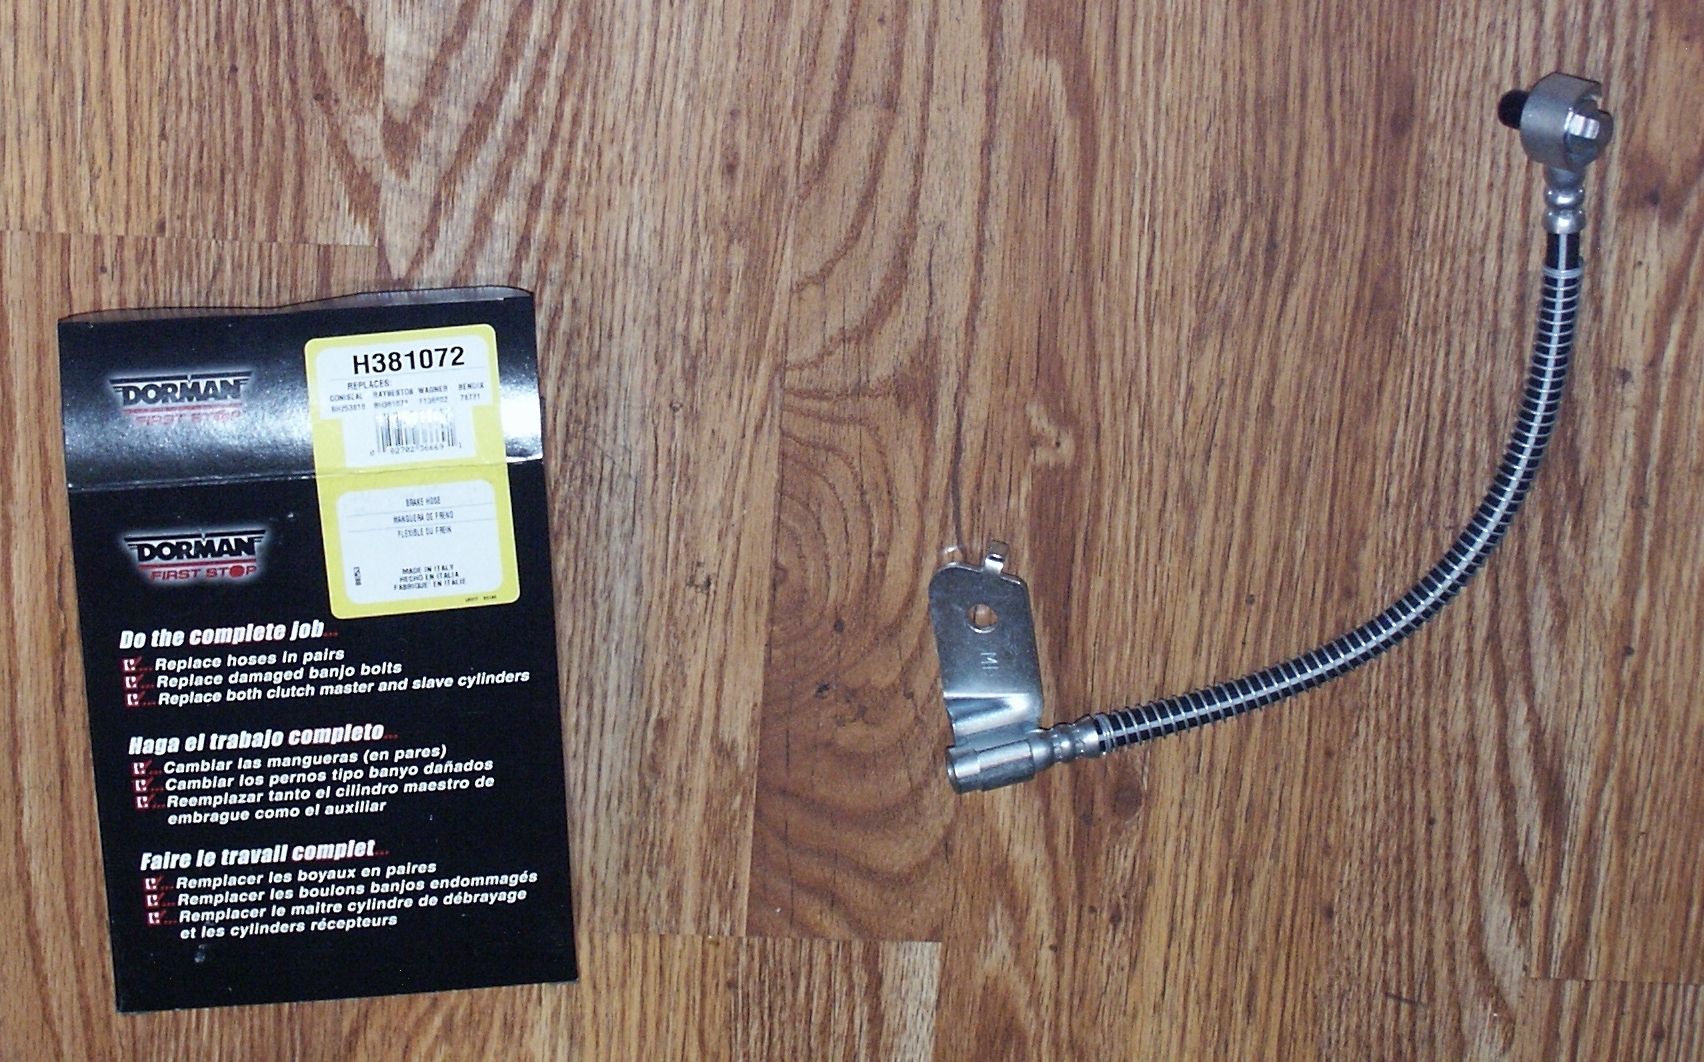
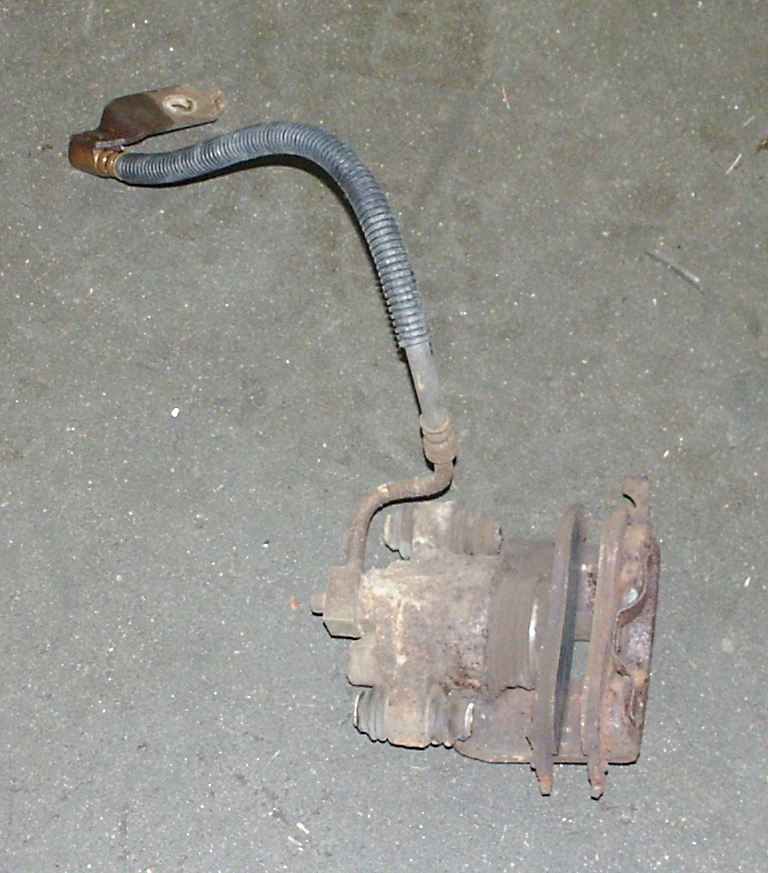
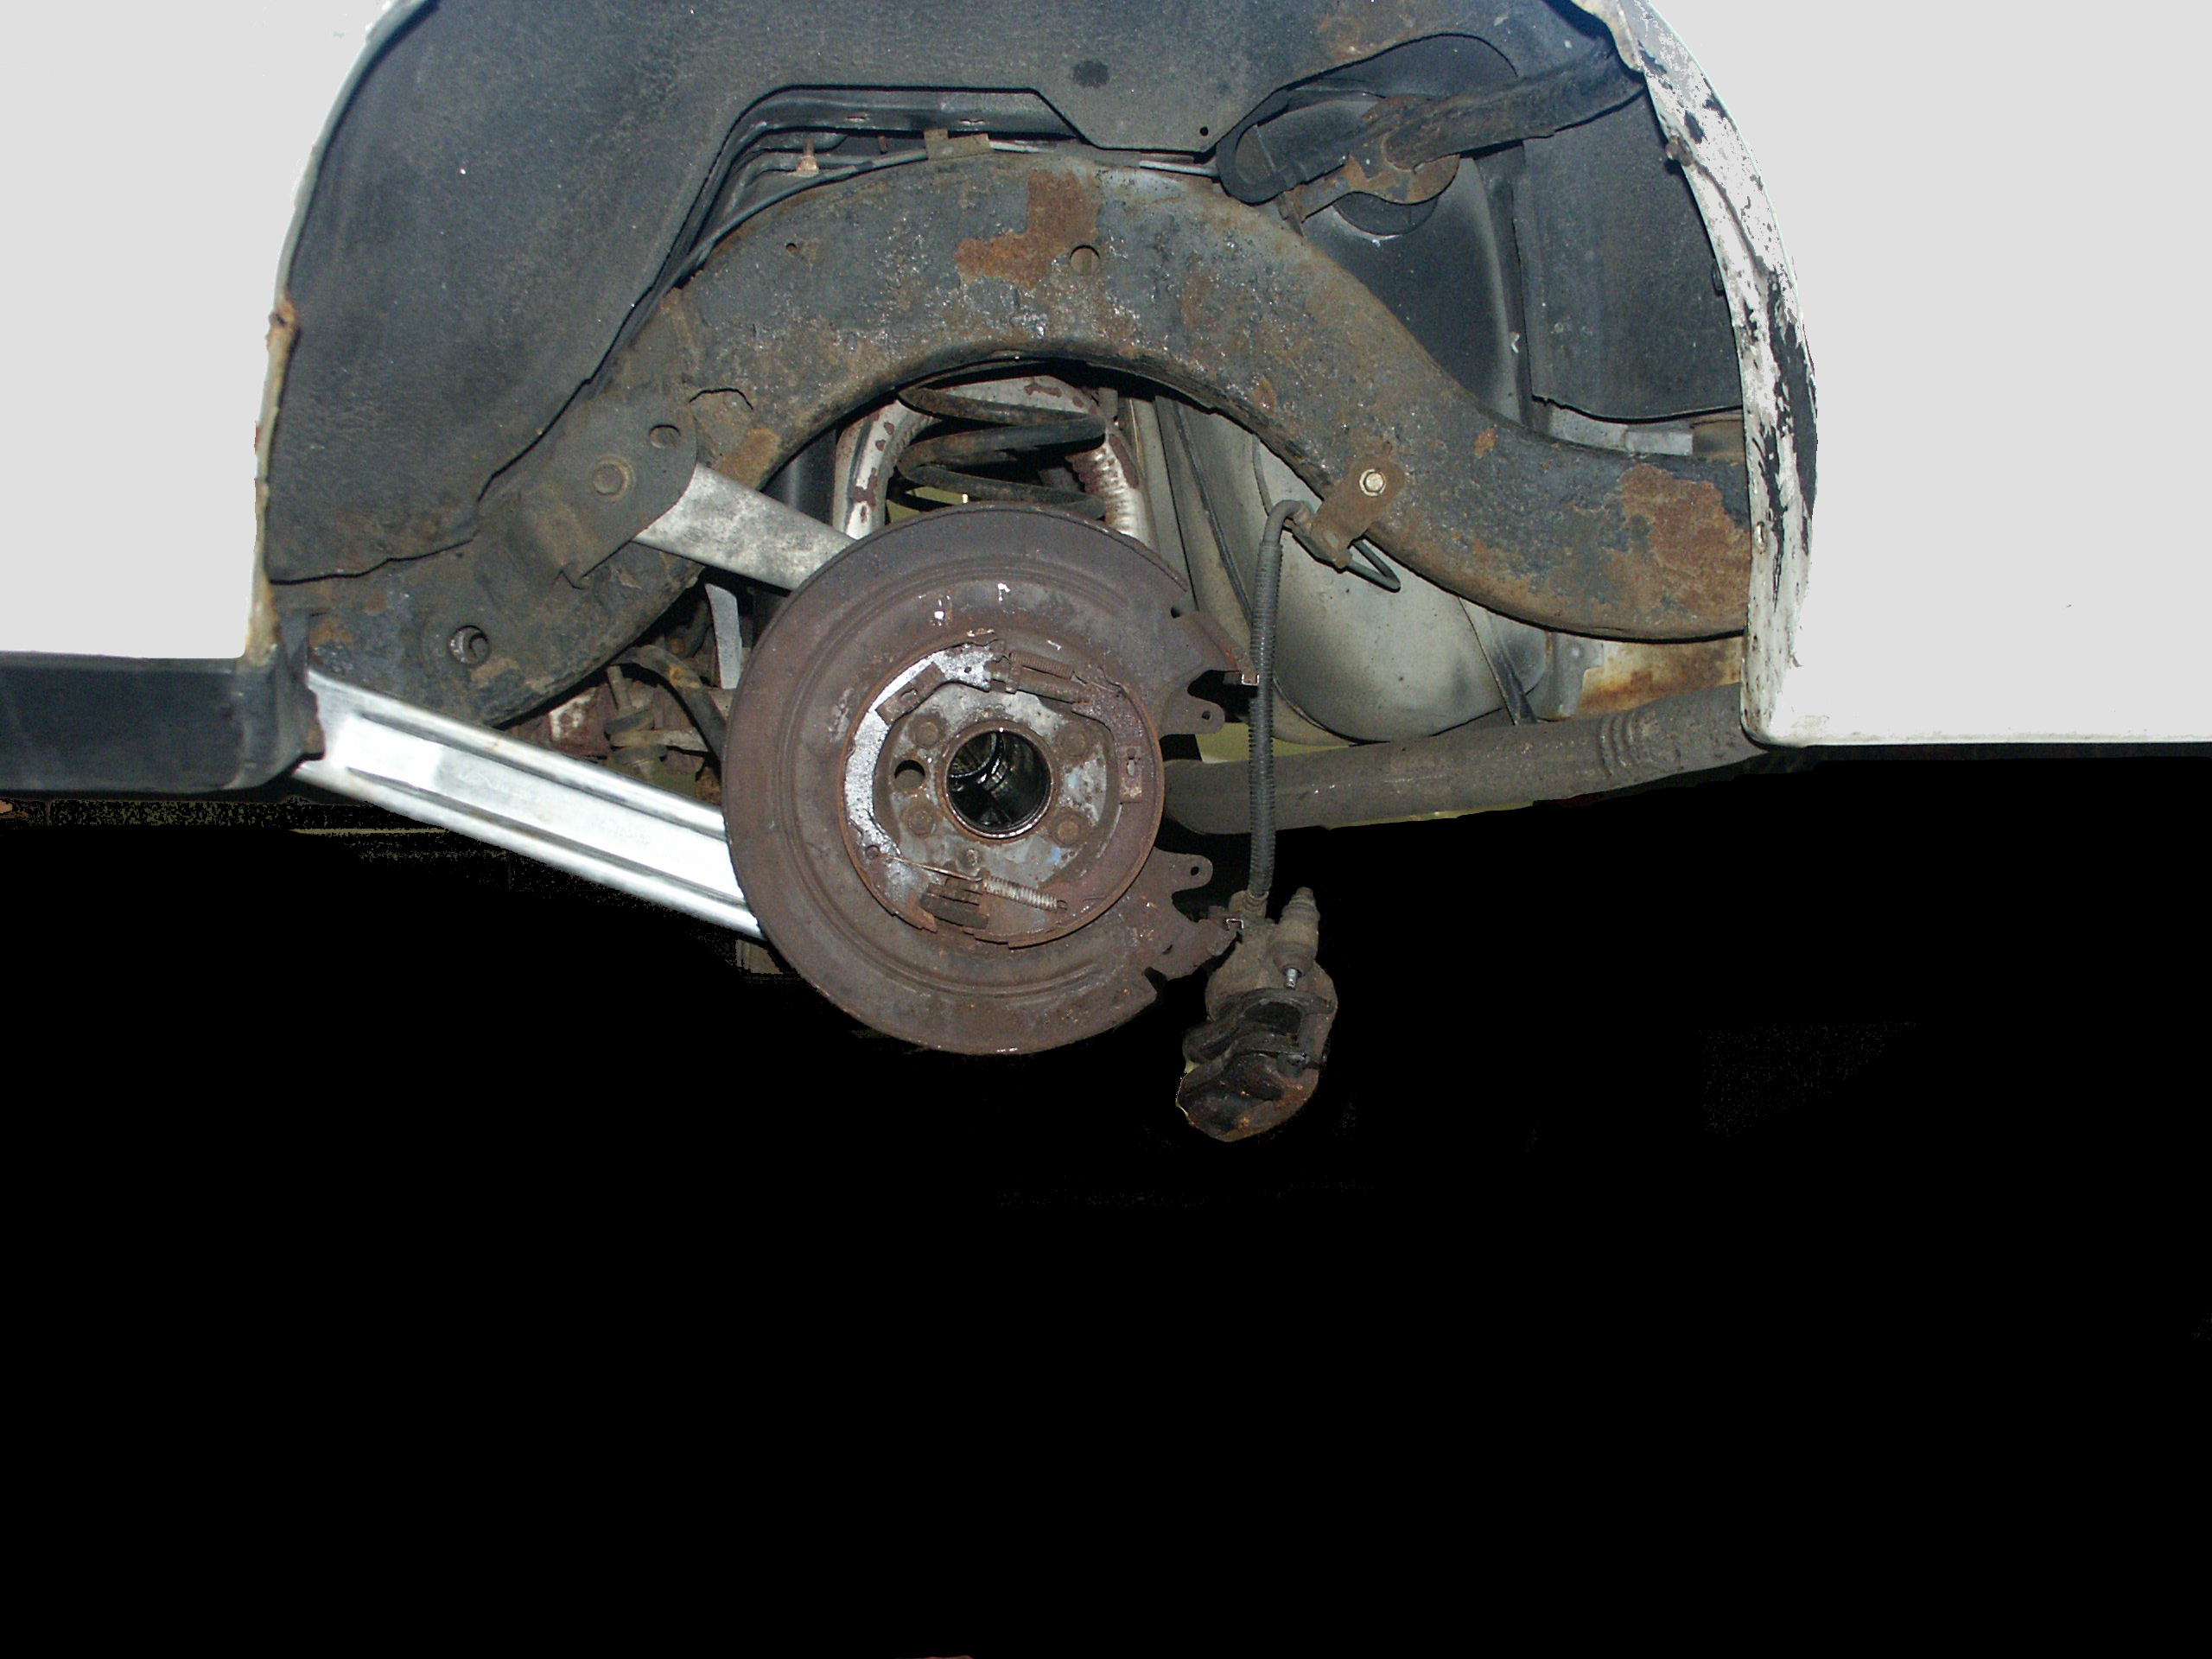
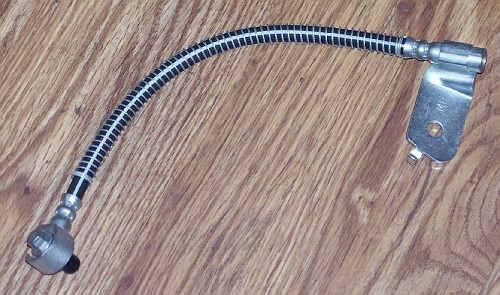
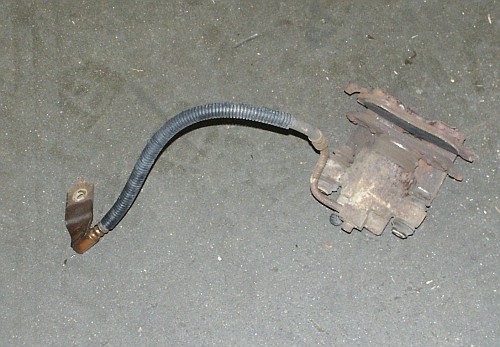
Here is the driver's side rear brake hose used on all 1998-2002
crownvics except on the cars with traction control. Many service
technicians let the brake caliper hang from the flex hose like this,
but this is a poor servce technique that places a lot of stress on the
hose and can cause premature failure.
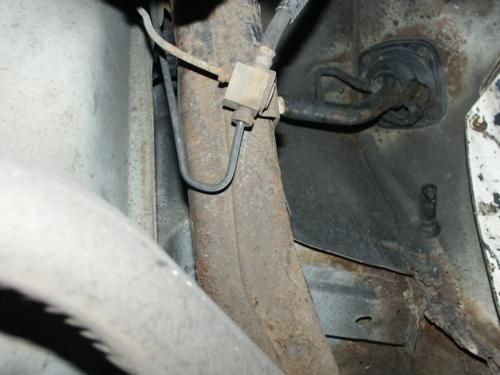
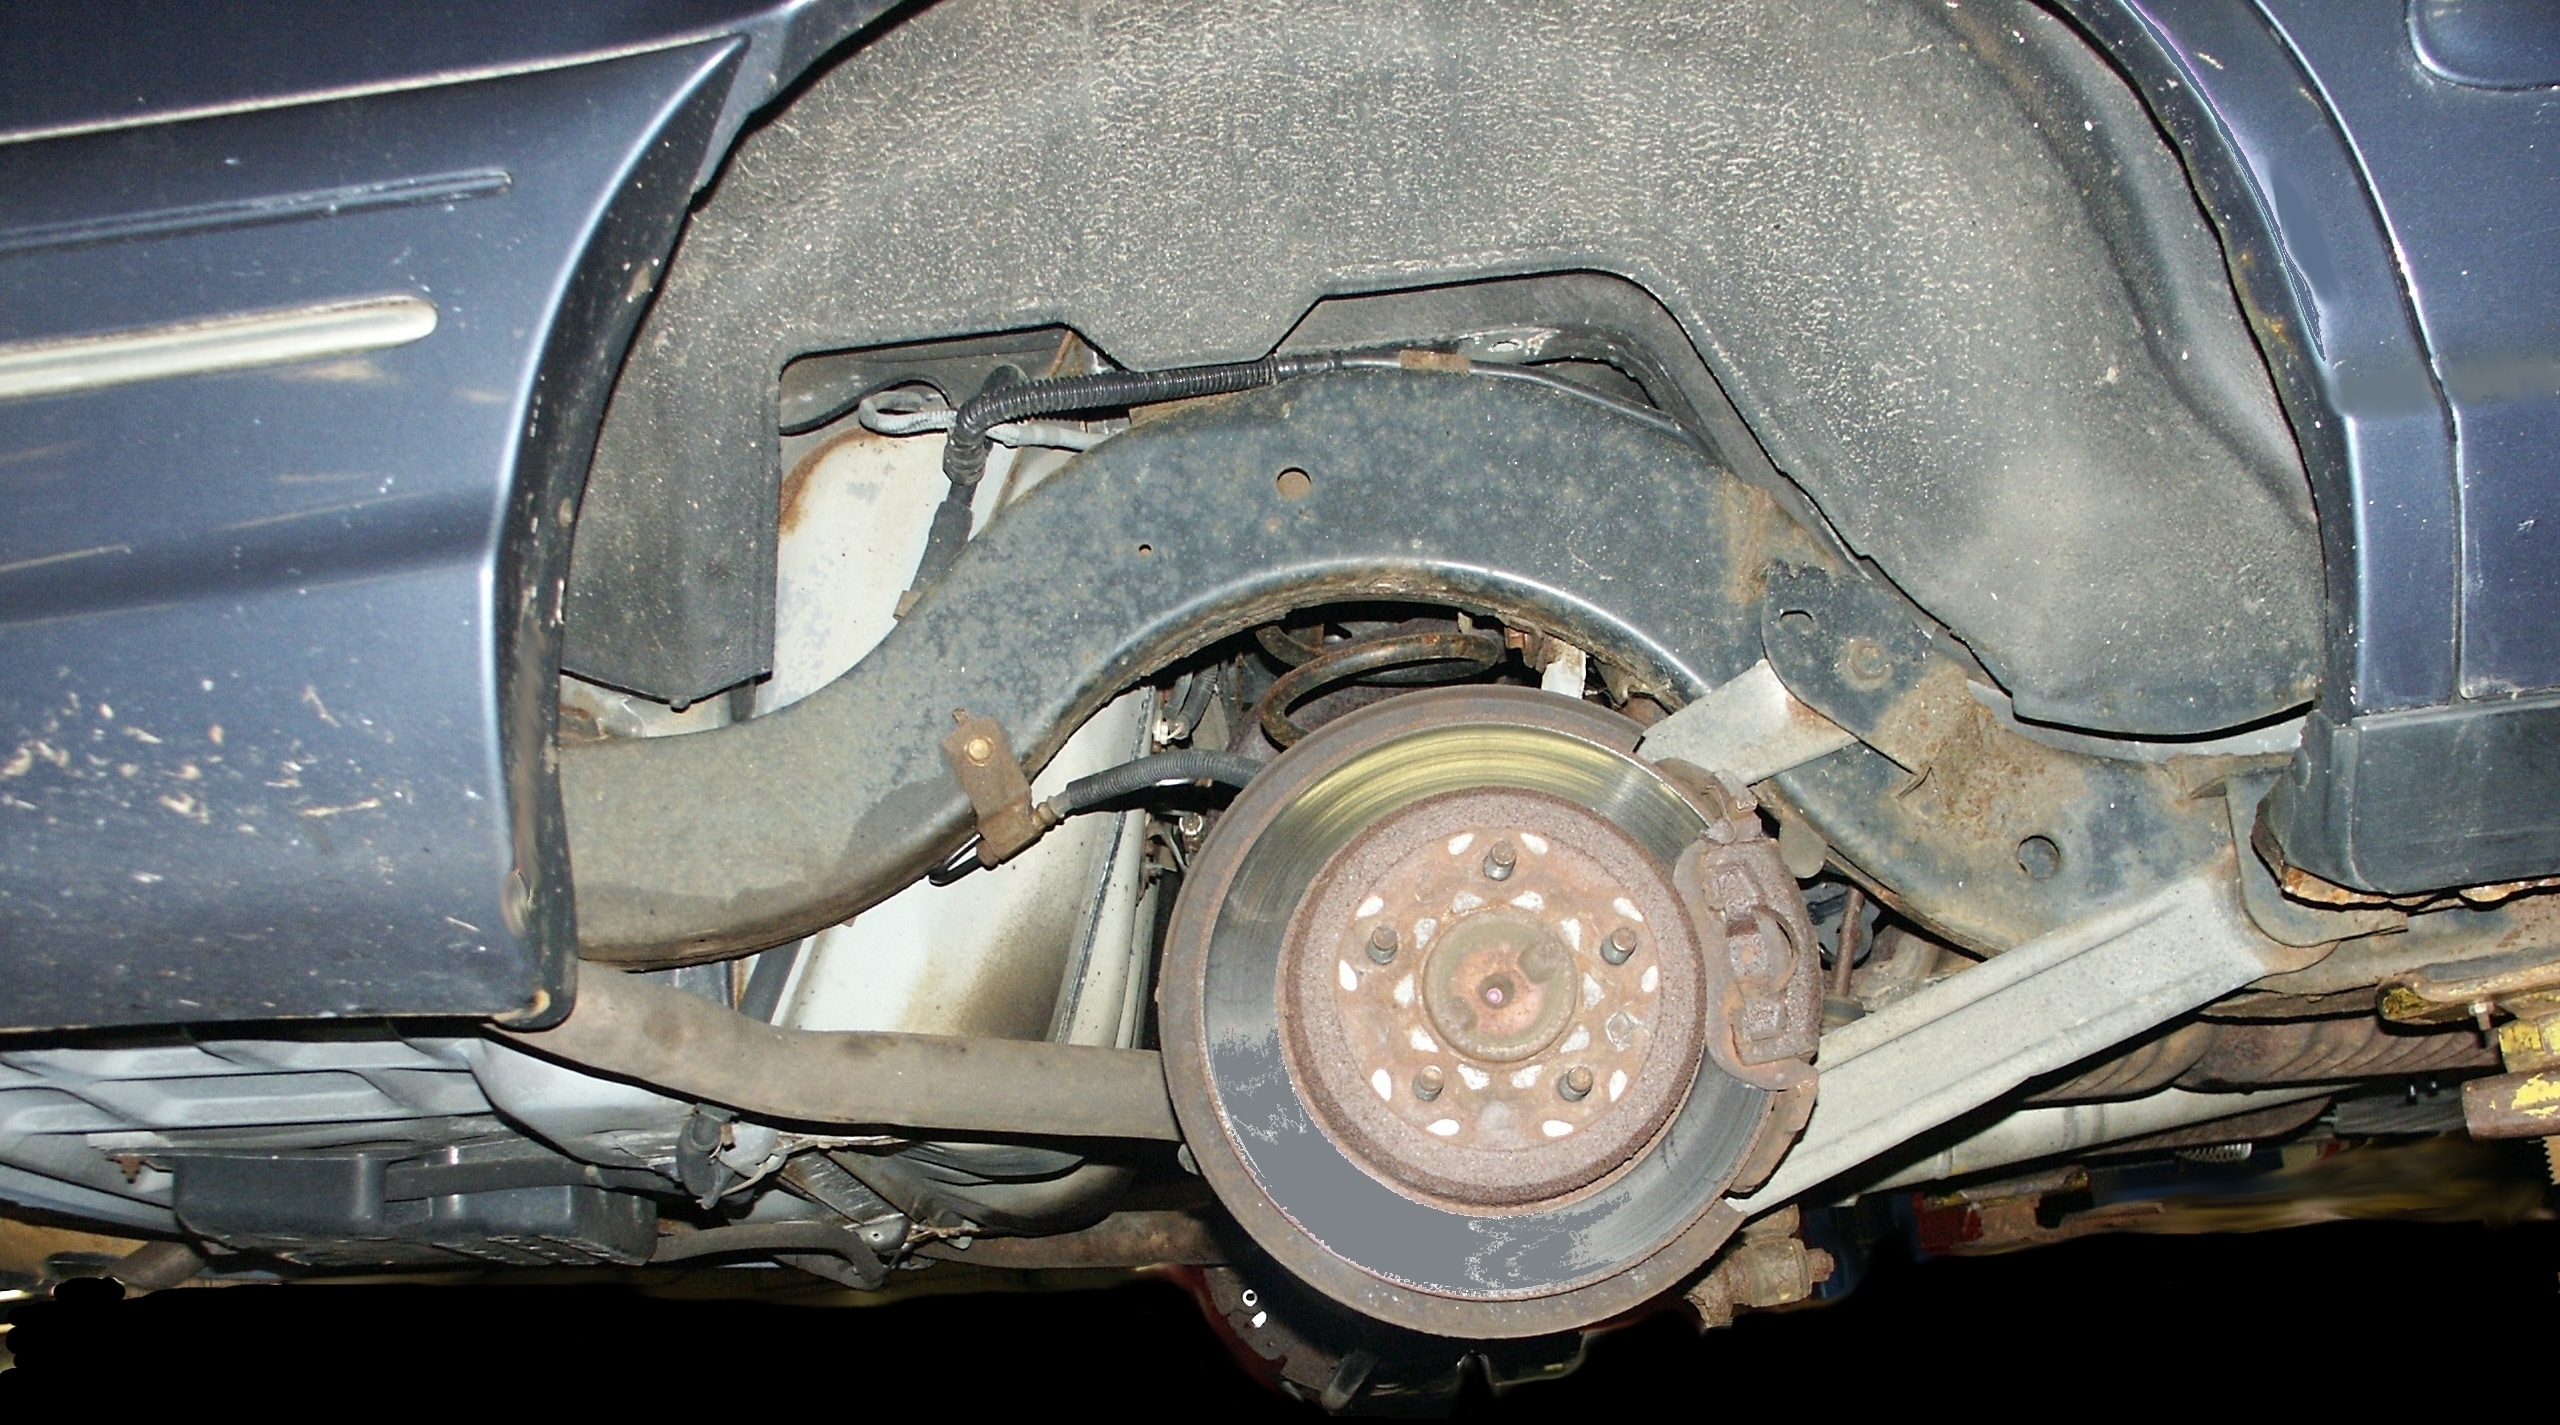
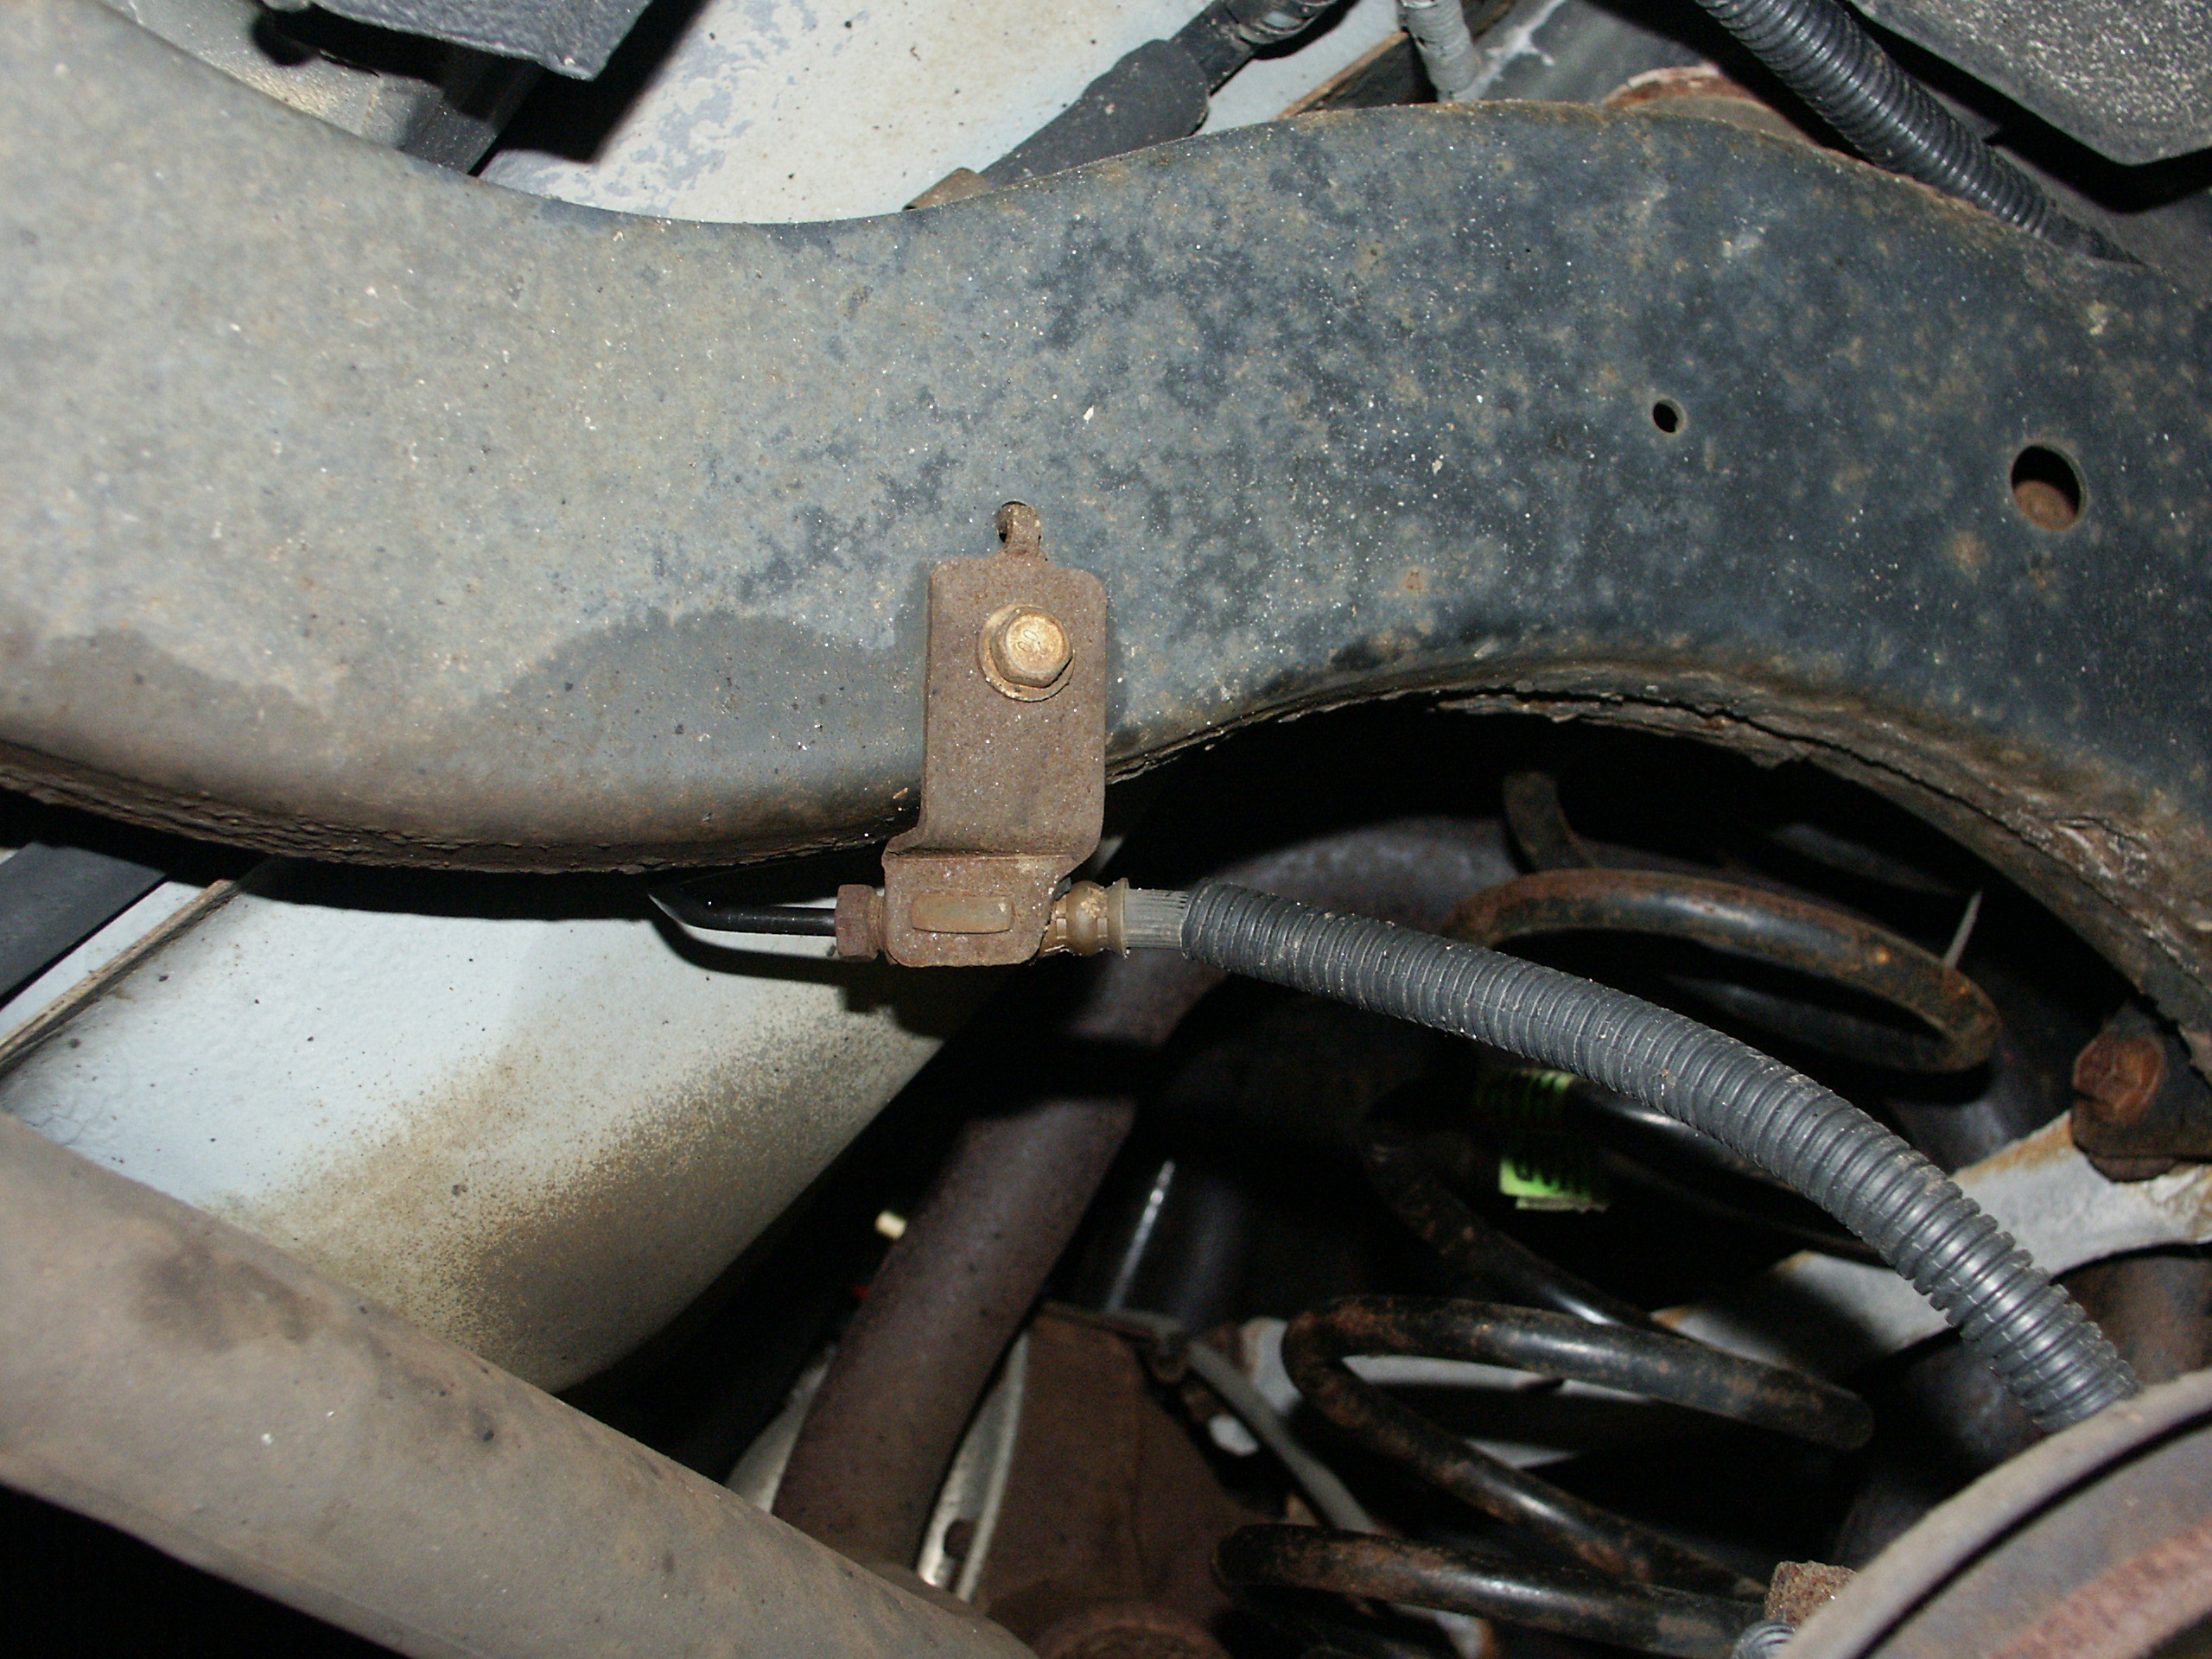
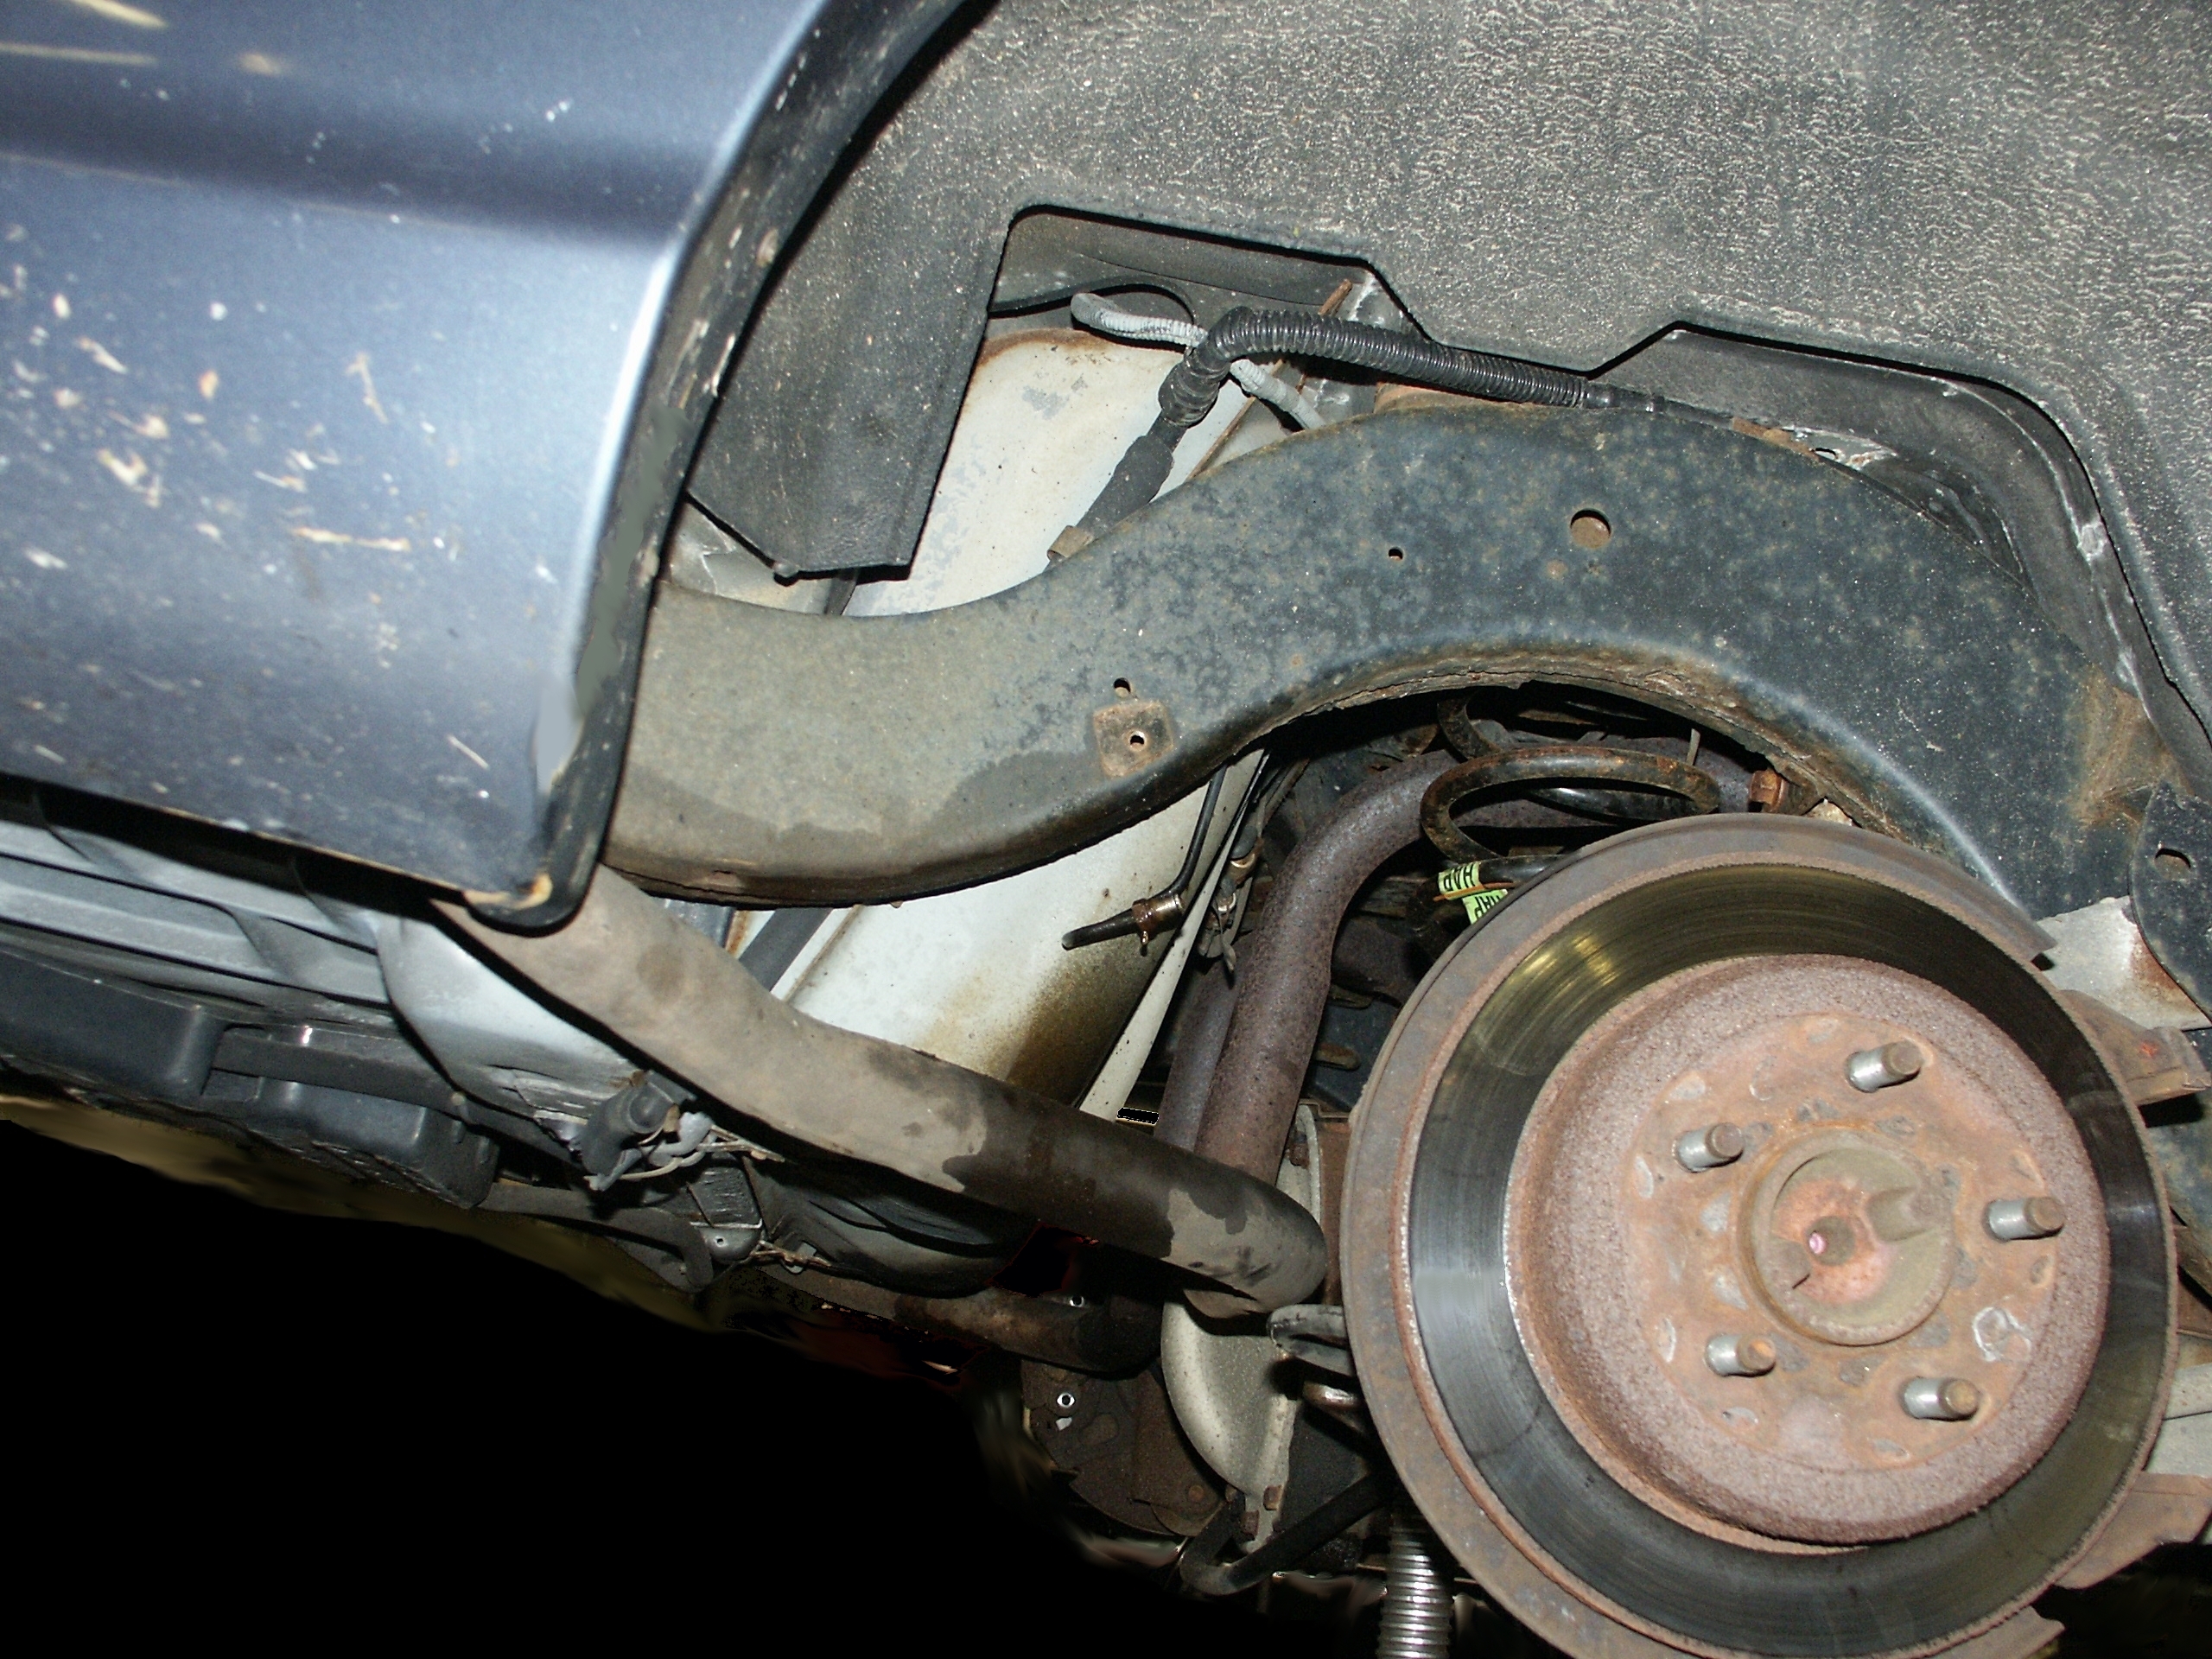
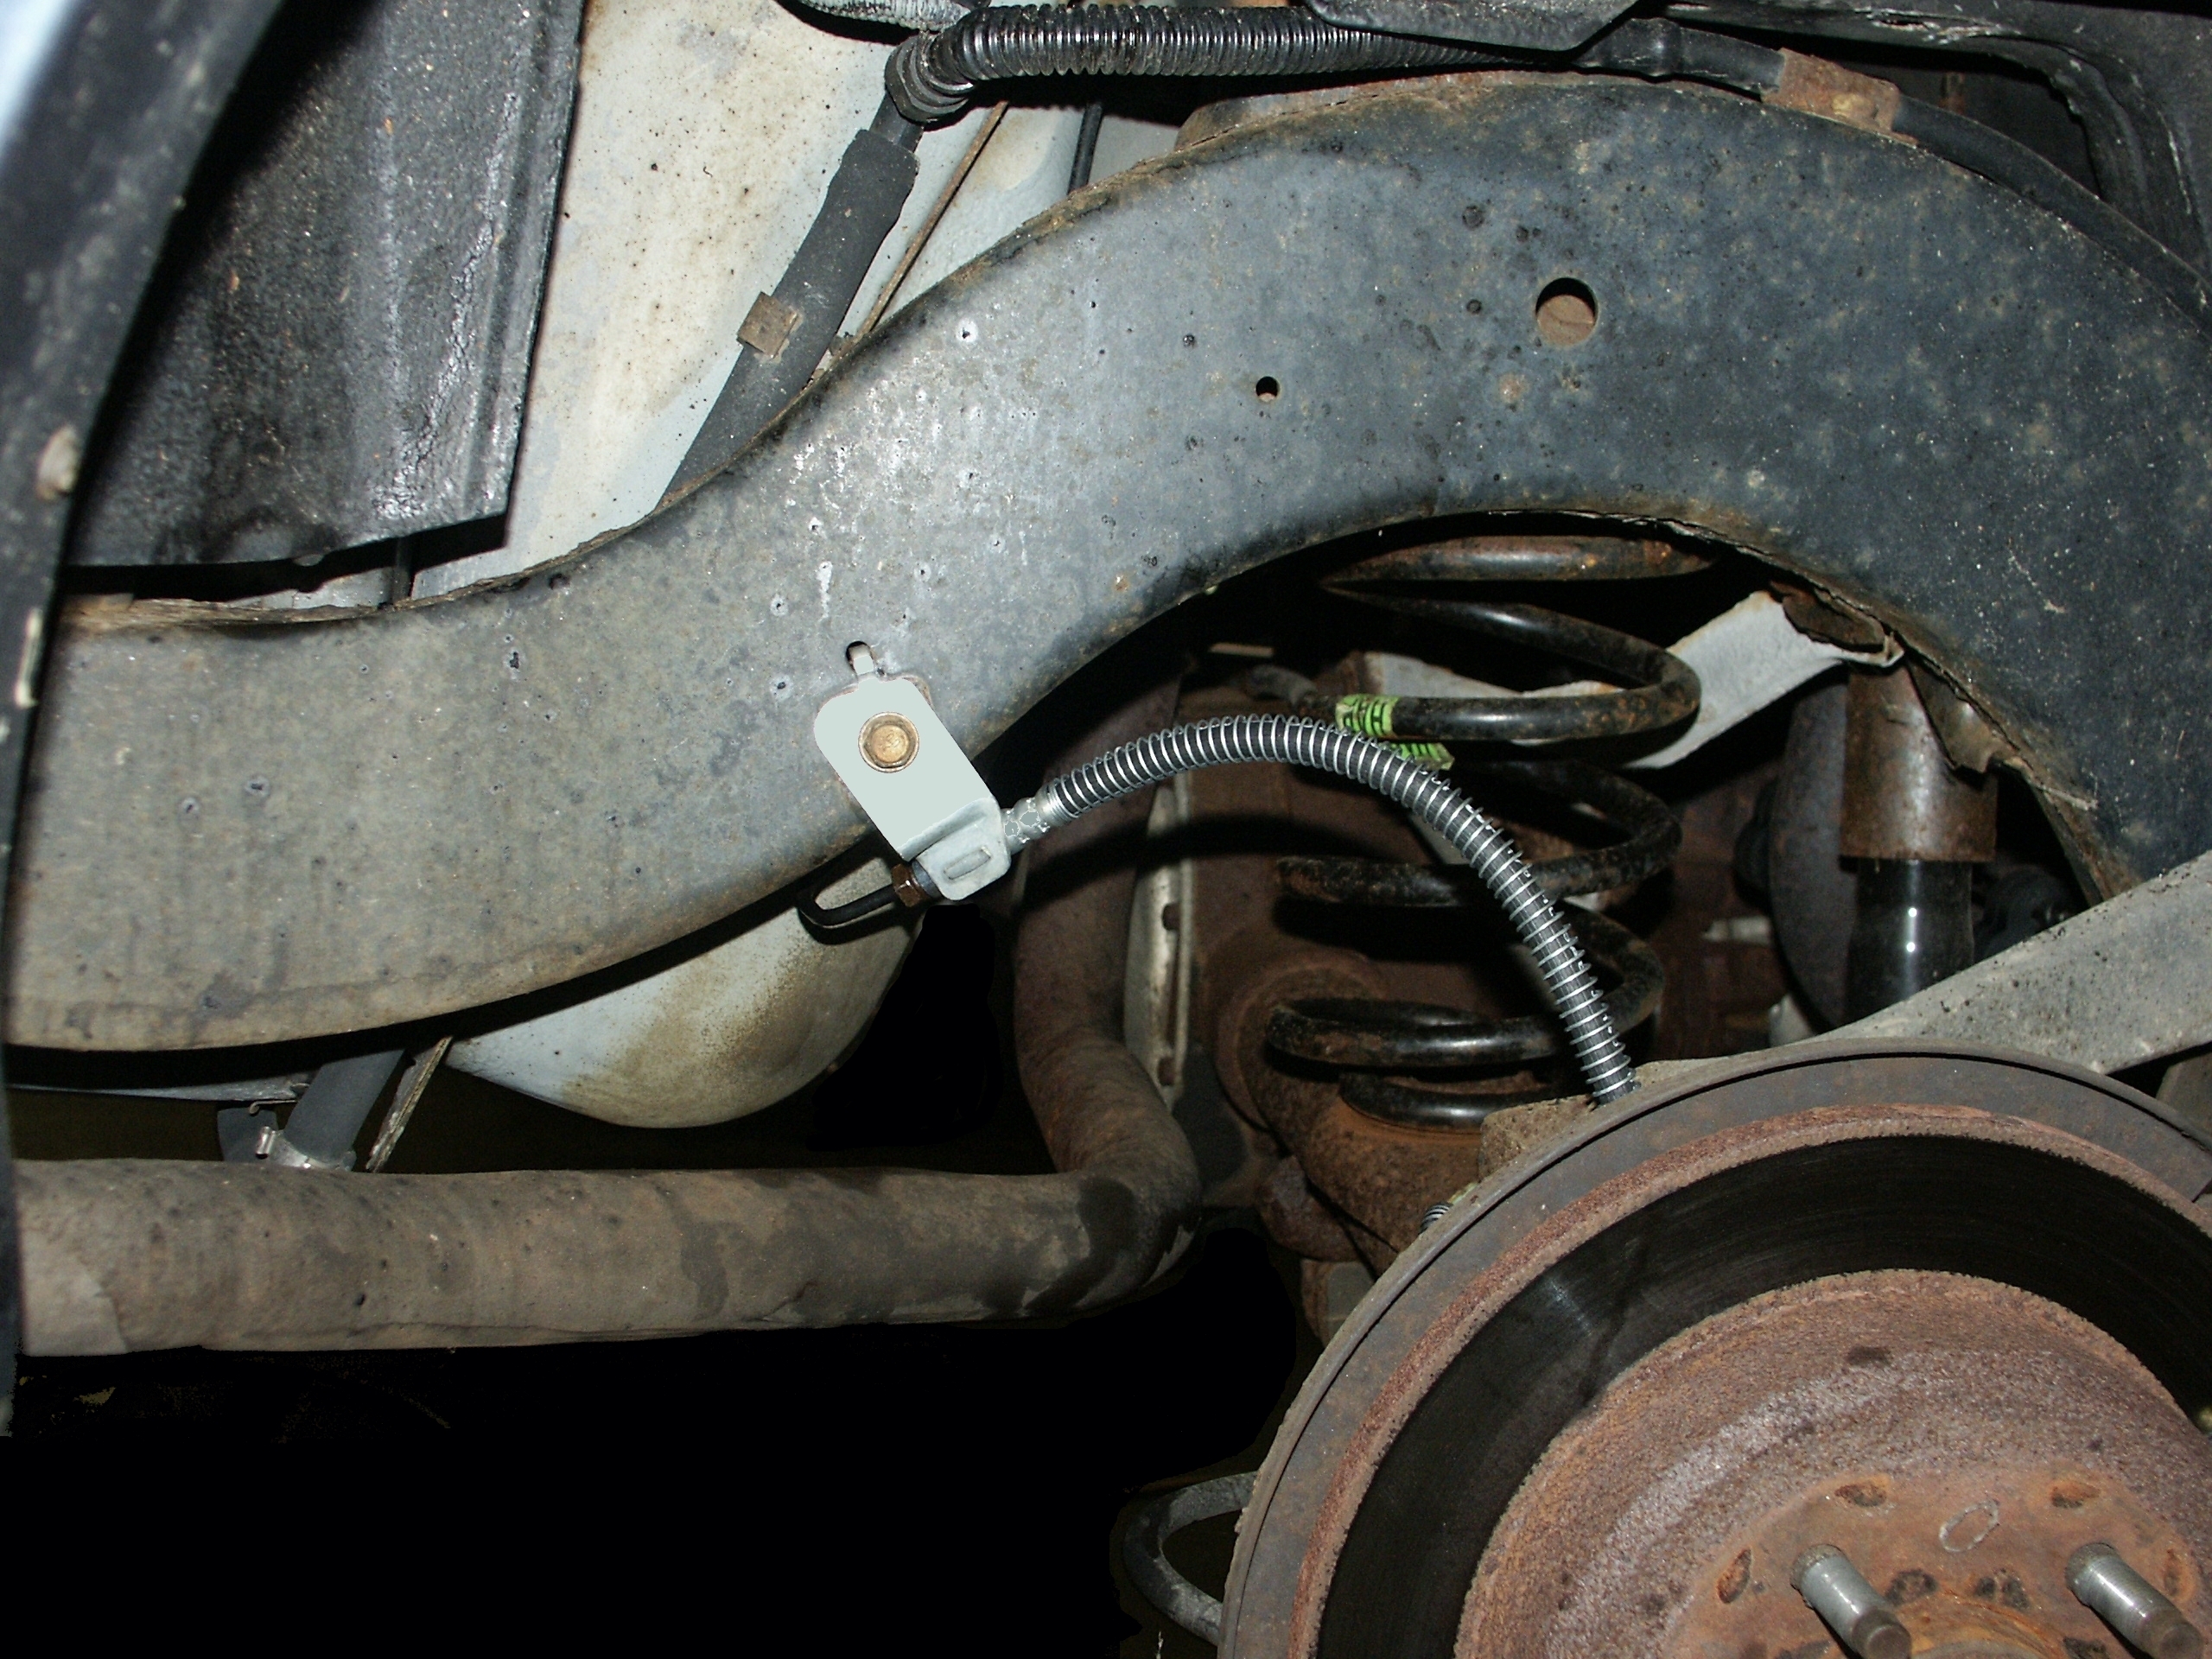
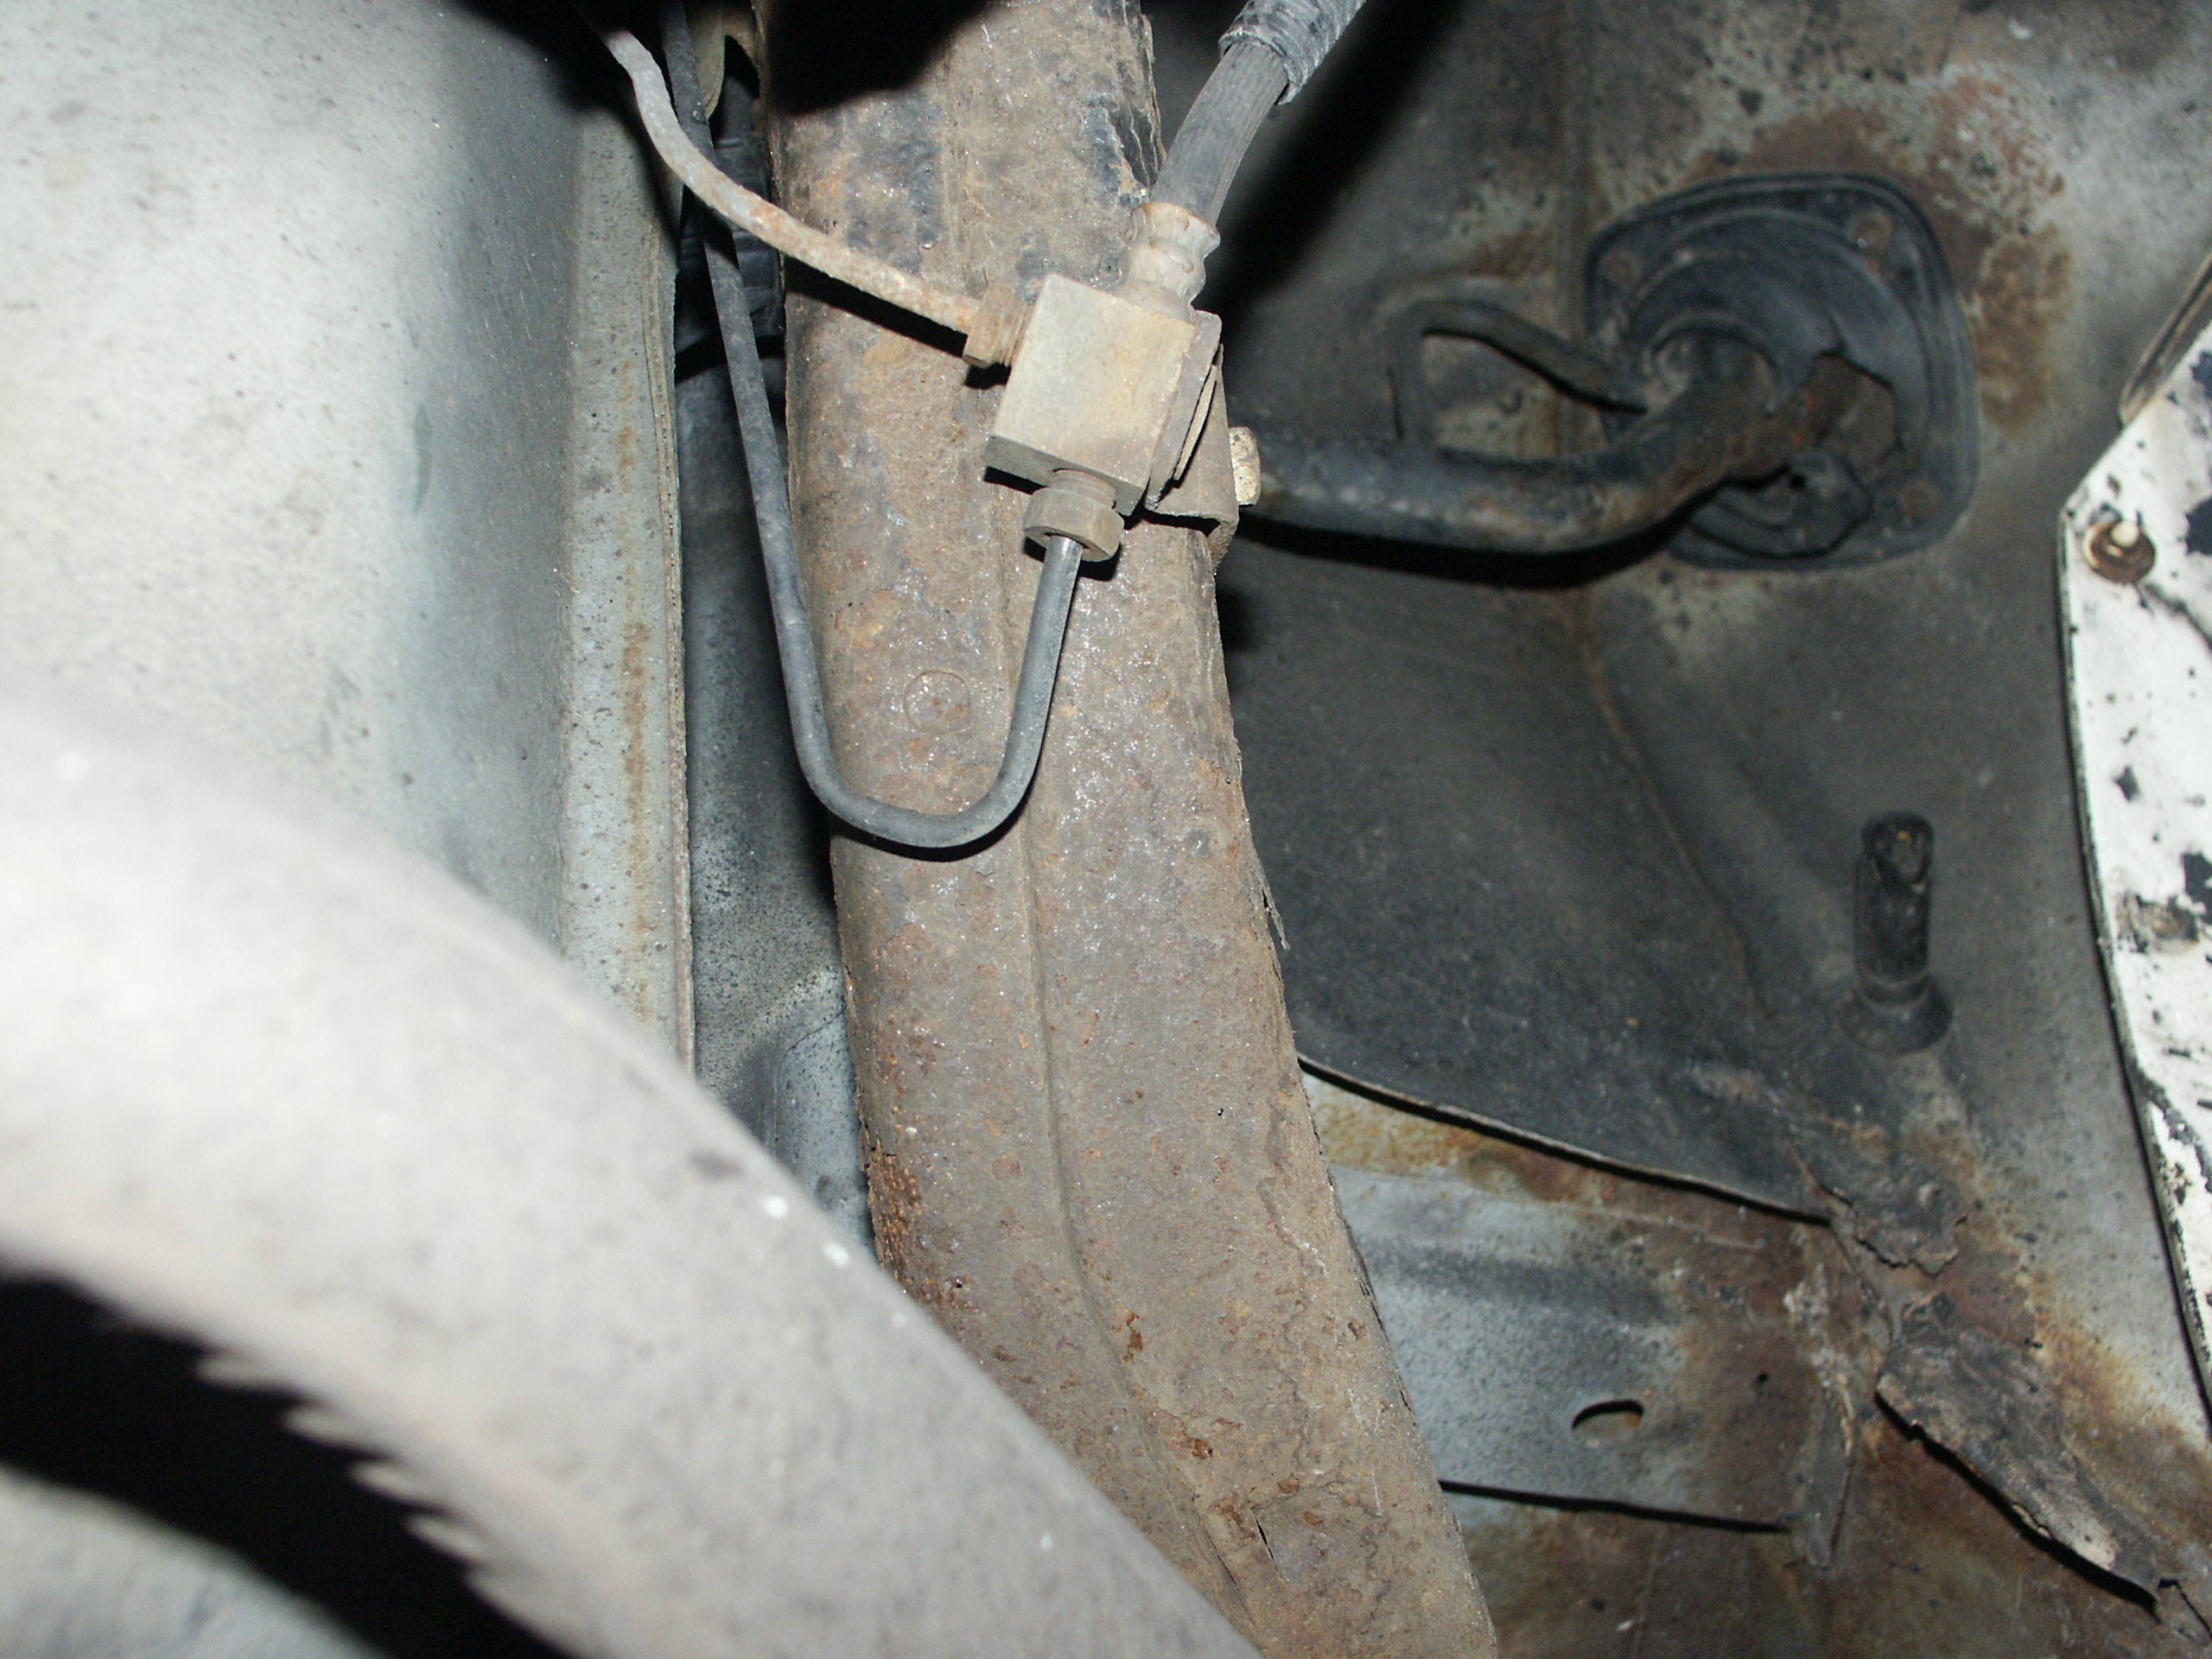
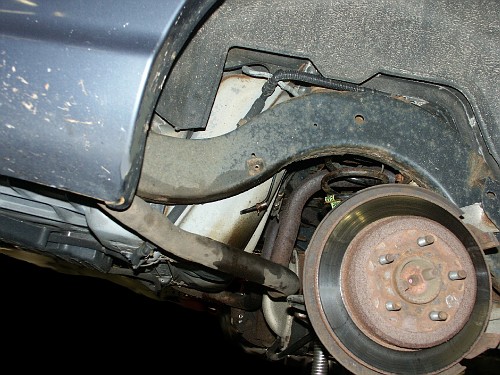
Here is the driver's rear caliper flex hose assembly from underneath
the car. Also visible in the picture is the drain hose for the fuel
fillter nozzle area and the fuel filler neck that connects the gas cap
to the fuel tank.